flat tire NISSAN ALTIMA 2002 L31 / 3.G Owners Manual
[x] Cancel search | Manufacturer: NISSAN, Model Year: 2002, Model line: ALTIMA, Model: NISSAN ALTIMA 2002 L31 / 3.GPages: 249, PDF Size: 2.02 MB
Page 139 of 249

START (4)
This position activates the starter motor,
which starts the engine.
NISSAN VEHICLE IMMOBILIZER
SYSTEM (NVIS)
The Nissan Vehicle Immobilizer System
(NVIS) will not allow the engine to run
without the use of the registered NVIS key.
If the engine fails to run using the registered
NVIS key, it may be due to interference
caused by another NVIS key, an automated
toll road device or automated payment de-
vice on the key ring. Restart the engine
using the following procedures:
1. Leave the ignition switch in the ON posi-
tion for approximately 5 seconds.
2. Turn the ignition switch to the OFF or
LOCK position and wait approximately 5
seconds.
3. Repeat step 1 and 2 again.
4. Restart the engine while holding the de-
vice (which may have caused the inter-
ference) separate from the registered
NVIS key.If this procedure allows the engine to run,
NISSAN recommends placing the regis-
tered NVIS key on a separate key ring to
avoid interference from other devices.cMake sure the area around the vehicle is
clear.
cMaintenance items listed here should be
checked periodically, for example, each
time you check engine oil.
cCheck that all windows and lights are
clean.
cVisually inspect tires for their appearance
and condition. Also check tires for proper
inflation.
cLock all doors.
cPosition seat and adjust head restraints.
cAdjust inside and outside mirrors.
cFasten seat belts and ask all passengers
to do likewise.
cCheck the operation of warning lights
when key is turned to the ON (3) position.
See ``Warning/Indicator lights and au-
dible reminders'' in the ``Instruments and
controls'' section.
BEFORE STARTING THE
ENGINE
5-6Starting and driving
ZX
Page 149 of 249

cAccelerate slowly and smoothly. Main-
tain cruising speeds with a constant ac-
celerator position.
cDrive at moderate speeds on the high-
way. Driving at high speed lowers fuel
economy.
cAvoid unnecessary stopping and brak-
ing. Maintain a safe distance behind
other vehicles.
cUse a proper gear range which suits road
conditions. On level roads, shift into high
gear as soon as possible.
cAvoid unnecessary engine idling.cKeep your engine tuned up.
cFollow the recommended periodic main-
tenance schedule.
cKeep the tires inflated at the correct
pressure. Low tire pressure increases
tire wear and wastes fuel.
cKeep the front wheels in correct align-
ment. Improper alignment increases tire
wear and lowers fuel economy.
cAir conditioner operation lowers fuel
economy. Use the air conditioner only
when necessary.
cWhen cruising at highway speeds, it is
more economical to use the air condi-
tioner and leave the windows closed to
reduce drag.
SD1001M
INCREASING FUEL
ECONOMY
5-16Starting and driving
ZX
Page 155 of 249
radiator and on the engine block. Refill
before operating the vehicle. See ``Chang-
ing engine coolant'' in the ``Maintenance
and do-it-yourself'' section.
TIRE EQUIPMENT
1. SUMMER tires have a tread designed to
provide superior performance on dry
pavement. However, the performance of
these tires will be substantially reduced
in snowy and icy conditions. If you oper-
ate your vehicle on snowy or icy roads,
NISSAN recommends the use of MUD &
SNOW or ALL SEASON tires on all four
wheels. Please consult an authorized
NISSAN dealer for the tire type, size,
speed rating and availability information.
2. For additional traction on icy roads, stud-
ded tires may be used. However, some
U.S. States and Canadian Provinces pro-
hibit their use. Check local, state and
provincial laws before installing studded
tires.
Skid and traction capabilities of studded
snow tires, on wet or dry surfaces, may
be poorer than that of non-studded snow
tires.
3. Tire chains may be used. Make sure theyare the proper size for the tires on your
vehicle and are installed according to the
chain manufacturer's suggestions.
Use of tire chains may be prohibited accord-
ing to location. Check the local laws before
installing tire chains. When installing tire
chains, make sure they are of proper size
for the tires on your vehicle and are installed
according to the chain manufacturer's sug-
gestions.Use only SAE Class ``S'' chains.
Other types may damage your vehicle. Use
chain tensioners when recommended by
the tire chain manufacturer to ensure a tight
fit. Loose end links of the tire chain must be
secured or removed to prevent the possibil-
ity of whipping action damage to the fenders
or underbody. If possible, avoid fully loading
your vehicle when using tire chains. In ad-
dition, drive at a reduced speed. Otherwise,
your vehicle may be damaged and/or ve-
hicle handling and performance may be
adversely affected.
Never install tire chains on spare tires. Do
not use tire chains on dry roads.
SPECIAL WINTER EQUIPMENT
It is recommended that the following items
be carried in the vehicle during winter:1. A scraper and stiff-bristled brush to re-
move ice and snow from the windows
and wiper blades.
2. A sturdy, flat board to be placed under
the jack to give it firm support.
3. A shovel to dig the vehicle out of snow-
drifts.
4. Extra window washer fluid to refill the
reservoir tank.
DRIVING ON SNOW OR ICE
WARNING
cWet ice (32ÉF, 0ÉC and freezing rain),
very cold snow or ice can be slick
and very hard to drive on. The ve-
hicle will have much less traction or
``grip'' under these conditions. Try to
avoid driving on wet ice until the
road is salted or sanded.
cWhatever the condition, drive with
caution. Accelerate and slow down
with care. If accelerating or down-
shifting too fast, the drive wheels
will lose even more traction.
5-22Starting and driving
ZX
Page 158 of 249

6 In case of emergency
Flat tire ...................................................................6-2
Changing a flat tire ............................................6-2
Jump starting ..........................................................6-6
Push starting ..........................................................6-8
If your vehicle overheats ........................................6-8Towing your vehicle ...............................................6-9
Towing recommended by Nissan ....................6-10
Vehicle recovery (freeing a stuck
vehicle) ............................................................6-11
ZX
Page 159 of 249
CHANGING A FLAT TIRE
If you have a flat tire, follow the instructions
below:
Stopping the vehicle
1. Safely move the vehicle off of the road
and away from traffic.
2. Turn on the hazard warning flashers.
3. Park on a level surface and apply the
parking brake. Shift the manual transmis-
sion into R (Reverse), or the automatic
transmission into P (Park).
4. Turn off the engine.
5. Raise the hood to warn other traffic, and
to signal professional road assistance
personnel that you need assistance.
6. Have all passengers get out of the ve-
hicle and stand in a safe place, away
from traffic and clear of the vehicle.
WARNING
cMake sure the parking brake is se-
curely applied and the manual trans-
mission is shifted into R (Reverse),
or the automatic transmission into P
(Park).
cNever change tires when the vehicle
is on a slope, ice or slippery areas.
This is hazardous.
cNever change tires if oncoming traf-
fic is close to your vehicle. Wait for
professional road assistance.
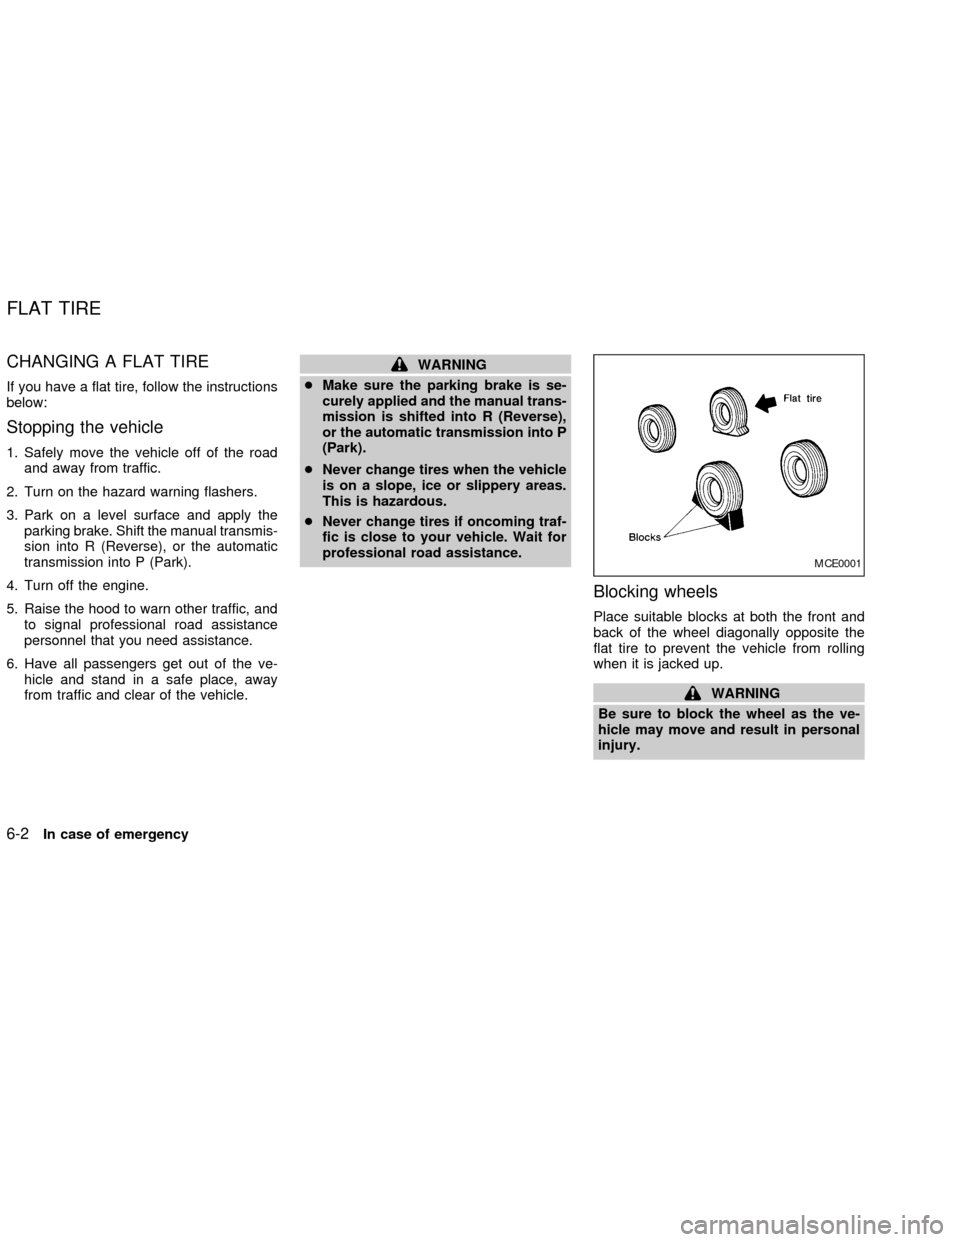
Blocking wheels
Place suitable blocks at both the front and
back of the wheel diagonally opposite the
flat tire to prevent the vehicle from rolling
when it is jacked up.
WARNING
Be sure to block the wheel as the ve-
hicle may move and result in personal
injury.
MCE0001
FLAT TIRE
6-2In case of emergency
ZX
Page 162 of 249
Installing the spare tire
The spare tire is designed for emergency
use. See specific instructions under the
heading ``Wheels and tires'' in the ``Main-
tenance and do-it-yourself'' section.
1. Clean any mud or dirt from the surface
between the wheel and hub.
2. Carefully put the spare tire on. Install and
tighten the wheel nuts by hand.
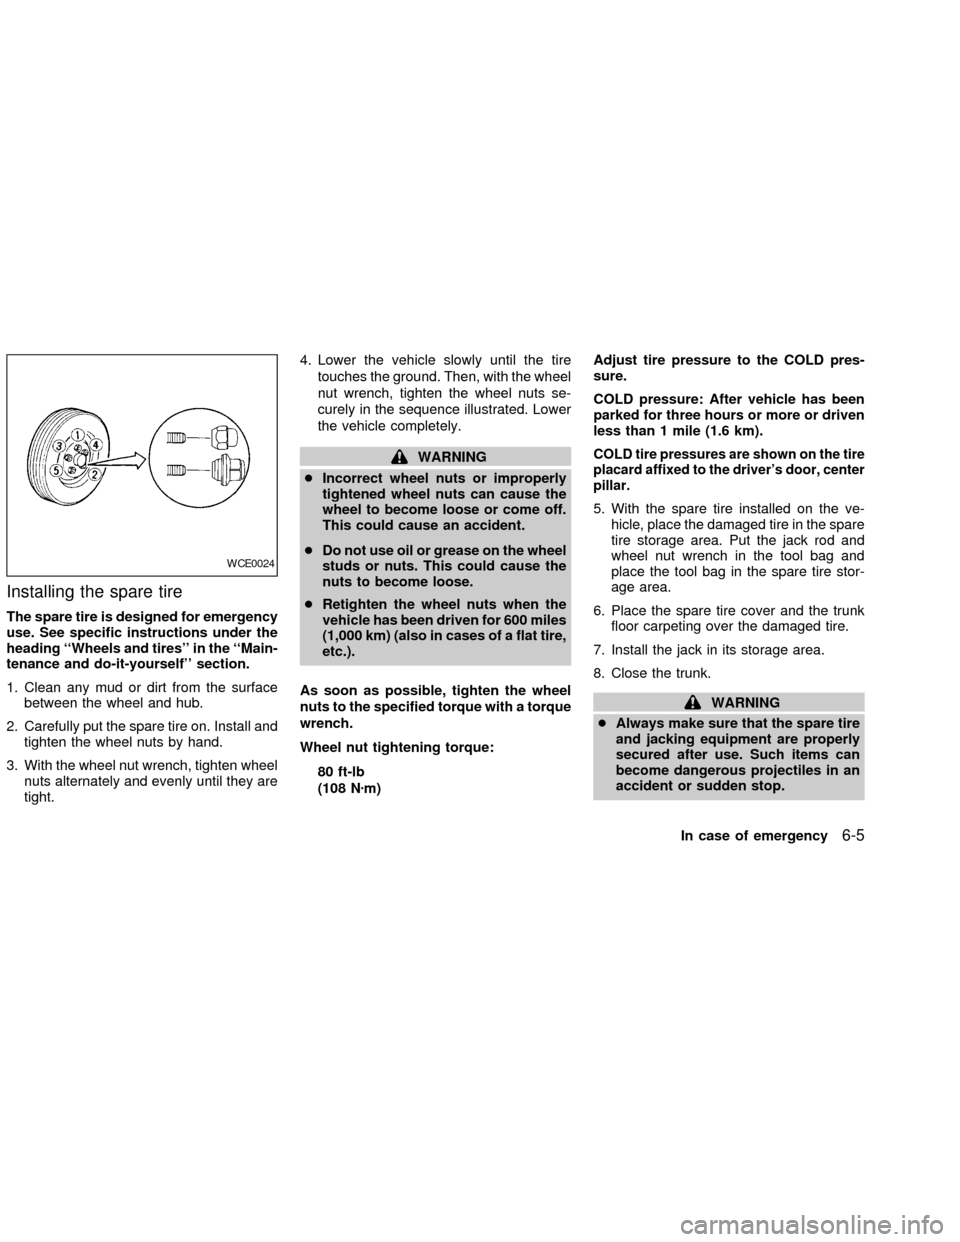
3. With the wheel nut wrench, tighten wheel
nuts alternately and evenly until they are
tight.4. Lower the vehicle slowly until the tire
touches the ground. Then, with the wheel
nut wrench, tighten the wheel nuts se-
curely in the sequence illustrated. Lower
the vehicle completely.
WARNING
cIncorrect wheel nuts or improperly
tightened wheel nuts can cause the
wheel to become loose or come off.
This could cause an accident.
cDo not use oil or grease on the wheel
studs or nuts. This could cause the
nuts to become loose.
cRetighten the wheel nuts when the
vehicle has been driven for 600 miles
(1,000 km) (also in cases of a flat tire,
etc.).
As soon as possible, tighten the wheel
nuts to the specified torque with a torque
wrench.
Wheel nut tightening torque:
80 ft-lb
(108 Nzm)Adjust tire pressure to the COLD pres-
sure.
COLD pressure: After vehicle has been
parked for three hours or more or driven
less than 1 mile (1.6 km).COLD tire pressures are shown on the tire
placard affixed to the driver's door, center
pillar.
5. With the spare tire installed on the ve-
hicle, place the damaged tire in the spare
tire storage area. Put the jack rod and
wheel nut wrench in the tool bag and
place the tool bag in the spare tire stor-
age area.
6. Place the spare tire cover and the trunk
floor carpeting over the damaged tire.
7. Install the jack in its storage area.
8. Close the trunk.
WARNING
cAlways make sure that the spare tire
and jacking equipment are properly
secured after use. Such items can
become dangerous projectiles in an
accident or sudden stop.
WCE0024
In case of emergency6-5
ZX
Page 215 of 249
If you have a flat tire, see the ``In case of
emergency'' section of this manual.
TIRE PRESSURE
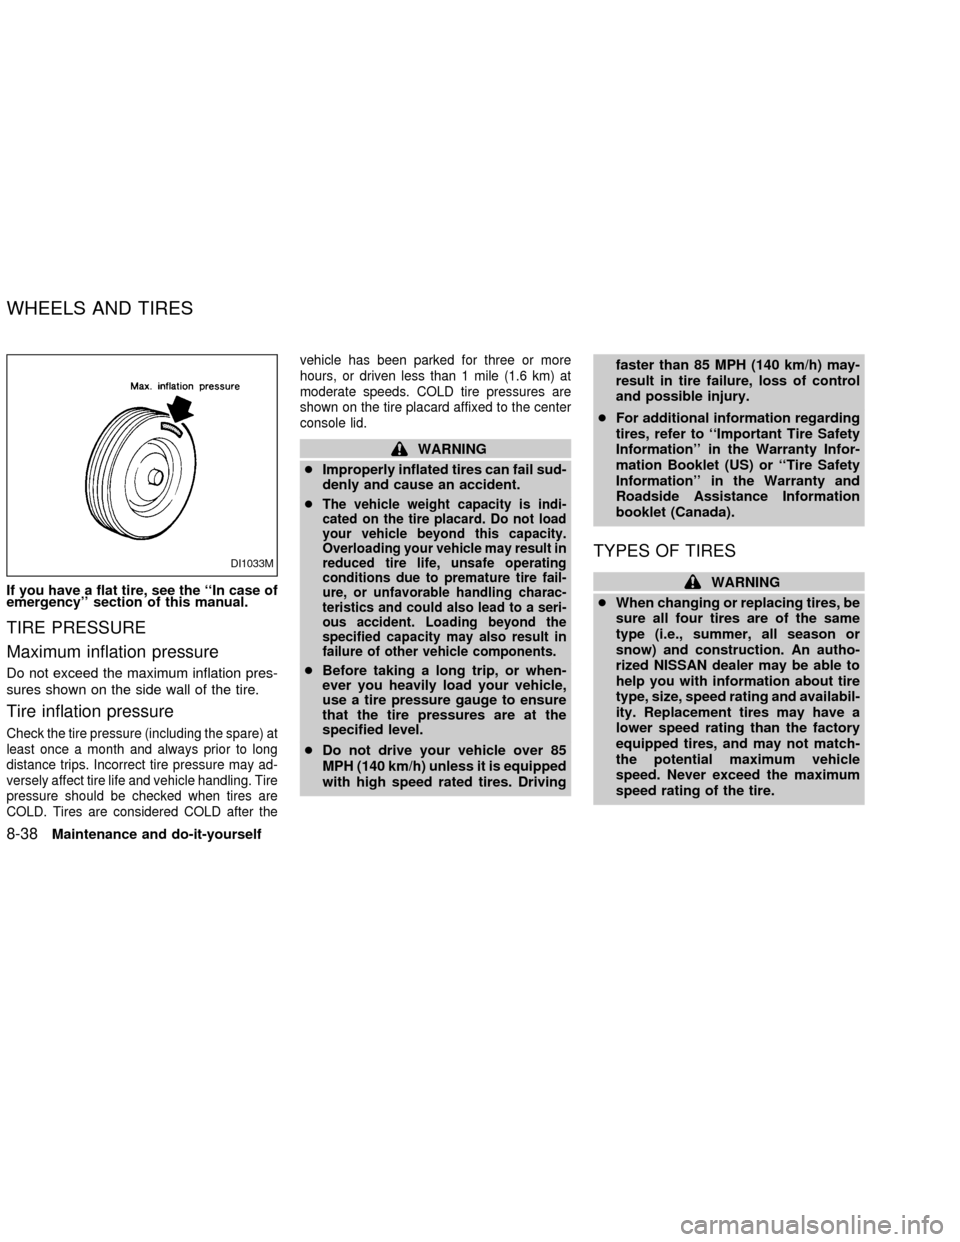
Maximum inflation pressure
Do not exceed the maximum inflation pres-
sures shown on the side wall of the tire.
Tire inflation pressure
Check the tire pressure (including the spare) at
least once a month and always prior to long
distance trips. Incorrect tire pressure may ad-
versely affect tire life and vehicle handling. Tire
pressure should be checked when tires are
COLD. Tires are considered COLD after thevehicle has been parked for three or more
hours, or driven less than 1 mile (1.6 km) at
moderate speeds. COLD tire pressures are
shown on the tire placard affixed to the center
console lid.
WARNING
cImproperly inflated tires can fail sud-
denly and cause an accident.
c
The vehicle weight capacity is indi-
cated on the tire placard. Do not load
your vehicle beyond this capacity.
Overloading your vehicle may result in
reduced tire life, unsafe operating
conditions due to premature tire fail-
ure, or unfavorable handling charac-
teristics and could also lead to a seri-
ous accident. Loading beyond the
specified capacity may also result in
failure of other vehicle components.
cBefore taking a long trip, or when-
ever you heavily load your vehicle,
use a tire pressure gauge to ensure
that the tire pressures are at the
specified level.
cDo not drive your vehicle over 85
MPH (140 km/h) unless it is equipped
with high speed rated tires. Drivingfaster than 85 MPH (140 km/h) may-
result in tire failure, loss of control
and possible injury.
cFor additional information regarding
tires, refer to ``Important Tire Safety
Information'' in the Warranty Infor-
mation Booklet (US) or ``Tire Safety
Information'' in the Warranty and
Roadside Assistance Information
booklet (Canada).
TYPES OF TIRES
WARNING
cWhen changing or replacing tires, be
sure all four tires are of the same
type (i.e., summer, all season or
snow) and construction. An autho-
rized NISSAN dealer may be able to
help you with information about tire
type, size, speed rating and availabil-
ity. Replacement tires may have a
lower speed rating than the factory
equipped tires, and may not match-
the potential maximum vehicle
speed. Never exceed the maximum
speed rating of the tire.
DI1033M
WHEELS AND TIRES
8-38Maintenance and do-it-yourself
ZX
Page 217 of 249
Tire chains must be installed only on the
front wheels and not on the rear wheels.
CHANGING TIRES AND WHEELS
Tire rotation
Tires should be rotated every 7,500 miles
(12,000 km).
See ``Flat tire'' in the ``In case of emergency''
section for tire replacing procedures.
As soon as possible, tighten the wheel
nuts to the specified torque with a nut
tightening torque:
80 ft-lb (107 Nzm)The wheel nuts must be kept tight-
ened to specifications at all times. It is
recommended that wheel nuts be
tightened to specification at each ro-
tation interval.WARNING
cAfter rotating the tires, check and
adjust the tire pressure.
cRetighten the wheel nuts when the
vehicle has been driven for 600 miles
(1,000 km) (also in cases of a flat tire,
etc.).
cDo not include the spare tire in the
tire rotation.
cFor additional information regarding
tires, refer to ``Important Tire Safety
Information'' in the Warranty Infor-
mation Booklet (US) or ``Tire Safety
Information'' in the Warranty and
Roadside Assistance Information
Booklet (Canada).
Tire wear and damage
WARNING
cTires should be periodically in-
spected for wear, cracking, bulging,
or objects caught in the tread. If
excessive wear, cracks, bulging, or
deep cuts are found, the tire(s)
should be replaced.
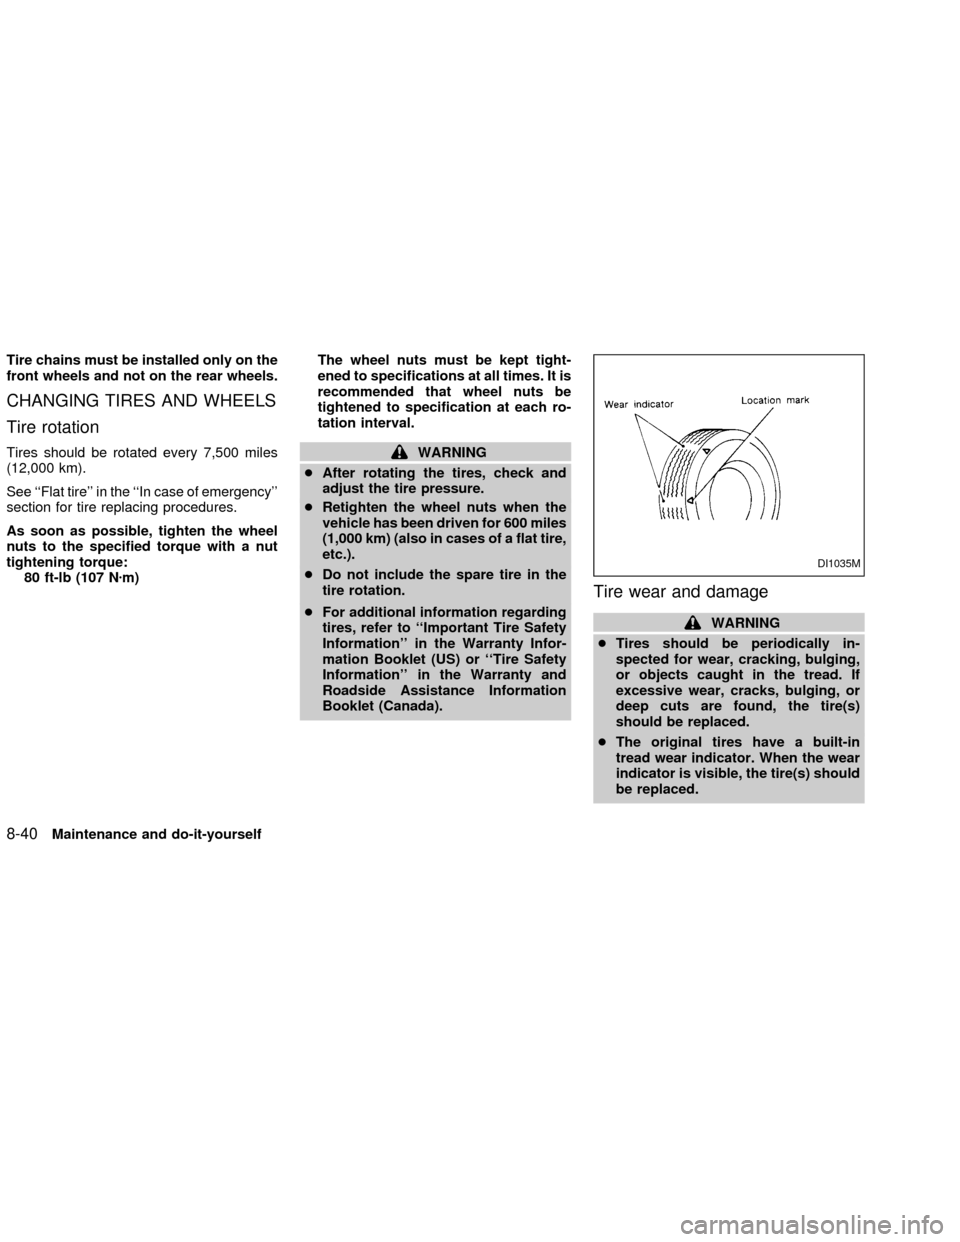
cThe original tires have a built-in
tread wear indicator. When the wear
indicator is visible, the tire(s) should
be replaced.
DI1035M
8-40Maintenance and do-it-yourself
ZX
Page 235 of 249
hitch, trailer tongue load and any other
optional equipment. In addition, front or rear
gross axle weight must not exceed the
gross axle weight rating (GAWR) shown on
the F.M.V.S.S. certification label.
TOWING LOAD/SPECIFICATION
CHART
UNIT: lb (kg)
MAXIMUM
TOWING LOAD1,000 (454)
MAXIMUM
TONGUE LOAD100 (45)
TOWING SAFETY
Trailer hitch
Choose a proper hitch for your vehicle and
trailer. A genuine NISSAN trailer hitch is
available from your NISSAN dealer
(Canada only). Make sure the trailer hitch is
securely attached to the vehicle, to help
avoid personal injury or property damage
due to sway caused by crosswinds, rough
road surfaces or passing trucks.
CAUTION
cDo not use axle-mounted hitches.
cThe hitch should not be attached to
or affect the operation of the impact-
absorbing bumper.
cDo not modify the vehicle exhaust
system, brake system, etc. to install
a trailer hitch.
cTo reduce the possibility of addi-
tional damage if your vehicle is
struck from the rear, where practical,
remove the hitch and/or receiver
when not in use.
cAfter the hitch is removed, seal the
bolt holes to prevent exhaust fumes,
water or dust from entering the pas-
senger compartment.
cRegularly check that all hitch mount-
ing bolts are securely mounted.
Tire pressures
cWhen towing a trailer, inflate the vehicle
tires to the recommended cold tire pres-
sure indicated on the tire placard (located
under the center console lid).cTrailer tire condition, size, load rating and
proper inflation pressure should be in
accordance with the trailer and tire
manufacturer's specifications.
Safety chains
Always use suitable chains between your
vehicle and the trailer. Safety chains should
be crossed and should be attached to the
hitch, not to the vehicle bumper or axle. Be
sure to leave enough slack in the chains to
permit turning corners.
Trailer lights
Trailer lights should comply with federal
and/ or local regulations. When wiring the
vehicle for towing, connect the stop and tail
light pickup into the vehicle electrical circuit.
Trailer brakes
If your trailer is equipped with a braking
system, make sure it conforms to Federal
and/or local regulations and that it is prop-
erly installed.
9-16Technical and consumer information
ZX
Page 238 of 249
WARNING
The temperature grade for this tire is
established for a tire that is properly
inflated and not overloaded. Excessive
speed, underinflation, or excessive
loading, either separately or in combi-
nation, can cause heat buildup and
possible tire failure.Your NISSAN vehicle is covered by the
following emission warranties:
For US
1) Emission Defects Warranty
2) Emissions Performance Warranty
Details of these warranties may be found
with other vehicle warranties in your War-
ranty Information Booklet that comes with
your NISSAN vehicle. If you did not receive
a Warranty Information Booklet, or it is lost,
you may obtain a replacement by writing to:
cNissan North America Inc.
Consumer Affairs Department
P.O. Box 191
Gardena, CA 90248-0191
For Canada
Emission Control System Warranty
Details of these warranties may be found with
other vehicle warranties in your Warranty and
Roadside Assistance Information Booklet that
comes with your NISSAN vehicle. If you did
not receive a Warranty and Roadside Assis-
tance Information Booklet, or it is lost, you
may obtain a replacement by writing to:
cNissan Canada Inc.
5290 Orbitor Drive
Mississauga, Ontario, L4W 4Z5If you believe that your vehicle has a defect
which could cause a crash or could cause
injury or death, you should immediately
inform the National Highway Traffic Safety
Administration
(NHTSA)in addition to no-
tifying NISSAN.
If
NHTSAreceives similar complaints, it
may open an investigation, and if it finds
that a safety defect exists in a group of
vehicles, it may order a recall and remedy
campaign. However,
NHTSAcannot be-
come involved in individual problems be-
tween you, your dealer, or NISSAN.
To contact
NHTSA, you may either call the
Auto Safety Hotline toll-free at (888) 327-
4236. You may also write to:
NHTSA, U.S.
Department of Transportation, Washington,
D.C. 20590. You can also obtain other
information about motor vehicle safety from
the Hotline.
You may notify NISSAN by contacting our
Consumer Affairs Department, toll-free, at
1-800-NISSAN-1.
In Hawaii call (808) 836-0888.
EMISSION CONTROL
SYSTEM WARRANTYREPORTING SAFETY
DEFECTS (US only)
Technical and consumer information9-19
ZX