ECO mode NISSAN ALTIMA 2014 L33 / 5.G Quick Reference Guide
[x] Cancel search | Manufacturer: NISSAN, Model Year: 2014, Model line: ALTIMA, Model: NISSAN ALTIMA 2014 L33 / 5.GPages: 28, PDF Size: 2.1 MB
Page 7 of 28

5
01
TIRE PRESSURE MONITORING SYSTEM (TPMS) WITH EASY
FILL TIRE ALERT
A Tire Pressure Low – Add Air warning message
will appear in the vehicle information display
01 and
the low tire pressure warning light 02 will illuminate
when one or more tires are low on
pressure and air is needed.
•
T
he tire pressures should be checked when the
tires are cold. The tires are considered cold
after the vehicle has been parked for 3 hours or
more or driven less than 1 mi (1.6 km) at
moderate speeds.
When adding air to an under-inflated tire, the TPMS with Easy Fill Tire Alert provides visual and
audible signals to help you inflate the tires to the
recommended COLD tire pressure.
To use the Easy Fill Tire Alert system:
1.
Move the shift lever to the
P (PARK) position and apply the parking brake.
2.
Place the ignition switc
h in the ON position. Do not start the engine.
3.
Add air to the under-inflated tire and within a few seconds, the hazar\
d warning lights will
start flashing.
4.
W
hen the designated tire pressure is reached, the horn will beep once and the hazard
warning flashers will stop.
5.
Repeat this procedure for any additional under-inflated tires.
After tire pressures are adjusted, drive the vehicle at speeds above 16 \
M PH (25 km/h).
The Tire Pressure Low – Add Air warning message and low tire pressure warning
light will extinguish.
When the low tire pressure warning light flashes for approximately 1 minute and then remains
on, the TPMS is not functioning properly. Have the system checked by a NISSAN dealer.
Tire pressure rises and falls depending on the heat caused by the vehicle\
’s operation and the outside temperature. Low outside temperature can lower the temperature o\
f the air inside
the tire, which can cause a lower tire inflation pressure. This may cause the low tire pressure
warning light to illuminate. If the warning light illuminates, check the tire pressure in your tires.
•
Chec
k the tire pressure (including the spare tire) often and always prior to long
distance trips.
The Tire and Loading Information label contains valuable information. Please refer to section 9, “Technical and consumer information” in your Owner’s Manual for the location of the Tire and
Loading Information label.
For more information, refer to the “Instruments and controls (section 2)”, the “Starting and driving (section 5)” and the
“Maintenance and do-it-yourself (section 8)” of your Owner’s Manual.
02
esseN tial iNf or matioN
1621416_14c_AltimaSedan_QRG_121113.indd 512/11/13 3:01 PM
To view detailed instructional videos regarding these and other features, please go\
to www.nissanownersinfo.mobi
Page 9 of 28
7
CLOCK SET/ADJUSTMENT
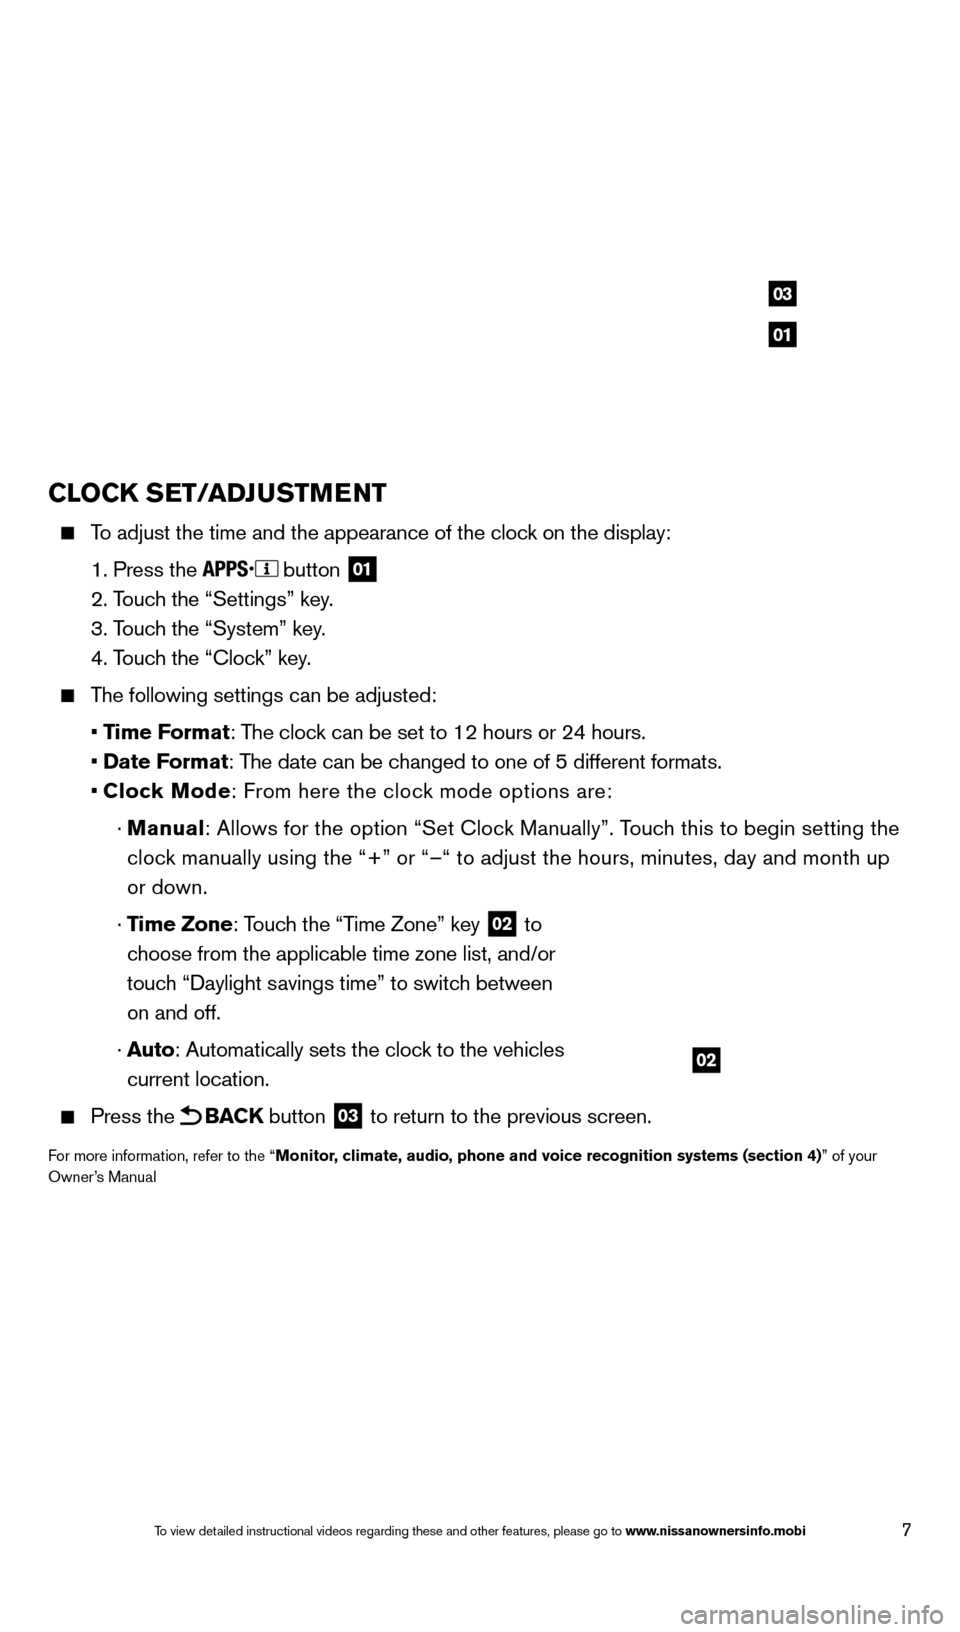
To adjust the time and the appearance of the clock on the display:
1. Press the button 01
2. Touch the “Settings” key.
3. T
ouch the “System” key.
4. T
ouch the “Clock” key.
The following settings can be adjusted:
•
Time Format: The clock can be set to 12 hours or 24 hours.
•
Date Format: The date can be changed to one of 5 different formats.
•
Cloc
k Mode: From here the clock mode options are:
·
Manual
: Allows for the option “Set Clock Manually”. Touch this to begin setting the
clock manually using the “+” or “–“ to adjust the hours, minu\
tes, day and month up
or down.
·
Time Zone: Touch the “Time Zone” key
02 to
choose from the applicable time zone list, and/or
touch “Daylight savings time” to switch between
on and off.
·
A
uto: Automatically sets the clock to the vehicles
current location.
Press the BACK button 03 to return to the previous screen.
For more information, refer to the “Monitor, climate, audio, phone and voice recognition systems (section 4)” of your
Owner’s Manual
02
01
03
1621416_14c_AltimaSedan_QRG_121113.indd 712/11/13 3:01 PM
To view detailed instructional videos regarding these and other features, please go\
to www.nissanownersinfo.mobi
Page 13 of 28
11
HEADLIGHT CONTROL SWITCH
HEADLIGHT CONTROL
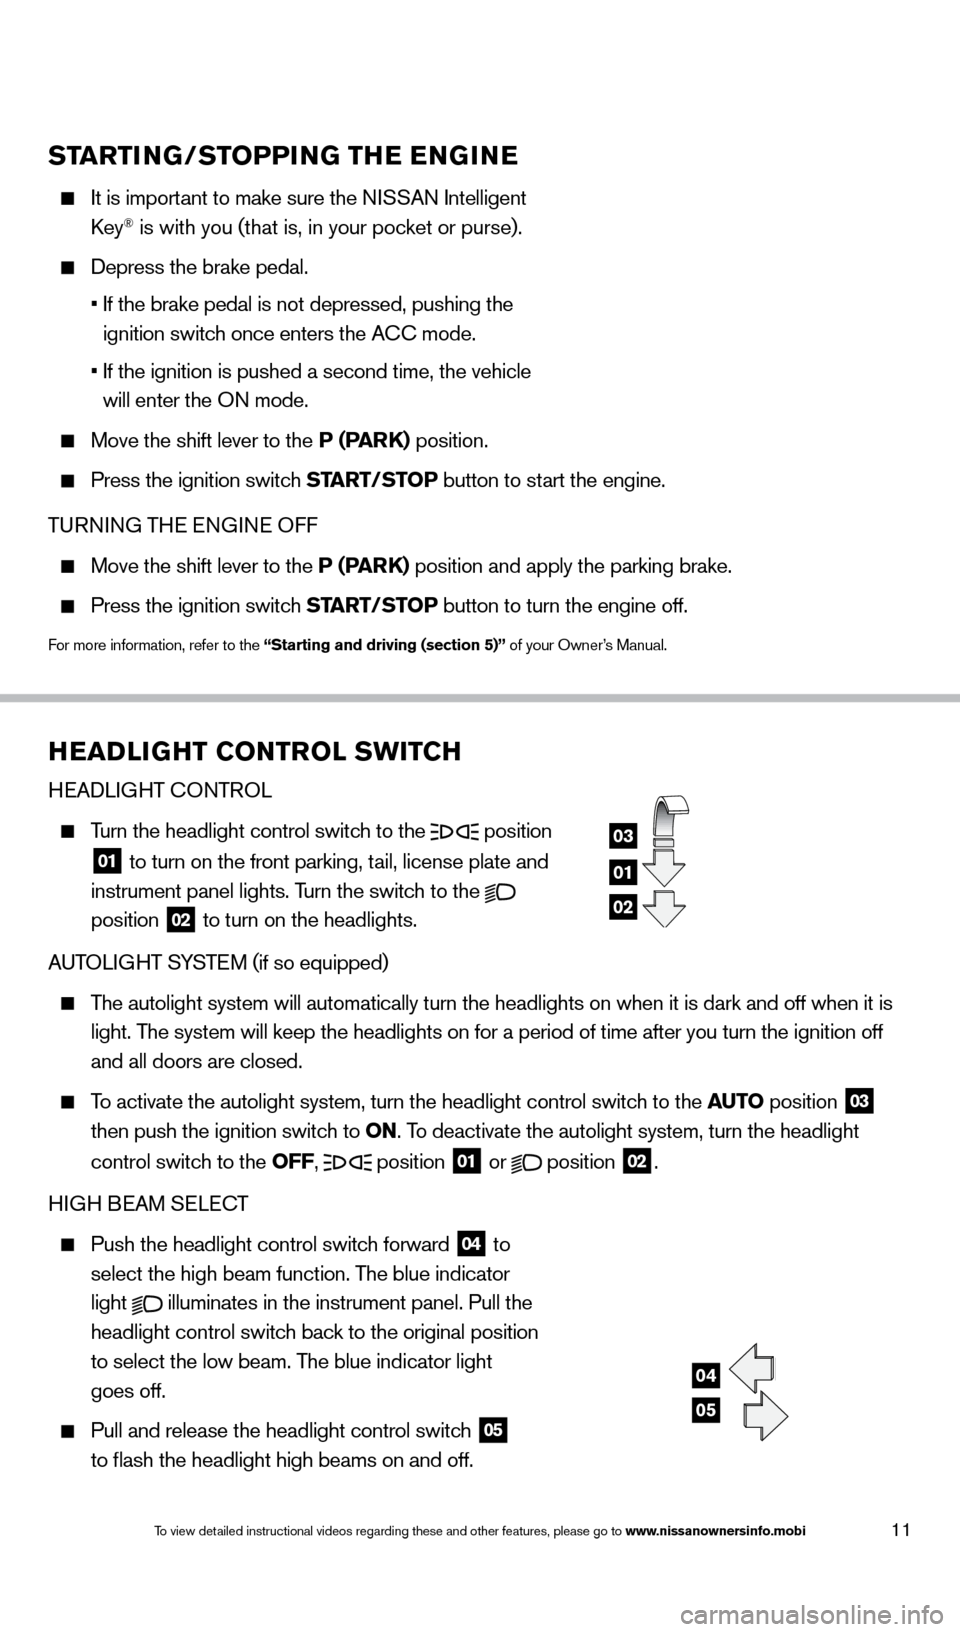
Turn the headlight control switch to the position
01 to turn on the front parking, tail, license plate and
instrument panel lights. Turn the switch to the
position 02 to turn on the headlights.
AUTOLIGHT SYSTEM (if so equipped)
The autolight system will automatically turn the headlights on when it is\
dark and off when it is
light. The system will keep the headlights on for a period of time after you tur\
n the ignition off
and all doors are closed.
To activate the autolight system, turn the headlight control switch to the AUTO position
03
then push the ignition switch to ON. To deactivate the autolight system, turn the headlight
control switch to the OFF,
position 01 or
position
02.
HIGH BEAM SELECT
Push the headlight control switc h forward
04 to
select the high beam function. The blue indicator
light
illuminates in the instrument panel. Pull the
headlight control switch back to the original position
to select the low beam. The blue indicator light
goes off.
Pull and release the headlight control switc h
05
to flash the headlight high beams on and off.
01
03
02
04
05
STARTING/STOPPING THE ENGINE
It is import ant to make sure the NISSAN Intelligent
k ey® is with you (that is, in your pocket or purse).
Depress the brake pedal.
•
If the brake pedal is not depressed, pushing the
ignition switch once enters the ACC mode.
•
If the ignition is pushed a second time, the vehicle
will enter the ON mode.
Move the shift lever to the P (PARK) position.
Press the ignition switc h START/STOP button to start the engine.
TURNING THE ENGINE OFF
Move the shift lever to the P (PARK) position and apply the parking brake.
Press the ignition switch START/STOP button to turn the engine off.
For more information, refer to the “Starting and driving (section 5)” of your Owner’s Manual.
1621416_14c_AltimaSedan_QRG_121113.indd 1112/11/13 3:01 PM
To view detailed instructional videos regarding these and other features, please go\
to www.nissanownersinfo.mobi
Page 16 of 28
14
first drive features
01
06
0405
03
02
FM/AM/SiriusXM®* SATELLITE RADIO WITH CD PLAYER
(if so equipped)
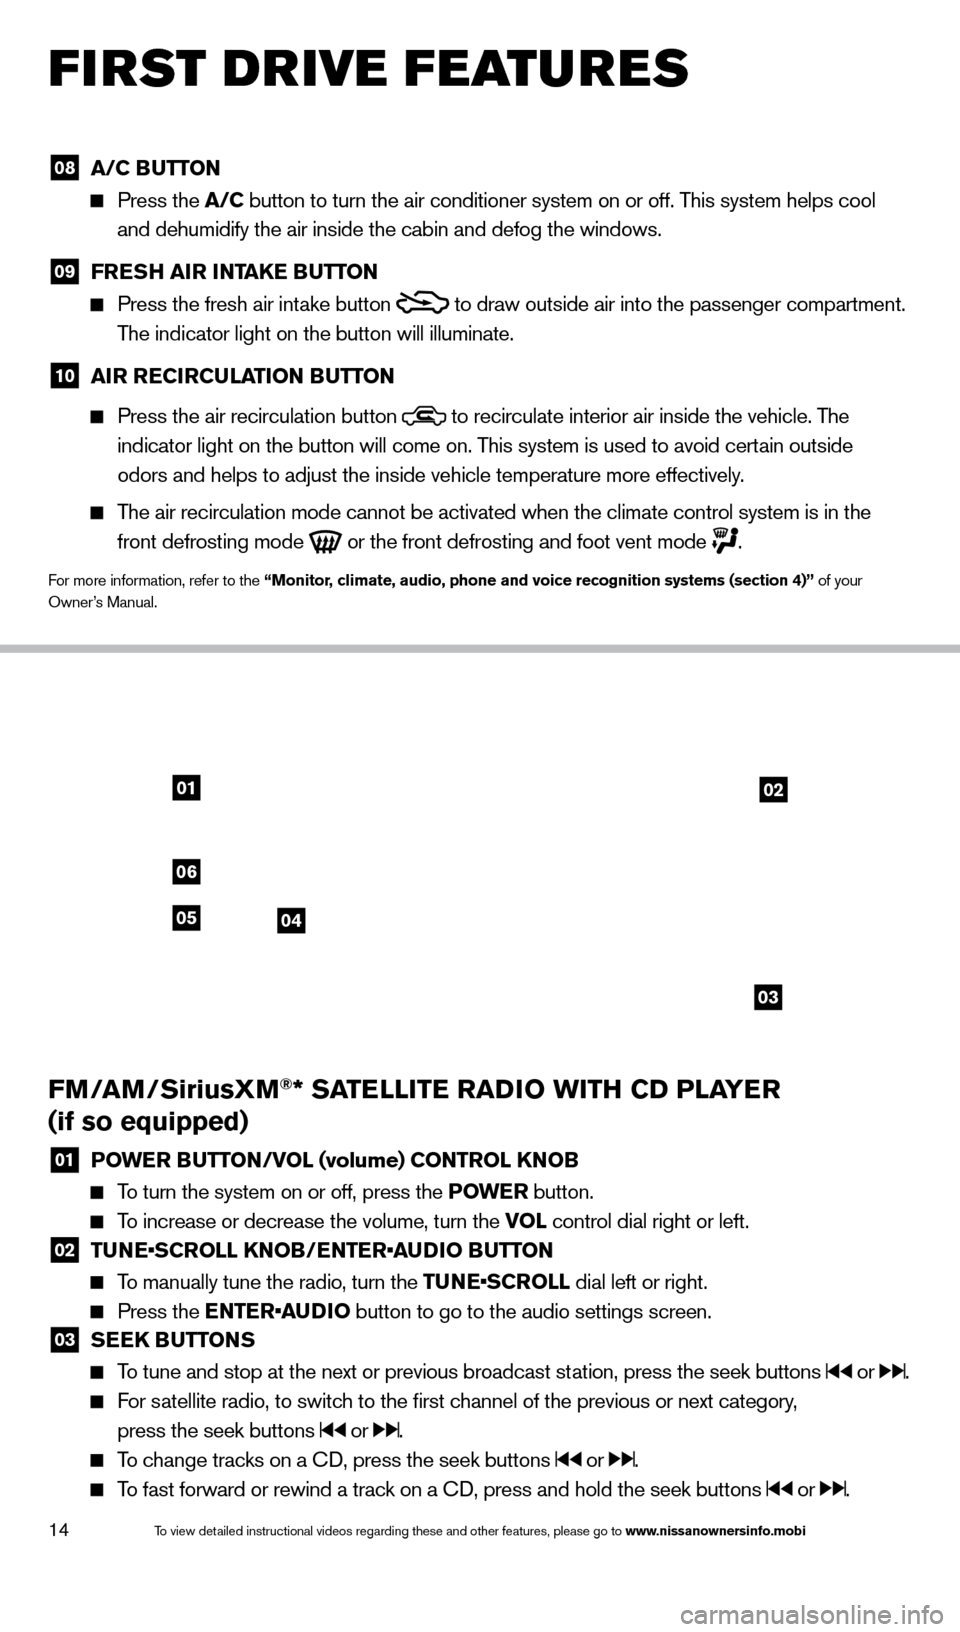
01 P OWER BUTTON/VOL (volume) CONTROL KNOB To turn the system on or off, press the POWE R
button.
To increase or decrease the volume, turn the VO L control dial right or left.
02 TUNE•SCROLL KNOB/ENTER•AUDIO BUTTON To manually tune the radio, turn the TUNE•SCROLL
dial left or right.
Press the ENTER•AUDIO button to go to the audio settings screen.
03 SEEK BUTTONS To tune and stop at the next or previous broadcast station, press the seek buttons or .
For satellite radio, to switch to the first channel of the previous or next category,
press the seek buttons
or .
To change tracks on a CD, press the seek buttons or .
To fast forward or rewind a track on a CD, press and hold the seek buttons or .
08 A/C BUTTON
Press the A/C button to turn the air conditioner system on or off. This system helps cool
and dehumidify the air inside the cabin and defog the windows.
09 FRESH AIR INTAKE BUTTON
Press the fresh air int ake button
to draw outside air into the passenger compartment.
The indicator light on the button will illuminate.
10 AIR RECIRCULATION BUTTON
Press the air recirculation button to recirculate interior air inside the vehicle. The
indicator light on the button will come on. This system is used to avoid certain outside
odors and helps to adjust the inside vehicle temperature more effectivel\
y.
The air recirculation mode cannot be activated when the climate control s\
ystem is in the
front defrosting mode
or the front defrosting and foot vent mode
.
For more information, refer to the “Monitor, climate, audio, phone and voice recognition systems (section 4)” \
of your
Owner’s Manual.
1621416_14c_AltimaSedan_QRG_121113.indd 1412/11/13 3:01 PM
To view detailed instructional videos regarding these and other features, please go\
to www.nissanownersinfo.mobi
Page 19 of 28
17
system guide
VEHICLE INFORMATION DISPLAY
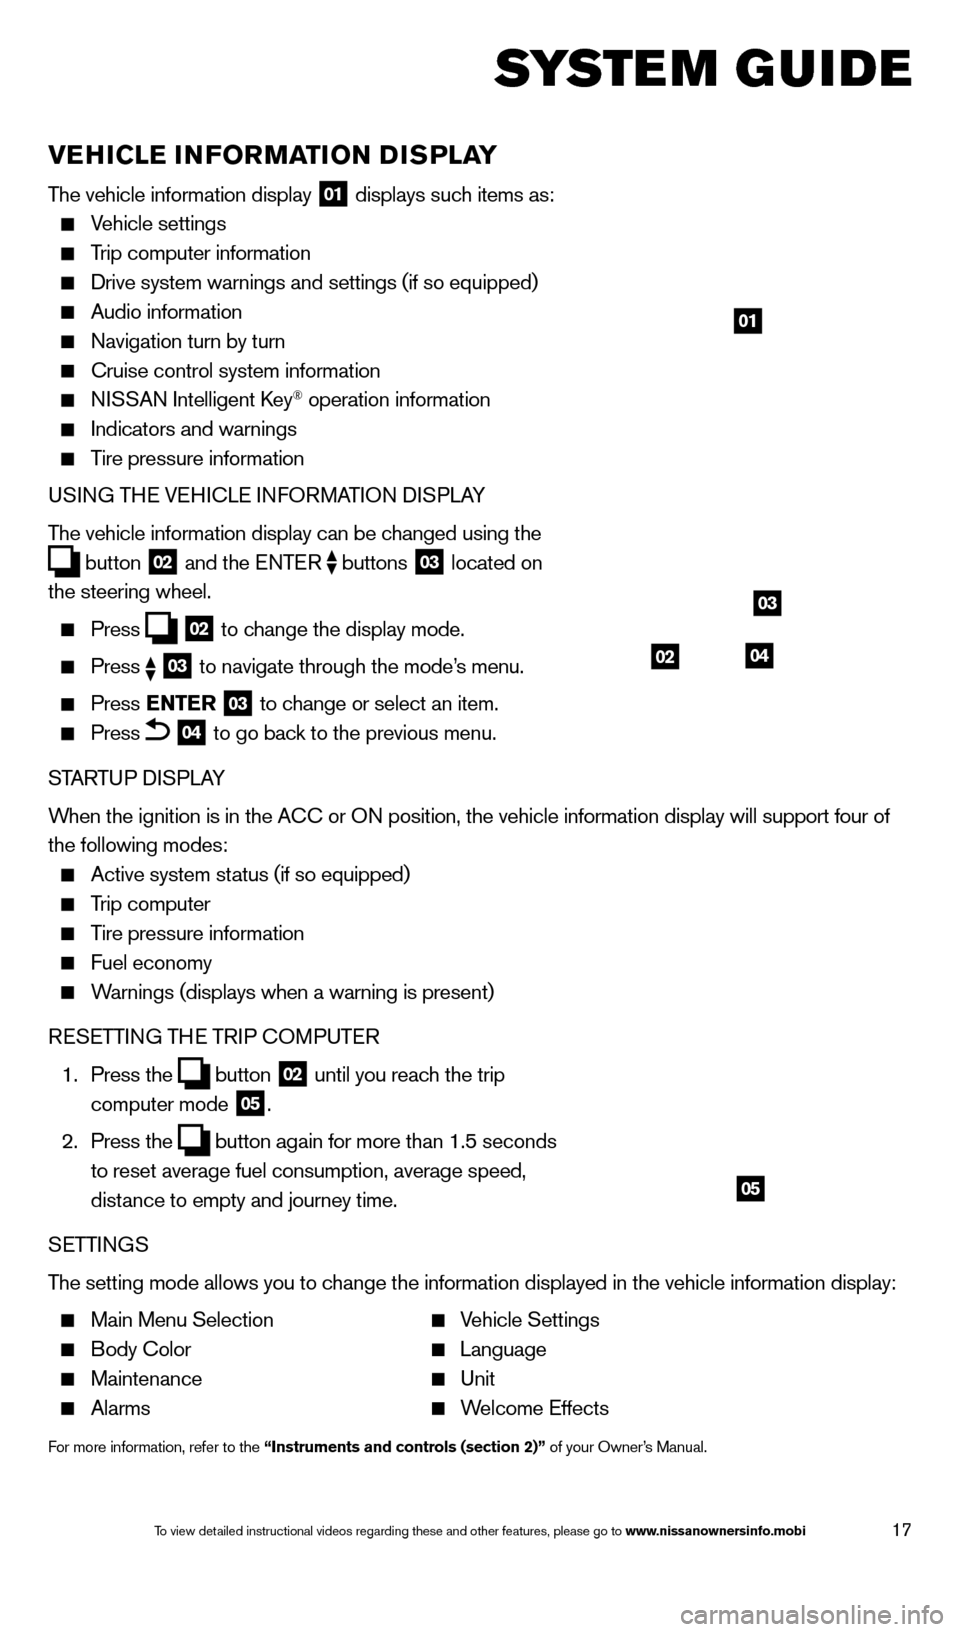
The vehicle information display 01 displays such items as:
Vehicle settings
Trip computer information
Drive system warnings and settings (if so equipped)
Audio information
Navigation turn by turn
Cruise control system information
NISSAN Intelligent key® operation information
Indicators and warnings
Tire pressure information
USING THE VEHICLE INFORMATION DISPLAY
The vehicle information display can be changed using the
button
02 and the ENTER
buttons
03 located on
the steering wheel.
Press 02 to change the display mode.
Press
03 to navigate through the mode’s menu.
Press ENTER
03 to change or select an item.
Press 04 to go back to the previous menu.
STARTUP DISPLAY
When the ignition is in the ACC or ON position, the vehicle information display will support four of
the following modes:
Active system status (if so equipped)
Trip computer
Tire pressure information
Fuel economy
Warnings (displays when a warning is present)
RESETTING THE TRIP COMPUTER
1.
Press the
button
02 until you reach the trip
computer mode 05.
2.
Press the
button again for more than 1.5 seconds
to reset average fuel consumption, average speed,
distance to empty and journey time.
SETTINGS
The setting mode allows you to change the information displayed in the vehicle information display:
Main Menu Selection Vehicle Settings
Body Color Language
Maintenance Unit
Alarms Welcome Effects
For more information, refer to the “Instruments and controls (section 2)” of your Owner’s Manual.
01
03
0402
05
1621416_14c_AltimaSedan_QRG_121113.indd 1712/11/13 3:02 PM
To view detailed instructional videos regarding these and other features, please go\
to www.nissanownersinfo.mobi
Page 20 of 28
18
system guide
BLUETOOTH® HANDS-FREE PHONE SYSTEM
A cellular telephone should not be used while driving
so full attention may be given to vehicle operation*.
SYSTEM OPERATING TIPS
Press the button to interrupt the voice prompts
at any time and speak a command after the tone.
To use the system faster, you may speak the second level commands with the main menu command on
the main menu. For example, press the
button
and after the tone say, “Call Redial”.
The “Help” command can be used to hear a list of
available commands at any time.
Reduce bac kground noise as much as possible by
closing windows and pointing HVAC vents away from
the ceiling.
Speak naturally without long pauses and without
raising your voice.
When speaking Phonebook names, please be aware
some phones require the last name to be spoken before
the first name. For example, “Michael Smith” may be
spoken as “Smith Michael”.
To cancel a voice recognition session, say “Exit” or press and hold the button.
To increase or decrease the volume of the voice prompts, push the volume \
control switches or
on the steering wheel or turn the VOL/ON•OFF control knob on the audio system
while the system is responding.
Voice commands can be used to operate various Bluetooth System features u\
sing the
NISSAN Voice Recognition system. See your Owner’s Manual for detailed information.
If the Voice Recognition system does not recognize your voice commands, train th\
e system using the Speaker Adaptation Mode.
For more detailed information and instructions, refer to your cellular phone Owner’s Manual and visit www.nissuanusa.com/bluetooth.
*Some jurisdictions prohibit the use of cellular telephones while drivin\
g.
Bluetooth® Controls
Microphone
1621416_14c_AltimaSedan_QRG_121113.indd 1812/11/13 3:02 PM
To view detailed instructional videos regarding these and other features, please go\
to www.nissanownersinfo.mobi
Page 25 of 28

23
HOMELINK® UNIVERSAL TRANSCEIVER (if so equipped)
The HomeLink system can learn and consolidate the functions of up to 3 di\
fferent
hand-held transmitters, operating items such as garage doors, property gates, outdoor and
indoor lights or alarm systems.
To program the HomeLink® Universal Transceiver:
•
P
osition the handheld transceiver 1-3 in (26-76 mm) away from the HomeLink surface,
keeping the HomeLink indicator light in view.
•
Press and hold the desired HomeLink button and the handheld tra
nsmitter button
simultaneously until the HomeLink indicator light flashes slowly and then ra\
pidly.
•
B
oth buttons may be released when the indicator light flashes rapidly.
To verify the programing is complete, press and hold the HomeLink and obs\
erve the
indicator light:
•
A solid, continuous light indicates the programing is complete
and the HomeLink button
will activate your device.
•
A blinking light that turns to a solid continuous light after 2
seconds indicates additional
steps are required to complete the programing.
HOMELINK
08 BACK button – Press to return to the previous screen.
09 button – Press to access the system settings key.
10 button – Press to change the display brightness between day and night modes.
While the mode is being displayed, the brightness can be adjusted using t\
he TUNE/
SCROLL dial. Press and hold to turn the display off. Press again to turn the d\
isplay on.
For more information, refer to your Navigation System Owner’s Manual.
1621416_14c_AltimaSedan_QRG_121113.indd 2312/11/13 3:02 PM
To view detailed instructional videos regarding these and other features, please go\
to www.nissanownersinfo.mobi