key NISSAN ALTIMA 2014 L33 / 5.G Quick Reference Guide
[x] Cancel search | Manufacturer: NISSAN, Model Year: 2014, Model line: ALTIMA, Model: NISSAN ALTIMA 2014 L33 / 5.GPages: 28, PDF Size: 2.1 MB
Page 9 of 28
7
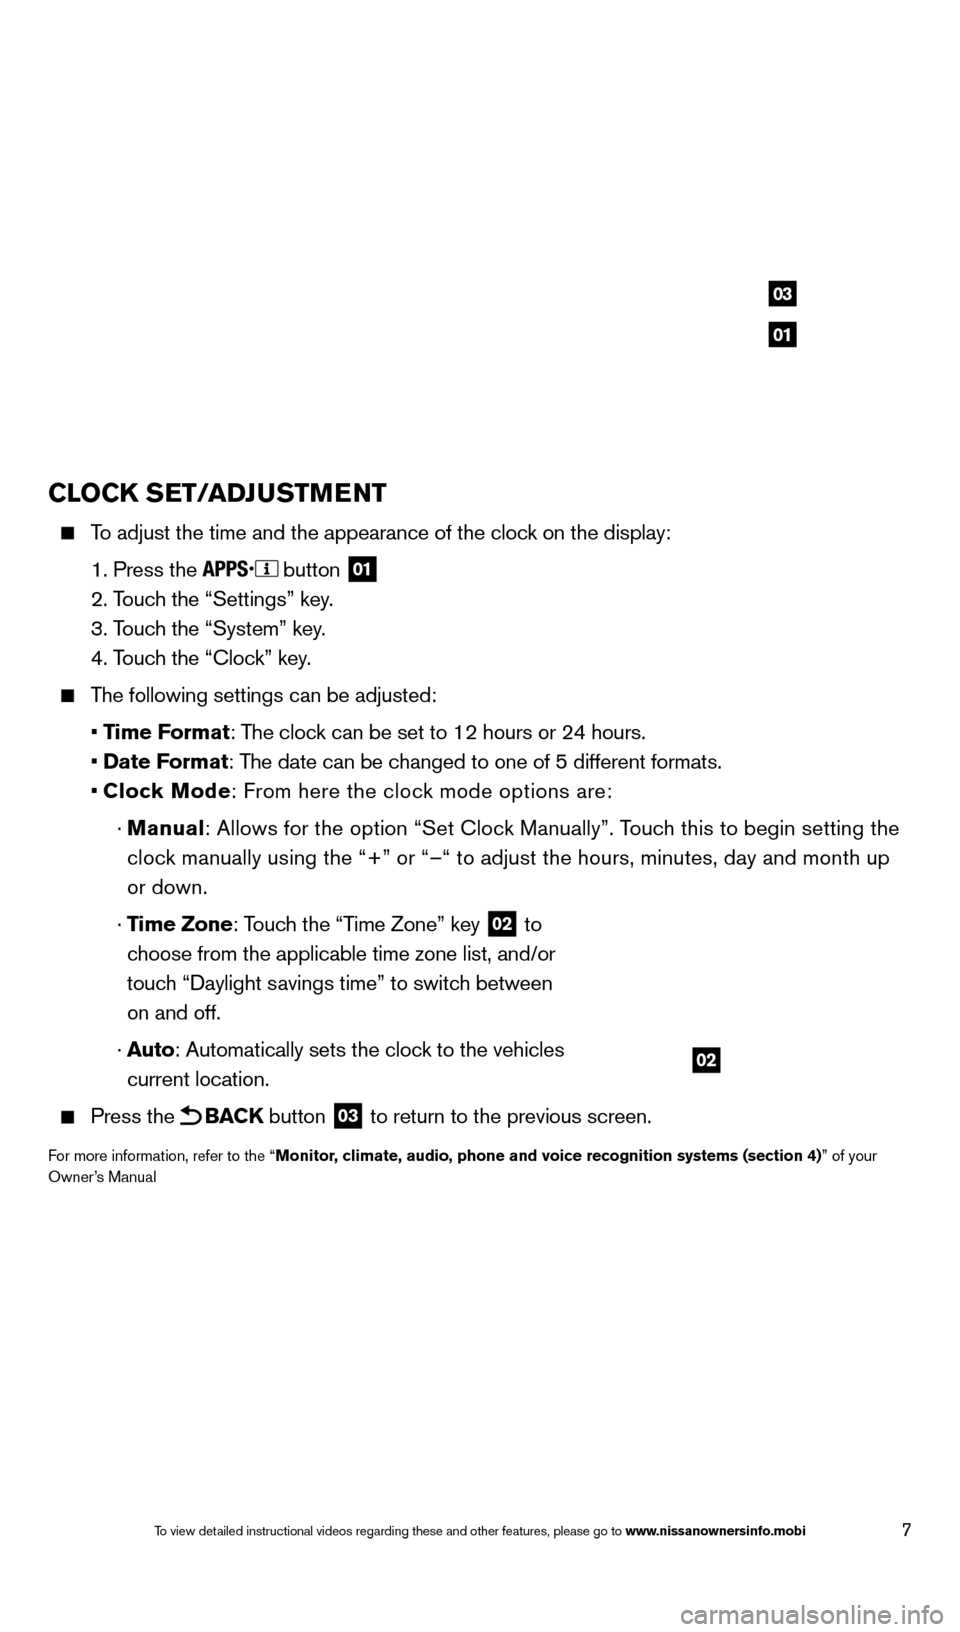
CLOCK SET/ADJUSTMENT
To adjust the time and the appearance of the clock on the display:
1. Press the button 01
2. Touch the “Settings” key.
3. T
ouch the “System” key.
4. T
ouch the “Clock” key.
The following settings can be adjusted:
•
Time Format: The clock can be set to 12 hours or 24 hours.
•
Date Format: The date can be changed to one of 5 different formats.
•
Cloc
k Mode: From here the clock mode options are:
·
Manual
: Allows for the option “Set Clock Manually”. Touch this to begin setting the
clock manually using the “+” or “–“ to adjust the hours, minu\
tes, day and month up
or down.
·
Time Zone: Touch the “Time Zone” key
02 to
choose from the applicable time zone list, and/or
touch “Daylight savings time” to switch between
on and off.
·
A
uto: Automatically sets the clock to the vehicles
current location.
Press the BACK button 03 to return to the previous screen.
For more information, refer to the “Monitor, climate, audio, phone and voice recognition systems (section 4)” of your
Owner’s Manual
02
01
03
1621416_14c_AltimaSedan_QRG_121113.indd 712/11/13 3:01 PM
To view detailed instructional videos regarding these and other features, please go\
to www.nissanownersinfo.mobi
Page 10 of 28

8
first drive features
NISSAN INTELLIGENT KEY® SYSTE M
The NISSAN Intelligent key® system allows you to lock or unlock your
vehicle, open your trunk and remotely start the engine. It is important to
make sure the Intelligent
k
ey is with you (that is, in your poc
ket or purse).
REMOTE ENGINE START* (if so equipped)
The remote start operating range is approximately 200 ft (60 m) from
the vehicle. The effective operating range may be shorter if there are
walls or other obstructions between the key and the vehicle.
For remote start to function the vehicle must be in P (PARK) with the
ignition off and all doors must be closed and locked. Please see your
Owner’s Manual for additional information.
To start your vehicle remotely:
1.
Press the button 01.
2.
W
ithin 5 seconds press and hold the engine start
button 02 for at least 2 seconds.
The engine will start and the parking lights will turn on.
Automatic climate control will begin heating or cooling the vehicle depe\
nding on the
outside temperature.
The engine will run for 10 minutes and then turn off.
Repeat steps 1 and 2 to extend the time for an additional 1 0-minute period.
•
After two remote st
arts the ignition switch must be cycled before remote start can be
used again.
To start driving, depress the brake pedal and push the ignition switch START/STOP button.
01
02
04
05
06
1621416_14c_AltimaSedan_QRG_121113.indd 812/11/13 3:01 PM
To view detailed instructional videos regarding these and other features, please go\
to www.nissanownersinfo.mobi
Page 11 of 28
9
07
08
LOCkING AND UNLOCkING THE VEHICLE
The lock and unlock operating range of the
Intelligent k
ey is within 31.5 in (8
0 cm) from
each request switch.
To lock the vehicle, push either door handle request switch
03 once or press the
button
01
on the key fob.
To unlock the vehicle, perform one of the following procedures:
•
Push either door handle request switc
h
03 once; the corresponding door will unlock. Push
the door handle request switch again within 5 seconds; all other doors will unlock, or
•
Press the button
04 on the key fob to unlock the driver’s side door. Press the
button
again; all other doors will unlock.
TRUN
k
LID RELEASE
To open the trunk, press the button
05 for more than 1 second.
The trunk lid release button will not operate when the ignition switch is in the ON position
PANIC ALARM
The Intelligent key can also be used to activate the panic alarm by pressing and holding \
the
button
06 for more than 0.5 seconds. Once activated, the panic alarm and headlight\
s will
stay on for a period of time.
INTELLIGENT
k
EY BA
TTERY DISCHARGE
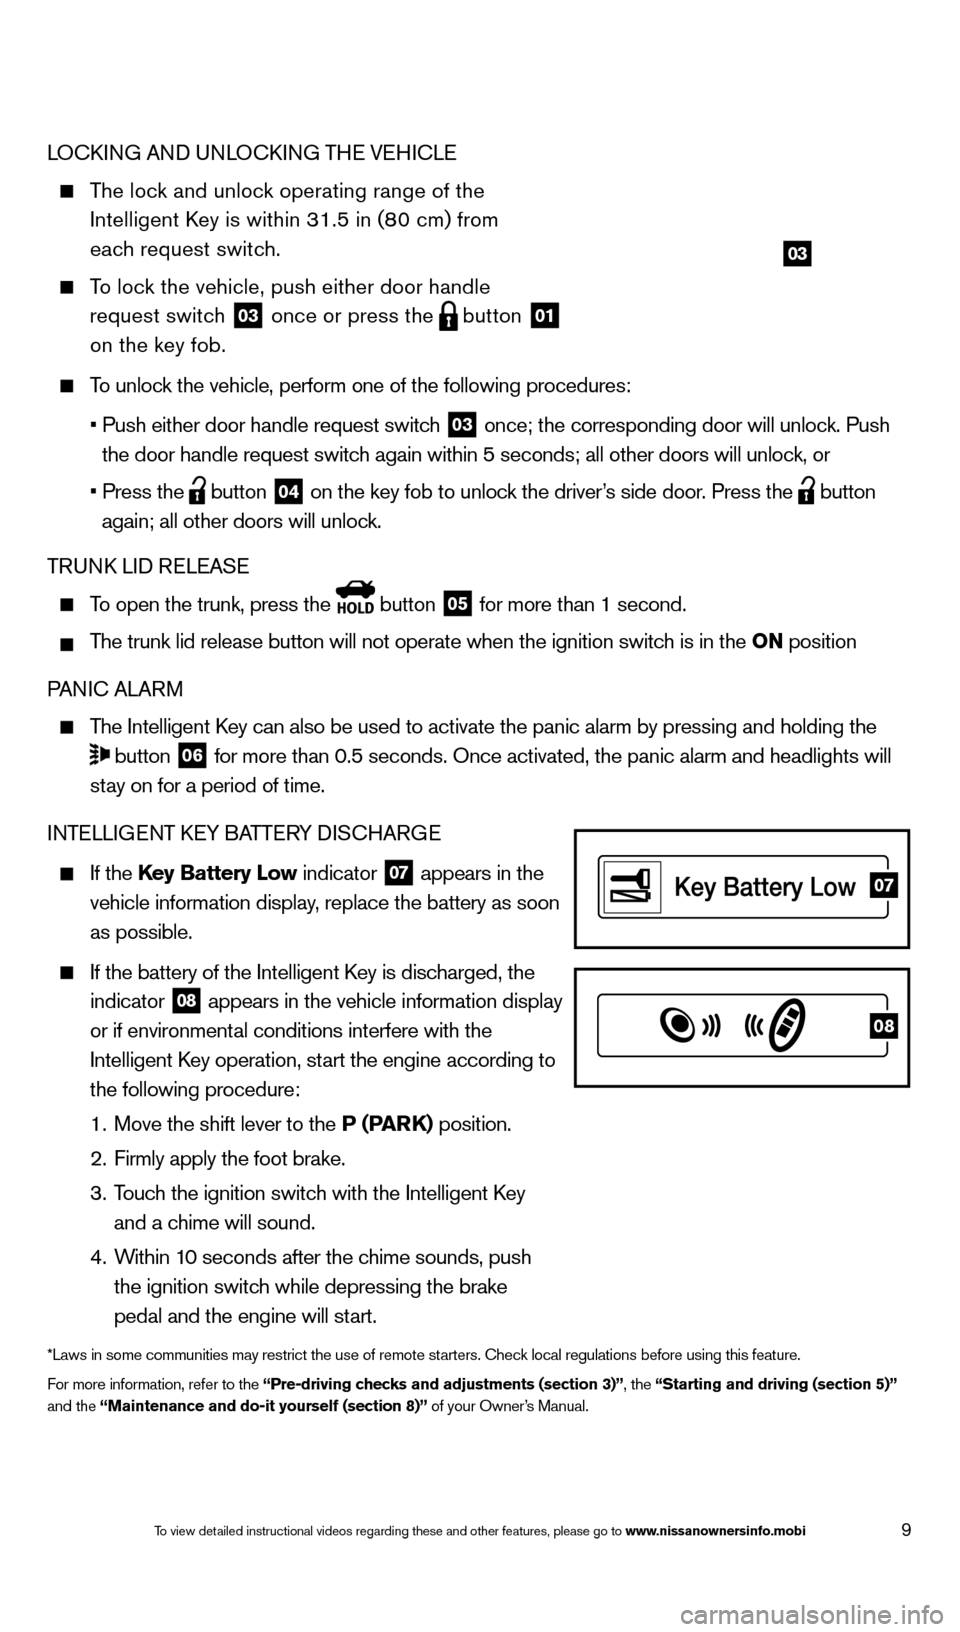
If the Key Battery Low indicator
07 appears in the
vehicle information display, replace the battery as soon
as possible.
If the battery of the Intelligent key is disc harged, the
indicator
08 appears in the vehicle information display
or if environmental conditions interfere with the
Intelligent
k
ey operation, st
art the engine according to
the following procedure:
1.
Move the shift lever to the
P (PARK) position.
2.
Firmly apply the foot brake.
3.
T
ouch the ignition switch with the Intelligent k
ey
and a chime will sound.
4.
W
ithin 10 seconds after the chime sounds, push
the ignition switch while depressing the brake
pedal and the engine will start.
*Laws in some communities may restrict the use of remote starters. Check local regulations before using this feature.
For more information, refer to the “Pre-driving checks and adjustments (section 3)”, the “Starting and driving (section 5)”
and the “Maintenance and do-it yourself (section 8)” of your Owner’s Manual.
03
1621416_14c_AltimaSedan_QRG_121113.indd 912/11/13 3:01 PM
To view detailed instructional videos regarding these and other features, please go\
to www.nissanownersinfo.mobi
Page 17 of 28

15
USB/AUX JACK AND iPOD® INTERFACE (if so equipped)
The USB/Aux input jack
01 is located on the center
console beneath the heater and air conditioner
controls inside the storage box.
When a compatible USB memory device, iPod® or
auxiliary device is plugged into the USB/Aux jack,
compatible audio files stored on the device can be
played through the vehicle’s audio system.
For more information, refer to the “Monitor, climate, audio, phone and
voice recognition systems (section 4)” of your Owner’s Manual.
01
04 ST ATION MEMORY KEYS
Twelve stations can be set for the FM band, six for the AM band and eighteen for
satellite radio.
To store a station in a preset, you must first select a radio band by pressing the \
FM•AM
button
05 or SXM button 06, then tune to the desired FM, AM or XM satellite
radio station.
Now select and hold the desired st ation memory key (1-6) 04 until the preset number is
updated on the display and a beep is heard. Programming is now complete.\
To retrieve a previously set station, select the radio band where the preset was stored
then select the corresponding station memory key (1-6).
*SiriusXM® Satellite Radio is only available on vehicles equipped with an optional s\
atellite radio subscription service.
For more information, refer to the “Monitor, climate, audio, phone and voice recognition systems (section 4)” \
of your
Owner’s Manual.
1621416_14c_AltimaSedan_QRG_121113.indd 1512/11/13 3:02 PM
To view detailed instructional videos regarding these and other features, please go\
to www.nissanownersinfo.mobi
Page 19 of 28
17
system guide
VEHICLE INFORMATION DISPLAY
The vehicle information display 01 displays such items as:
Vehicle settings
Trip computer information
Drive system warnings and settings (if so equipped)
Audio information
Navigation turn by turn
Cruise control system information
NISSAN Intelligent key® operation information
Indicators and warnings
Tire pressure information
USING THE VEHICLE INFORMATION DISPLAY
The vehicle information display can be changed using the
button
02 and the ENTER
buttons
03 located on
the steering wheel.
Press 02 to change the display mode.
Press
03 to navigate through the mode’s menu.
Press ENTER
03 to change or select an item.
Press 04 to go back to the previous menu.
STARTUP DISPLAY
When the ignition is in the ACC or ON position, the vehicle information display will support four of
the following modes:
Active system status (if so equipped)
Trip computer
Tire pressure information
Fuel economy
Warnings (displays when a warning is present)
RESETTING THE TRIP COMPUTER
1.
Press the
button
02 until you reach the trip
computer mode 05.
2.
Press the
button again for more than 1.5 seconds
to reset average fuel consumption, average speed,
distance to empty and journey time.
SETTINGS
The setting mode allows you to change the information displayed in the vehicle information display:
Main Menu Selection Vehicle Settings
Body Color Language
Maintenance Unit
Alarms Welcome Effects
For more information, refer to the “Instruments and controls (section 2)” of your Owner’s Manual.
01
03
0402
05
1621416_14c_AltimaSedan_QRG_121113.indd 1712/11/13 3:02 PM
To view detailed instructional videos regarding these and other features, please go\
to www.nissanownersinfo.mobi
Page 23 of 28
21
04
05
CONNECTING PROCEDURE
1.
Press the button on the control panel.
2.
Select the “Settings” key 01.
3.
Select the “Phone & Bluetooth” key 02.
4.
Select the “Connect New Device” key 03.
5.
Initiate the connecting process from the handset. T
he
system will display the message:
“Is P
IN XXXXXX displayed on your Bluetooth device?”
If the P
IN is displayed on your Bluetooth device,
select “Yes” to complete the connecting process.
VEHICLE PHONEBOO
k
T
o access the vehicle phonebook:
1.
Press the button on the instrument panel.
2.
Select the “Phonebook” key 04.
3.
Choose the desired entry from the displayed list.
MA
k
I
NG A CALL
1.
Press the
button on the instrument panel. The
“Phone” screen 05 will appear on the display.
2.
Select one of the following options to make a call:
“Phonebook”: Select the name from an entry stored
in the vehicle phonebook.
“Call Lists”: Select the name from the incoming,
outgoing or missed call history.
“Redial”: Dial the last outgoing call from the vehicle.
— Input the phone number manually using the keypad displayed on the s\
creen.
02
03
01
1621416_14c_AltimaSedan_QRG_121113.indd 2112/11/13 3:02 PM
To view detailed instructional videos regarding these and other features, please go\
to www.nissanownersinfo.mobi
Page 24 of 28
22
system guide
RECEIVING A CALL
To accept the incoming call, either:
• Press the button on the steering wheel, or
• Select the icon on the screen.
To reject the incoming call, either:
• Press the button on the steering wheel, or
• Select the icon on the screen.
For more information, refer to the “Monitor, climate, audio, phone and voice recognition systems (section 4)” of your
Owner’s Manual or visit www.nissanusa.com/bluetooth.
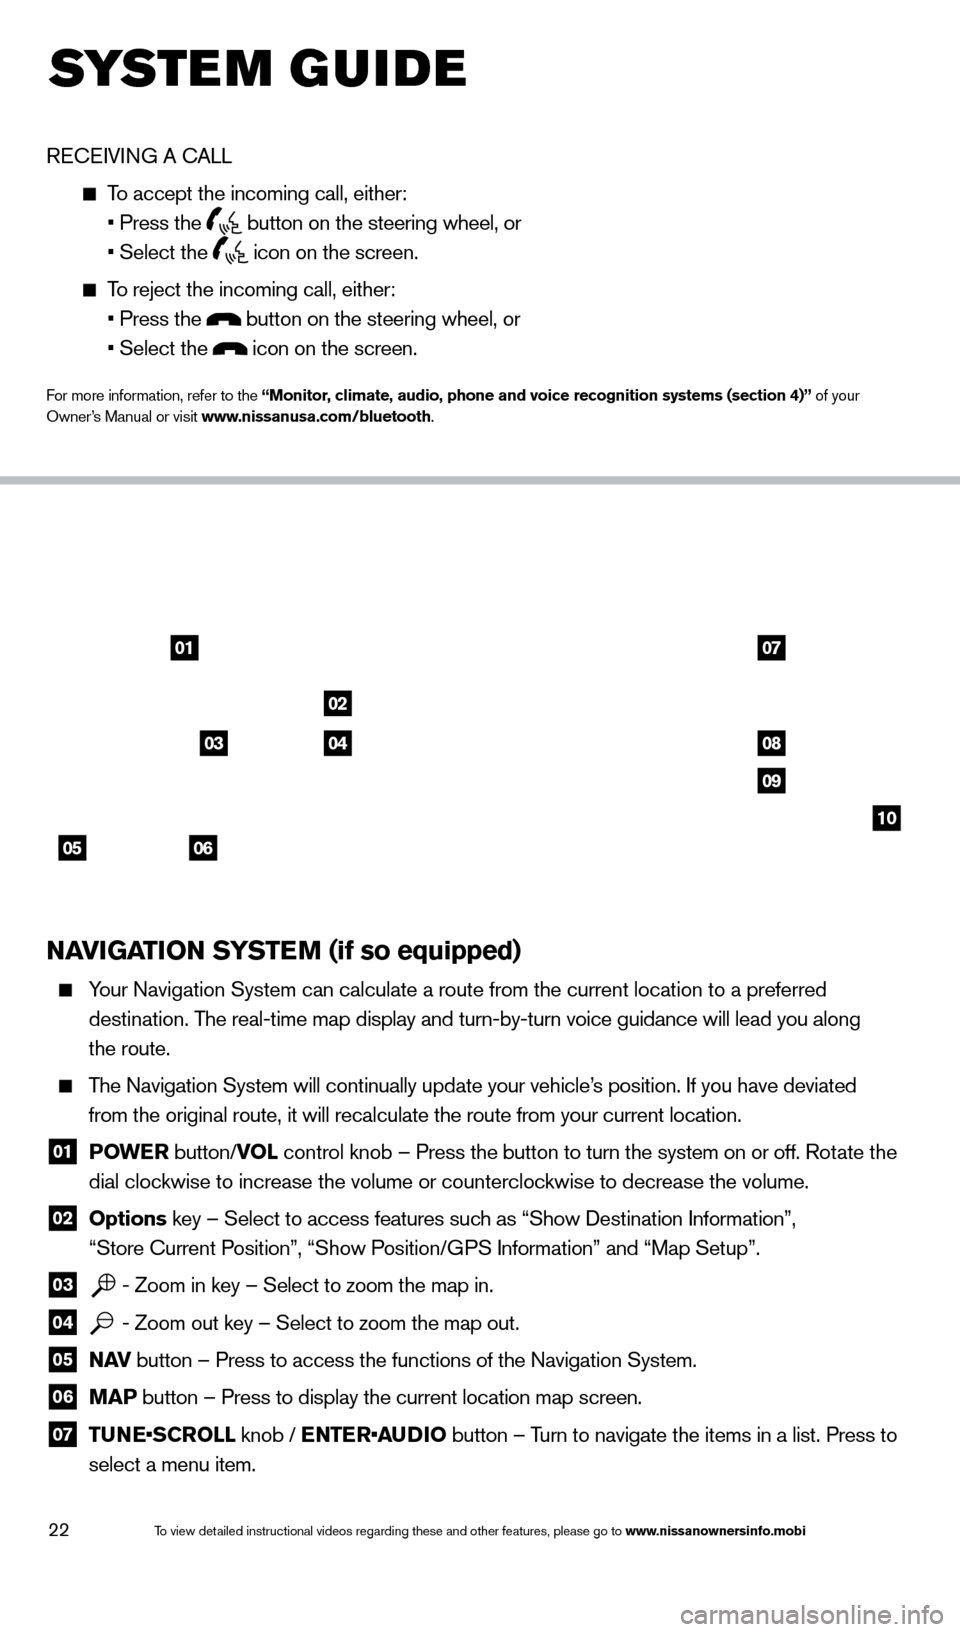
NAVIGATION SYSTEM (if so equipped)
Your Navigation System can calculate a route from the current location to\
a preferred
destination. The real-time map display and turn-by-turn voice guidance will lead you a\
long
the route.
The Navigation System will continually update your vehicle’s position. If you have deviated
from the original route, it will recalculate the route from your current\
location.
01 P OWE R
button/VOL control knob – Press the button to turn the system on or off. Rotate the
dial clockwise to increase the volume or counterclockwise to decrease the volume.
02 Options key – Select to access features such as “Show Destination Information”,
“Store Current Position”, “Show Position/GPS Information” and “Map Setup”.
03 - Zoom in key – Select to zoom the map in.
04 - Zoom out key – Select to zoom the map out.
05 N AV
button – Press to access the functions of the Navigation System.
06 MAP button – Press to display the current location map screen.
07 TU NE•SCROLL knob / ENTER•AUDIO button – Turn to navigate the items in a list. Press to
select a menu item.
0107
02
08
09
10
05
0304
06
1621416_14c_AltimaSedan_QRG_121113.indd 2212/11/13 3:02 PM
To view detailed instructional videos regarding these and other features, please go\
to www.nissanownersinfo.mobi
Page 25 of 28

23
HOMELINK® UNIVERSAL TRANSCEIVER (if so equipped)
The HomeLink system can learn and consolidate the functions of up to 3 di\
fferent
hand-held transmitters, operating items such as garage doors, property gates, outdoor and
indoor lights or alarm systems.
To program the HomeLink® Universal Transceiver:
•
P
osition the handheld transceiver 1-3 in (26-76 mm) away from the HomeLink surface,
keeping the HomeLink indicator light in view.
•
Press and hold the desired HomeLink button and the handheld tra
nsmitter button
simultaneously until the HomeLink indicator light flashes slowly and then ra\
pidly.
•
B
oth buttons may be released when the indicator light flashes rapidly.
To verify the programing is complete, press and hold the HomeLink and obs\
erve the
indicator light:
•
A solid, continuous light indicates the programing is complete
and the HomeLink button
will activate your device.
•
A blinking light that turns to a solid continuous light after 2
seconds indicates additional
steps are required to complete the programing.
HOMELINK
08 BACK button – Press to return to the previous screen.
09 button – Press to access the system settings key.
10 button – Press to change the display brightness between day and night modes.
While the mode is being displayed, the brightness can be adjusted using t\
he TUNE/
SCROLL dial. Press and hold to turn the display off. Press again to turn the d\
isplay on.
For more information, refer to your Navigation System Owner’s Manual.
1621416_14c_AltimaSedan_QRG_121113.indd 2312/11/13 3:02 PM
To view detailed instructional videos regarding these and other features, please go\
to www.nissanownersinfo.mobi