brake light NISSAN ALTIMA 2019 Owner´s Manual
[x] Cancel search | Manufacturer: NISSAN, Model Year: 2019, Model line: ALTIMA, Model: NISSAN ALTIMA 2019Pages: 592, PDF Size: 7.4 MB
Page 120 of 592
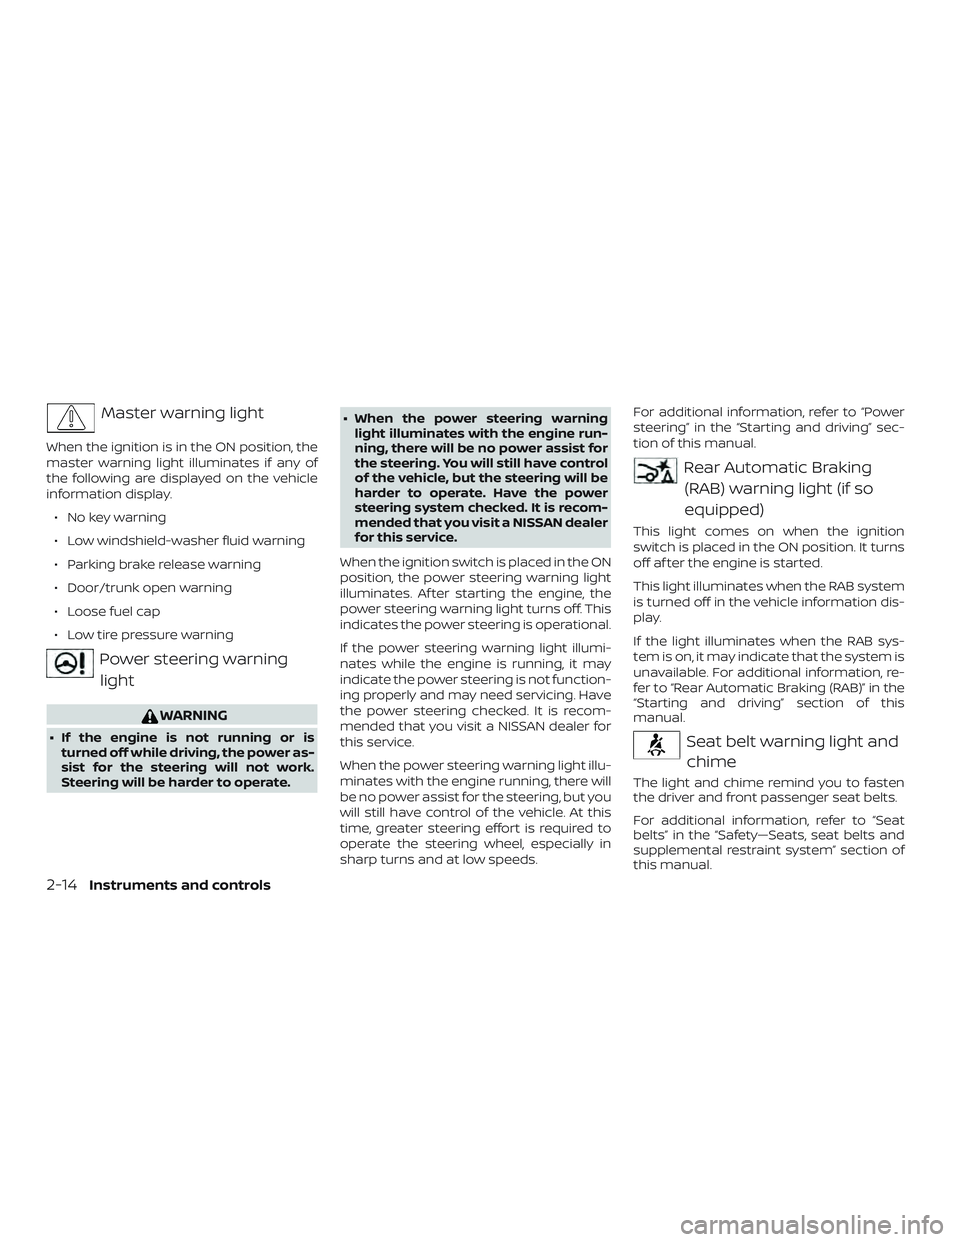
Master warning light
When the ignition is in the ON position, the
master warning light illuminates if any of
the following are displayed on the vehicle
information display.∙ No key warning
∙ Low windshield-washer fluid warning
∙ Parking brake release warning
∙ Door/trunk open warning
∙ Loose fuel cap
∙ Low tire pressure warning
Power steering warninglight
WARNING
∙ If the engine is not running or is turned off while driving, the power as-
sist for the steering will not work.
Steering will be harder to operate. ∙ When the power steering warning
light illuminates with the engine run-
ning, there will be no power assist for
the steering. You will still have control
of the vehicle, but the steering will be
harder to operate. Have the power
steering system checked. It is recom-
mended that you visit a NISSAN dealer
for this service.
When the ignition switch is placed in the ON
position, the power steering warning light
illuminates. Af ter starting the engine, the
power steering warning light turns off. This
indicates the power steering is operational.
If the power steering warning light illumi-
nates while the engine is running, it may
indicate the power steering is not function-
ing properly and may need servicing. Have
the power steering checked. It is recom-
mended that you visit a NISSAN dealer for
this service.
When the power steering warning light illu-
minates with the engine running, there will
be no power assist for the steering, but you
will still have control of the vehicle. At this
time, greater steering effort is required to
operate the steering wheel, especially in
sharp turns and at low speeds. For additional information, refer to “Power
steering” in the “Starting and driving” sec-
tion of this manual.
Rear Automatic Braking
(RAB) warning light (if so
equipped)
This light comes on when the ignition
switch is placed in the ON position. It turns
off af ter the engine is started.
This light illuminates when the RAB system
is turned off in the vehicle information dis-
play.
If the light illuminates when the RAB sys-
tem is on, it may indicate that the system is
unavailable. For additional information, re-
fer to “Rear Automatic Braking (RAB)” in the
“Starting and driving” section of this
manual.
Seat belt warning light andchime
The light and chime remind you to fasten
the driver and front passenger seat belts.
For additional information, refer to “Seat
belts” in the “Safety—Seats, seat belts and
supplemental restraint system” section of
this manual.
2-14Instruments and controls
Page 121 of 592
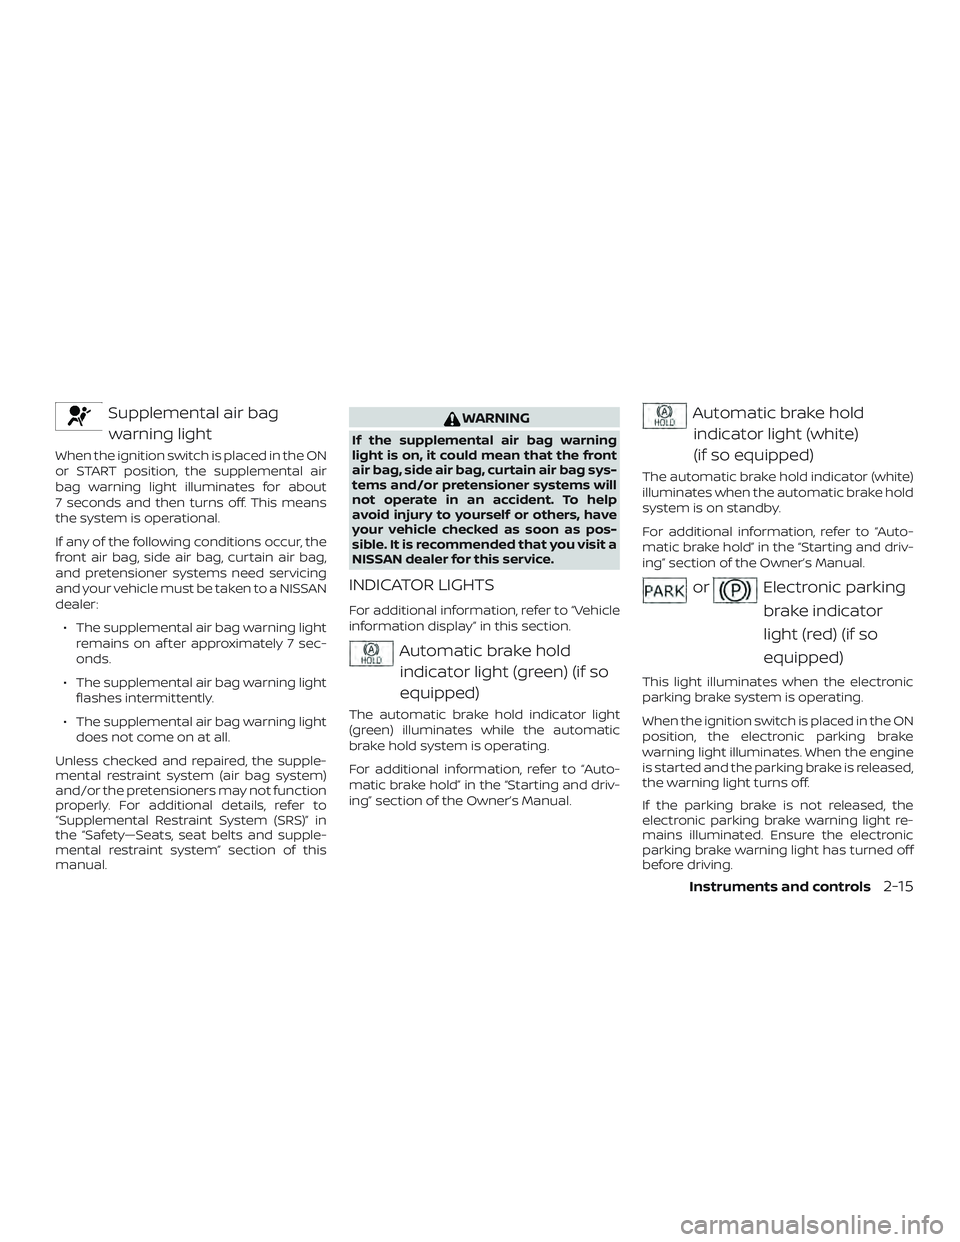
Supplemental air bagwarning light
When the ignition switch is placed in the ON
or START position, the supplemental air
bag warning light illuminates for about
7 seconds and then turns off. This means
the system is operational.
If any of the following conditions occur, the
front air bag, side air bag, curtain air bag,
and pretensioner systems need servicing
and your vehicle must be taken to a NISSAN
dealer:
∙ The supplemental air bag warning light remains on af ter approximately 7 sec-
onds.
∙ The supplemental air bag warning light flashes intermittently.
∙ The supplemental air bag warning light does not come on at all.
Unless checked and repaired, the supple-
mental restraint system (air bag system)
and/or the pretensioners may not function
properly. For additional details, refer to
“Supplemental Restraint System (SRS)” in
the “Safety—Seats, seat belts and supple-
mental restraint system” section of this
manual.
WARNING
If the supplemental air bag warning
light is on, it could mean that the front
air bag, side air bag, curtain air bag sys-
tems and/or pretensioner systems will
not operate in an accident. To help
avoid injury to yourself or others, have
your vehicle checked as soon as pos-
sible. It is recommended that you visit a
NISSAN dealer for this service.
INDICATOR LIGHTS
For additional information, refer to “Vehicle
information display” in this section.
Automatic brake hold indicator light (green) (if so
equipped)
The automatic brake hold indicator light
(green) illuminates while the automatic
brake hold system is operating.
For additional information, refer to “Auto-
matic brake hold” in the “Starting and driv-
ing” section of the Owner’s Manual.
Automatic brake holdindicator light (white)
(if so equipped)
The automatic brake hold indicator (white)
illuminates when the automatic brake hold
system is on standby.
For additional information, refer to “Auto-
matic brake hold” in the “Starting and driv-
ing” section of the Owner’s Manual.
orElectronic parking
brake indicator
light (red) (if so
equipped)
This light illuminates when the electronic
parking brake system is operating.
When the ignition switch is placed in the ON
position, the electronic parking brake
warning light illuminates. When the engine
is started and the parking brake is released,
the warning light turns off.
If the parking brake is not released, the
electronic parking brake warning light re-
mains illuminated. Ensure the electronic
parking brake warning light has turned off
before driving.
Instruments and controls2-15
Page 122 of 592
If the electronic parking brake warning light
illuminates or flashes while the electronic
parking brake system warning light
(yellow) illuminates, it may indicate that the
electronic parking brake system is not
functioning properly. Have the system
checked. It is recommended that you visit a
NISSAN dealer for this service.
For additional information, refer to “Parking
brake” in the “Starting and driving” section
of this manual.
Front fog light indicatorlight (if so equipped)
The front fog light indicator light illumi-
nates when the front fog lights are on. For
additional information, refer to “Fog light
switch” in this section.
Front passenger air bagstatus light
The front passenger air bag status light will
be lit and the passenger front air bag will be
off depending on how the front passenger
seat is being used.
For additional information, refer to “Front
passenger air bag and status light” in the
“Safety — Seats, seat belts and supplemen-
tal restraint system” section of this manual.
High Beam Assist indicatorlight (green) (if so equipped)
This indicator light illuminates when the
headlights come on while the headlight
switch is in the AUTO position with the high
beams selected. This indicates that the
high beam assist is operational.
For additional information, refer to “Head-
light and turn signal switch” in this section.
High beam indicator light(blue)
This blue light comes on when the head-
light high beams are on and goes out when
the low beams are selected.
The high beam indicator light also comes
on when the passing signal is activated.
Malfunction Indicator Light(MIL)
If this indicator light comes on steady or
blinks while the engine is running, it may
indicate a potential emission control mal-
function. The MIL may also come on steady if the
fuel-filler cap is loose or missing, or if the
vehicle runs out of fuel. Check to make sure
the fuel-filler cap is installed and closed
tightly, and that the vehicle has at least
3 gallons (11.4 liters) of fuel in the fuel tank.
Af ter a few driving trips, the
light
should turn off if no other potential emis-
sion control system malfunction exists.
If this indicator light comes on steady for
20 seconds and then blinks for 10 seconds
when the engine is not running, it indicates
that the vehicle is not ready for an emission
control system inspection/maintenance
test. For additional information, refer to
“Readiness for Inspection/Maintenance
(I/M) test” in the “Technical and consumer
information” section of this manual.
2-16Instruments and controls
Page 124 of 592
Turn signal/hazardindicator lights
The appropriate light flashes when the turn
signal switch is activated.
Both lights flash when the hazard switch is
turned on.
Vehicle Dynamic Control(VDC) OFF indicator light
This indicator light comes on when the
VDC is turned off in the vehicle information
display. This indicates the VDC has been
turned off.
Turn the VDC on using the vehicle informa-
tion display, or by restarting the engine. For
additional information, refer to “Vehicle Dy-
namic Control (VDC) system” in the “Start-
ing and driving” section of this manual.
The VDC light also comes on when the igni-
tion switch is placed in the ON position. The
light will turn off af ter a period of time if the
system is operational. If the light stays on or
comes on along with the
indicator light
while you are driving, have the VDC system
checked. It is recommended that you visit a
NISSAN dealer for this service.
WARNING
VDC should remain on unless freeing a
vehicle from mud or snow.
While the VDC system is operating, you
might feel a slight vibration or hear the sys-
tem working when starting the vehicle or
accelerating, but this is normal.
AUDIBLE REMINDERS
Brake pad wear warning
The disc brake pads have audible wear
warnings. When a disc brake pad requires
replacement, it makes a high pitched
scraping sound when the vehicle is in mo-
tion, whether or not the brake pedal is de-
pressed. Have the brakes checked as soon
as possible if the warning sound is heard.
Light reminder chime
With the ignition switch placed in the OFF
position, a chime sounds when the driver’s
door is opened if the headlights or parking
lights are on.
Turn the headlight control switch off before
leaving the vehicle.
NISSAN Intelligent Key® door
buzzer
The Intelligent Key door buzzer sounds if
the Intelligent Key is lef t inside the vehicle
when locking the doors. When the buzzer
sounds, be sure to check both the vehicle
and the Intelligent Key. For additional infor-
mation, refer to “NISSAN Intelligent Key®” in
the “Pre-driving checks and adjustments”
section of this manual.
2-18Instruments and controls
Page 138 of 592
VEHICLE INFORMATION DISPLAY
WARNINGS
1. No Key Detected
2. Key ID Incorrect
3. Key Battery Low
4. Key System Error: See Owner’s Manual
5. Key Registration Complete
6. Shif t to Park
7. Push ignition to OFF
8. Push brake and start switch to drive
9. Engine start operation for IntelligentKey system (if I-Key battery level is low)
10. Release Parking Brake
11. Low Fuel
12. Loose Fuel Cap
13. Low Oil Pressure: See Owner’s Manual
14. Low Washer Fluid (if so equipped)
15. Tire Pressure Low - Add Air
16. TPMS Error: See Owner’s Manual
17. Door Open
18. Trunk Open 19. Timer Alert – Have a break?
20. Low Outside Temperature
21. Power will turn off to save the battery
22. Power turned off to save the battery
23. Reminder: Turn OFF headlights
24. Headlight System Error: See Owner’s
Manual (if so equipped)
25. Parking Sensor Error: See Owner’s Manual (if so equipped)
26. Driver Attention Alert Malfunction
27. Malfunction: See Owner’s Manual (if so equipped)
28. Unavailable: Side Radar Obstruction (if so equipped)
29. Unavailable: High Camera Temperature (if so equipped)
30. Driver Attention Alert— Take a Break?
31. Malfunction (if so equipped)
32. Shipping Mode On Push Storage Fuse
33. Not Available: Parking Brake On (if so equipped)
34. CVT Error: See Owner’s Manual
35. Rear Door Alert is activated 36. Check Back Seat For All Articles
37. Intelligent Cruise Control (ICC) indica-
tors (if so equipped)
38. Intelligent Cruise Control (ICC) (for ve- hicles with ProPILOT Assist) indicators
(if so equipped)
39. Speed Limit Sign indicator (if so equipped)
40. System Fault (if so equipped)
41. Chassis Control System Error: See Owner’s Manual (if so equipped)
42. Not Available System Malfunction (if so equipped)
43. Not Available: Seat Belt Not Fastened (if so equipped)
44. Not Available: Front Radar Blocked (if so equipped)
45. Currently not available (if so equipped)
46. Not Available Poor Road Conditions (if so equipped)
47. Unavailable: High Cabin Temperature (if so equipped)
48. AWD Error: See Owner’s Manual (if so equipped)
2-32Instruments and controls
Page 139 of 592
49. AWD High Temp. Stop vehicle (if soequipped)
50. AWD Tire Size Incorrect: See Owner’s Manual (if so equipped)
No Key Detected
This warning appears when the Intelligent
Key is lef t outside the vehicle with the igni-
tion switch in the ON position. Make sure
the Intelligent Key is inside the vehicle.
For additional information, refer to “NISSAN
Intelligent Key®” in the “Pre-driving checks
and adjustments” section of this manual.
Key ID Incorrect
This warning appears when the ignition
switch is placed from the OFF position and
the Intelligent Key is not recognized by the
system. You cannot start the engine with
an unregistered key.
For additional information, refer to “NISSAN
Intelligent Key®” in the “Pre-driving checks
and adjustments” section of this manual.
Key Battery Low
This indicator illuminates when the Intelli-
gent Key battery is running out of power.
If this indicator illuminates, replace the bat-
tery with a new one. For additional infor- mation, refer to “Battery replacement” in
the “Do-it-yourself ” section of this manual.
Key System Error: See Owner’s Manual
Af ter the ignition switch is pushed to the
ON position, this light comes on for a period
of time and then turns off.
The Key System Error message warns of a
malfunction with the Intelligent Key sys-
tem. If the light comes on while the engine
is stopped, it may be impossible to start
the engine.
If the light comes on while the engine is
running, you can drive the vehicle. However,
in these cases, have the system checked. It
is recommended that you visit a NISSAN
dealer for this service.
Key Registration Complete
This appears when a new Intelligent Key is
registered to the vehicle.
Shif t to Park
This warning illuminates when the ignition
switch is in the AUTO ACC or OFF position
and the shif t lever is not in the P (Park)
position. Also, a chime sounds when the
ignition switch is in the AUTO ACC or OFF
position.If this warning illuminates, move the shif t
lever to the P (Park) position and start the
engine.
Push Ignition to OFF
Af ter the Push Ignition to OFF warning illu-
minates, the warning will illuminate if the
ignition switch is placed in the AUTO ACC
position when the shif t lever is moved to
the P (Park) position.
To turn off the Push warning, place the ig-
nition switch in the ON position and then in
the LOCK position.
Push brake and start switch to drive
This indicator appears when the shif t lever
is in the P (Park) position.
This indicator also appears when the ve-
hicle has been started using the Remote
Engine Start (if so equipped) function.
This indicator means that the engine will
start by pushing the ignition switch with
the brake pedal depressed. You can start
the engine from any position of the ignition
switch.
Instruments and controls2-33
Page 140 of 592
Engine start operation for Intelligent
Key system (if I-Key battery level is low)
This indicator appears when the battery of
the Intelligent Key is low and when the In-
telligent Key system and the vehicle are not
communicating normally.
If this appears, touch the ignition switch
with the Intelligent Key while depressing
the brake pedal. For additional information,
refer to “NISSAN Intelligent Key® battery dis-
charge” in the “Starting and driving” section
of this manual.
Release Parking Brake
This warning illuminates in the message
area of the vehicle information display
when the parking brake is set and the ve-
hicle is driven.
Low Fuel
This warning illuminates when the fuel level
in the fuel tank is getting low. Refuel as
soon as it is convenient, preferably before
the fuel gauge reaches 0 (Empty).There
will be a small reserve of fuel in the tank
when the fuel gauge needle reaches 0
(Empty). Loose Fuel Cap
This warning appears when the fuel-filler
cap is not tightened correctly af ter the ve-
hicle has been refueled. For additional in-
formation, refer to “Fuel-filler cap” in the
“Pre-driving checks and adjustments” sec-
tion of this manual.
Low Oil Pressure: See Owner’s Manual
This warning appears in the message area
of the vehicle information display if low oil
pressure is detected. This gauge is not de-
signed to indicate low oil level.
The low oil
pressure warning is not designed to indi-
cate a low oil level. Use the dipstick to
check the oil level. For additional informa-
tion, refer to “Engine oil” in the “Do-it-
yourself ” section of this manual.
Low Washer Fluid (if so equipped)
This warning illuminates when the
windshield-washer fluid is at a low level.
Add windshield-washer fluid as necessary.
For additional information, refer to
“Windshield-washer fluid” in the “Do-it-
yourself ” section of this manual.
Tire Pressure Low - Add Air
This warning appears when the low tire
pressure warning light in the meter illumi- nates and low tire pressure is detected. The
warning appears each time the ignition
switch is placed in the ON position as long
as the low tire pressure warning light re-
mains illuminated. If this warning appears,
stop the vehicle and adjust the tire pres-
sures of all four tires to the recommended
COLD tire pressure shown on the Tire and
Loading Information label. For additional
information, refer to “Low tire pressure
warning light” in this section and “Tire Pres-
sure Monitoring System (TPMS)” in the
“Starting and driving” section of this
manual.
TPMS Error: See Owner’s Manual
This warning appears when there is an er-
ror with your TPMS. If this warning comes
on, have the system checked. It is recom-
mended that you visit a NISSAN dealer for
this service.
Door Open
This warning illuminates when a door has
been opened.
Trunk Open
This warning illuminates when the trunk
has been opened.
2-34Instruments and controls
Page 154 of 592
DAYTIME RUNNING LIGHTS (DRL)
SYSTEM (Type A) (if so equipped)
The Daytime Running Lights (DRL) automati-
cally illuminate when the engine is started
with the parking brake released. The DRL
operate with the headlight switch in the
OFF position. Turn the headlight switch to
the
position for full illumination when
driving at night. (The DRL will turn off.)
If the parking brake is applied before the
engine is started, the DRL do not illuminate.
The DRL illuminate once the parking brake
is released. The DRL will remain on until the
ignition switch is placed in the OFF position.
It is necessary at dusk to turn the headlight
switch ON for interior controls and
switches to illuminate, as those remain
OFF while the switch is in the OFF position.
WARNING
When the DRL system is active, tail
lights on your vehicle are not on. It is
necessary at dusk to turn on your head-
lights. Failure to do so could cause an
accident injuring yourself and others.
LED DAYTIME RUNNING LIGHTS
(DRL) SYSTEM (Type B) (if so
equipped)
The LED DRL automatically illuminate at
100% intensity when the engine is started
and the parking brake released. The LED
Daytime Running Lights (DRL) operate with
the headlight switch in the OFF position.
When you turn the headlight switch to
the
position for full illumination, the
LED lights switch from LED DRL to the park
function.
If the parking brake is applied before the
engine is started, the LED DRL do not illumi-
nate. The LED DRL illuminate when the
parking brake is released. The LED DRL will
remain on until the ignition switch is placed
in the OFF position.
It is necessary at dusk to turn the headlight
switch ON for interior controls and
switches to illuminate, as those remain
OFF while the switch is in the OFF position.
WARNING
When the LED DRL system is active, tail
lights on your vehicle are not on. It is
necessary at dusk to turn on your head-
lights. Failure to do so could cause an
accident injuring yourself and others.
2-48Instruments and controls
Page 200 of 592
REMOTE STARTING THE VEHICLE
To use the Remote Engine Start feature to
start the engine perform the following:1. Aim the Intelligent Key at the vehicle.
2. Press the
button to lock all
doors.
3. Within 5 seconds press and hold the
button until the turn signal
lights flash and the tail lamps turn on. If
the vehicle is not within view press and
hold the
button for at least 2 sec-
onds.
The following events will occur when the
engine starts:
∙ The parking lights will turn on and re- main on as long as the engine is run-
ning.
∙ The doors will be locked and the climate control system may come on.
∙ The engine will continue to run for 10 minutes. Repeat the steps to extend
the time for an additional 10 minutes.
For additional information, refer to “Ex-
tending engine run time” in this section. Depress and hold the brake then push the
push-button ignition switch to the ON po-
sition before driving. For additional infor-
mation, refer to “Driving the vehicle” in the
“Starting and driving” section of this
manual.
EXTENDING ENGINE RUN TIME
The Remote Engine Start feature can be
extended one time by performing the
steps listed in “Remote starting the vehicle”
in this section. Run time will be calculated
as follows:
∙ The first 10 minute run time will start when the Remote Engine Start function
is performed.
∙ The second 10 minutes will start imme- diately when the Remote Engine Start
function is performed again. For ex-
ample, if the engine has been running
for 5 minutes, and 10 minutes are
added, the engine will run for a total of
15 minutes.
∙ Extending engine run time will count to- wards the two Remote Engine Start
limit. A maximum of two Remote Engine Starts,
or a single Remote Engine Start with an
extension, are allowed between ignition
cycles. The ignition switch must be cycled
to the ON position and then back to the
OFF position before the Remote Engine
Start procedure can be used again.CANCELING A REMOTE ENGINE
START
To cancel a Remote Engine Start, perform
one of the following:
∙ Aim the Intelligent Key at the vehicle and press
until the parking lights
turn off.
∙ Turn on the hazard warning flashers.
∙ Cycle the ignition switch ON and then OFF.
∙ The extended engine run time has ex- pired.
∙ The first 10 minute timer has expired.
∙ The engine hood has been opened.
∙ The shif t lever is moved out of park.
∙ The alarm sounds due to illegal entry into the vehicle.
3-22Pre-driving checks and adjustments
Page 201 of 592
∙ The ignition switch is pushed withoutan Intelligent Key in the vehicle.
∙ The ignition switch is pushed with an Intelligent Key in the vehicle but the
brake pedal is not depressed.
CONDITIONS THE REMOTE ENGINE
START WILL NOT WORK
The Remote Engine Start will not operate if
any of the following conditions are present:
∙ The ignition switch is placed in the ON position.
∙ The hood is not securely closed.
∙ The hazard indicator lights are on.
∙ The engine is still running. The engine must be completely stopped. Wait at
least 6 seconds if the engine goes from
running to off. This is not applicable
when extending engine run time.
∙ The
button is not pressed and
held for at least 2 seconds.
∙ The
button is not pressed and
held within 5 seconds of pressing the
lock button. ∙ The brake is pressed.
∙ The doors are not closed and locked.
∙ The trunk is open.
∙ The Key System Error remains solid in
the vehicle information display.
∙ The alarm sounds due to illegal entry into the vehicle.
∙ Two Remote Engine Starts, or a single Remote Engine Start with an extension,
have already been used.
∙ The vehicle is not in P (Park).
∙ There is a detected registered key al- ready inside of the vehicle.
∙ The Remote Engine Start function has been switched to the OFF position in
Vehicle Settings of the vehicle informa-
tion display. For additional information,
refer to “Vehicle information display” in
the “Instruments and controls” section
of this manual. The Remote Engine Start may display a
warning or indicator in the vehicle informa-
tion display. For additional information, re-
fer to “Vehicle information display” in the
“Instruments and controls” section of this
manual.
Pre-driving checks and adjustments3-23