oil reset NISSAN ALTIMA 2019 Owner´s Manual
[x] Cancel search | Manufacturer: NISSAN, Model Year: 2019, Model line: ALTIMA, Model: NISSAN ALTIMA 2019Pages: 592, PDF Size: 7.4 MB
Page 106 of 592

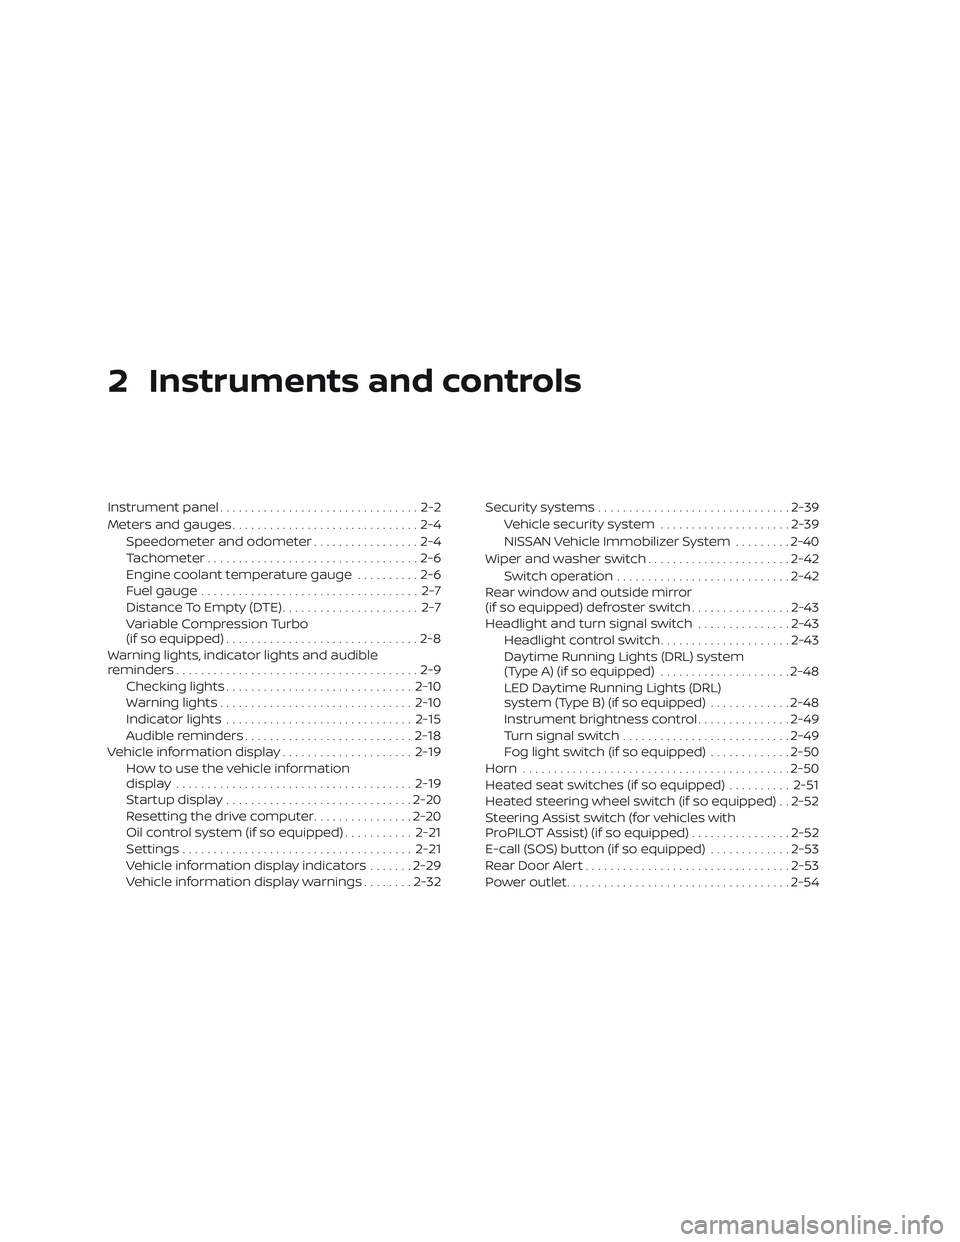
2 Instruments and controls
Instrument panel................................2-2
Meters and gauges ..............................2-4
Speedometer and odometer .................2-4
Tachometer ..................................2-6
Engine coolant temperature gauge ..........2-6
Fuel gauge ................................... 2-7
Distance To Empty (DTE) ...................... 2-7
Variable Compression Turbo
(if so equipped) ...............................2-8
Warning lights, indicator lights and audible
reminders .......................................2-9
Checking lights .............................. 2-10
Warning lights ............................... 2-10
Indicator lights .............................. 2-15
Audible reminders ........................... 2-18
Vehicle information display .....................2-19
How to use the vehicle information
display ...................................... 2-19
Startup display .............................. 2-20
Resetting the drive computer ................2-20
Oil control system (if so equipped) ...........2-21
Settings ..................................... 2-21
Vehicle information display indicators .......2-29
Vehicle information display warnings ........2-32 Security systems
............................... 2-39
Vehicle security system .....................2-39
NISSAN Vehicle Immobilizer System .........2-40
Wiper and washer switch .......................2-42
Switch operation ............................ 2-42
Rear window and outside mirror
(if so equipped) defroster switch ................2-43
Headlight and turn signal switch ...............2-43
Headlight control switch .....................2-43
Daytime Running Lights (DRL) system
(Type A) (if so equipped) .....................2-48
LED Daytime Running Lights (DRL)
system (Type B) (if so equipped) .............2-48
Instrument brightness control ...............2-49
Turn signal switch ........................... 2-49
Fog light switch (if so equipped) .............2-50
Horn ........................................... 2-50
He
ated seat switches (if so equipped) ..........2-51
Heated steering wheel switch (if so equipped) . . 2-52
Steering Assist switch (for vehicles with
ProPILOT Assist) (if so equipped) ................2-52
E-call (SOS) button (if so equipped) .............2-53
Rear Door Alert ................................. 2-53
Power outlet .................................... 2-54
Page 127 of 592

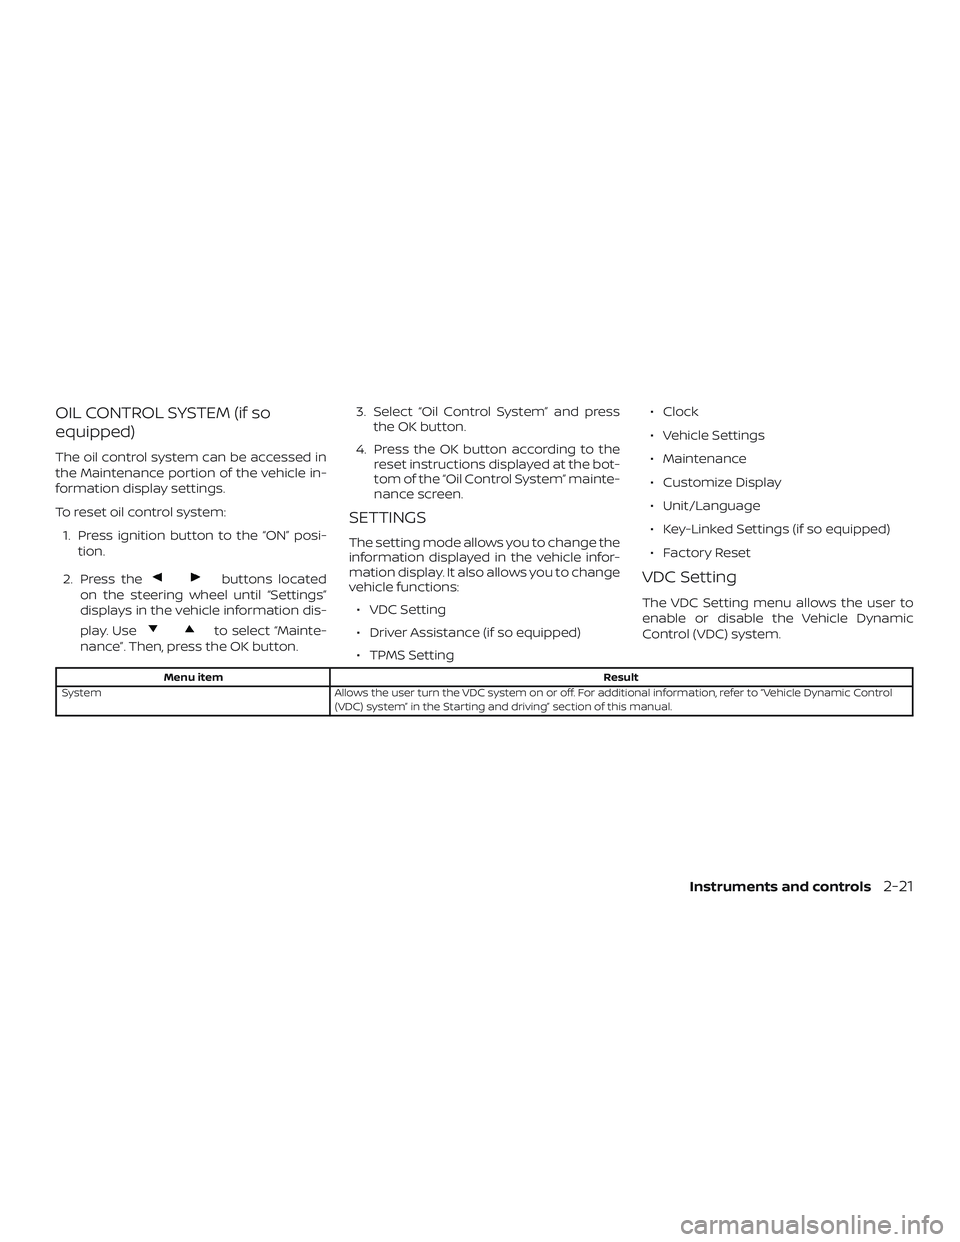
OIL CONTROL SYSTEM (if so
equipped)
The oil control system can be accessed in
the Maintenance portion of the vehicle in-
formation display settings.
To reset oil control system:1. Press ignition button to the “ON” posi- tion.
2. Press the
buttons located
on the steering wheel until “Settings”
displays in the vehicle information dis-
play. Use
to select “Mainte-
nance”. Then, press the OK button. 3. Select “Oil Control System” and press
the OK button.
4. Press the OK button according to the reset instructions displayed at the bot-
tom of the “Oil Control System” mainte-
nance screen.
SETTINGS
The setting mode allows you to change the
information displayed in the vehicle infor-
mation display. It also allows you to change
vehicle functions:
∙ VDC Setting
∙ Driver Assistance (if so equipped)
∙ TPMS Setting ∙ Clock
∙ Vehicle Settings
∙ Maintenance
∙ Customize Display
∙ Unit/Language
∙ Key-Linked Settings (if so equipped)
∙ Factory Reset
VDC Setting
The VDC Setting menu allows the user to
enable or disable the Vehicle Dynamic
Control (VDC) system.
Menu item
Result
System Allows the user turn the VDC system on or off. For additional information, refer to “Vehicle Dynamic Control
(VDC) system” in the Starting and driving” section of this manual.
Instruments and controls2-21
Page 132 of 592

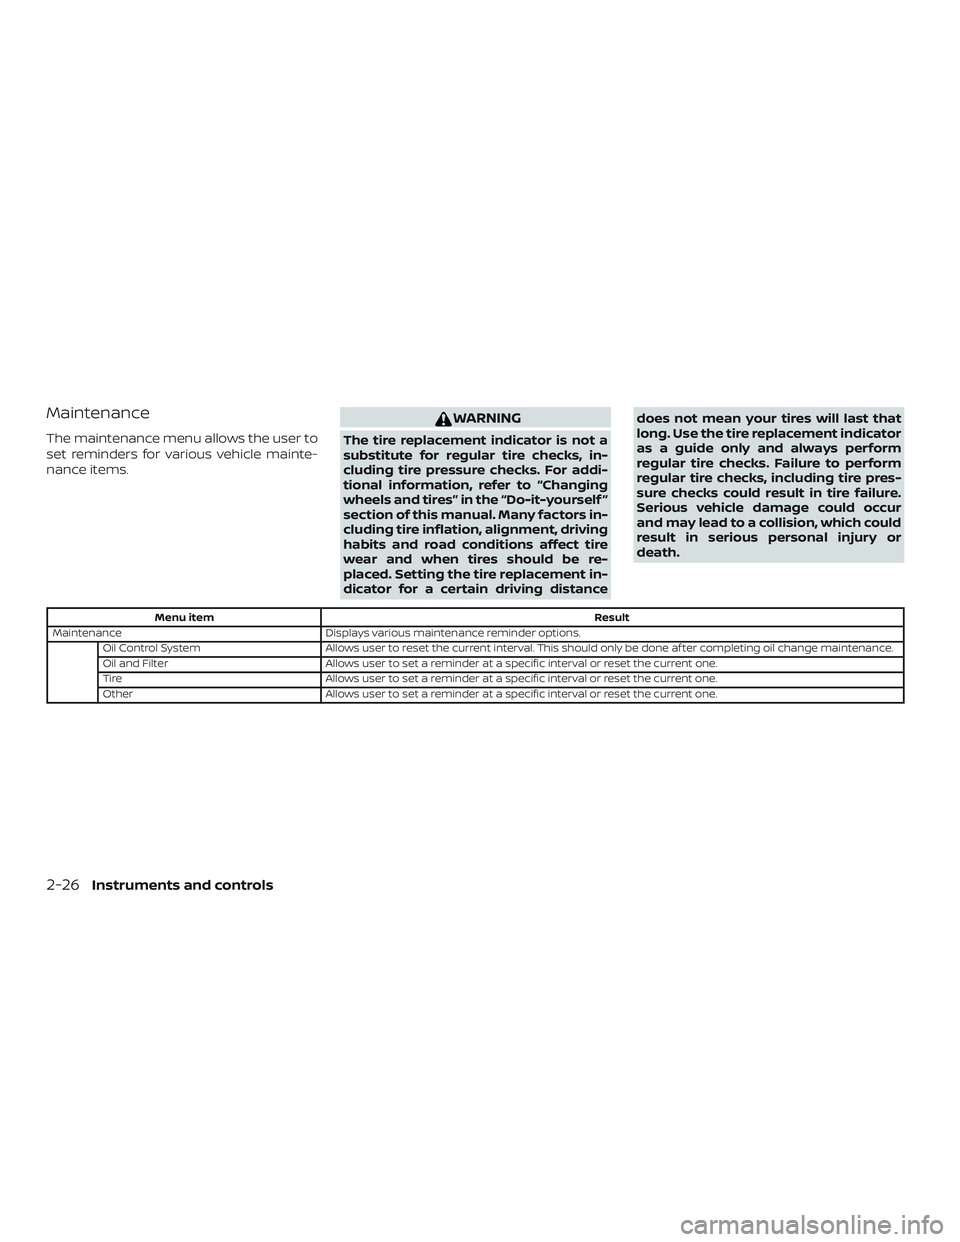
Maintenance
The maintenance menu allows the user to
set reminders for various vehicle mainte-
nance items.
WARNING
The tire replacement indicator is not a
substitute for regular tire checks, in-
cluding tire pressure checks. For addi-
tional information, refer to “Changing
wheels and tires” in the “Do-it-yourself ”
section of this manual. Many factors in-
cluding tire inflation, alignment, driving
habits and road conditions affect tire
wear and when tires should be re-
placed. Setting the tire replacement in-
dicator for a certain driving distancedoes not mean your tires will last that
long. Use the tire replacement indicator
as a guide only and always perform
regular tire checks. Failure to perform
regular tire checks, including tire pres-
sure checks could result in tire failure.
Serious vehicle damage could occur
and may lead to a collision, which could
result in serious personal injury or
death.
Menu item
Result
Maintenance Displays various maintenance reminder options.
Oil Control System Allows user to reset the current interval. This should only be done af ter completing oil change maintenance.
Oil and Filter Allows user to set a reminder at a specific interval or reset the current one.
Tire Allows user to set a reminder at a specific interval or reset the current one.
Other Allows user to set a reminder at a specific interval or reset the current one.
2-26Instruments and controls
Page 478 of 592

CAUTION
Be careful not to burn yourself, as the
engine oil is hot.
WARNING
∙ Prolonged and repeated contact withused engine oil may cause skin
cancer.
∙ Try to avoid direct skin contact with used oil. If skin contact is made, wash
thoroughly with soap or hand cleaner
as soon as possible.
∙ Keep used engine oil out of reach of children.
4. Loosen the oil filter with an oil filter wrench by turning it counterclockwise.
Remove the oil filter by turning it by
hand.
5. Wipe the engine oil filter mounting sur- face with a clean rag.
CAUTION
Be sure to remove any old gasket mate-
rial remaining on the sealing surface of
the engine. Failure to do so could lead to
an oil leak and engine damage. ∙ The dipstick must be inserted in place
to prevent oil spillage from the dip-
stick hole when filling the engine with
oil.
6. Coat the gasket on the new filter with clean engine oil.
7. Screw in the oil filter clockwise until a slight resistance is felt, then tighten
additionally more than 2/3 turn.
Oil filter tightening torque: 11 to 15 f t-lb (14.7 to 20.6 N·m)
8. Clean and re-install the drain plug with a new washer. Securely tighten the
drain plug with a wrench. Do not use
excessive force.
Drain plug tightening torque: 22 to 28 f t-lb (29 to 39 N·m)
9. Refill the engine with the recom- mended oil through the oil filler open-
ing, and install the oil filler cap securely.
For additional information about drain and
refill capacity, refer to “Recommended
fluids/lubricants and capacities” in the
“Technical and consumer information” sec-
tion of this manual. The drain and refill
capacity depends on the oil temperature and drain time. Use these specifications for
reference only. Always use the dipstick to
determine the proper amount of oil in the
engine.
10. Start the engine and check for leakage
around the drain plug and the oil filter.
Correct as required. Turn the engine off
and wait more than 15 minutes. Check
the oil level with the dipstick. Add en-
gine oil if necessary.
Af ter the operation
1. Reinstall undercover in reverse order ofremoval.
2. Lower the vehicle carefully to the ground.
3. Reset the oil control system (if so equipped) and oil and filter mainte-
nance reminder. For additional infor-
mation, refer to "Vehicle information
display" in the "Instruments and con-
trols" section of this manual.
∙ Dispose of waste oil and filter properly.
∙ Check your local regulations.
8-12Do-it-yourself
Page 519 of 592

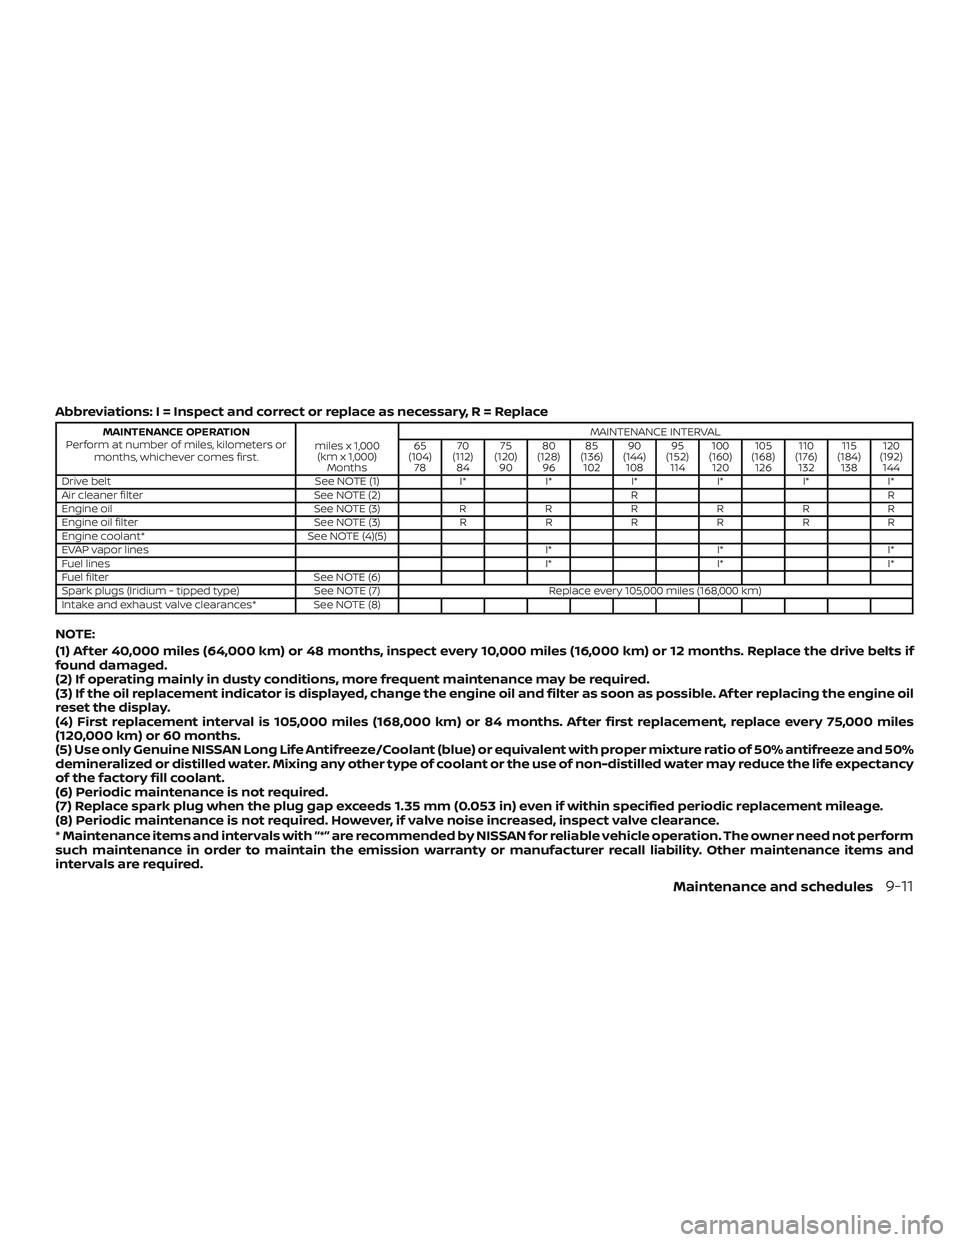
Abbreviations: I = Inspect and correct or replace as necessary, R = Replace
MAINTENANCE OPERATION
Perform at number of miles, kilometers or months, whichever comes first. miles x 1,000
(km x 1,000) Months MAINTENANCE INTERVAL
65
(104) 78 70
(112) 84 75
(120) 90 80
(128) 96 85
(136) 102 90
(144) 108 95
(152) 114 100
(160) 120 105
(168) 126 110
(176) 132 115
(184) 138 120
(192) 144
Drive belt See NOTE (1) I* I* I* I* I* I*
Air cleaner filter See NOTE (2) R R
Engine oil See NOTE (3) R R R R R R
Engine oil filter See NOTE (3) R R R R R R
Engine coolant* See NOTE (4)(5)
EVAP vapor lines I*I*I*
Fuel lines I*I*I*
Fuel filter See NOTE (6)
Spark plugs (Iridium - tipped type) See NOTE (7)Replace every 105,000 miles (168,000 km)
Intake and exhaust valve clearances* See NOTE (8)
NOTE:
(1) Af ter 40,000 miles (64,000 km) or 48 months, inspect every 10,000 miles (16,000 km) or 12 months. Replace the drive belts if
found damaged.
(2) If operating mainly in dusty conditions, more frequent maintenance may be required.
(3) If the oil replacement indicator is displayed, change the engine oil and filter as soon as possible. Af ter replacing the engine oil
reset the display.
(4) First replacement interval is 105,000 miles (168,000 km) or 84 months. Af ter first replacement, replace every 75,000 miles
(120,000 km) or 60 months.
(5) Use only Genuine NISSAN Long Life Antifreeze/Coolant (blue) or equivalent with proper mixture ratio of 50% antifreeze and 50%
demineralized or distilled water. Mixing any other type of coolant or the use of non-distilled water may reduce the life expectancy
of the factory fill coolant.
(6) Periodic maintenance is not required.
(7) Replace spark plug when the plug gap exceeds 1.35 mm (0.053 in) even if within specified periodic replacement mileage.
(8) Periodic maintenance is not required. However, if valve noise increased, inspect valve clearance.
* Maintenance items and intervals with “*” are recommended by NISSAN for reliable vehicle operation. The owner need not perform
such maintenance in order to maintain the emission warranty or manufacturer recall liability. Other maintenance items and
intervals are required.
Maintenance and schedules9-11