brake NISSAN ALTIMA 2022 Owners Manual
[x] Cancel search | Manufacturer: NISSAN, Model Year: 2022, Model line: ALTIMA, Model: NISSAN ALTIMA 2022Pages: 559, PDF Size: 6.26 MB
Page 3 of 559
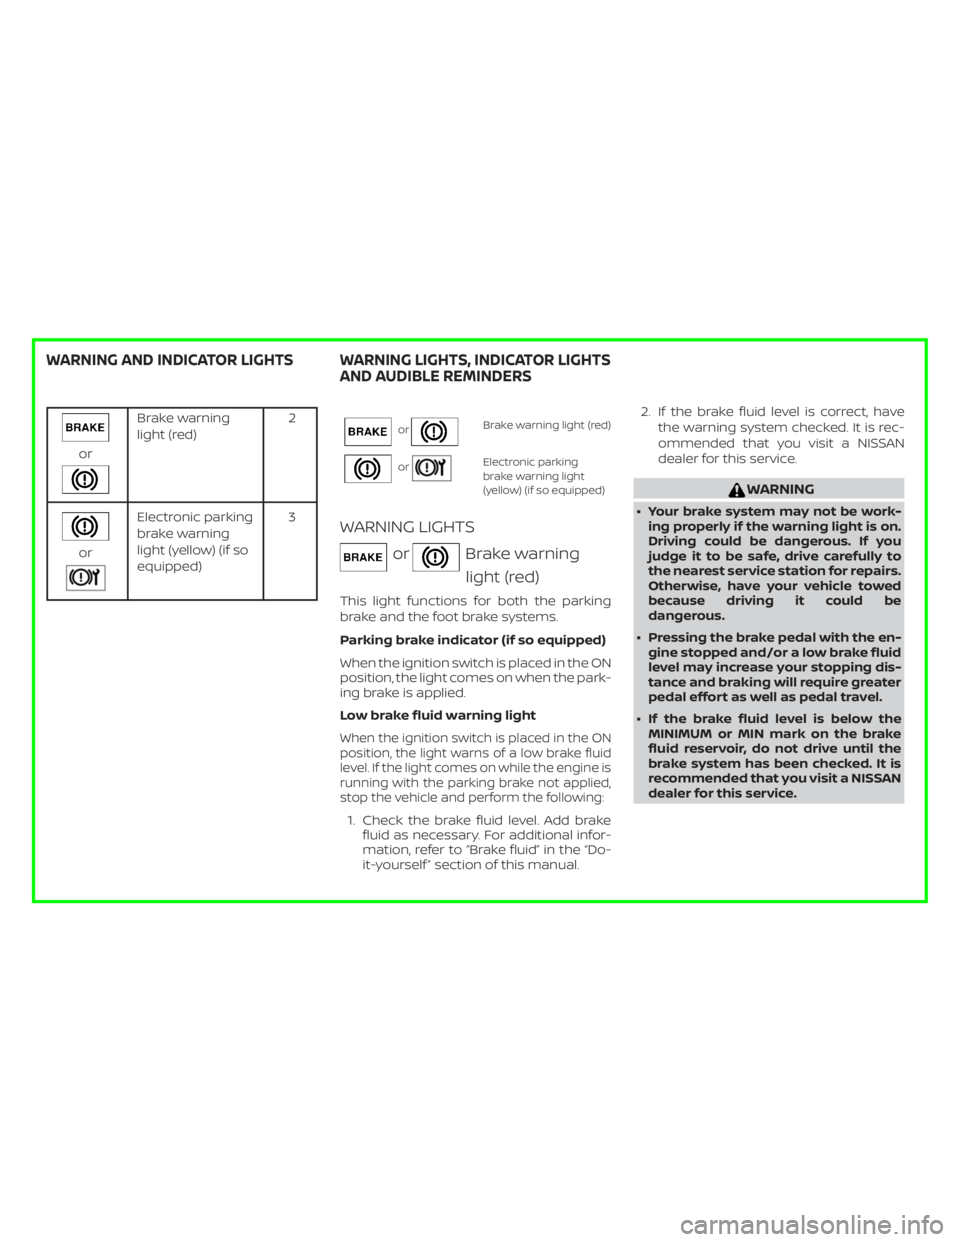
Brake warning
light (red)2
or
Electronic parking
brake warning
light (yellow) (if so
equipped)3
orBrake warning light (red)
orElectronic parking
brake warning light
(yellow) (if so equipped)
WARNING LIGHTS
orBrake warning
light (red)
This light functions for both the parking
brake and the foot brake systems.
Parking brake indicator (if so equipped)
When the ignition switch is placed in the ON
position, the light comes on when the park-
ing brake is applied.
Low brake fluid warning light
When the ignition switch is placed in the ON
position, the light warns of a low brake fluid
level. If the light comes on while the engine is
running with the parking brake not applied,
stop the vehicle and perform the following:
1. Check the brake fluid level. Add brake
fluid as necessary. For additional infor-
mation, refer to “Brake fluid” in the “Do-
it-yourself ” section of this manual.2. If the brake fluid level is correct, have
the warning system checked. It is rec-
ommended that you visit a NISSAN
dealer for this service.
Page 4 of 559
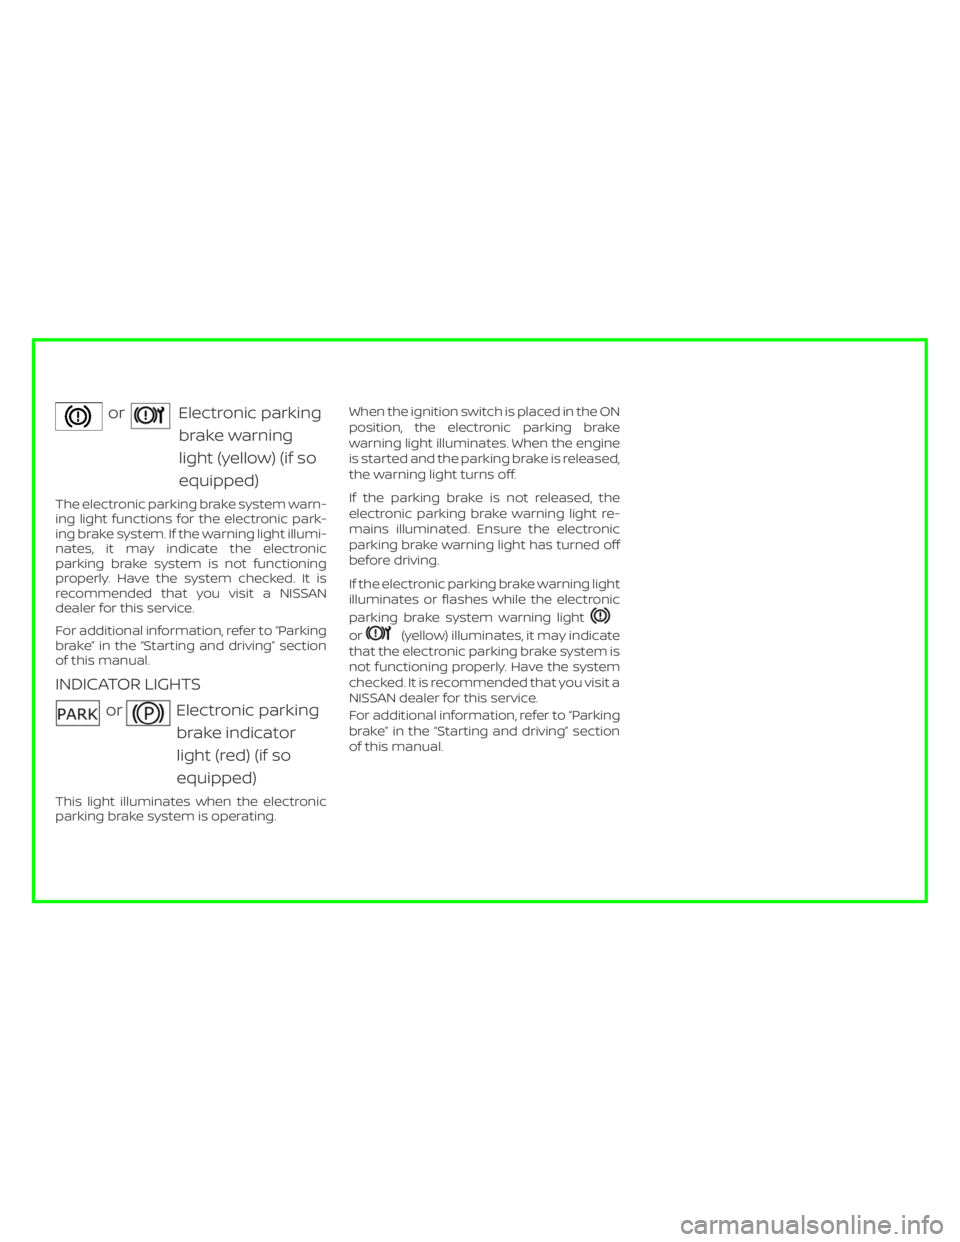
Electronic parking
brake warning
light (yellow) (if so
equipped)
The electronic parking brake system warn-
ing light functions for the electronic park-
ing brake system. If the warning light illumi-
nates, it may indicate the electronic
parking brake system is not functioning
properly. Have the system checked. It is
recommended that you visit a NISSAN
dealer for this service.
For additional information, refer to
Page 132 of 559
Malfunction (if so equipped)
This warning appears when one or more of
the following systems (if so equipped) is
not functioning properly:∙ Automatic Emergency Braking (AEB)
∙ Automatic Emergency Braking (AEB) with Pedestrian Detection
∙ Intelligent Forward Collision Warning (I- FCW)
If one or more of these warning appears,
have the system checked. It is recom-
mended that you visit a NISSAN dealer for
this service.
For additional information, refer to “Auto-
matic Emergency Braking (AEB)”, “Auto-
matic Emergency Braking (AEB) with Pe-
destrian Detection” or “Intelligent Forward
Collision Warning (I-FCW) in the “Starting
and driving” section of this manual.
Shipping Mode On Push Storage Fuse
This warning may appear if the extended
storage switch is not pushed in. When this
warning appears, push in the extended
storage switch to turn off the warning. For
additional information, refer to “Extended
storage switch” in this section. Not Available Parking Brake On (if so
equipped)
This message may appear when the Intel-
ligent Cruise Control (ICC) (for vehicles with
ProPILOT Assist) is engaged.
Under the following condition, the ICC (for
vehicles with ProPILOT Assist) system is au-
tomatically canceled:
∙ The electronic parking brake is applied.
The above system cannot be used when
the electronic parking is activated.
For additional information, refer to "Intelli-
gent Cruise Control (ICC) (for vehicles with
ProPILOT Assist)” and “Parking brake” in the
“Starting and driving” section of this
manual.
Rear Door Alert is activated
When the system is enabled, this message
appears when the Rear Door Alert system
is active and can remind the driver to check
the back seat. ∙ Using the steering wheel switch, a driver can select “Dismiss Message” to clear
the display for a period of time. If no
selection is made, this message auto-
matically turns off af ter a period of time. ∙ Using the steering wheel switch, a driver
can select “Disable Alert” to disable the
horn alert for the remainder of the cur-
rent trip.
Page 145 of 559
LED DAYTIME RUNNING LIGHTS
(DRL) SYSTEM (if so equipped)
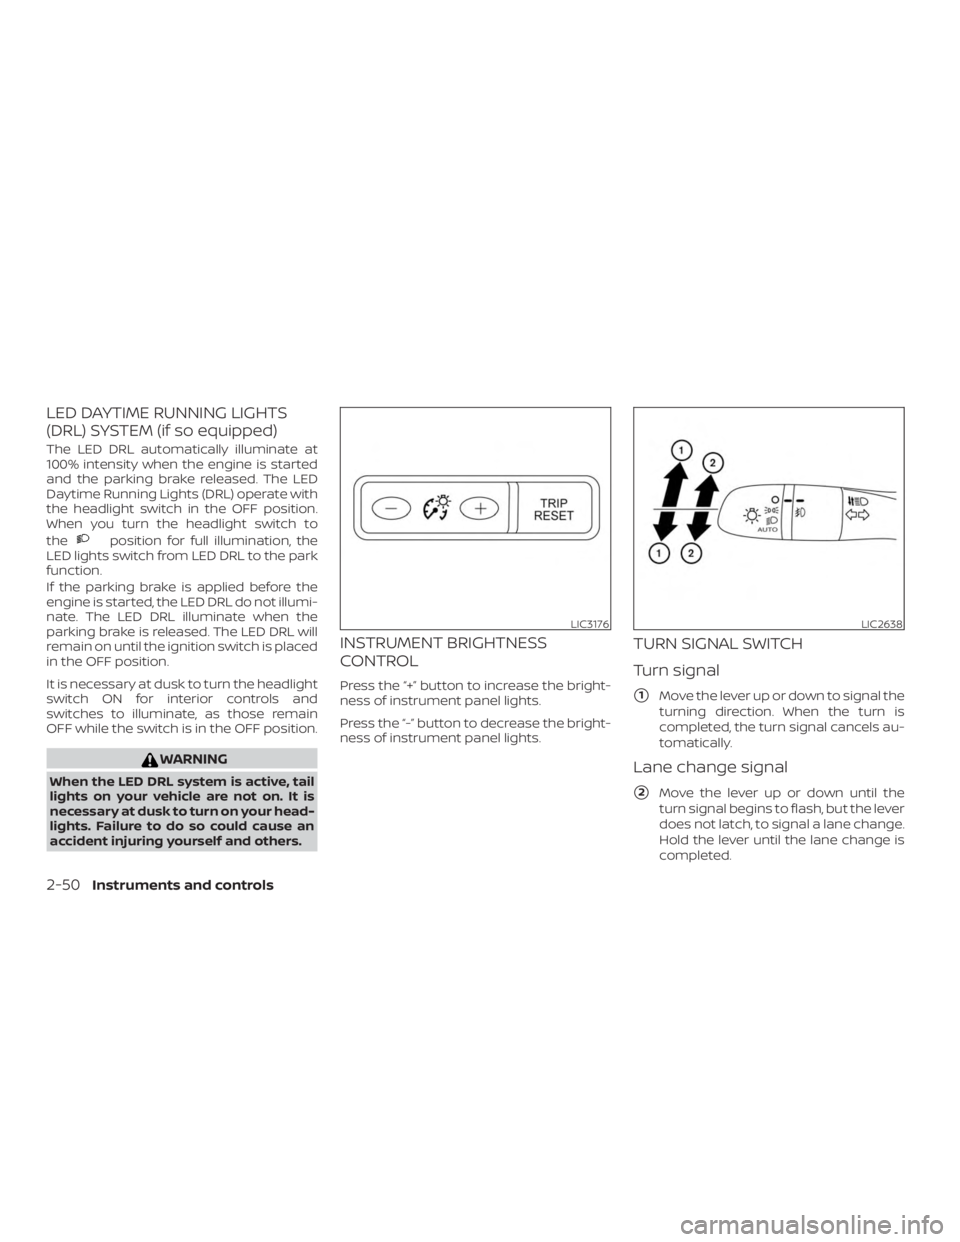
The LED DRL automatically illuminate at
100% intensity when the engine is started
and the parking brake released. The LED
Daytime Running Lights (DRL) operate with
the headlight switch in the OFF position.
When you turn the headlight switch to
the
Page 223 of 559
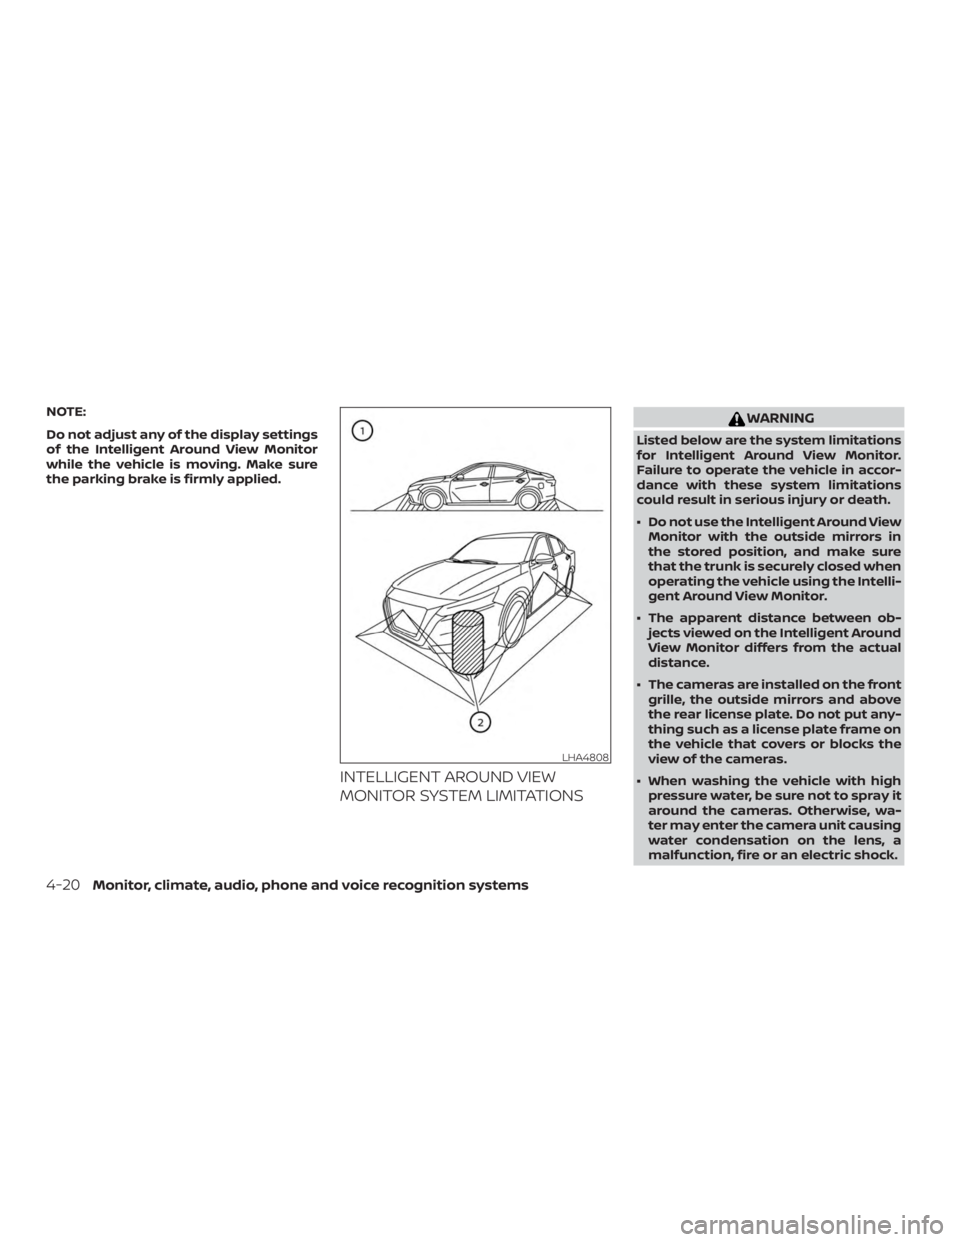
NOTE:
Do not adjust any of the display settings
of the Intelligent Around View Monitor
while the vehicle is moving. Make sure
the parking brake is firmly applied.
INTELLIGENT AROUND VIEW
MONITOR SYSTEM LIMITATIONS
Page 260 of 559
∙ Failure to operate this vehicle cor-rectly could result in loss of control
and/or a rollover accident.
∙ Always use tires of the same type, size, brand, construction (bias, bias-
belted, or radial), and tread pattern on
all four wheels. Install tire chains on
the front wheels when driving on slip-
pery roads and drive carefully.
∙ Be sure to check the brakes immedi- ately af ter driving in mud or water. For
additional information, refer to “Brake
precautions” in this section.
∙ Avoid parking your vehicle on steep hills. If you get out of the vehicle and it
rolls forward, backward or sideways,
you could be injured.
∙ Whenever you drive off-road through sand, mud or water as deep as the
wheel hub, more frequent mainte-
nance may be required. For additional
information, refer to “Maintenance
under severe operating conditions” in
the “Maintenance and schedules” sec-
tion of this manual.
Page 264 of 559
∙ Make sure the area around the vehicle isclear.
∙ Check fluid levels such as engine oil, coolant, brake fluid, and windshield-
washer fluid as frequently as possible,
or at least whenever you refuel.
∙ Check that all windows and lights are clean.
∙ Visually inspect tires for their appear- ance and condition. Also check tires for
proper inflation.
∙ Lock all doors.
∙ Position seat and adjust headrests/head restraints.
∙ Adjust inside and outside mirrors.
∙ Fasten seat belts and ask all passen- gers to do likewise.
∙ Check the operation of warning lights when the ignition switch is pushed to
the ON position. For additional informa-
tion, refer to “Warning lights, indicator
lights and audible reminders” in the “In-
struments and controls” section of this
manual. 1. Apply the parking brake.
2. Move the shif t lever to P (Park) or N
(Neutral). P (Park) is recommended.
The starter is designed not to oper-
ate if the shif t lever is in any of the
driving positions.
3. Push the ignition switch to the ON po- sition. Depress the brake pedal and
push the ignition switch to start the
engine.
To start the engine immediately, push
and release the ignition switch while
depressing the brake pedal with the
ignition switch in any position.
∙ If the engine is very hard to start in extremely cold weather or when re-
starting, depress the accelerator
pedal a little (approximately 1/3 to the
floor) and while holding, crank the en-
gine. Release the accelerator pedal
when the engine starts.
∙ If the engine is very hard to start be- cause it is flooded, depress the accel-
erator pedal all the way to the floor
and hold it. Push the ignition switch
to the ON position to start cranking
the engine. Af ter 5 or 6 seconds, stop
cranking by pushing the ignition switch to the LOCK position. Af ter
cranking the engine, release the ac-
celerator pedal. Crank the engine
with your foot off the accelerator
pedal by depressing the brake pedal
and pushing the ignition switch to
start the engine. If the engine starts,
but fails to run, repeat the above pro-
cedure.
Page 265 of 559
5. To stop the engine, move the shif t leverto the P (Park) position and push the
ignition switch to the OFF position.
NOTE:
Care should be taken to avoid situations
that can lead to potential battery dis-
charge and potential no-start conditions
such as: 1. Installation or extended use of elec-
tronic accessories that consume bat-
tery power when the engine is not
running (phone chargers, GPS, DVD
players, etc.).
2. The vehicle is not driven regularly
and/or only driven short distances.
In these cases, the battery may need to
be charged to maintain battery health.
REMOTE ENGINE START
Vehicles started with the Remote Engine
Start require the ignition switch to be
placed in the ON position before the shif t
lever can be moved from the P (Park) posi-
tion. To place the ignition switch in the ON
position, follow these steps: 1. Make sure that the Intelligent Key is on you. 2. Apply the brake.
3. Push the ignition switch once to the ON
position.
For additional information, refer to “NISSAN
Intelligent Key®” in the “Pre-driving checks
and adjustments” section of this manual.
CONTINUOUSLY VARIABLE
TRANSMISSION (CVT)
Page 266 of 559
CAUTION
∙ Except in an emergency, do not shif tto the N (Neutral) position while driv-
ing. Coasting with the transmission in
the N (Neutral) position may cause se-
rious damage to the transmission.
∙ To avoid possible damage to your ve- hicle, when stopping the vehicle on an
uphill grade, do not hold the vehicle by
depressing the accelerator pedal. The
foot brake should be used for this
purpose.
The CVT in your vehicle is electronically
controlled to produce maximum power
and smooth operation.
Follow these procedures for maximum ve-
hicle performance and driving enjoyment.
NOTE:
Engine power may be automatically re-
duced to protect the CVT if the engine
speed increases quickly when driving on
slippery roads or while being tested on
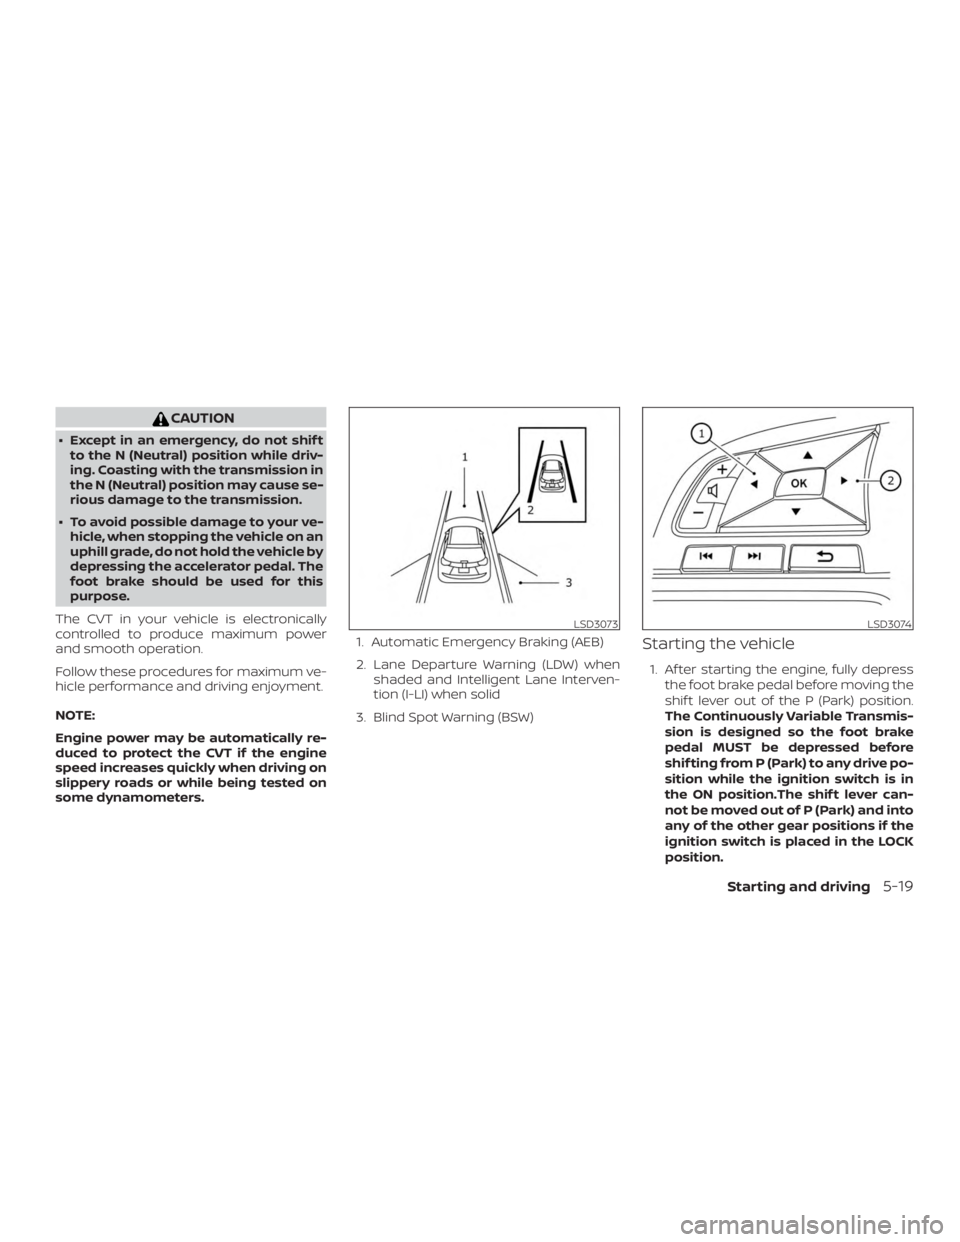
some dynamometers. 1. Automatic Emergency Braking (AEB)
2. Lane Departure Warning (LDW) when
shaded and Intelligent Lane Interven-
tion (I-LI) when solid
3. Blind Spot Warning (BSW)
Starting the vehicle
1. Af ter starting the engine, fully depress the foot brake pedal before moving the
shif t lever out of the P (Park) position.
The Continuously Variable Transmis-
sion is designed so the foot brake
pedal MUST be depressed before
shif ting from P (Park) to any drive po-
sition while the ignition switch is in
the ON position.The shif t lever can-
not be moved out of P (Park) and into
any of the other gear positions if the
ignition switch is placed in the LOCK
position.
Page 271 of 559
WARNING
If the shif t lever cannot be moved from
the P (Park) position while the engine is
running and the brake pedal is de-
pressed, the stop lights may not work.
Malfunctioning stop lights could cause
an accident injuring yourself and
others.
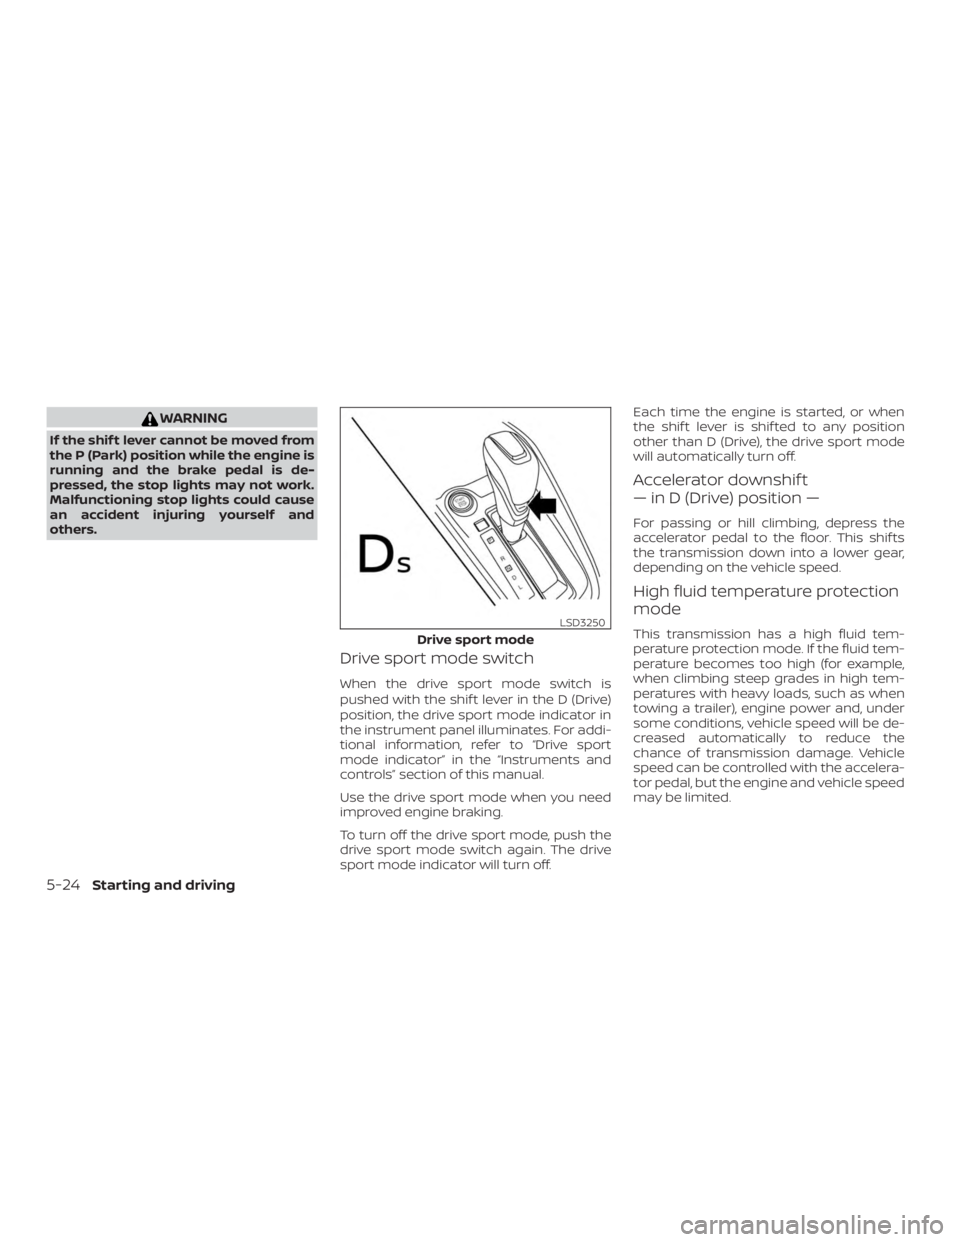
Drive sport mode switch
When the drive sport mode switch is
pushed with the shif t lever in the D (Drive)
position, the drive sport mode indicator in
the instrument panel illuminates. For addi-
tional information, refer to “Drive sport
mode indicator” in the “Instruments and
controls” section of this manual.
Use the drive sport mode when you need
improved engine braking.
To turn off the drive sport mode, push the
drive sport mode switch again. The drive
sport mode indicator will turn off.Each time the engine is started, or when
the shif t lever is shif ted to any position
other than D (Drive), the drive sport mode
will automatically turn off.
Accelerator downshif t
— in D (Drive) position —
For passing or hill climbing, depress the
accelerator pedal to the floor. This shif ts
the transmission down into a lower gear,
depending on the vehicle speed.
High fluid temperature protection
mode
This transmission has a high fluid tem-
perature protection mode. If the fluid tem-
perature becomes too high (for example,
when climbing steep grades in high tem-
peratures with heavy loads, such as when
towing a trailer), engine power and, under
some conditions, vehicle speed will be de-
creased automatically to reduce the
chance of transmission damage. Vehicle
speed can be controlled with the accelera-
tor pedal, but the engine and vehicle speed
may be limited.