oil level NISSAN ALTIMA 2023 Owners Manual
[x] Cancel search | Manufacturer: NISSAN, Model Year: 2023, Model line: ALTIMA, Model: NISSAN ALTIMA 2023Pages: 644, PDF Size: 4.12 MB
Page 101 of 644
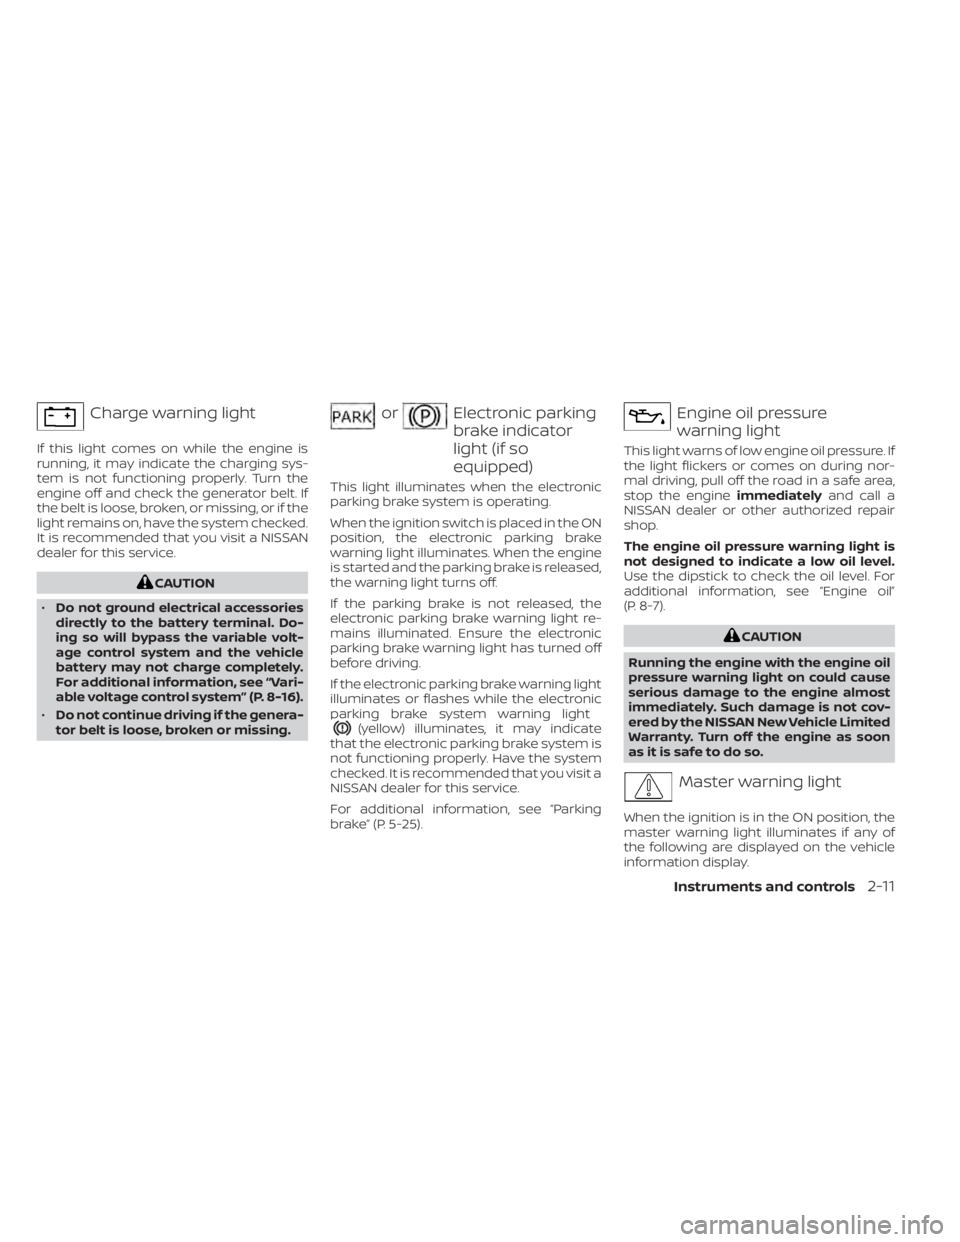
Charge warning light
If this light comes on while the engine is
running, it may indicate the charging sys-
tem is not functioning properly. Turn the
engine off and check the generator belt. If
the belt is loose, broken, or missing, or if the
light remains on, have the system checked.
It is recommended that you visit a NISSAN
dealer for this service.
CAUTION
• Do not ground electrical accessories
directly to the battery terminal. Do-
ing so will bypass the variable volt-
age control system and the vehicle
battery may not charge completely.
For additional information, see “Vari-
able voltage control system” (P. 8-16).
• Do not continue driving if the genera-
tor belt is loose, broken or missing.
orElectronic parking
brake indicator
light (if so
equipped)
This light illuminates when the electronic
parking brake system is operating.
When the ignition switch is placed in the ON
position, the electronic parking brake
warning light illuminates. When the engine
is started and the parking brake is released,
the warning light turns off.
If the parking brake is not released, the
electronic parking brake warning light re-
mains illuminated. Ensure the electronic
parking brake warning light has turned off
before driving.
If the electronic parking brake warning light
illuminates or flashes while the electronic
parking brake system warning light
(yellow) illuminates, it may indicate
that the electronic parking brake system is
not functioning properly. Have the system
checked. It is recommended that you visit a
NISSAN dealer for this service.
For additional information, see “Parking
brake” (P. 5-25).
Engine oil pressure
warning light
This light warns of low engine oil pressure. If
the light flickers or comes on during nor-
mal driving, pull off the road in a safe area,
stop the engine immediatelyand call a
NISSAN dealer or other authorized repair
shop.
The engine oil pressure warning light is
not designed to indicate a low oil level.
Use the dipstick to check the oil level. For
additional information, see “Engine oil”
(P. 8-7).
CAUTION
Running the engine with the engine oil
pressure warning light on could cause
serious damage to the engine almost
immediately. Such damage is not cov-
ered by the NISSAN New Vehicle Limited
Warranty. Turn off the engine as soon
as it is safe to do so.
Master warning light
When the ignition is in the ON position, the
master warning light illuminates if any of
the following are displayed on the vehicle
information display.
Instruments and controls2-11
Page 120 of 644
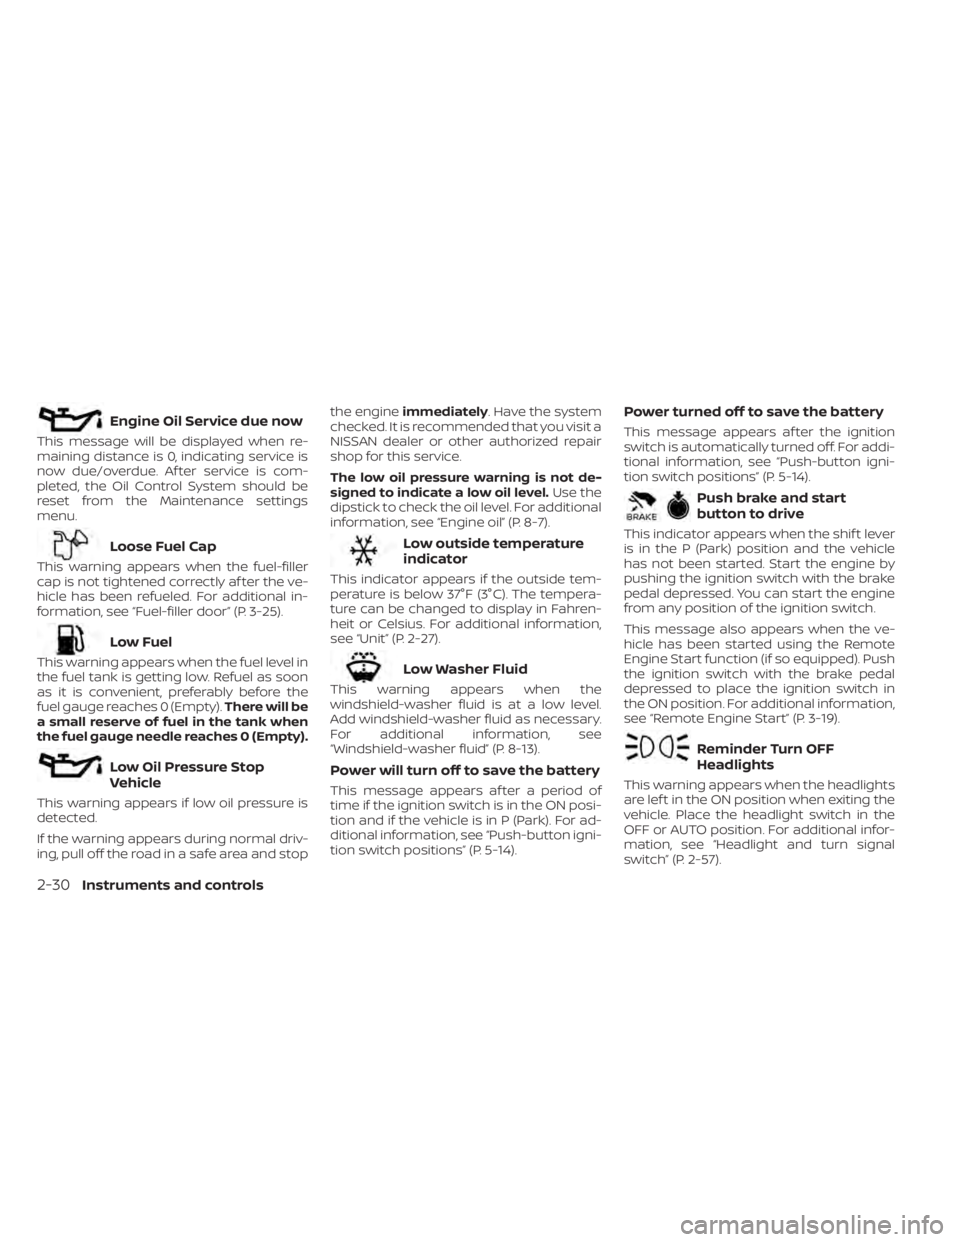
Engine Oil Service due now
This message will be displayed when re-
maining distance is 0, indicating service is
now due/overdue. Af ter service is com-
pleted, the Oil Control System should be
reset from the Maintenance settings
menu.
Loose Fuel Cap
This warning appears when the fuel-filler
cap is not tightened correctly af ter the ve-
hicle has been refueled. For additional in-
formation, see “Fuel-filler door” (P. 3-25).
Low Fuel
This warning appears when the fuel level in
the fuel tank is getting low. Refuel as soon
as it is convenient, preferably before the
fuel gauge reaches 0 (Empty).There will be
a small reserve of fuel in the tank when
the fuel gauge needle reaches 0 (Empty).
Low Oil Pressure Stop
Vehicle
This warning appears if low oil pressure is
detected.
If the warning appears during normal driv-
ing, pull off the road in a safe area and stop the engine
immediately . Have the system
checked. It is recommended that you visit a
NISSAN dealer or other authorized repair
shop for this service.
The low oil pressure warning is not de-
signed to indicate a low oil level. Use the
dipstick to check the oil level. For additional
information, see “Engine oil” (P. 8-7).
Low outside temperature
indicator
This indicator appears if the outside tem-
perature is below 37°F (3°C). The tempera-
ture can be changed to display in Fahren-
heit or Celsius. For additional information,
see “Unit” (P. 2-27).
Low Washer Fluid
This warning appears when the
windshield-washer fluid is at a low level.
Add windshield-washer fluid as necessary.
For additional information, see
“Windshield-washer fluid” (P. 8-13).
Power will turn off to save the battery
This message appears af ter a period of
time if the ignition switch is in the ON posi-
tion and if the vehicle is in P (Park). For ad-
ditional information, see “Push-button igni-
tion switch positions” (P. 5-14).
Power turned off to save the battery
This message appears af ter the ignition
switch is automatically turned off. For addi-
tional information, see “Push-button igni-
tion switch positions” (P. 5-14).
Push brake and start
button to drive
This indicator appears when the shif t lever
is in the P (Park) position and the vehicle
has not been started. Start the engine by
pushing the ignition switch with the brake
pedal depressed. You can start the engine
from any position of the ignition switch.
This message also appears when the ve-
hicle has been started using the Remote
Engine Start function (if so equipped). Push
the ignition switch with the brake pedal
depressed to place the ignition switch in
the ON position. For additional information,
see “Remote Engine Start” (P. 3-19).
Reminder Turn OFF
Headlights
This warning appears when the headlights
are lef t in the ON position when exiting the
vehicle. Place the headlight switch in the
OFF or AUTO position. For additional infor-
mation, see “Headlight and turn signal
switch” (P. 2-57).
2-30Instruments and controls
Page 254 of 644
• When the climate system is in automaticoperation and the engine coolant tem-
perature and outside air temperature are
low, the air flow outlet may default to de-
froster mode for a maximum of 2 min-
utes 30 seconds. This is not a malfunc-
tion. Af ter the engine coolant
temperature warms up, the air flow outlet
will return to foot mode and operation will
continue normally.
• When the outside and interior cabin tem- peratures are moderate to high, the in-
take setting may default to turn off air
recirculation to allow fresh air into the
passenger compartment. You may no-
tice air flow from the foot mode, bi-level
mode, or side demist vent outlets for a
maximum of 15 seconds. This may occur
when the previous climate setting was
turned off. This is not a malfunction. Af ter
the initial warm air is expelled, the intake
will return to automatic control, the air
flow outlet will return to previous settings,
and operation will continue normally. To
exit, press any climate control button.
• Keep the moonroof (if so equipped) closed while the air conditioner is in
operation. • If you feel that the air flow mode you have
selected and the outlets the air is coming
out do not match, select the
mode.
• When you change the air flow mode, you may feel air flow from the foot outlets for
just a moment. This is not a malfunction. The air conditioner system in your NISSAN
vehicle is charged with a refrigerant de-
signed with the environment in mind.
This refrigerant does not harm the
earth's ozone layer.
Special charging equipment and lubricant
is required when servicing your NISSAN air
conditioner. Using improper refrigerants or
lubricants will cause severe damage to
your air conditioner system. For additional
information, see “Air conditioner system re-
frigerant and oil recommendations”
(P. 10-8).
It is recommended that you visit a NISSAN
dealer to service your “environmentally
friendly ” air conditioner system.
WARNING
The air conditioner system contains re-
frigerant under high pressure. To avoid
personal injury, any air conditioner ser-
vice should be done only by an experi-
enced technician with proper
equipment.
SERVICING AIR CONDITIONER
4-44Monitor, climate, audio, phone and voice recognition systems
Page 312 of 644
NISSAN VEHICLE IMMOBILIZER
SYSTEM
The NISSAN Vehicle Immobilizer System
will not allow the engine to start without
the use of the registered key.
If the engine fails to start using a registered
key (for example, when interference is
caused by another registered key, an auto-
mated toll road device or automatic pay-
ment device on the key ring), restart the
engine using the following procedure:
1. Leave the ignition switch in the ON posi-tion for approximately 5 seconds.
2. Place the ignition switch in the OFF or LOCK position, and wait approximately
10 seconds.
3. Repeat steps 1 and 2.
4. Restart the engine while holding the de- vice (which may have caused the inter-
ference) separate from the registered
key.
If the no start condition re-occurs, NISSAN
recommends placing the registered key on
a separate key ring to avoid interference
from other devices. • Make sure the area around the vehicle is
clear.
• Check fluid levels such as engine oil, cool- ant, brake fluid, and windshield-washer
fluid as frequently as possible, or at least
whenever you refuel.
• Check that all windows and lights are clean.
• Visually inspect tires for their appearance and condition. Also check tires for proper
inflation.
• Lock all doors.
• Position seat and adjust headrests/head restraints.
• Adjust inside and outside mirrors.
• Fasten seat belts and ask all passengers to do likewise.
• Check the operation of warning lights when the ignition switch is pushed to the
ON position. For additional information,
see “Warning lights, indicator lights and
audible reminders” (P. 2-9). 1. Apply the parking brake.
2. Move the shif t lever to P (Park) or N (Neu-
tral). P (Park) is recommended.
The starter is designed not to operate
if the shif t lever is in any of the driving
positions.
3. Push the ignition switch to the ON posi- tion. Depress the brake pedal and push
the ignition switch to start the engine.
To start the engine immediately, push
and release the ignition switch while de-
pressing the brake pedal with the igni-
tion switch in any position.
• If the engine is very hard to start in extremely cold weather or when re-
starting, depress the accelerator
pedal a little (approximately 1/3 to the
floor) and while holding, crank the en-
gine. Release the accelerator pedal
when the engine starts.
• If the engine is very hard to start be- cause it is flooded, depress the accel-
erator pedal all the way to the floor
and hold it. Push the ignition switch to
the ON position to start cranking the
engine. Af ter 5 or 6 seconds, stop
cranking by pushing the ignition
switch to the LOCK position. Af ter
BEFORE STARTING THE ENGINE STARTING THE ENGINE
5-16Starting and driving
Page 517 of 644
8 Do-it-yourself
Maintenance precautions.......................8-2
Engine compartment check locations ...........8-3
Engine cooling system ..........................8-5
Checking engine coolant level ................8-6
Changing engine coolant ....................8-6
Engine oil .......................................8-7
Checking engine oil level .....................8-7
Changing engine oil and oil filter ..............8-8
Continuously Variable Transmission (CVT)
fluid ............................................ 8-12
Brake fluid ...................................... 8-12
Windshield-washer fluid ........................8-13
Windshield-washer fluid reservoir ...........8-13
Battery......................................... 8-14
Jump starting ............................... 8-15
Variable voltage control system ................8-16
Drive belt ....................................... 8-16
Spark plugs .................................... 8-17
Replacing spark plugs ....................... 8-17
Air cleaner ..................................... 8-18In-cabin microfilter
.......................... 8-18
Windshield wiper blades ........................8-19
Cleaning .................................... 8-19
Replacing ................................... 8-19
Brakes ......................................... 8-20
Fuses .......................................... 8-21
Engine compartment ....................... 8-21
Passenger compartment ...................8-22
Battery replacement ........................... 8-23
NISSAN Intelligent Key® ......................8-24
Lights .......................................... 8-25
Headlights .................................. 8-25
Fog lights (if so equipped) ...................8-26
Exterior and interior lights ...................8-26
Wheels and tires ............................... 8-29
Tire pressure ................................ 8-29
Tire labeling ................................. 8-33
Types of tires ................................
8-36
Tir
e chains .................................. 8-37
Changing wheels and tires ..................8-39
Page 518 of 644
When performing any inspection or main-
tenance work on your vehicle, always take
care to prevent serious accidental injury to
yourself or damage to the vehicle. The fol-
lowing are general precautions which
should be closely observed.
WARNING
• Park the vehicle on a level surface,
apply the parking brake securely and
block the wheels to prevent the ve-
hicle from moving. Move the shif t le-
ver to P (Park).
• Be sure the ignition switch is in the
OFF or LOCK position when perform-
ing any parts replacement or repairs.
• If you must work with the engine run-
ning, keep your hands, clothing, hair
and tools away from moving fans,
belts and any other moving parts.
• It is advisable to secure or remove
any loose clothing and remove any
jewelry, such as rings, watches, etc.
before working on your vehicle.
• Always wear eye protection when-
ever you work on your vehicle. •
Your vehicle is equipped with an au-
tomatic engine cooling fan. It may
come on at any time without
warning, even if the ignition switch is
in the OFF position and the engine is
not running. To avoid injury, always
disconnect the negative battery
cable before working near the fan.
• If you must run the engine in an en-
closed space such as a garage, be
sure there is proper ventilation for
exhaust gases to escape.
• Never get under the vehicle while it is
supported only by a jack. If it is nec-
essary to work under the vehicle,
support it with safety stands.
• Keep smoking materials, flame and
sparks away from the fuel tank and
battery.
• On gasoline engine models, the fuel
filter or fuel lines should be serviced.
It is recommended that you visit a
NISSAN dealer for this service be-
cause the fuel lines are under high
pressure even when the engine is off.
CAUTION
• Do not work under the hood while
the engine is hot. Turn the engine off
and wait until it cools down. •
Avoid contact with used engine oil
and coolant. Improperly disposed
engine oil, engine coolant and/or
other vehicle fluids can damage the
environment. Always conform to lo-
cal regulations for disposal of vehicle
fluid.
• Never leave the engine or the trans-
mission related component harness
connector disconnected while the ig-
nition switch is in the ON position.
• Never connect or disconnect the bat-
tery or any transistorized compo-
nent while the ignition switch is in
the ON position.
This “Do-it-yourself ” section gives instruc-
tions regarding only those items which are
relatively easy for an owner to perform.
A Genuine NISSAN service manual is also
available. For additional information, see
“Owner's Manual/Service Manual order in-
formation” (P. 10-26).
You should be aware that incomplete or
improper servicing may result in operating
difficulties or excessive emissions, and
could affect warranty coverage. If in doubt
about any servicing, it is recommended
that you have it done by a NISSAN dealer.
MAINTENANCE PRECAUTIONS
8-2Do-it-yourself
Page 523 of 644
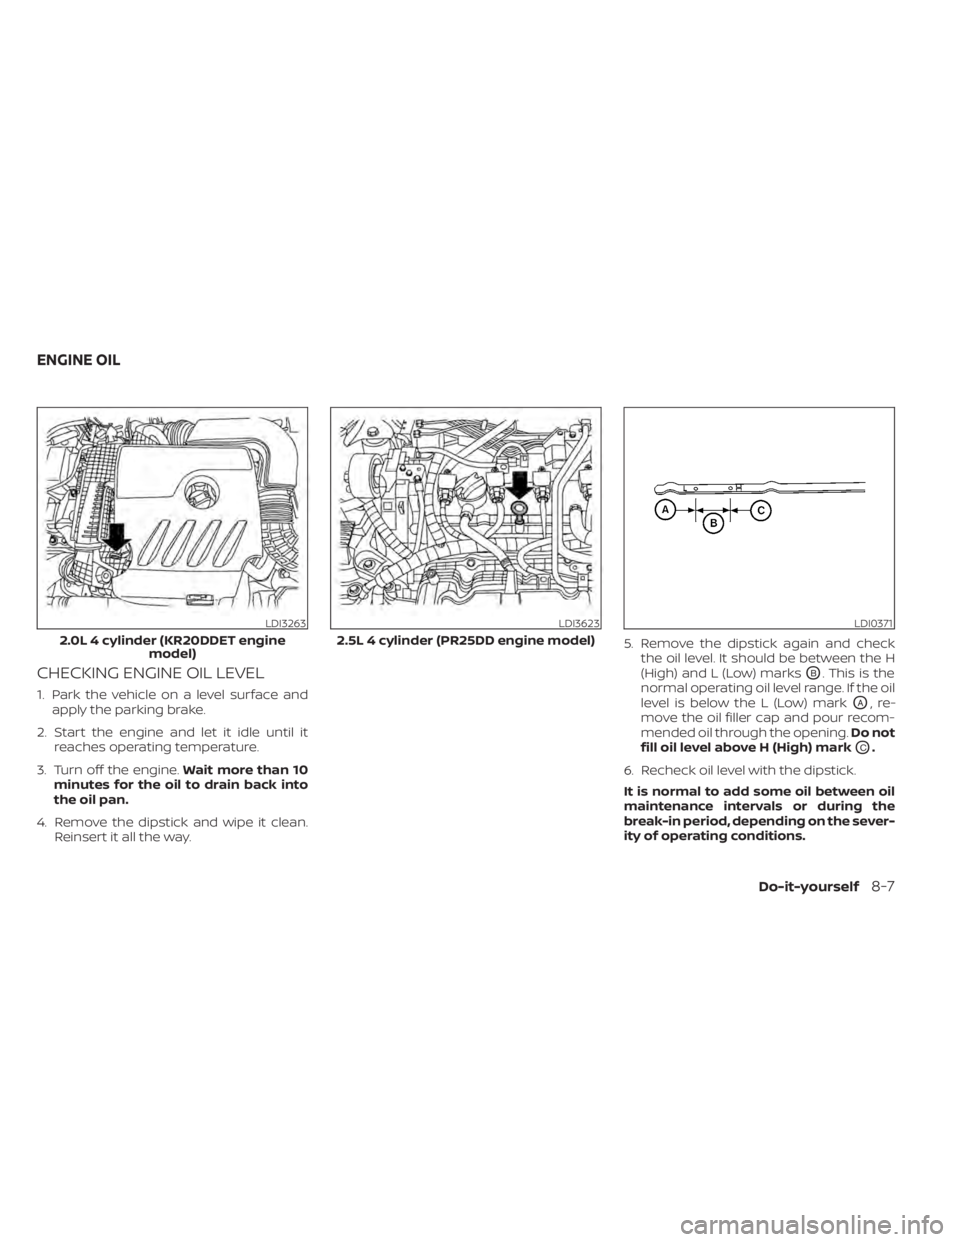
CHECKING ENGINE OIL LEVEL
1. Park the vehicle on a level surface andapply the parking brake.
2. Start the engine and let it idle until it reaches operating temperature.
3. Turn off the engine. Wait more than 10
minutes for the oil to drain back into
the oil pan.
4. Remove the dipstick and wipe it clean. Reinsert it all the way. 5. Remove the dipstick again and check
the oil level. It should be between the H
(High) and L (Low) marks
OB. This is the
normal operating oil level range. If the oil
level is below the L (Low) mark
OA,re-
move the oil filler cap and pour recom-
mended oil through the opening. Do not
fill oil level above H (High) mark
OC.
6. Recheck oil level with the dipstick.
It is normal to add some oil between oil
maintenance intervals or during the
break-in period, depending on the sever-
ity of operating conditions.
LDI3263
2.0L 4 cylinder (KR20DDET engine model)
LDI3623
2.5L 4 cylinder (PR25DD engine model)
LDI0371
ENGINE OIL
Do-it-yourself8-7
Page 524 of 644
CAUTION
• Oil level should be checked regularly.
Operating the engine with an insuffi-
cient amount of oil can damage the
engine, and such damage is not cov-
ered by warranty.
• It is normal to add some oil between
oil maintenance intervals or during
the break-in period, depending on
the severity of operating conditions.
CHANGING ENGINE OIL AND OIL
FILTER
For additional information on engine oil
and oil filter change, refer to the instruc-
tions outlined in this section.
Vehicle set-up
1. Park the vehicle on a level surface and apply the parking brake.
2. Run the engine until it reaches operating temperature.
3. Turn the engine off and wait for 15 minutes.
4. Raise and support the vehicle using a suitable floor jack and safety jack
stands. • Place the safety jack stands under the
vehicle jack-up points.
• A suitable adapter should be attached to the jack stand saddle.
CAUTION
Make sure the correct lif ting and sup-
port points are used to avoid vehicle
damage.
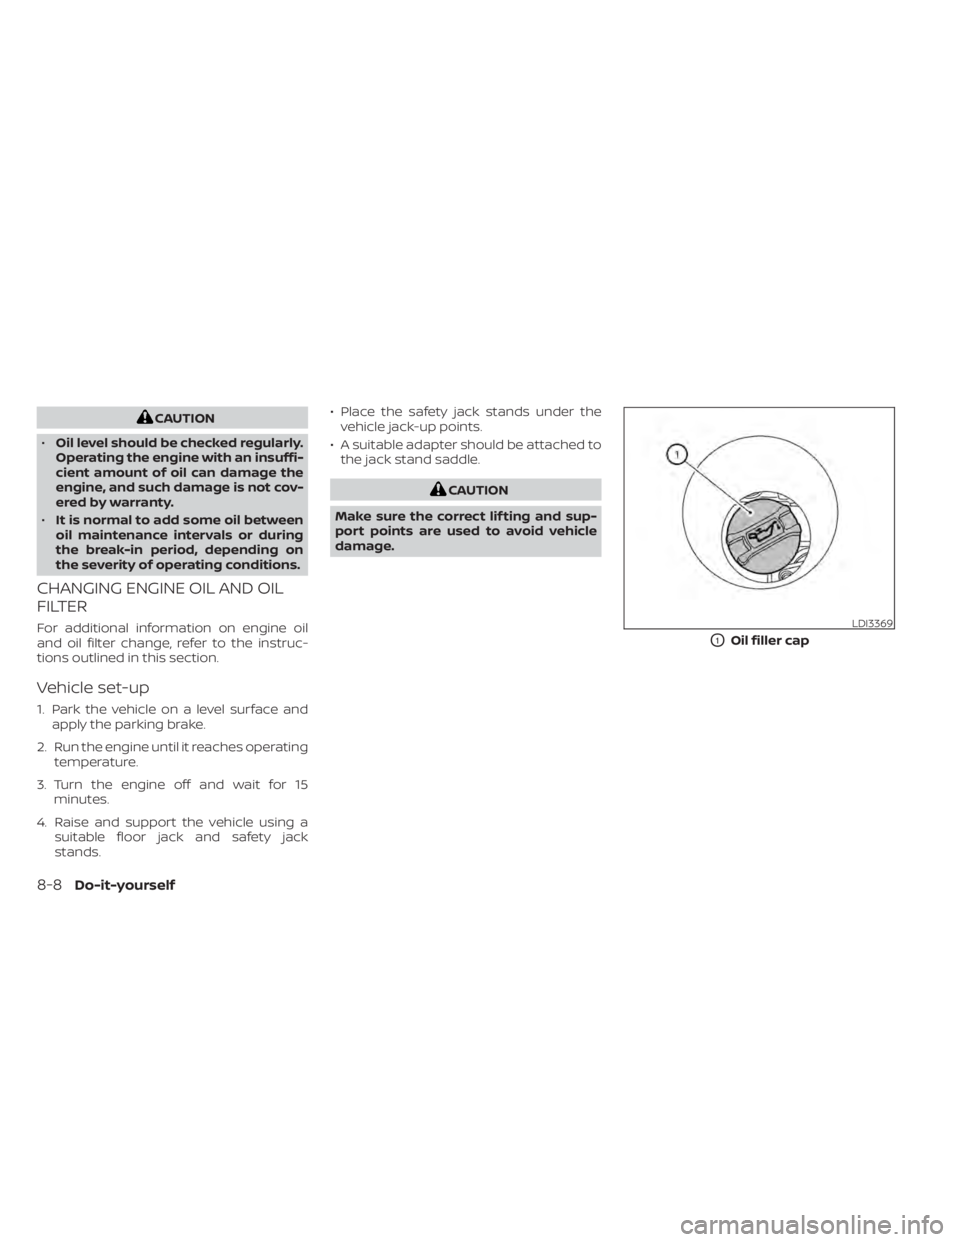
LDI3369
O1Oil filler cap
8-8Do-it-yourself
Page 527 of 644
CAUTION
Be careful not to burn yourself, as the
engine oil is hot.
WARNING
• Prolonged and repeated contact
with used engine oil may cause skin
cancer.
• Try to avoid direct skin contact with
used oil. If skin contact is made, wash
thoroughly with soap or hand
cleaner as soon as possible.
• Keep used engine oil out of reach of
children.
4. Loosen the oil filter with an oil filter wrench by turning it counterclockwise.
Remove the oil filter by turning it by
hand.
5. Wipe the engine oil filter mounting sur- face with a clean rag.
CAUTION
Be sure to remove any old gasket ma-
terial remaining on the sealing surface
of the engine. Failure to do so could
lead to an oil leak and engine damage. •
The dipstick must be inserted in
place to prevent oil spillage from the
dipstick hole when filling the engine
with oil.
6. Coat the gasket on the new filter with clean engine oil.
7. Screw in the oil filter clockwise until a slight resistance is felt, then tighten addi-
tionally more than 2/3 turn.
Oil filter tightening torque: 11 to 15 f t-lb (14.7 to 20.6 N·m)
8. Clean and re-install the drain plug with a new washer. Securely tighten the drain
plug with a wrench. Do not use exces-
sive force.
Drain plug tightening torque: 22 to 29 f t-lb (29.4 to 39.2 N·m)
9. Refill the engine with the recommended oil through the oil filler opening, and in-
stall the oil filler cap securely.
For additional information about drain and
refill capacity, see “Recommended fluids/
lubricants and capacities” (P. 10-2). The
drain and refill capacity depends on the oil
temperature and drain time. Use these
specifications for reference only. Always use the dipstick to determine the proper
amount of oil in the engine.
10. Start the engine and check for leakage
around the drain plug and the oil filter.
Correct as required. Turn the engine off
and wait more than 15 minutes. Check
the oil level with the dipstick. Add en-
gine oil if necessary.
Af ter the operation
1. Reinstall undercover in reverse order ofremoval.
2. Lower the vehicle carefully to the ground.
3. Reset the oil control system (if so equipped) and oil and filter maintenance
reminder. For additional information,
see “Vehicle information display – 5 inch
(13 cm) Type A” (P. 2-18) or “Vehicle infor-
mation display – 7 inch (18 cm) Type B”
(P. 2-34)
• Dispose of waste oil and filter properly.
• Check your local regulations.
Do-it-yourself8-11
Page 564 of 644

Brakes:Check that the brakes do not pull
the vehicle to one side when applied.
Continuously Variable Transmission
(CVT) P (Park) position mechanism: On a
fairly steep hill check that the vehicle is held
securely with the shif t lever in the P (Park)
position without applying any brakes.
Parking brake: Check the parking brake
operation regularly. The vehicle should be
securely held on a fairly steep hill with only
the parking brake applied. If the parking
brake needs adjustment, it is recom-
mended that you visit a NISSAN dealer for
this service.
Seats: Check seat position controls such
as seat adjusters, seatback recliner, etc., to
ensure they operate smoothly and all
latches lock securely in every position.
Check that the head restraints/headrests
move up and down smoothly and the locks
(if so equipped) hold securely in all latched
positions.
Seat belts: Check that all parts of the seat
belt system (for example, buckles, anchors,
adjusters and retractors) operate properly
and smoothly, and are installed securely.
Check the belt webbing for cuts, fraying,
wear or damage. Steering wheel:
Check for changes in the
steering system, such as excessive free
play, hard steering or strange noises.
Warning lights and chimes: Make sure all
warning lights and chimes are operating
properly.
Windshield defroster: Check that the air
comes out of the defroster outlets properly
and in sufficient quantity when operating
the heater or air conditioner.
Windshield wiper and washer*: Check
that the wipers and washer operate prop-
erly and that the wipers do not streak.
Under the hood and vehicle
The maintenance items listed here should
be checked periodically (for example, each
time you check the engine oil or refuel).
Battery*: This vehicle is equipped with a
sealed maintenance free battery. It is rec-
ommended that you visit a NISSAN dealer
for service.
NOTE:
Care should be taken to avoid situations
that can lead to potential battery dis-
charge and potential no-start conditions
such as:
1. Installation or extended use of elec- tronic accessories that consume bat-
tery power when the engine is not
running (Phone chargers, GPS, DVD
players, etc.).
2. Vehicle is not driven regularly and/or only driven short distances.
In these cases, the battery may need to
be charged to maintain battery health.
Brake fluid level*: Make sure that the brake
fluid level is between the MAX and MIN lines
on the reservoir.
Engine coolant level*: Check the coolant
level when the engine is cold.
Engine drive belts*: Make sure the drive
belts are not frayed, worn, cracked or oily.
Engine oil level*: Check the level af ter
parking the vehicle on a level spot and
turning off the engine. Wait more than 15
minutes for the oil to drain back into the oil
pan.
9-4Maintenance and schedules