oil temperature NISSAN ALTIMA 2023 Owners Manual
[x] Cancel search | Manufacturer: NISSAN, Model Year: 2023, Model line: ALTIMA, Model: NISSAN ALTIMA 2023Pages: 644, PDF Size: 4.12 MB
Page 90 of 644
2 Instruments and controls
Instrument panel................................2-2
Meters and gauges .............................2-4
Speedometer and odometer .................2-4
Tachometer ..................................2-6
Engine coolant temperature gauge ..........2-6
Fuel gauge ................................... 2-7
Distance To Empty (DTE) .....................2-8
Variable Compression Turbo
(if so equipped) ...............................2-8
Warning lights, indicator lights and audible
reminders .......................................2-9
Checking lights .............................. 2-10
Warning/Indicator lights (red) ...............2-10
Warning/Indicator lights (yellow) ............2-12
Warning/Indicator lights (other) .............2-17
Audible reminders ........................... 2-18
Vehicle information display- 5 inch (13 cm)
Type A (if so equipped) ......................... 2-18
How to use the vehicle information
display ...................................... 2-19
Startup display .............................. 2-19
Resetting the drive computer ...............2-20
Oil control system (if so equipped) ...........2-20
Settings ..................................... 2-21
Vehicle information display warnings
and indicators ............................... 2-28Vehicle information display —7 inch (18 cm)
Type B (if so equipped)
......................... 2-34
How to use the vehicle information
display ...................................... 2-35
Startup display .............................. 2-35
Resetting the drive computer ...............2-35
Oil control system (if so equipped) ...........2-36
Settings ..................................... 2-37
Vehicle information display warnings
and indicators ............................... 2-45
Security systems ............................... 2-52
Vehicle security system .....................2-52
NISSAN Vehicle Immobilizer System .........2-54
Wiper and washer switch .......................2-55
Switch operation ............................ 2-55
Rear window and outside mirror
(if so equipped) defroster switch ...............2-56
Headlight and turn signal switch ...............2-57
Headlight control switch ....................2-57
LED
Daytime Running Lights (DRL)
system (if so equipped) ......................2-62
Instrument brightness control ..............2-62
Turn signal switch ........................... 2-63
Fog light switch (if so equipped) .............2-63
Horn ........................................... 2-64
Page 120 of 644
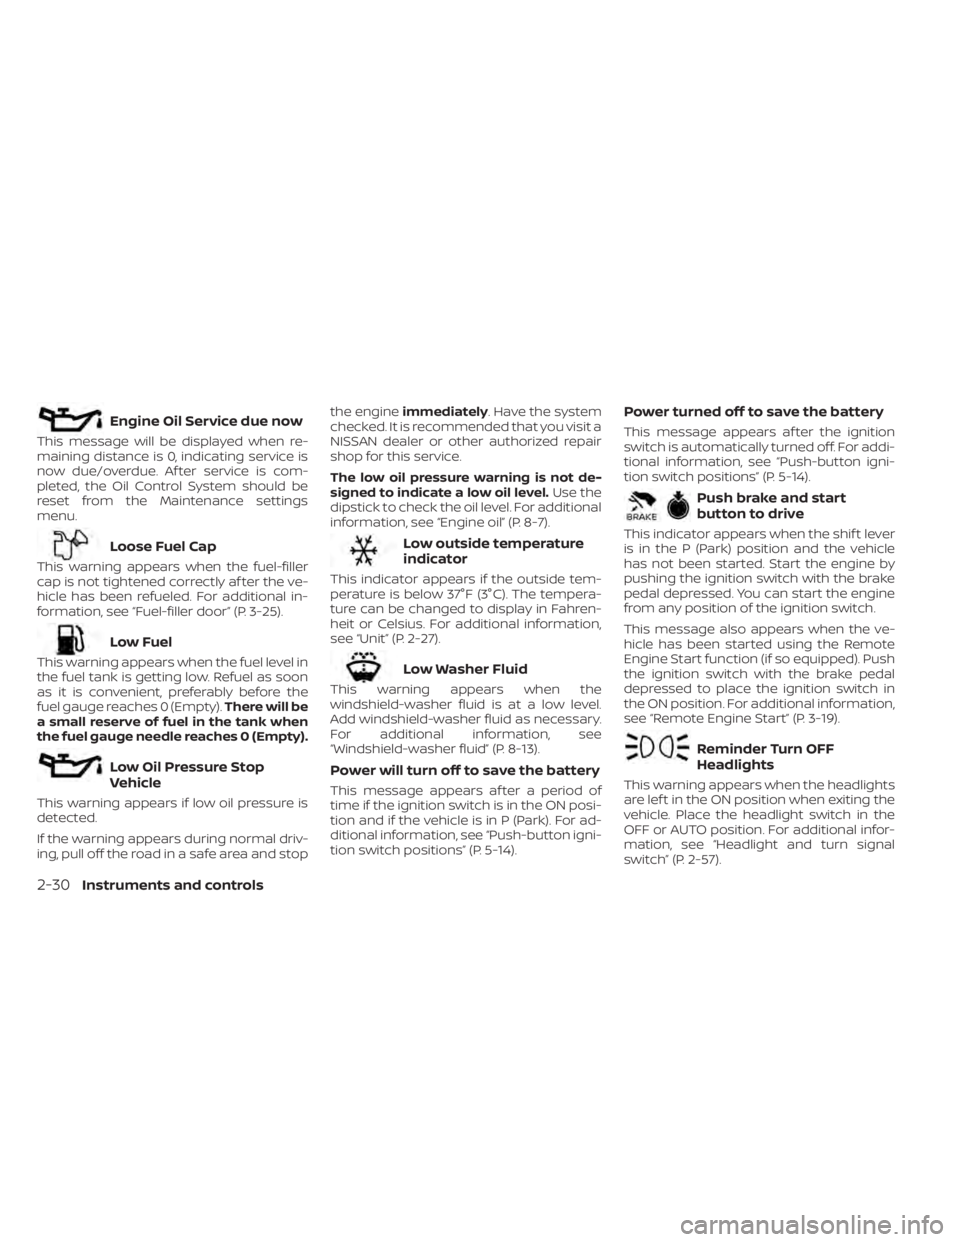
Engine Oil Service due now
This message will be displayed when re-
maining distance is 0, indicating service is
now due/overdue. Af ter service is com-
pleted, the Oil Control System should be
reset from the Maintenance settings
menu.
Loose Fuel Cap
This warning appears when the fuel-filler
cap is not tightened correctly af ter the ve-
hicle has been refueled. For additional in-
formation, see “Fuel-filler door” (P. 3-25).
Low Fuel
This warning appears when the fuel level in
the fuel tank is getting low. Refuel as soon
as it is convenient, preferably before the
fuel gauge reaches 0 (Empty).There will be
a small reserve of fuel in the tank when
the fuel gauge needle reaches 0 (Empty).
Low Oil Pressure Stop
Vehicle
This warning appears if low oil pressure is
detected.
If the warning appears during normal driv-
ing, pull off the road in a safe area and stop the engine
immediately . Have the system
checked. It is recommended that you visit a
NISSAN dealer or other authorized repair
shop for this service.
The low oil pressure warning is not de-
signed to indicate a low oil level. Use the
dipstick to check the oil level. For additional
information, see “Engine oil” (P. 8-7).
Low outside temperature
indicator
This indicator appears if the outside tem-
perature is below 37°F (3°C). The tempera-
ture can be changed to display in Fahren-
heit or Celsius. For additional information,
see “Unit” (P. 2-27).
Low Washer Fluid
This warning appears when the
windshield-washer fluid is at a low level.
Add windshield-washer fluid as necessary.
For additional information, see
“Windshield-washer fluid” (P. 8-13).
Power will turn off to save the battery
This message appears af ter a period of
time if the ignition switch is in the ON posi-
tion and if the vehicle is in P (Park). For ad-
ditional information, see “Push-button igni-
tion switch positions” (P. 5-14).
Power turned off to save the battery
This message appears af ter the ignition
switch is automatically turned off. For addi-
tional information, see “Push-button igni-
tion switch positions” (P. 5-14).
Push brake and start
button to drive
This indicator appears when the shif t lever
is in the P (Park) position and the vehicle
has not been started. Start the engine by
pushing the ignition switch with the brake
pedal depressed. You can start the engine
from any position of the ignition switch.
This message also appears when the ve-
hicle has been started using the Remote
Engine Start function (if so equipped). Push
the ignition switch with the brake pedal
depressed to place the ignition switch in
the ON position. For additional information,
see “Remote Engine Start” (P. 3-19).
Reminder Turn OFF
Headlights
This warning appears when the headlights
are lef t in the ON position when exiting the
vehicle. Place the headlight switch in the
OFF or AUTO position. For additional infor-
mation, see “Headlight and turn signal
switch” (P. 2-57).
2-30Instruments and controls
Page 138 of 644
Shipping Mode On Push Storage Fuse
This warning may appear if the extended
storage switch is not pushed in. When this
warning appears, push in the extended
storage switch to turn off the warning. For
additional information, see “Extended stor-
age switch” (P. 2-70).
Timer Alert Time for a
break?
This message appears when the set time
is reached. This time can be set up to six
hours. For additional information, see
“Driver Assistance” (P. 2-38)
Tire Pressure Low - Add Air
This warning appears when the low tire
pressure warning light in the meter illumi-
nates and low tire pressure is detected. The
warning appears each time the ignition
switch is placed in the ON position as long
as the low tire pressure warning light re-
mains illuminated. If this warning appears,
stop the vehicle and adjust the tire pres-
sures of all four tires to the recommended
COLD tire pressure shown on the Tire and
Loading Information label. For additional
information, see “Low tire pressure warning
light” (P. 2-13) and “Tire Pressure Monitoring
System (TPMS)” (P. 5-5).
Transmission Shif t Position
indicator
This indicator shows the transmission shif t
position.
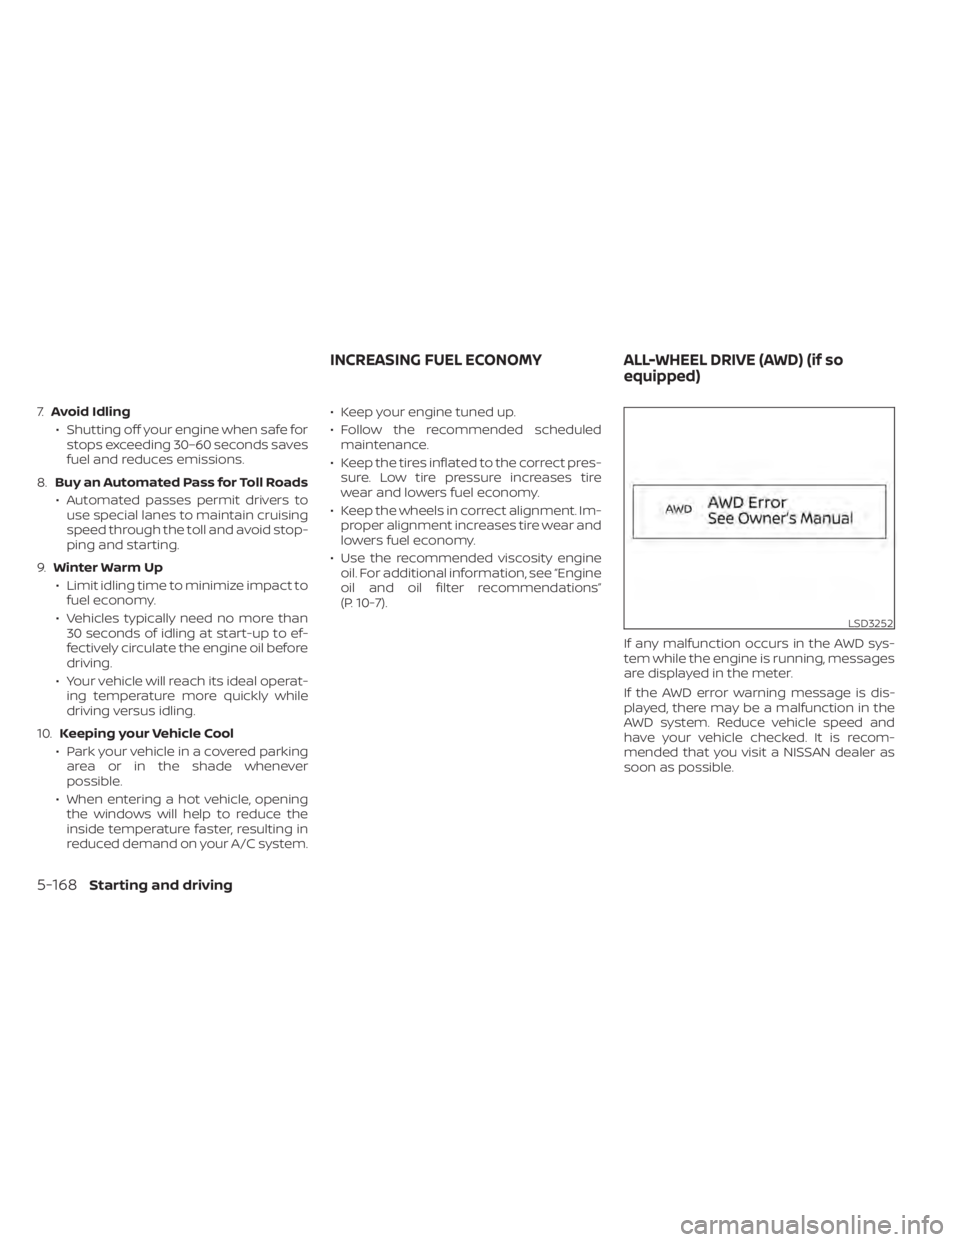
AWD Error: See Owner’s
Manual
This warning appears when the All-Wheel
Drive (AWD) system is not functioning prop-
erly while the engine is running.
AWD High Temp. Stop
Vehicle
This warning may appear while trying to
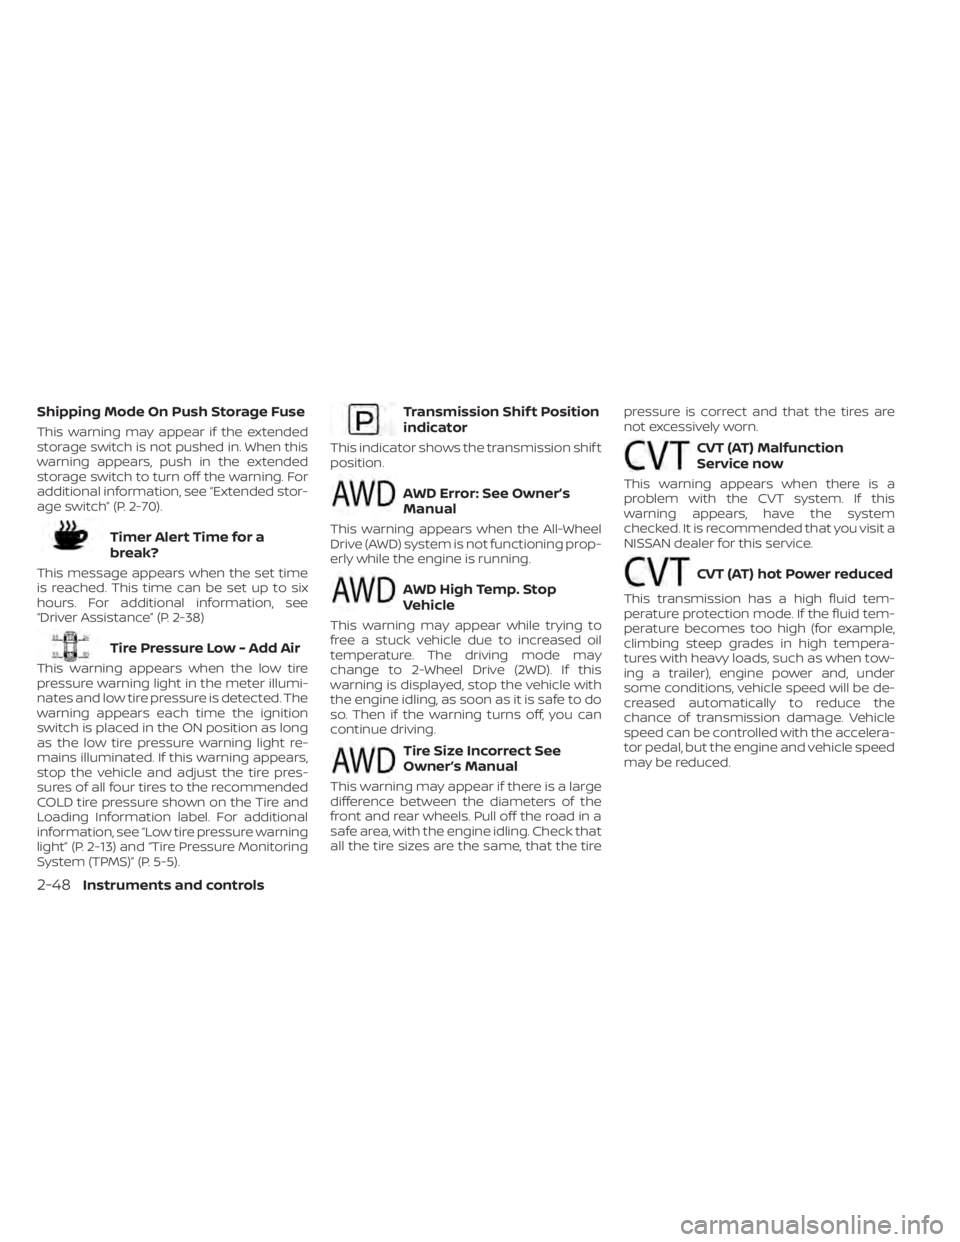
free a stuck vehicle due to increased oil
temperature. The driving mode may
change to 2-Wheel Drive (2WD). If this
warning is displayed, stop the vehicle with
the engine idling, as soon as it is safe to do
so. Then if the warning turns off, you can
continue driving.
Tire Size Incorrect See
Owner’s Manual
This warning may appear if there is a large
difference between the diameters of the
front and rear wheels. Pull off the road in a
safe area, with the engine idling. Check that
all the tire sizes are the same, that the tirepressure is correct and that the tires are
not excessively worn.
CVT (AT) Malfunction
Service now
This warning appears when there is a
problem with the CVT system. If this
warning appears, have the system
checked. It is recommended that you visit a
NISSAN dealer for this service.
CVT (AT) hot Power reduced
This transmission has a high fluid tem-
perature protection mode. If the fluid tem-
perature becomes too high (for example,
climbing steep grades in high tempera-
tures with heavy loads, such as when tow-
ing a trailer), engine power and, under
some conditions, vehicle speed will be de-
creased automatically to reduce the
chance of transmission damage. Vehicle
speed can be controlled with the accelera-
tor pedal, but the engine and vehicle speed
may be reduced.
2-48Instruments and controls
Page 254 of 644
• When the climate system is in automaticoperation and the engine coolant tem-
perature and outside air temperature are
low, the air flow outlet may default to de-
froster mode for a maximum of 2 min-
utes 30 seconds. This is not a malfunc-
tion. Af ter the engine coolant
temperature warms up, the air flow outlet
will return to foot mode and operation will
continue normally.
• When the outside and interior cabin tem- peratures are moderate to high, the in-
take setting may default to turn off air
recirculation to allow fresh air into the
passenger compartment. You may no-
tice air flow from the foot mode, bi-level
mode, or side demist vent outlets for a
maximum of 15 seconds. This may occur
when the previous climate setting was
turned off. This is not a malfunction. Af ter
the initial warm air is expelled, the intake
will return to automatic control, the air
flow outlet will return to previous settings,
and operation will continue normally. To
exit, press any climate control button.
• Keep the moonroof (if so equipped) closed while the air conditioner is in
operation. • If you feel that the air flow mode you have
selected and the outlets the air is coming
out do not match, select the
mode.
• When you change the air flow mode, you may feel air flow from the foot outlets for
just a moment. This is not a malfunction. The air conditioner system in your NISSAN
vehicle is charged with a refrigerant de-
signed with the environment in mind.
This refrigerant does not harm the
earth's ozone layer.
Special charging equipment and lubricant
is required when servicing your NISSAN air
conditioner. Using improper refrigerants or
lubricants will cause severe damage to
your air conditioner system. For additional
information, see “Air conditioner system re-
frigerant and oil recommendations”
(P. 10-8).
It is recommended that you visit a NISSAN
dealer to service your “environmentally
friendly ” air conditioner system.
WARNING
The air conditioner system contains re-
frigerant under high pressure. To avoid
personal injury, any air conditioner ser-
vice should be done only by an experi-
enced technician with proper
equipment.
SERVICING AIR CONDITIONER
4-44Monitor, climate, audio, phone and voice recognition systems
Page 464 of 644
7.Avoid Idling
• Shutting off your engine when safe for stops exceeding 30–60 seconds saves
fuel and reduces emissions.
8. Buy an Automated Pass for Toll Roads
• Automated passes permit drivers to use special lanes to maintain cruising
speed through the toll and avoid stop-
ping and starting.
9. Winter Warm Up
• Limit idling time to minimize impact to fuel economy.
• Vehicles typically need no more than 30 seconds of idling at start-up to ef-
fectively circulate the engine oil before
driving.
• Your vehicle will reach its ideal operat- ing temperature more quickly while
driving versus idling.
10. Keeping your Vehicle Cool
• Park your vehicle in a covered parking area or in the shade whenever
possible.
• When entering a hot vehicle, opening the windows will help to reduce the
inside temperature faster, resulting in
reduced demand on your A/C system. • Keep your engine tuned up.
• Follow the recommended scheduled
maintenance.
• Keep the tires inflated to the correct pres- sure. Low tire pressure increases tire
wear and lowers fuel economy.
• Keep the wheels in correct alignment. Im- proper alignment increases tire wear and
lowers fuel economy.
• Use the recommended viscosity engine oil. For additional information, see “Engine
oil and oil filter recommendations”
(P. 10-7).
If any malfunction occurs in the AWD sys-
tem while the engine is running, messages
are displayed in the meter.
If the AWD error warning message is dis-
played, there may be a malfunction in the
AWD system. Reduce vehicle speed and
have your vehicle checked. It is recom-
mended that you visit a NISSAN dealer as
soon as possible.
LSD3252
INCREASING FUEL ECONOMYALL-WHEEL DRIVE (AWD) (if so
equipped)
5-168Starting and driving
Page 465 of 644
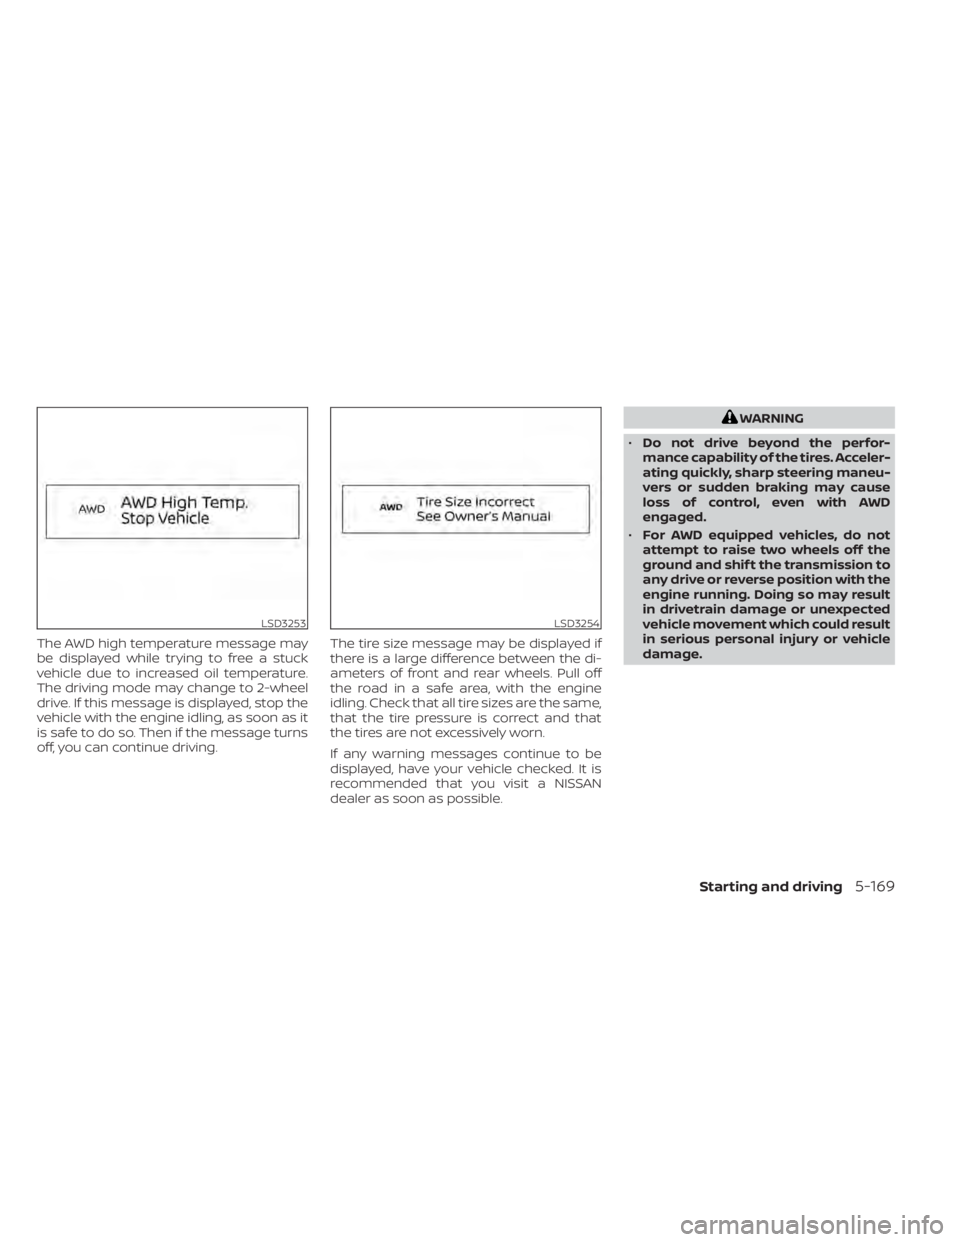
The AWD high temperature message may
be displayed while trying to free a stuck
vehicle due to increased oil temperature.
The driving mode may change to 2-wheel
drive. If this message is displayed, stop the
vehicle with the engine idling, as soon as it
is safe to do so. Then if the message turns
off, you can continue driving.The tire size message may be displayed if
there is a large difference between the di-
ameters of front and rear wheels. Pull off
the road in a safe area, with the engine
idling. Check that all tire sizes are the same,
that the tire pressure is correct and that
the tires are not excessively worn.
If any warning messages continue to be
displayed, have your vehicle checked. It is
recommended that you visit a NISSAN
dealer as soon as possible.
WARNING
• Do not drive beyond the perfor-
mance capability of the tires. Acceler-
ating quickly, sharp steering maneu-
vers or sudden braking may cause
loss of control, even with AWD
engaged.
• For AWD equipped vehicles, do not
attempt to raise two wheels off the
ground and shif t the transmission to
any drive or reverse position with the
engine running. Doing so may result
in drivetrain damage or unexpected
vehicle movement which could result
in serious personal injury or vehicle
damage.
LSD3253LSD3254
Starting and driving5-169
Page 494 of 644
Installing the spare tire
WARNING
For AWD vehicles - the TEMPORARY USE
ONLY spare tire must be installed to the
rear wheels only. If a front tire is punc-
tured, install the original rear tire onto
the front wheel, then install the TEMPO-
RARY USE ONLY spare tire on the rear.
Failure to do so could cause overheat-
ing to the AWD system
The spare tire is designed for emergency
use. For additional information, see
“Wheels and tires” (P. 8-29). 1. Clean any mud or dirt from the surface
between the wheel and hub.
2. Carefully put the spare tire on and tighten the wheel nuts finger tight.
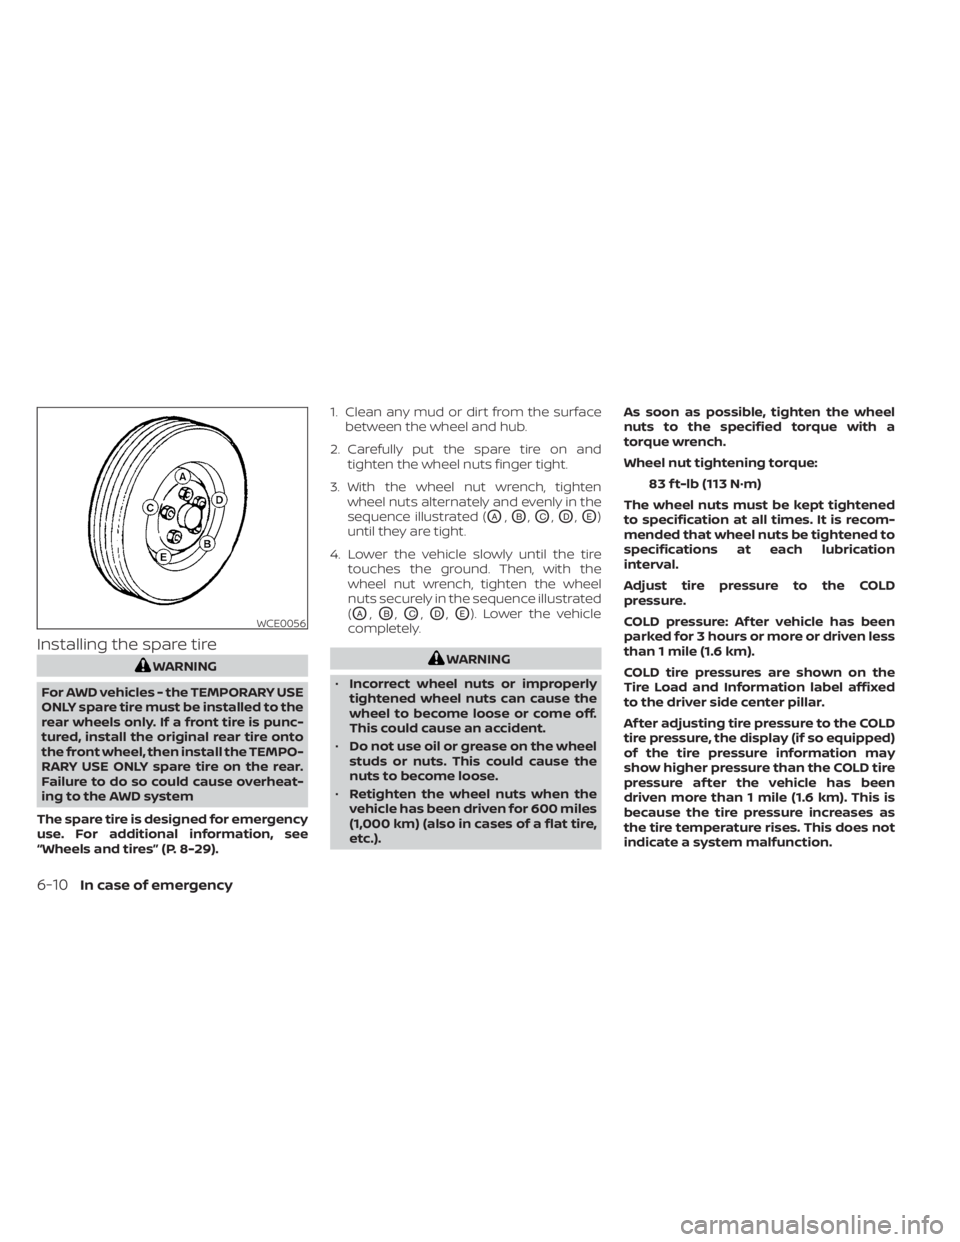
3. With the wheel nut wrench, tighten wheel nuts alternately and evenly in the
sequence illustrated (
OA,OB,OC,OD,OE)
until they are tight.
4. Lower the vehicle slowly until the tire touches the ground. Then, with the
wheel nut wrench, tighten the wheel
nuts securely in the sequence illustrated
(
OA,OB,OC,OD,OE). Lower the vehicle
completely.
WARNING
• Incorrect wheel nuts or improperly
tightened wheel nuts can cause the
wheel to become loose or come off.
This could cause an accident.
• Do not use oil or grease on the wheel
studs or nuts. This could cause the
nuts to become loose.
• Retighten the wheel nuts when the
vehicle has been driven for 600 miles
(1,000 km) (also in cases of a flat tire,
etc.). As soon as possible, tighten the wheel
nuts to the specified torque with a
torque wrench.
Wheel nut tightening torque:
83 f t-lb (113 N·m)
The wheel nuts must be kept tightened
to specification at all times. It is recom-
mended that wheel nuts be tightened to
specifications at each lubrication
interval.
Adjust tire pressure to the COLD
pressure.
COLD pressure: Af ter vehicle has been
parked for 3 hours or more or driven less
than 1 mile (1.6 km).
COLD tire pressures are shown on the
Tire Load and Information label affixed
to the driver side center pillar.
Af ter adjusting tire pressure to the COLD
tire pressure, the display (if so equipped)
of the tire pressure information may
show higher pressure than the COLD tire
pressure af ter the vehicle has been
driven more than 1 mile (1.6 km). This is
because the tire pressure increases as
the tire temperature rises. This does not
indicate a system malfunction.
WCE0056
6-10In case of emergency
Page 512 of 644
2. Once it is released from the shelf, gentlypull the stop light towards the rear seat-
back
O3.
The high-mounted stop light must be
properly reinstalled before driving your
vehicle.
Use glass cleaner to remove smoke and
dust film from the glass surfaces. It is nor-
mal for glass to become coated with a film
af ter the vehicle is parked in the hot sun.
Glass cleaner and a sof t cloth will easily
remove this film.
To reinstall the high-mounted stop light,
reverse steps
O3, thenO2.
CAUTION
When cleaning the inside of the win-
dows, do not use sharp-edged tools,
abrasive cleaners or chlorine-based
disinfectant cleaners. They could dam-
age the electrical conductors, radio an-
tenna elements or rear window defog-
ger elements.
ALUMINUM ALLOY WHEELS (if so
equipped)
Wash the wheels regularly with a sponge
dampened in a mild soap solution, espe-
cially during winter months in areas where
road salt is used. If not removed, road salt
can discolor the wheels.
CAUTION
Follow the directions below to avoid
staining or discoloring the wheels:
• Do not use a cleaner that uses strong
acid or alkali contents to clean the
wheels.
• Do not apply wheel cleaners to the
wheels when they are hot. The wheel
temperature should be the same as
ambient temperature.
• Rinse the wheel to completely re-
move the cleaner within 15 minutes
af ter the cleaner is applied.
CHROME PARTS
Clean all chrome parts regularly with a
non-abrasive chrome polish to maintain
the finish.
TIRE DRESSINGS
NISSAN does not recommend the use of
tire dressings. Tire manufacturers apply a
coating to the tires to help reduce discolor-
ation of the rubber. If a tire dressing is ap-
plied to the tires, it may react with the coat-
ing and form a compound. This compound
may come off the tire while driving and
stain the vehicle paint.
If you choose to use a tire dressing, take the
following precautions:
• Use a water-based tire dressing. The coating on the tire dissolves more easily
than with an oil-based tire dressing.
• Apply a light coat of tire dressing to help prevent it from entering the tire tread/
grooves (where it would be difficult to
remove).
• Wipe off excess tire dressing using a dry towel. Make sure the tire dressing is com-
pletely removed from the tire
tread/grooves.
• Allow the tire dressing to dry as recom- mended by the tire dressing
manufacturer.
7-4Appearance and care
Page 523 of 644
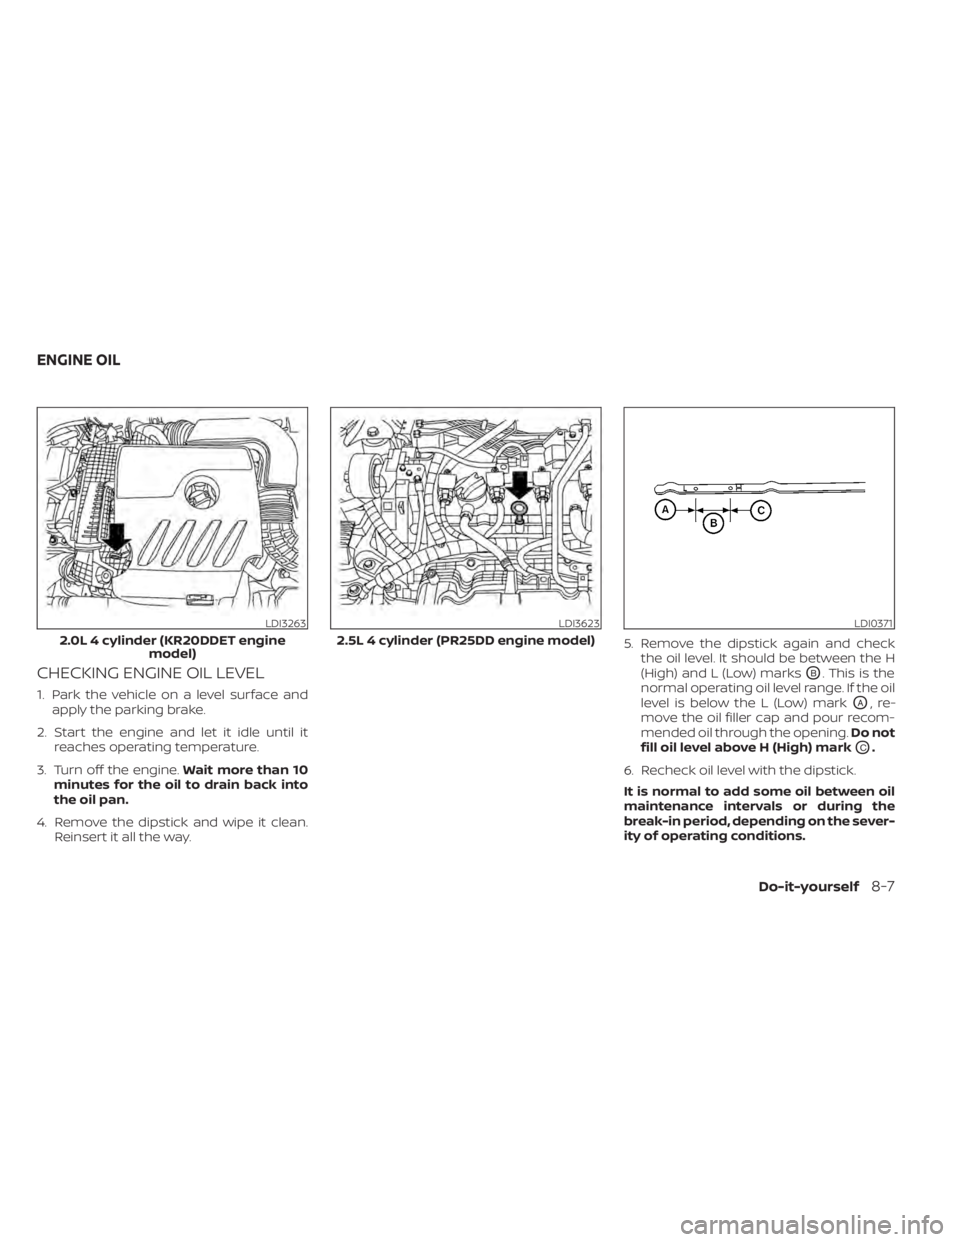
CHECKING ENGINE OIL LEVEL
1. Park the vehicle on a level surface andapply the parking brake.
2. Start the engine and let it idle until it reaches operating temperature.
3. Turn off the engine. Wait more than 10
minutes for the oil to drain back into
the oil pan.
4. Remove the dipstick and wipe it clean. Reinsert it all the way. 5. Remove the dipstick again and check
the oil level. It should be between the H
(High) and L (Low) marks
OB. This is the
normal operating oil level range. If the oil
level is below the L (Low) mark
OA,re-
move the oil filler cap and pour recom-
mended oil through the opening. Do not
fill oil level above H (High) mark
OC.
6. Recheck oil level with the dipstick.
It is normal to add some oil between oil
maintenance intervals or during the
break-in period, depending on the sever-
ity of operating conditions.
LDI3263
2.0L 4 cylinder (KR20DDET engine model)
LDI3623
2.5L 4 cylinder (PR25DD engine model)
LDI0371
ENGINE OIL
Do-it-yourself8-7
Page 524 of 644
CAUTION
• Oil level should be checked regularly.
Operating the engine with an insuffi-
cient amount of oil can damage the
engine, and such damage is not cov-
ered by warranty.
• It is normal to add some oil between
oil maintenance intervals or during
the break-in period, depending on
the severity of operating conditions.
CHANGING ENGINE OIL AND OIL
FILTER
For additional information on engine oil
and oil filter change, refer to the instruc-
tions outlined in this section.
Vehicle set-up
1. Park the vehicle on a level surface and apply the parking brake.
2. Run the engine until it reaches operating temperature.
3. Turn the engine off and wait for 15 minutes.
4. Raise and support the vehicle using a suitable floor jack and safety jack
stands. • Place the safety jack stands under the
vehicle jack-up points.
• A suitable adapter should be attached to the jack stand saddle.
CAUTION
Make sure the correct lif ting and sup-
port points are used to avoid vehicle
damage.
LDI3369
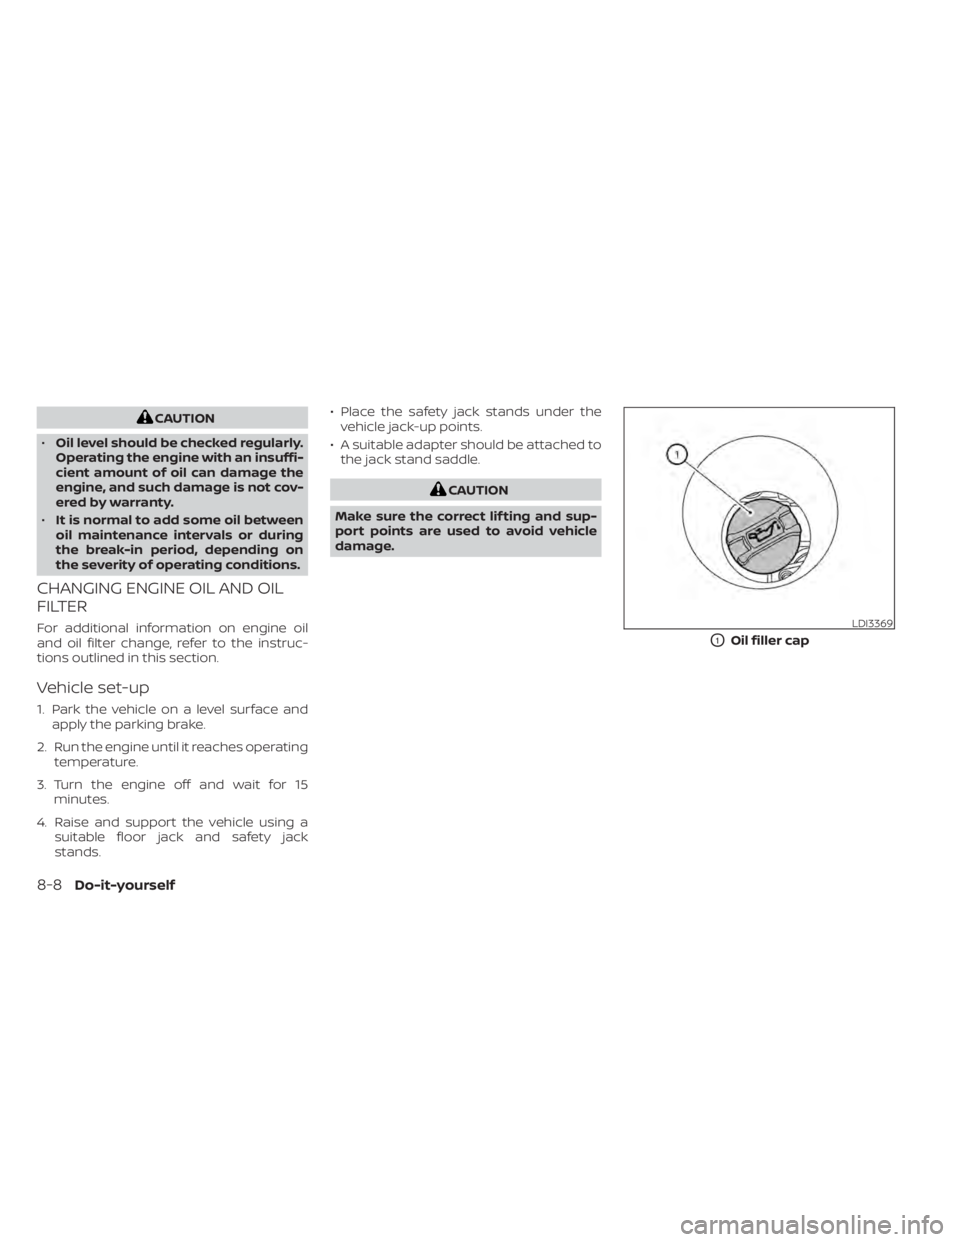
O1Oil filler cap
8-8Do-it-yourself