warning NISSAN ARMADA 2007 1.G Quick Reference Guide
[x] Cancel search | Manufacturer: NISSAN, Model Year: 2007, Model line: ARMADA, Model: NISSAN ARMADA 2007 1.GPages: 14, PDF Size: 1.28 MB
Page 7 of 14

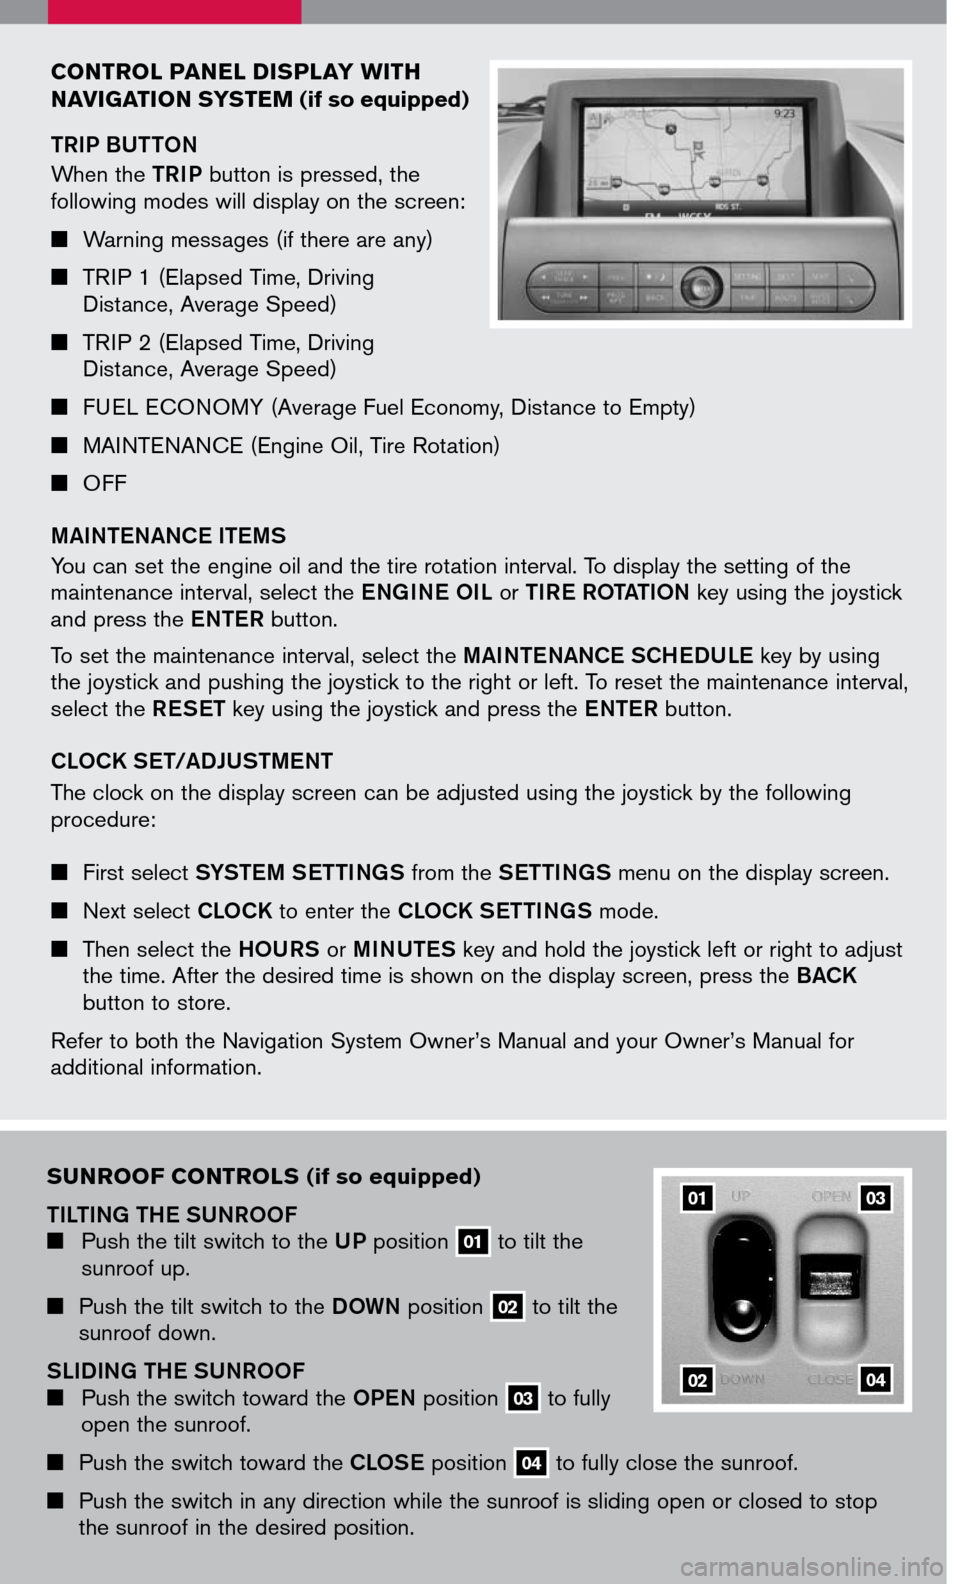
CONTROL PANEL DISPLAY WITH
N AVIGATION SYSTEM (if so equipped)
TRIP BUTTON
When the TRIP button is pressed, the following modes will display on the screen:
î® Warning messages (if there are any)
î® TRIP 1 (Elapsed Time, Driving
Distance, Average Speed)
î® TRIP 2 (Elapsed Time, Driving
Distance, Average Speed)
î® FUEL ECONOMY (Average Fuel Economy, Distance to Empty)
î® MAINTENANCE (Engine Oil, Tire Rotation)
î® OFF
MAINTENANCE ITEMS
You can set the engine oil and the tire rotation interval. To display the setting of the maintenance interval, select the ENGINE OIL or TIRE ROTATION key using the joystick and press the ENTER button.
To set the maintenance interval, select the MAINTENANCE SCHEDULE key by using the joystick and pushing the joystick to the right or left. To reset the maintenance interval, select the RESET key using the joystick and press the ENTER button.
CLOCK SET/ADJUSTMENT
The clock on the display screen can be adjusted using the joystick by the following procedure: î® First select SYSTEM SETTINGS from the SETTINGS menu on the display screen.
î® Next select CLOCK to enter the CLOCK SETTINGS mode.
î® Then select the HOURS or MINUTES key and hold the joystick left or right to adjust
the time. After the desired time is shown on the display screen, press the BACK
button to store.
Refer to both the Navigation System Ownerâs Manual and your Ownerâs Manual for additional information.
SUNROOF CONTROLS (if so equipped)
TILTING THE SUNROOF î® Push the tilt switch to the UP position 01 to tilt the
sunroof up.
î® Push the tilt switch to the DOWN position 02 to tilt the sunroof down.
SLIDING THE SUNROOF î® Push the switch toward the OPEN position 03 to fully
open the sunroof.
î® Push the switch toward the CLOSE position 04 to fully close the sunroof.
î® Push the switch in any direction while the sunroof is sliding open or closed to stop the sunroof in the desired position.
01
02
03
04
Page 10 of 14

POWER LIFT GATE (if so equipped)
To operate the power lift gate, the automatic transmission lever must be in P (Park) and the glass hatch must be closed.
Power Open
î® The lift gate can be opened by the button on the keyfob, the instrument panel switch and by the outside opener handle.
î® The lift gate must be unlocked to open it with the outside opener handle.
Power Close
î® The power close feature can be activated by the button on the keyfob, the instrument panel switch and the rear pillar switch.
î® The keyfob button must be held for 0.5 seconds before the lift gate closes.
Cancel Switch
î® The switch on the rear pillar cannot be used to open the lift gate. Pushing the switch toward the CANCEL position will disable the rear pillar switch.
î® The lift gate can still be opened and closed using the switch on the instrument panel and the keyfob button.
î® The lift gate can also be opened manually with the outside handle if the lift gate is
unlocked.
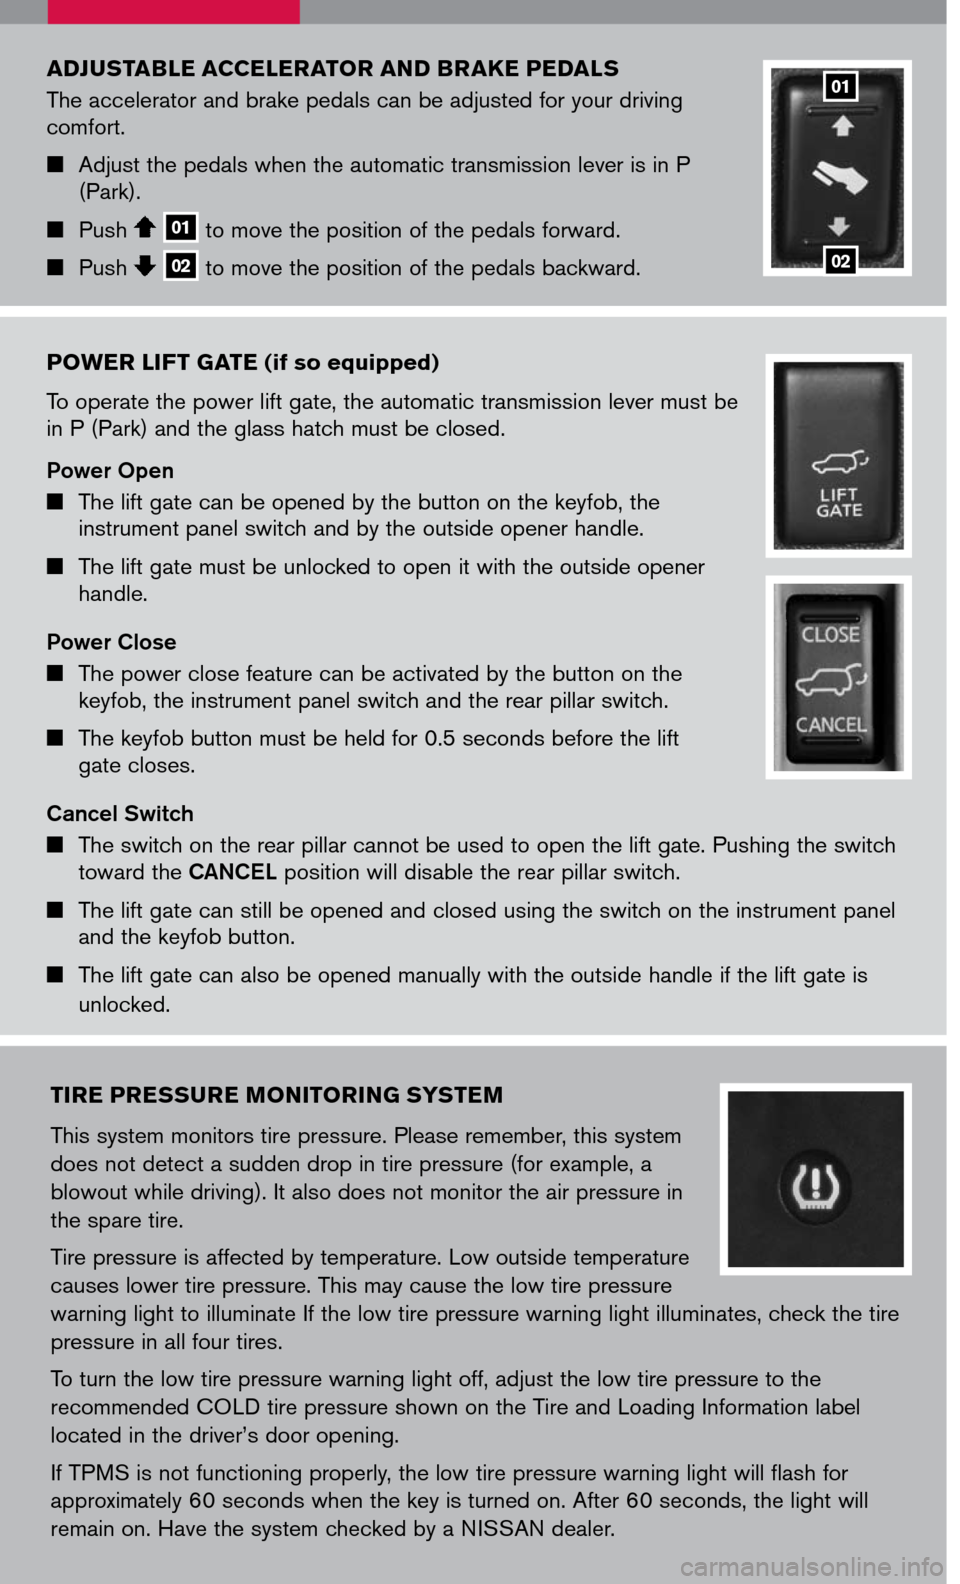
ADJUSTABLE ACCELERATOR AND BRAKE PEDALS
The accelerator and brake pedals can be adjusted for your driving comfort.
î® Adjust the pedals when the automatic transmission lever is in P (Park).
î® Push 01 to move the position of the pedals forward.
î® Push 02 to move the position of the pedals backward.
01
02
TIRE PRESSURE MONITORING SYSTEM
This system monitors tire pressure. Please remember, this system
does not detect a sudden drop in tire pressure (for example, a
blowout while driving). It also does not monitor the air pressure in
the spare tire.
Tire pressure is affected by temperature. Low outside temperature
causes lower tire pressure. This may cause the low tire pressure
warning light to illuminate If the low tire pressure warning light illuminates, check the tire
pressure in all four tires.
To turn the low tire pressure warning light off, adjust the low tire pressure to the
recommended COLD tire pressure shown on the Tire and Loading Information label
located in the driverâs door opening.
If TPMS is not functioning properly, the low tire pressure warning light will flash for
approximately 60 seconds when the key is turned on. After 60 seconds, the light will
remain on. Have the system checked by a NISSAN dealer.
Page 11 of 14

AUTOMATIC DRIVER POSITIONER (if so equipped)
The automatic driver positioner system has two features:
î® Memory storage function.
î® Entry/exit function.
MEMORY STORAGE FUNCTION
Two positions for the driverâs seat, accelerator and brake pedals, and outside mirrors can be stored in the automatic driver positioner memory. Follow these procedures to set driver preferences.
SET THE DESIRED POSITIONING
1. Set the automatic transmission lever to the P (Park) position.
2. Turn the ignition on and adjust the driverâs seat, accelerator and brake pedals, and
outside mirrors to the desired positions.
SEAT BELT WARNING LIGHT AND CHIME
î® The light and chime remind you to fasten your seat belts. The
light illuminates whenever the ignition key is turned to the ON
or START position and remains illuminated until the driverâs
seat belt is fastened. At the same time, the chime sounds
for about 6 seconds unless the driverâs seat belt is securely
fastened.
î® The seat belt warning light may also illuminate if the front passengerâs seat belt is
not fastened when the front passengerâs seat is occupied. For 5 seconds after the
ignition switch is in the ON position, the system does not activate the warning light
for the front passenger.
Refer to the Ownerâs Manual for detailed information regarding seat belt usage.
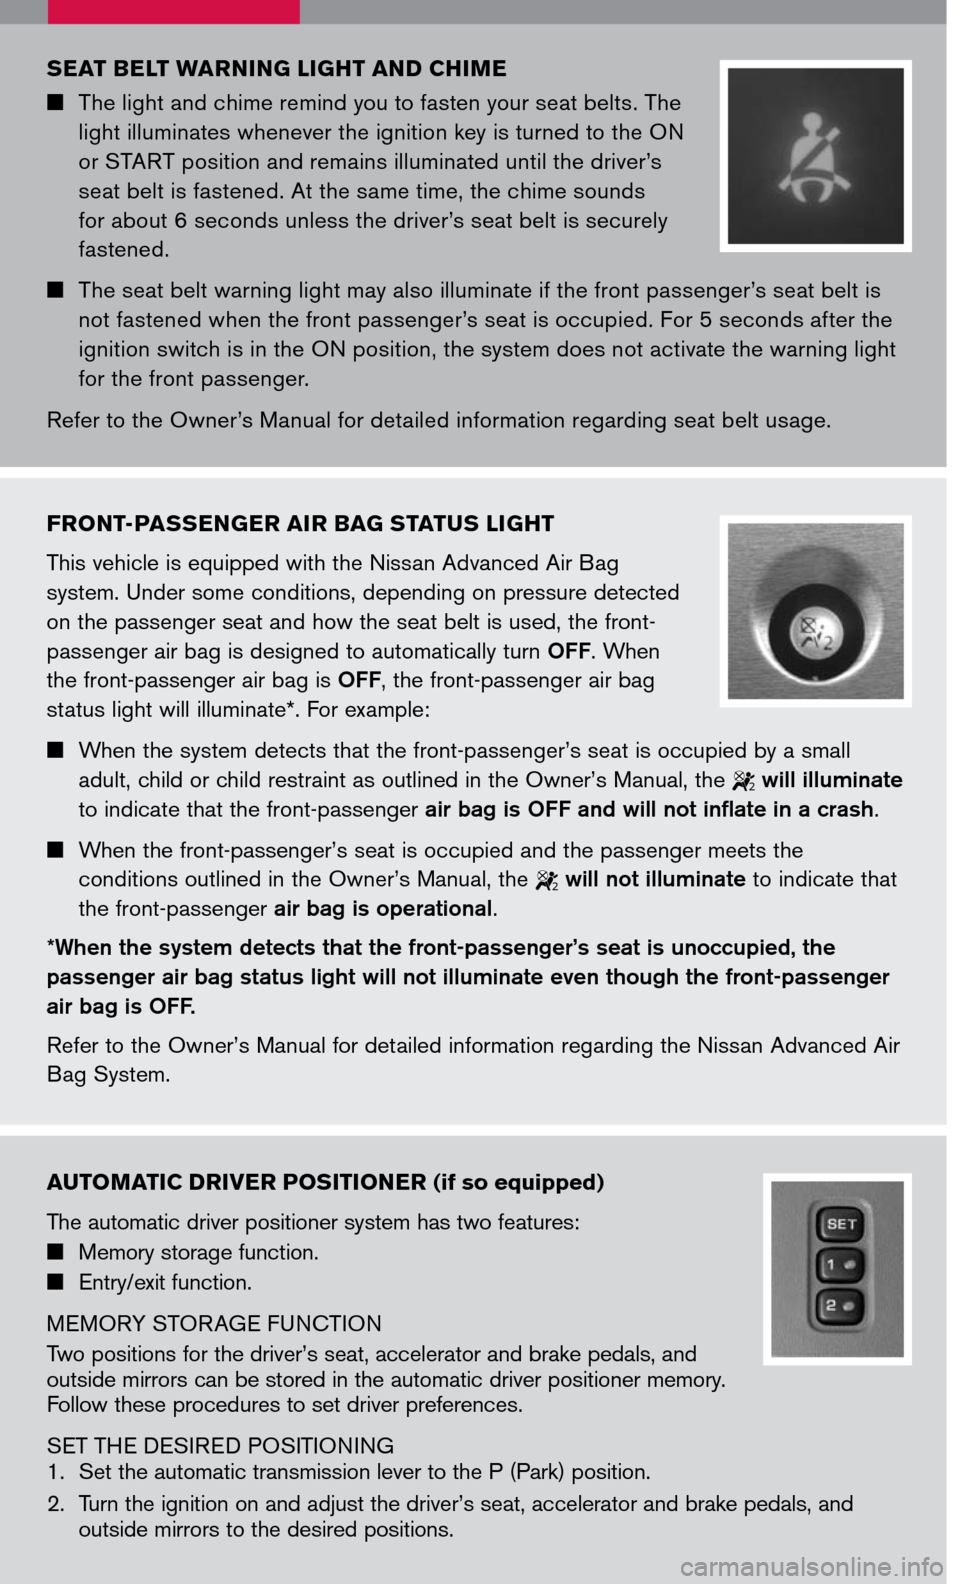
FRONT-PASSENGER AIR BAG STATUS LIGHT
This vehicle is equipped with the Nissan Advanced Air Bag
system. Under some conditions, depending on pressure detected
on the passenger seat and how the seat belt is used, the front-
passenger air bag is designed to automatically turn OFF. When
the front-passenger air bag is OFF, the front-passenger air bag
status light will illuminate*. For example:
î® When the system detects that the front-passengerâs seat is occupied by a small
adult, child or child restraint as outlined in the Ownerâs Manual, the 2 will illuminate
to indicate that the front-passenger air bag is OFF and will not inflate in a crash.
î® When the front-passengerâs seat is occupied and the passenger meets the
conditions outlined in the Ownerâs Manual, the 2 will not illuminate to indicate that
the front-passenger air bag is operational.
*When the system detects that the front-passengerâs seat is unoccupied, the
passenger air bag status light will not illuminate even though the front-passenger
air bag is OFF.
Refer to the Ownerâs Manual for detailed information regarding the Nissan Advanced Air
Bag System.
Page 14 of 14

This easy-to-use Quick Reference Guide is intended to help you more fully appreciate some of the unique features and functions of your new vehicle. However, it is not intended to replace your Ownerâs Manual. The Ownerâs Manual contains more detailed information to help you better understand the important safety warnings, features, operation, and maintenance of your vehicle.
QR7E-TA60U1 Printing: September 2006 (10)
Nissan, the Nissan Brand Symbol, âSHIFT_â tagline, Z and Nissan model names are Nissan trademarks. ©2006 Nissan North America, Inc.
Sh ift_