start stop button NISSAN ARMADA 2009 Owners Manual
[x] Cancel search | Manufacturer: NISSAN, Model Year: 2009, Model line: ARMADA, Model: NISSAN ARMADA 2009Pages: 465, PDF Size: 6.33 MB
Page 111 of 465
The alarm is activated by:
copening a door without using the key, a
request switch, keyfob or Intelligent Key
(even if the door is unlocked by using the
inside lock knob or the power door lock
switch) .
How to stop an activated alarm
The alarm stops only by unlocking the driver’s
door with the key, pressing thebutton on
the keyfob or Intelligent Key, or by unlocking all
doors with any request switch (Intelligent Key
models) .
NISSAN VEHICLE IMMOBILIZER
SYSTEM
The NISSAN Vehicle Immobilizer System will not
allow the engine to start without the use of a
registered key.
If the engine fails to start using a registered key
(for example, when interference is caused by
another registered key, an automated toll road
device or automatic payment device on the key
ring) , restart the engine using the following pro-
cedures:
1. Leave the ignition switch in the ON position
for approximately 5 seconds.2. Turn the ignition switch to the OFF or LOCK
position, and wait approximately 10 sec-
onds.
3. Repeat steps 1 and 2.
4. Restart the engine while holding the device
(which may have caused the interference)
separate from the registered key.
If the no start condition re-occurs, NISSAN rec-
ommends placing the registered key on a sepa-
rate key ring to avoid interference from other
devices.
Statement related to Section 15 of FCC
Rules for NISSAN Vehicle Immobilizer Sys-
tem (CONT ASSY — IMMOBILIZER, ANT
ASSY — IMMOBILIZER)
This device complies with part 15 of the
FCC Rules and RSS-210 of Industry
Canada. Operation is subject to the follow-
ing two conditions;
(1) This device may not cause harmful in-
terference, and (2) this device must accept
any interference received, including inter-
ference that may cause undesired opera-
tion of the device.CHANGES OR MODIFICATIONS NOT EX-
PRESSLY APPROVED BY THE PARTY RE-
SPONSIBLE FOR COMPLIANCE COULD
VOID THE USER’S AUTHORITY TO OPER-
ATE THE EQUIPMENT.
Instruments and controls2-29
ZREVIEW COPYÐ2009 Armada(wzw)
Owners ManualÐUSA_English(nna)
02/26/08Ðdebbie
X
ProCarManuals.com
Page 127 of 465
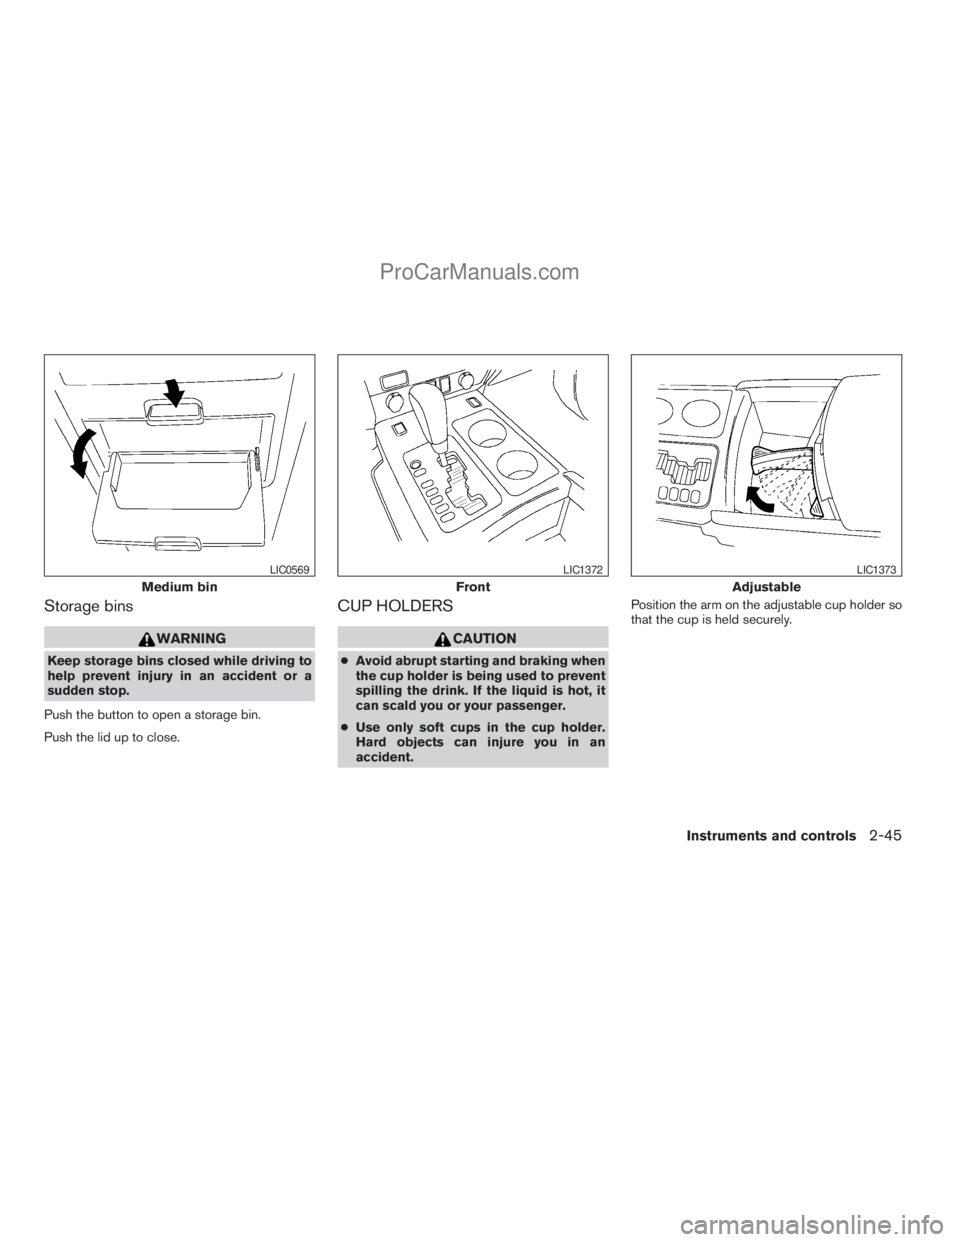
Storage bins
WARNING
Keep storage bins closed while driving to
help prevent injury in an accident or a
sudden stop.
Push the button to open a storage bin.
Push the lid up to close.
CUP HOLDERS
CAUTION
cAvoid abrupt starting and braking when
the cup holder is being used to prevent
spilling the drink. If the liquid is hot, it
can scald you or your passenger.
cUse only soft cups in the cup holder.
Hard objects can injure you in an
accident.Position the arm on the adjustable cup holder so
that the cup is held securely.
Medium bin
LIC0569
Front
LIC1372
Adjustable
LIC1373
Instruments and controls2-45
ZREVIEW COPYÐ2009 Armada(wzw)
Owners ManualÐUSA_English(nna)
02/26/08Ðdebbie
X
ProCarManuals.com
Page 167 of 465
cThe lift gate can be opened by the instru-
ment panel switch and the keyfob even if the
vehicle is locked. The lift gate will individually
unlock and open. Once the lift gate is
closed, its lock will align to the vehicle’s lock
or unlock status.
cThe keyfob button must be held for 0.5 sec-
ond before the lift gate opens.
cThe lift gate must be unlocked to open it with
the outside opener handle.
cThe switch on the rear pillar cannot be used
to open the lift gate.
A warning chime will sound if the shift selector
lever is moved out of P (Park) during a power
open operation.
Power Close:
The power lift gate automatically moves from the
fully open position to the secondary position.
When the lift gate reaches the secondary posi-
tion, the cinching motor engages and pulls the lift
gate to its primary latch position. Power close
takes approximately7–10seconds. The power
close feature can be activated by the switch on
the keyfob, the instrument panel and the rear
pillar. The hazard lights flash and a chime sounds
to indicate the power close sequence has been
started.cIf the outside opener handle is activated
while the cinching motor is engaged, the
cinching motor will disengage and release
the latch.
cThe keyfob button must be held for 0.5 sec-
ond before the lift gate closes.
cThe switch on the rear pillar can only be used
to close the lift gate if the cancel switch is
not in the on position.
Reverse:
The power lift gate will reverse direction immedi-
ately during power open or power close if the
keyfob, instrument panel or rear pillar switch is
pressed or if the outside handle is lifted. A chime
will sound to announce the reversal.
Auto Reverse:
If an obstacle is detected during power open or
power close, a warning chime will sound and the
lift gate will reverse direction and return to the full
open or full close position. If a second obstacle is
detected, the lift gate motion will stop and the
drive motor will disengage. The lift gate will enter
manual mode.
A pinch strip is mounted on each side of the lift
gate. If an obstacle is detected by a pinch strip
during power close, the lift gate will reverse di-
rection and return to the full open position.NOTE:
If the pinch strip is damaged or removed,
the power close function will not operate.
WARNING
There are some small distances immedi-
ately before the closed position which
cannot be detected. Make sure that all
passengers have their hands, etc., inside
the vehicle before closing the lift gate.
Manual Mode:
If power operation is not available, the lift gate
may be operated manually. Power operation may
not be available if the cancel switch is in the on
position, if multiple obstacles have been de-
tected in a single power cycle, or if battery volt-
age is low.
Pre-driving checks and adjustments3-23
ZREVIEW COPYÐ2009 Armada(wzw)
Owners ManualÐUSA_English(nna)
02/26/08Ðdebbie
X
ProCarManuals.com
Page 230 of 465
The FM stereo indicator ST will illuminate during
FM stereo reception. When the stereo broadcast
signal is weak, the radio will automatically change
from stereo to monaural reception.
TUNE/FLDR (Tuning) knob:
To manually tune the radio, turn the TUNE/FLDR
knob to the right or left.
SEEK/CAT and TRACK
tuning buttons:
Press the SEEK/CAT
button or the
TRACKbutton for less than 1.5 seconds
to tune from high to low or low to high frequen-
cies and stop at the next broadcasting station.
SCAN tuning:
Press the SCAN button to stop at each broad-
casting station for 5 seconds. Pressing the
SCAN button again during this 5 second period
will stop scan tuning and the radio will remain
tuned to that station. If the SCAN button is not
pressed within 5 seconds, scan tuning moves to
the next station.
PRESET A·B·C (Station memory opera-
tions):
18 stations can be set for the FM, AM and SAT
(satellite, if so equipped) radio to the A, B and C
preset button in any combination of FM, AM or
SAT stations.1. Choose preset bank A, B or C using the
PRESET A·B·C select button.
2. Select the desired FM, AM or SAT station
band.
3. Tune to the desired station using manual,
SEEK or SCAN tuning. Press and hold any
of the desired station memory buttons (1 –
6) until a beep sound is heard.
4. The channel indicator will then come on and
the sound will resume. Programming is now
complete.
5. Other buttons can be set in the same man-
ner.
If the battery cable is disconnected, or if the fuse
opens, the radio memory will be canceled. In that
case, reset the desired stations.
Radio data system (RDS):
RDS stands for Radio Data System, and is a data
information service transmitted by some radio
stations on the FM band (not AM band) . Cur-
rently, most RDS stations are in large cities, but
many stations are now considering broadcasting
RDS data.
RDS can display:
cStation call sign, such as “WHFR 98.3”.
cStation name, such as “The Groove”.cMusic or programming type such as “Clas-
sical”, “Country”, or “Rock”.
cArtist and song information.
If the station broadcasts RDS information, the
RDS icon is displayed.
Compact disc (CD) changer operation
Turn the ignition key to the ACC or ON position
and press thebutton, then press one of
the CD insert (1–6) slots. Insert the compact disc
into the slot with the label side facing up. The
compact disc will be guided automatically into
the slot and start playing.
If the radio is already operating, it will automati-
cally turn off and the compact disc will play.
If the system has been turned off while the com-
pact disc was playing, pressing the
VOL/ON·OFF control knob will start the compact
disc.
button:
To insert a CD in the CD changer, press
the
button for less than 1.5 seconds. Se-
lect the loading slot by pressing the CD insert
select button (1 – 6) , then insert the CD.
To insert 6 CDs to the CD changer, press and
hold the
button for more than 1.5 seconds.
4-50Monitor, climate, audio, phone and voice recognition systems
ZREVIEW COPYÐ2009 Armada(wzw)
Owners ManualÐUSA_English(nna)
02/26/08Ðdebbie
X
ProCarManuals.com
Page 238 of 465
TUNE/FLDR (Tuning) knob:
To manually tune the radio, turn the TUNE/FLDR
knob to the right or left.
SEEK/CAT and TRACK
tuning buttons:
Press the SEEK/CAT
button or the
TRACKbutton for less than 1.5 seconds
to tune from high to low or low to high frequen-
cies and stop at the next broadcasting station.
SCAN·RPT (SCAN tuning) button:
Press the SCAN·RPT button to initiate scan tun-
ing. Scan tuning will stop at each broadcasting
station for 5 seconds. Press the SCAN·RPT but-
ton again during this 5 second period to stop
scan tuning; the radio will remain tuned to that
station. If the SCAN·RPT button is not pressed
within 5 seconds, scan tuning moves to the next
station.
PRESET A·B·C (Station memory opera-
tions):
18 stations can be set for the FM, AM and SAT
(satellite, if so equipped) radio to the A, B and C
preset button in any combination of FM, AM or
SAT stations.
1. Choose preset bank A, B or C using the
PRESET A·B·C select button.2. Select the desired FM, AM or SAT station
band.
3. Tune to the desired station using manual,
SEEK or SCAN tuning. Press and hold any
of the desired station memory buttons (1 –
6) until a beep sound is heard.
4. The channel indicator will then come on and
the sound will resume. Programming is now
complete.
5. Other buttons can be set in the same man-
ner.
If the battery cable is disconnected, or if the fuse
opens, the radio memory will be canceled. In that
case, reset the desired stations.
Radio data system (RDS):
RDS stands for Radio Data System, and is a data
information service transmitted by some radio
stations on the FM band (not AM band) . Cur-
rently, most RDS stations are in large cities, but
many stations are now considering broadcasting
RDS data.
RDS can display:
cStation call sign, such as “WHFR 98.3”.
cStation name, such as “The Groove”.
cMusic or programming type such as “Clas-
sical”, “Country”, or “Rock”.cArtist and song information.
If the station broadcasts RDS information, the
RDS icon is displayed.
Compact disc (CD) player operation
Turn the ignition key to the ACC or ON position
and insert the compact disc into the slot with the
label side facing up. The compact disc will be
guided automatically into the slot and start play-
ing.
If the radio is already operating, it will automati-
cally turn off and the compact disc will play.
If the system has been turned off while the com-
pact disc was playing, pressing the
VOL/ON·OFF control knob will start the compact
disc.
DISC/AUX button:
When the DISC/AUX button is pressed with the
system off and the compact disc loaded, the
system will turn on and the compact disc will start
to play.
When the DISC/AUX button is pressed with the
compact disc loaded but the radio playing, the
radio will automatically be turned off and the
compact disc will start to play.
4-58Monitor, climate, audio, phone and voice recognition systems
ZREVIEW COPYÐ2009 Armada(wzw)
Owners ManualÐUSA_English(nna)
02/26/08Ðdebbie
X
ProCarManuals.com
Page 244 of 465
cThe number of albums reaches the maximum
of 500.
cThe number of tracks reaches the maximum
of 3,000.
Automatic recording:
If the “Automatic Recording” function is turned to
ON, recording starts when a CD is inserted. For
more information, see “Music Box settings” later
in this section.
Stopping recording:
To stop the recording, touch the “STOP” key on
the screen. If the CD is ejected, the audio system
is turned off or the ignition switch is turned to the
OFF position, the recording also stops.
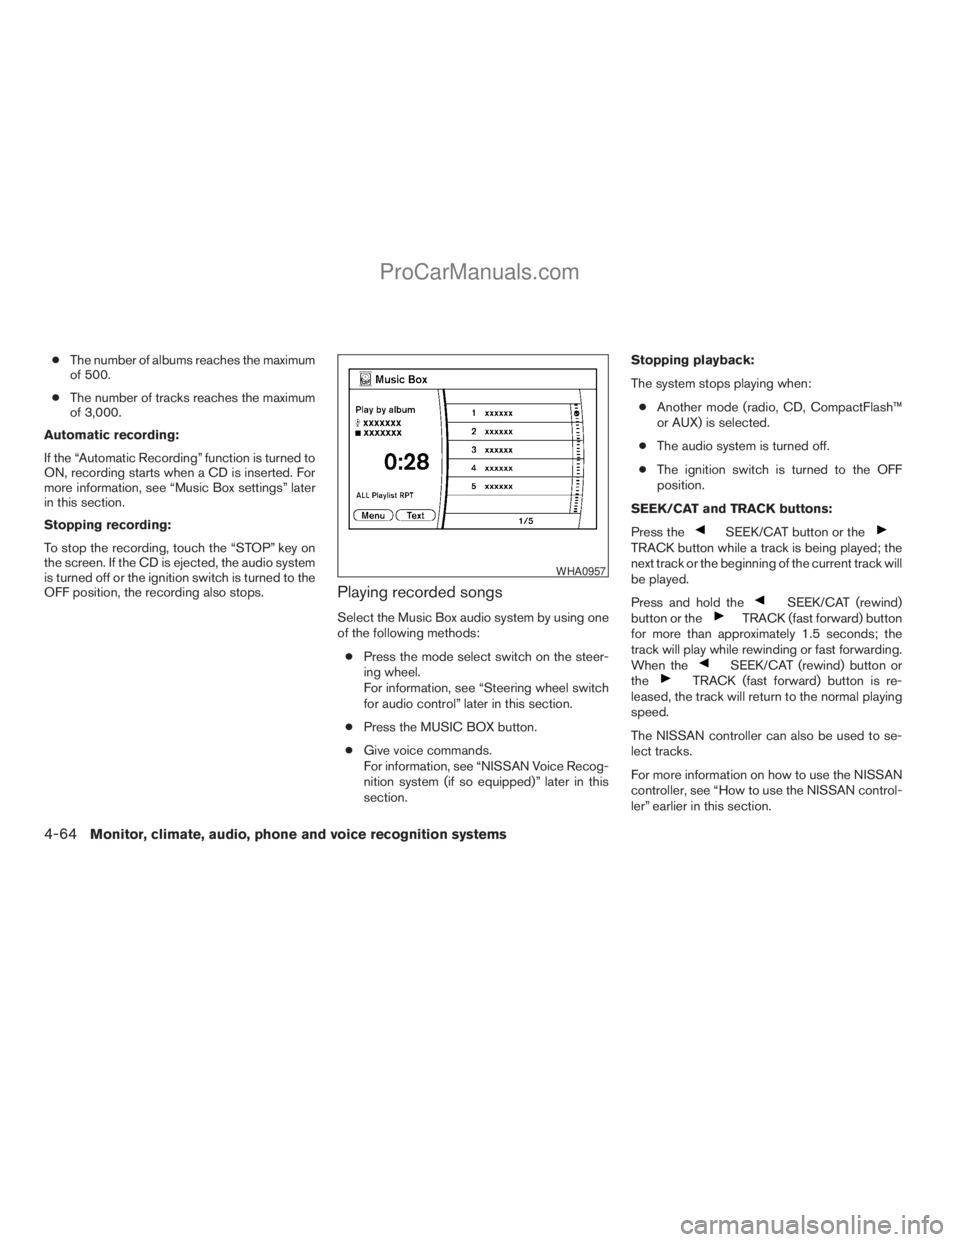
Playing recorded songs
Select the Music Box audio system by using one
of the following methods:
cPress the mode select switch on the steer-
ing wheel.
For information, see “Steering wheel switch
for audio control” later in this section.
cPress the MUSIC BOX button.
cGive voice commands.
For information, see “NISSAN Voice Recog-
nition system (if so equipped)” later in this
section.Stopping playback:
The system stops playing when:
cAnother mode (radio, CD, CompactFlash™
or AUX) is selected.
cThe audio system is turned off.
cThe ignition switch is turned to the OFF
position.
SEEK/CAT and TRACK buttons:
Press the
SEEK/CAT button or theTRACK button while a track is being played; the
next track or the beginning of the current track will
be played.
Press and hold the
SEEK/CAT (rewind)
button or theTRACK (fast forward) button
for more than approximately 1.5 seconds; the
track will play while rewinding or fast forwarding.
When the
SEEK/CAT (rewind) button or
theTRACK (fast forward) button is re-
leased, the track will return to the normal playing
speed.
The NISSAN controller can also be used to se-
lect tracks.
For more information on how to use the NISSAN
controller, see “How to use the NISSAN control-
ler” earlier in this section.
WHA0957
4-64Monitor, climate, audio, phone and voice recognition systems
ZREVIEW COPYÐ2009 Armada(wzw)
Owners ManualÐUSA_English(nna)
02/26/08Ðdebbie
X
ProCarManuals.com
Page 262 of 465
Pressing thebutton on the front controls
turns the rear speakers on or off and enables or
disables the wireless headphones .
It is possible to operate the DVD player by remote
control.
Headphones are a wireless type and no cables
are necessary. You can use them in almost all the
ranges in the rear seat. (It is not possible to use
the headphones in the front seat.)
DISC/AUX button
Park the vehicle in a safe location and
apply the parking brake for the front seat
occupants to operate the DVD drive while
watching the images.
Press the DISC/AUX button on the instrument
panel and turn the display to the DVD mode.
When a DVD is loaded, it will be replayed auto-
matically.
The operation screen will be turned on when the
DISC/AUX button located on the instrument
panel is pressed while a DVD is being played,
and it will turn off automatically after a period of
time. To turn it on again, press the DISC/AUX
button once more.
DVD operation keys
To operate the DVD drive, touch the preferred key
(if so equipped) or select the preferred key dis-
played on the operation screen using the
NISSAN controller.
NOTE:
If the display in your vehicle is not touch
screen enabled; use the NISSAN controller
and the ENTER button to operate the fol-
lowing functions. For more information on
how to operate the NISSAN controller, see
“How to use the NISSAN controller” earlier
in this section.
PAUSE key:
Touch the “
” PAUSE key to pause the DVD.
To resume playing the DVD, touch the
“
”PLAY key.
To pause the DVD, it is also possible to press
the
button on the keypad of the remote
controller.
PLAY key:
Touch the “
” PLAY key to start playing the
DVD, for example, after pausing the DVDTo start playing the DVD, it is also possible to
press the
button on the keypad of the
remote controller.
STOP key:
Touch the “
” STOP key to stop playing the
DVD.
To stop playing the DVD, it is also possible to
press the
button on the keypad of the
remote controller.
SKIP (forward) key:
Touch the “
” SKIP key to skip the chapter(
s) of the disc forward. The chapters will advance
the number of times the “
” SKIP key is
touched.
Touch and hold the “
” SKIP key for more
than 1.5 seconds to fast forward the disc. When
the “
” SKIP key is released the disc will be
played normally.
To skip the chapter(s) forward, it is also possible
to press the
button on the keypad of the
remote controller.
4-82Monitor, climate, audio, phone and voice recognition systems
ZREVIEW COPYÐ2009 Armada(wzw)
Owners ManualÐUSA_English(nna)
02/26/08Ðdebbie
X
ProCarManuals.com
Page 266 of 465
REMOTE CONTROL OPERATION
For all operation precautions, see “Before oper-
ating the DVD Mobile Entertainment System”
earlier in this section.
The DVD system can also be controlled by using
the remote controller in the rear seats. See the
following items.
PWR on/off button:
With the ignition switch turned to the ACC or ON
position, press the PWR button to turn the DVD
rear display on or off.
NOTE:
The PWR button on the remote control only
turns the rear display on or off.
Insert the DVD into the slot with the label side
facing up. The DVD will be guided automatically
into the slot.
If the DVD player is off and a DVD is inserted, the
DVD player will automatically turn on.
CAUTION
Do not force the compact disc into the
slot. This could damage the player.MODE select button:
Press the MODE button to select Audio/Video
source between DVD and AUX input (input jacks
on the faceplate, Red = right channel audio input,
White = left channel audio input, and Yellow =
Video input) .
The display will show the “AUX” in the upper left
corner of the display for 4 seconds once the
Mode is changed to AUX.
To use the input jacks, refer to “Auxiliary input
jacks” in this section.
PLAY:
When the
PLAY button on the remote
control is pressed, the player will play.
In play mode, the display will briefly show
on the upper left corner of the display.
FF (Fast Forward) , REW
(Rewind):
Press
(fast forward) /(Rewind) but-
tons to carry out the fast forward or rewind pre-
sentation at 5 times normal play speed.
Press
(fast forward) /(Rewind) but-
tons again or PLAY button to resume the normal
play speed.
NEXT CHAPTER/
PREVIOUS CHAPTER:
When the
(NEXT CHAPTER) button is
pressed while the DVD is being played, the pro-
gram next to the present one will start to play from
its beginning. Press several times to skip through
programs. The DVD will advance the number of
times the button is pressed. When the
(PREVIOUS CHAPTER) button is pressed, the
program being played returns to its beginning.
Press several times to skip back through pro-
grams. The DVD will go back the number of times
the button is pressed.
PAUSE:
When the
PAUSE button on the remote
control is pressed, the player will pause playing of
the media. In pause mode, the player will
show
on the upper left corner of the dis-
play until the player is changed to another mode.
STOP:
Press the STOP button once to stop playing the
media. The display will show
in the upper
left corner of the display for 4 seconds, and the
last disc position will be stored. When the PLAY
button is pressed again, it will resume at the
stored disc track and time position.
4-86Monitor, climate, audio, phone and voice recognition systems
ZREVIEW COPYÐ2009 Armada(wzw)
Owners ManualÐUSA_English(nna)
02/26/08Ðdebbie
X
ProCarManuals.com
Page 457 of 465
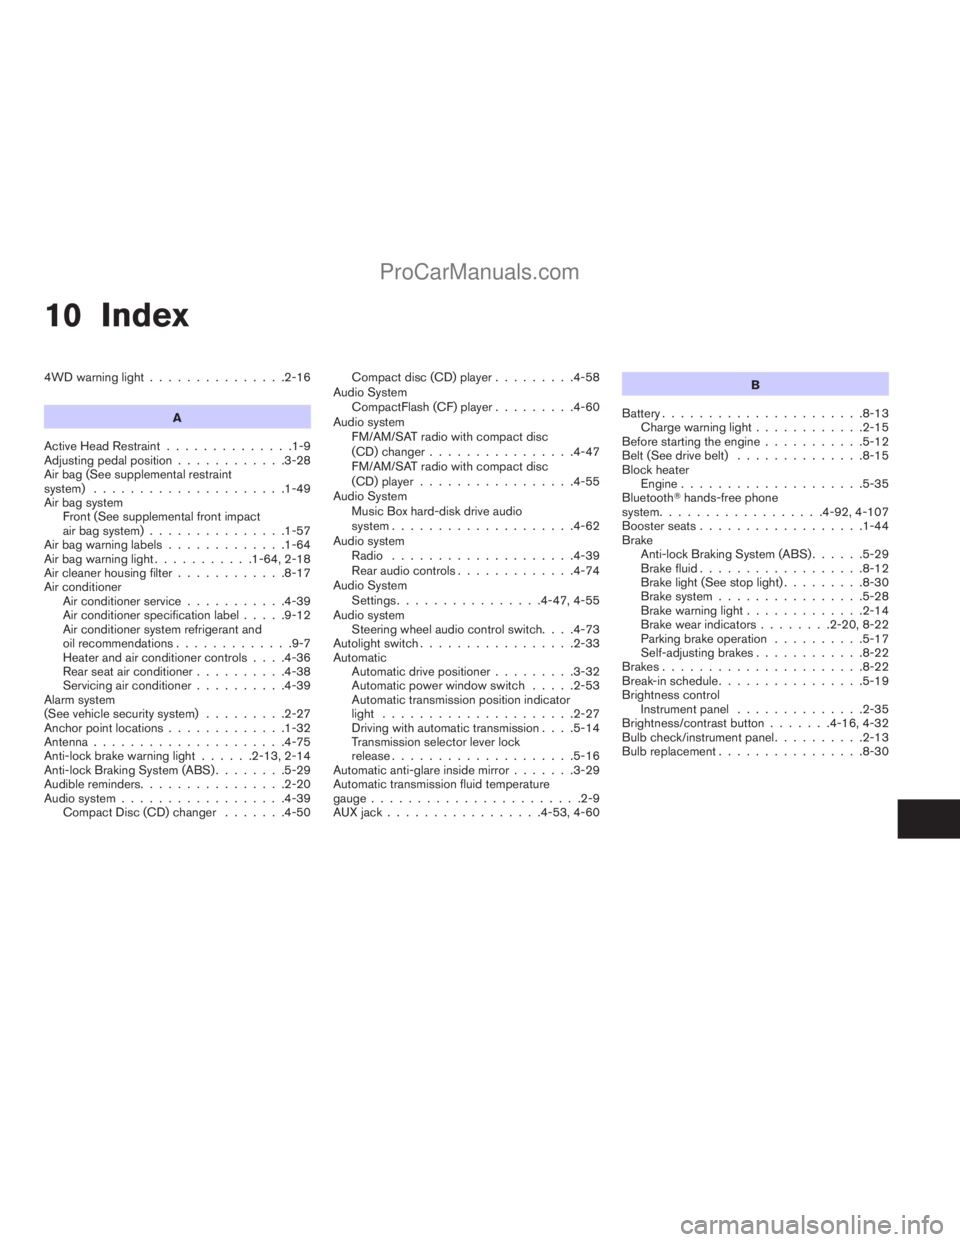
10 Index
4WD warning light...............2-16
A
Active Head Restraint..............1-9
Adjusting pedal position............3-28
Air bag (See supplemental restraint
system).....................1-49
Air bag system
Front (See supplemental front impact
air bag system)...............1-57
Air bag warning labels.............1-64
Air bag warning light...........1-64, 2-18
Air cleaner housing filter............8-17
Air conditioner
Air conditioner service...........4-39
Air conditioner specification label.....9-12
Air conditioner system refrigerant and
oil recommendations.............9-7
Heater and air conditioner controls. . . .4-36
Rear seat air conditioner..........4-38
Servicing air conditioner..........4-39
Alarm system
(See vehicle security system).........2-27
Anchor point locations.............1-32
Antenna.....................4-75
Anti-lock brake warning light......2-13, 2-14
Anti-lock Braking System (ABS)........5-29
Audible reminders................2-20
Audio system..................4-39
Compact Disc (CD) changer.......4-50Compact disc (CD) player.........4-58
Audio System
CompactFlash (CF) player.........4-60
Audio system
FM/AM/SAT radio with compact disc
(CD) changer................4-47
FM/AM/SAT radio with compact disc
(CD) player.................4-55
Audio System
Music Box hard-disk drive audio
system....................4-62
Audio system
Radio....................4-39
Rear audio controls.............4-74
Audio System
Settings................4-47, 4-55
Audio system
Steering wheel audio control switch. . . .4-73
Autolight switch.................2-33
Automatic
Automatic drive positioner.........3-32
Automatic power window switch.....2-53
Automatic transmission position indicator
light.....................2-27
Driving with automatic transmission. . . .5-14
Transmission selector lever lock
release....................5-16
Automatic anti-glare inside mirror.......3-29
Automatic transmission fluid temperature
gauge.......................2-9
AUX jack.................4-53, 4-60B
Battery......................8-13
Charge warning light............2-15
Before starting the engine...........5-12
Belt (See drive belt)..............8-15
Block heater
Engine....................5-35
BluetoothThands-free phone
system..................4-92, 4-107
Booster seats..................1-44
Brake
Anti-lock Braking System (ABS)......5-29
Brake fluid..................8-12
Brake light (See stop light).........8-30
Brake system................5-28
Brake warning light.............2-14
Brake wear indicators........2-20, 8-22
Parking brake operation..........5-17
Self-adjusting brakes............8-22
Brakes......................8-22
Break-in schedule................5-19
Brightness control
Instrument panel..............2-35
Brightness/contrast button.......4-16, 4-32
Bulb check/instrument panel..........2-13
Bulb replacement................8-30
ZREVIEW COPYÐ2009 Armada(wzw)
Owners ManualÐUSA_English(nna)
02/26/08Ðdebbie
X
ProCarManuals.com
Page 462 of 465
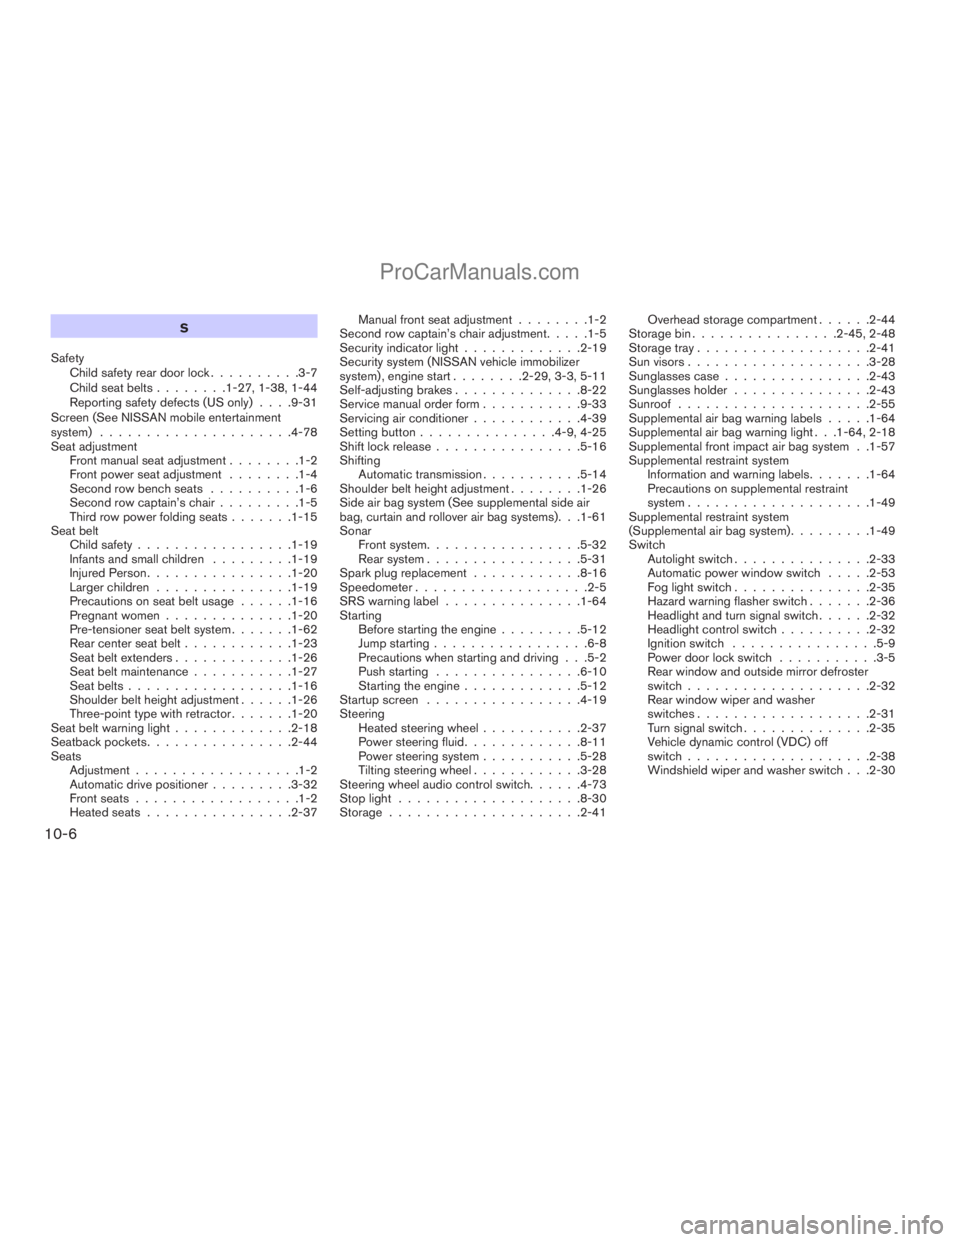
S
Safety
Child safety rear door lock..........3-7
Child seat belts........1-27, 1-38, 1-44
Reporting safety defects (US only). . . .9-31
Screen (See NISSAN mobile entertainment
system).....................4-78
Seat adjustment
Front manual seat adjustment........1-2
Front power seat adjustment........1-4
Second row bench seats..........1-6
Second row captain’s chair.........1-5
Third row power folding seats.......1-15
Seat belt
Child safety.................1-19
Infants and small children.........1-19
Injured Person................1-20
Larger children...............1-19
Precautions on seat belt usage......1-16
Pregnant women..............1-20
Pre-tensioner seat belt system.......1-62
Rear center seat belt............1-23
Seat belt extenders.............1-26
Seat belt maintenance...........1-27
Seat belts..................1-16
Shoulder belt height adjustment......1-26
Three-point type with retractor.......1-20
Seat belt warning light.............2-18
Seatback pockets................2-44
Seats
Adjustment..................1-2
Automatic drive positioner.........3-32
Front seats..................1-2
Heated seats................2-37Manual front seat adjustment........1-2
Second row captain’s chair adjustment.....1-5
Security indicator light.............2-19
Security system (NISSAN vehicle immobilizer
system) , engine start........2-29, 3-3, 5-11
Self-adjusting brakes..............8-22
Service manual order form...........9-33
Servicing air conditioner............4-39
Setting button...............4-9, 4-25
Shift lock release................5-16
Shifting
Automatic transmission...........5-14
Shoulder belt height adjustment........1-26
Side air bag system (See supplemental side air
bag, curtain and rollover air bag systems). . .1-61
Sonar
Front system.................5-32
Rear system.................5-31
Spark plug replacement............8-16
Speedometer...................2-5
SRS warning label...............1-64
Starting
Before starting the engine.........5-12
Jump starting.................6-8
Precautions when starting and driving . . .5-2
Push starting................6-10
Starting the engine.............5-12
Startup screen.................4-19
Steering
Heated steering wheel...........2-37
Power steering fluid.............8-11
Power steering system...........5-28
Tilting steering wheel............3-28
Steering wheel audio control switch......4-73
Stop light....................8-30
Storage.....................2-41Overhead storage compartment......2-44
Storage bin................2-45, 2-48
Storage tray...................2-41
Sun visors....................3-28
Sunglasses case................2-43
Sunglasses holder...............2-43
Sunroof.....................2-55
Supplemental air bag warning labels.....1-64
Supplemental air bag warning light . . .1-64, 2-18
Supplemental front impact air bag system . .1-57
Supplemental restraint system
Information and warning labels.......1-64
Precautions on supplemental restraint
system....................1-49
Supplemental restraint system
(Supplemental air bag system).........1-49
Switch
Autolight switch...............2-33
Automatic power window switch.....2-53
Fog light switch...............2-35
Hazard warning flasher switch.......2-36
Headlight and turn signal switch......2-32
Headlight control switch..........2-32
Ignition switch................5-9
Power door lock switch...........3-5
Rear window and outside mirror defroster
switch....................2-32
Rear window wiper and washer
switches...................2-31
Turn signal switch..............2-35
Vehicle dynamic control (VDC) off
switch....................2-38
Windshield wiper and washer switch . . .2-30
10-6
ZREVIEW COPYÐ2009 Armada(wzw)
Owners ManualÐUSA_English(nna)
02/27/08Ðtbrooks
X
ProCarManuals.com