NISSAN ARMADA 2010 Owners Manual
ARMADA 2010
NISSAN
NISSAN
https://www.carmanualsonline.info/img/5/56716/w960_56716-0.png
NISSAN ARMADA 2010 Owners Manual
Trending: climate settings, tire pressure, ECU, sensor, language, torque, mirror controls
Page 261 of 472
●Do not use a conventional record cleaner or
alcohol intended for industrial use.
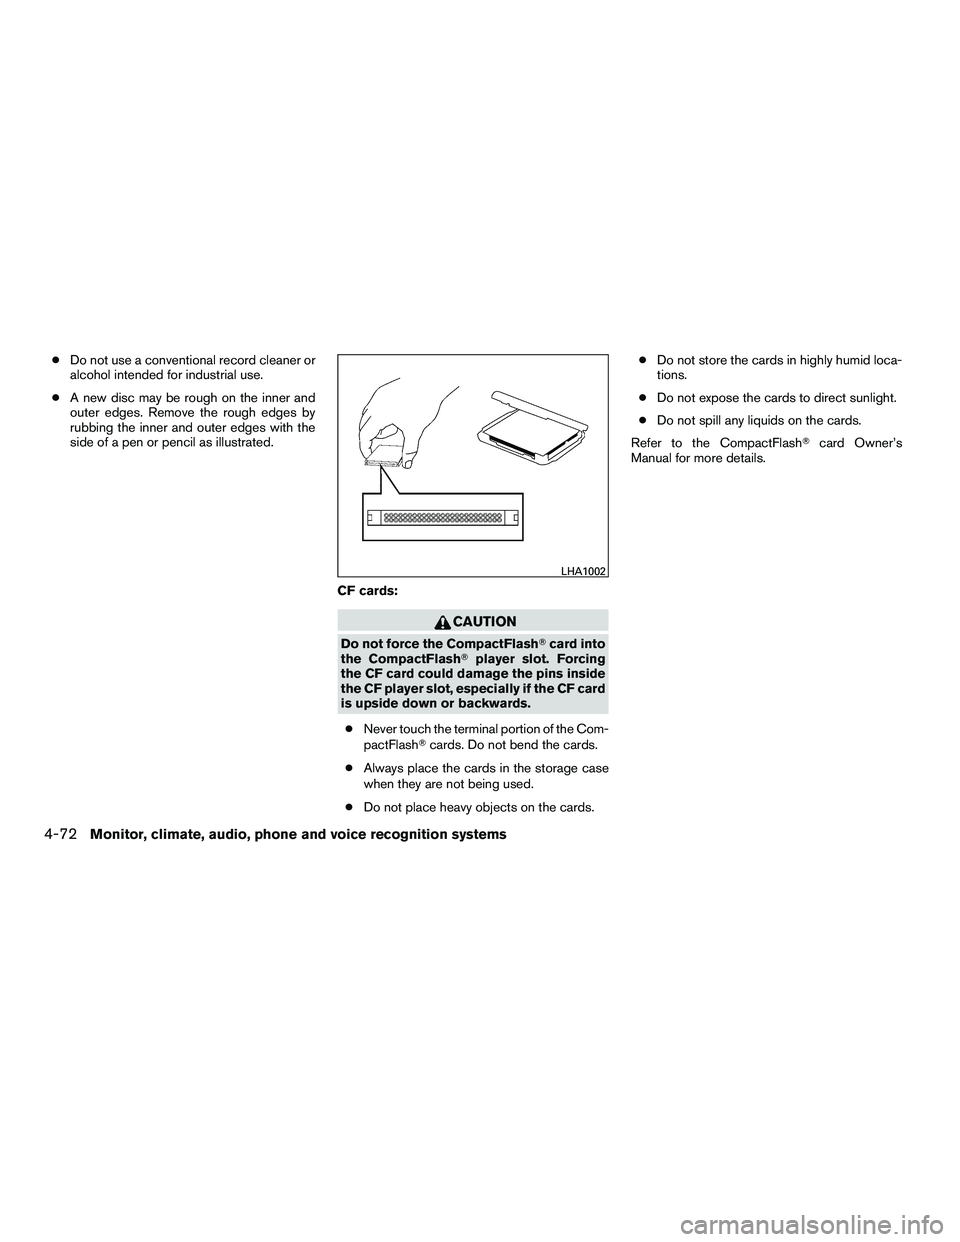
● A new disc may be rough on the inner and
outer edges. Remove the rough edges by
rubbing the inner and outer edges with the
side of a pen or pencil as illustrated.
CF cards:
Page 262 of 472
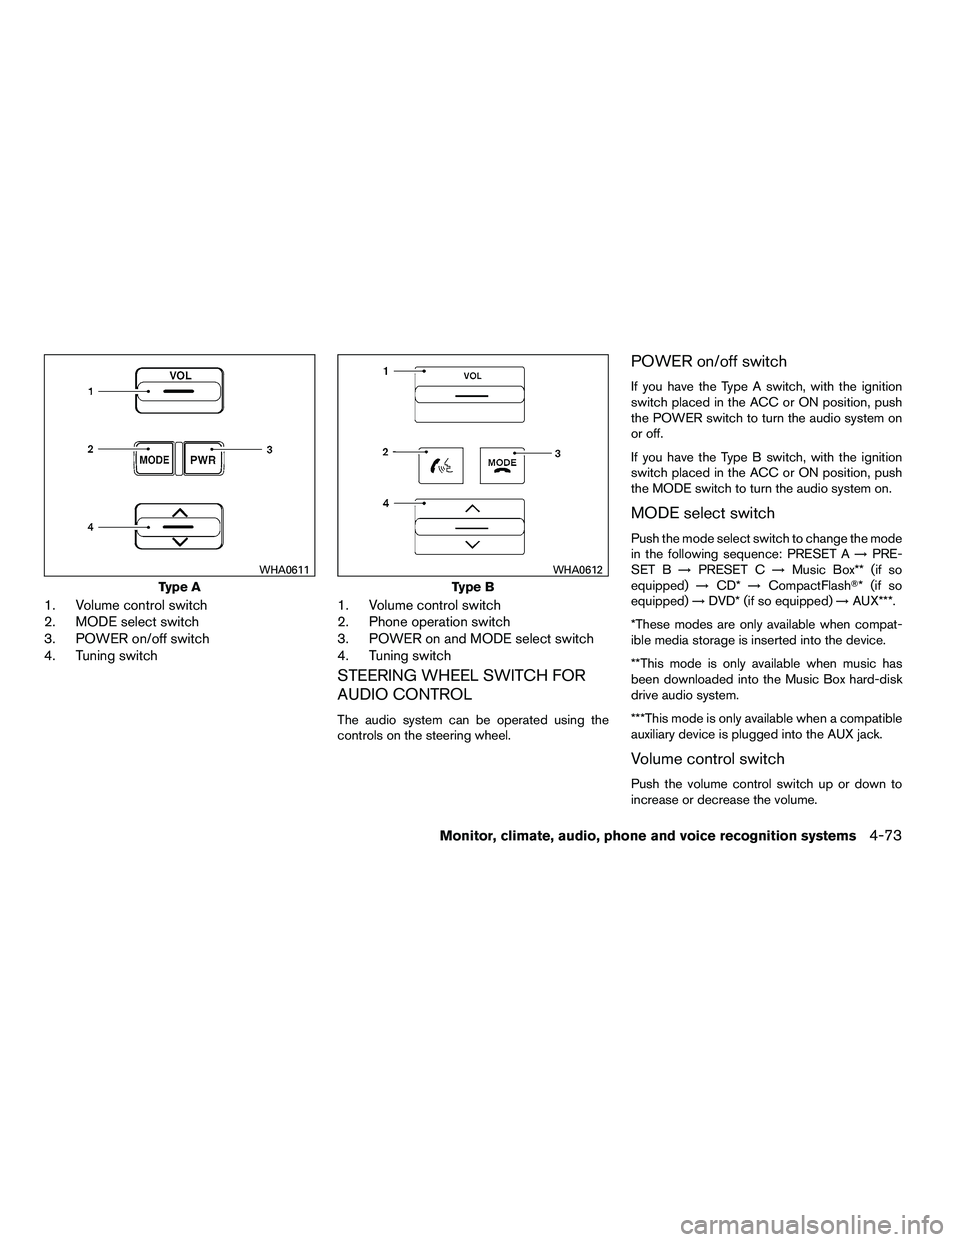
1. Volume control switch
2. MODE select switch
3. POWER on/off switch
4. Tuning switch1. Volume control switch
2. Phone operation switch
3. POWER on and MODE select switch
4. Tuning switch
STEERING WHEEL SWITCH FOR
AUDIO CONTROL
The audio system can be operated using the
controls on the steering wheel.
POWER on/off switch
If you have the Type A switch, with the ignition
switch placed in the ACC or ON position, push
the POWER switch to turn the audio system on
or off.
If you have the Type B switch, with the ignition
switch placed in the ACC or ON position, push
the MODE switch to turn the audio system on.
MODE select switch
Push the mode select switch to change the mode
in the following sequence: PRESET A
→PRE-
SET B →PRESET C →Music Box** (if so
equipped) →CD* →CompactFlash�* (if so
equipped) →DVD* (if so equipped) →AUX***.
*These modes are only available when compat-
ible media storage is inserted into the device.
**This mode is only available when music has
been downloaded into the Music Box hard-disk
drive audio system.
***This mode is only available when a compatible
auxiliary device is plugged into the AUX jack.
Volume control switch
Push the volume control switch up or down to
increase or decrease the volume.
Page 263 of 472
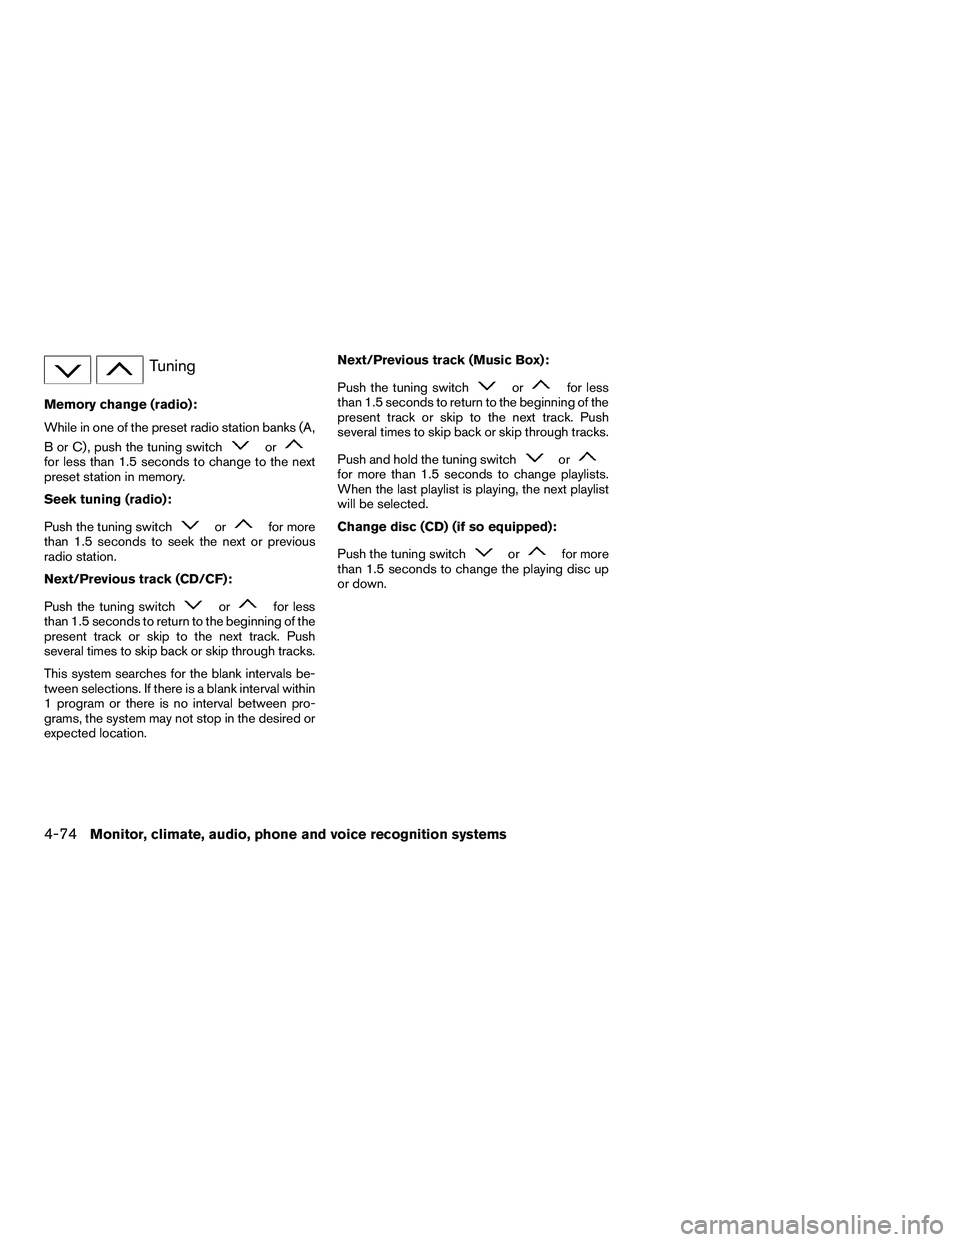
Tuning
Memory change (radio):
While in one of the preset radio station banks (A,
B or C) , push the tuning switch
Page 264 of 472
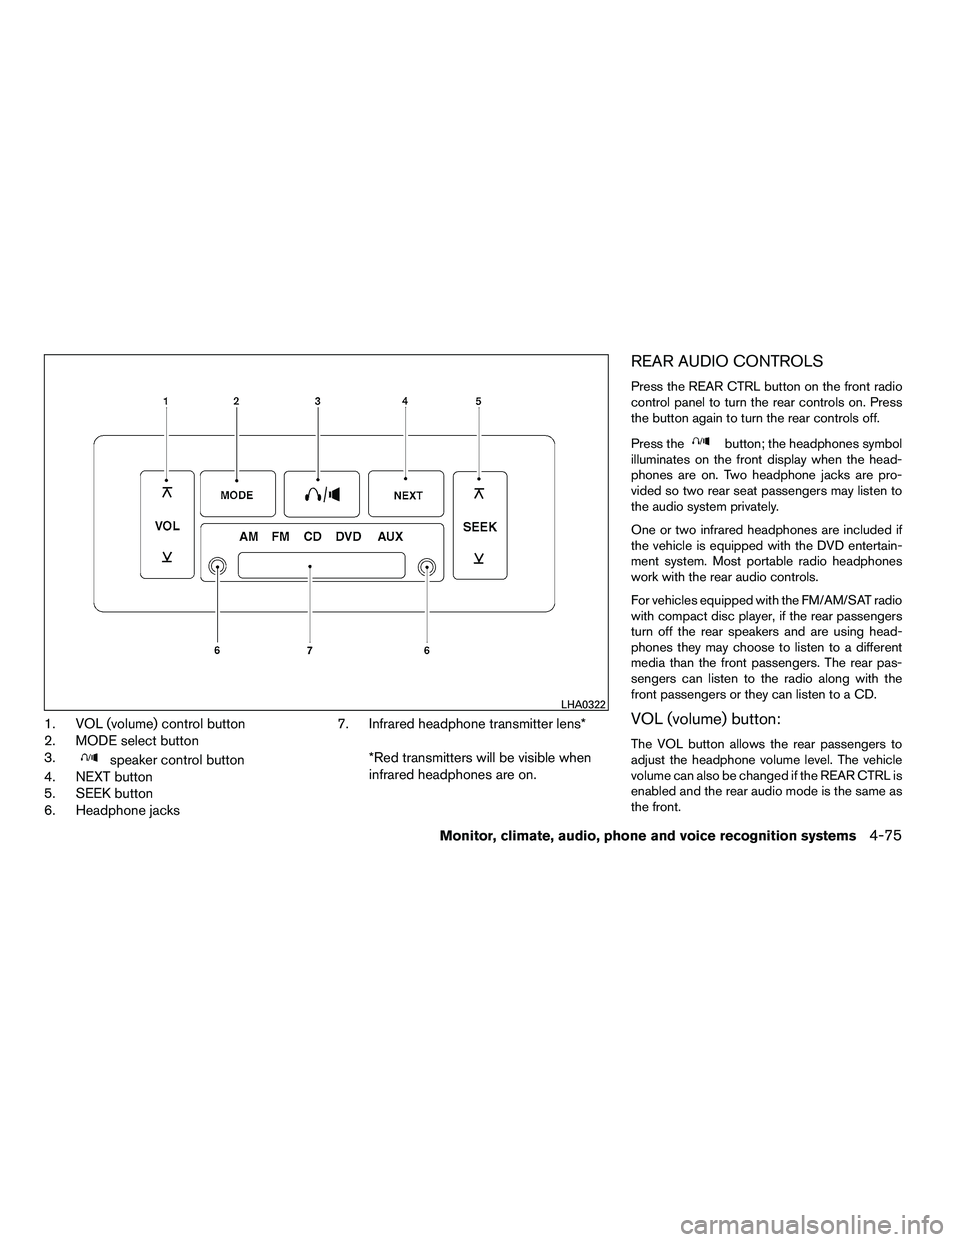
1. VOL (volume) control button
2. MODE select button
3.
Page 265 of 472
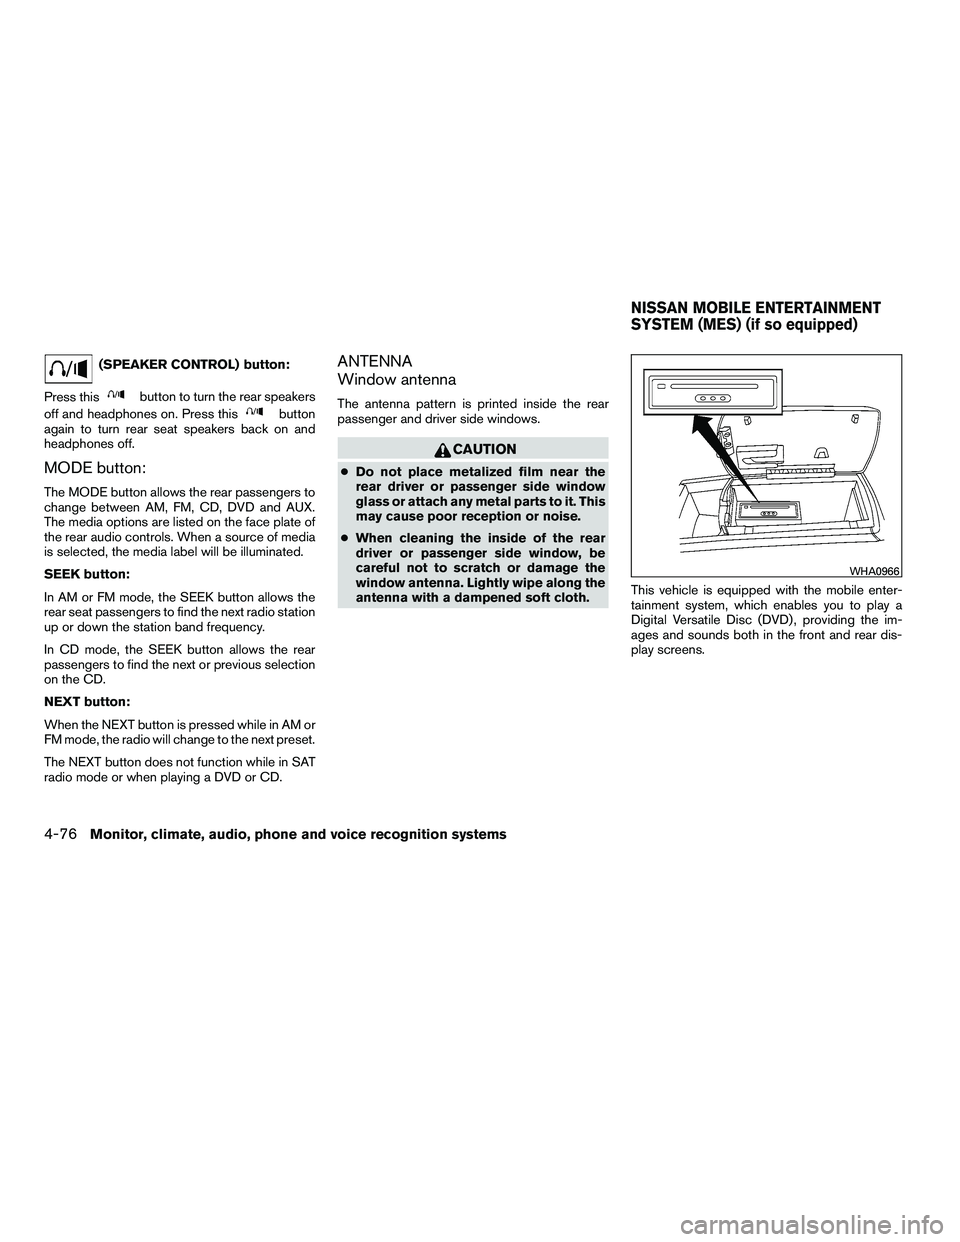
(SPEAKER CONTROL) button:
Press this
Page 266 of 472
WARNING
●The driver must not attempt to operate
or view the Mobile Entertainment Sys-
tem while the vehicle is in motion so
that full attention may be given to ve-
hicle operation.
● Do not attempt to modify the system to
display a movie on the front screen
while the vehicle is being driven. Doing
so may distract the driver and may
cause a collision and serious personal
injury or death.
Page 267 of 472
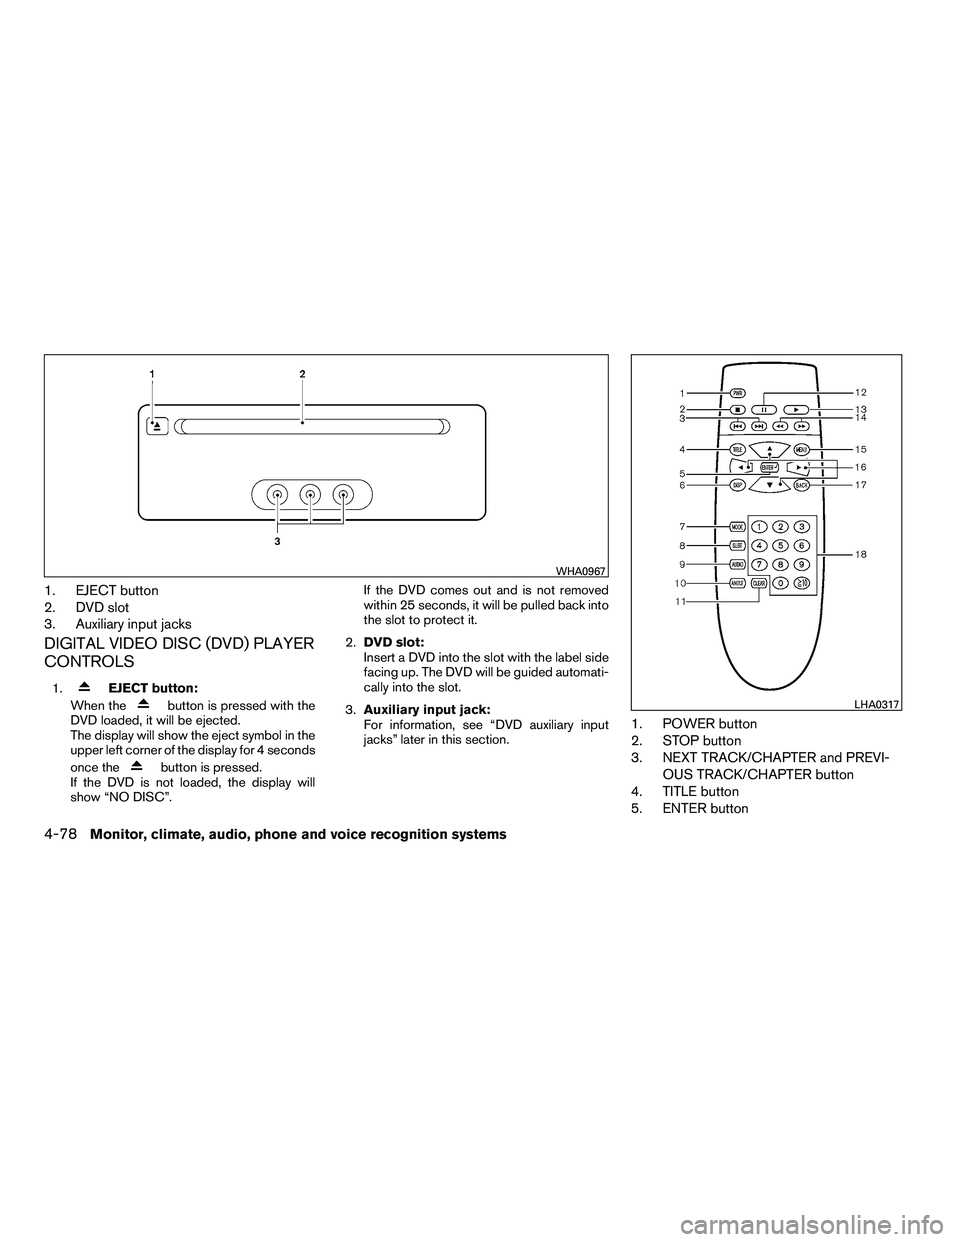
1. EJECT button
2. DVD slot
3. Auxiliary input jacks
DIGITAL VIDEO DISC (DVD) PLAYER
CONTROLS
1.
Page 268 of 472
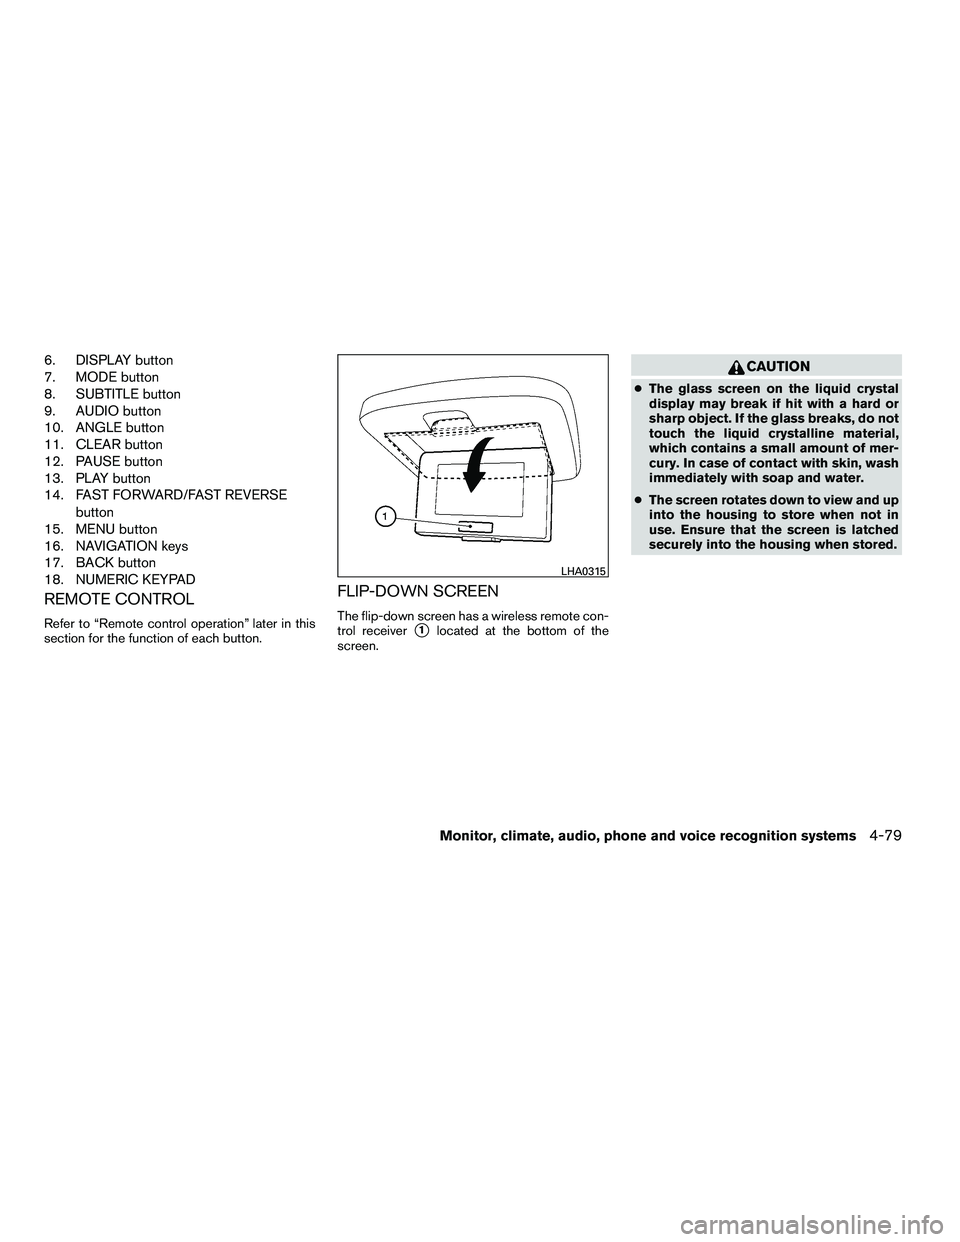
6. DISPLAY button
7. MODE button
8. SUBTITLE button
9. AUDIO button
10. ANGLE button
11. CLEAR button
12. PAUSE button
13. PLAY button
14. FAST FORWARD/FAST REVERSEbutton
15. MENU button
16. NAVIGATION keys
17. BACK button
18. NUMERIC KEYPAD
REMOTE CONTROL
Refer to “Remote control operation” later in this
section for the function of each button.
FLIP-DOWN SCREEN
The flip-down screen has a wireless remote con-
trol receiver
�1located at the bottom of the
screen.
Page 269 of 472
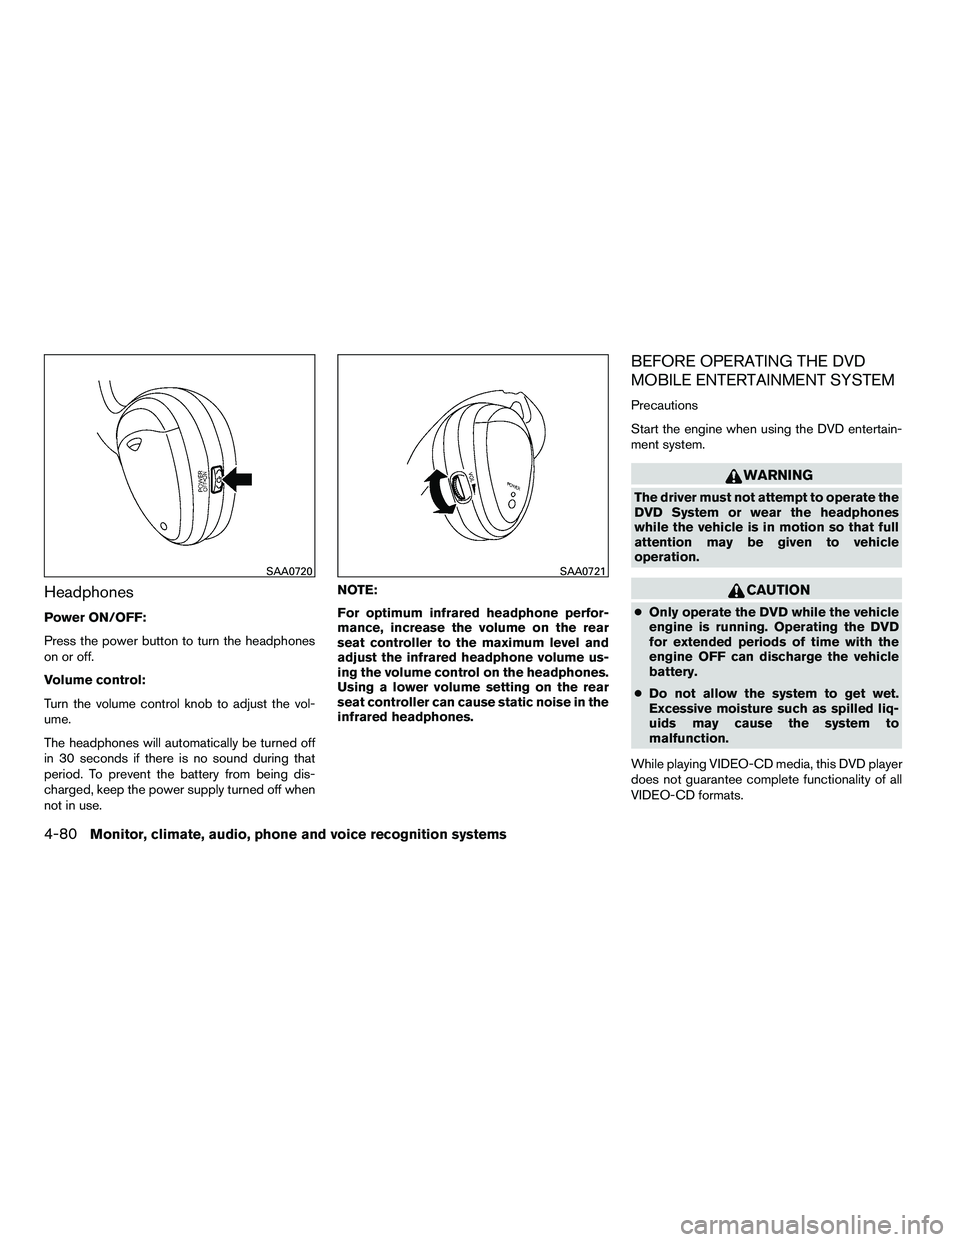
Headphones
Power ON/OFF:
Press the power button to turn the headphones
on or off.
Volume control:
Turn the volume control knob to adjust the vol-
ume.
The headphones will automatically be turned off
in 30 seconds if there is no sound during that
period. To prevent the battery from being dis-
charged, keep the power supply turned off when
not in use.NOTE:
For optimum infrared headphone perfor-
mance, increase the volume on the rear
seat controller to the maximum level and
adjust the infrared headphone volume us-
ing the volume control on the headphones.
Using a lower volume setting on the rear
seat controller can cause static noise in the
infrared headphones.
BEFORE OPERATING THE DVD
MOBILE ENTERTAINMENT SYSTEM
Precautions
Start the engine when using the DVD entertain-
ment system.
Page 270 of 472
Copyright and trademark
●The technology protected by the U.S. patent
and other intellectual property rights owned
by Macrovision Corporation and other right
holders is adopted for this system.
● This copyright protected technology cannot
be used without a permit from Macrovision
Corporation. It is limited to be personal use,
etc., as long as the permit from Macrovision
Corporation is not issued.
● Modifying or disassembling is prohibited.
● Dolby digital is manufactured under license
from Dolby Laboratories, Inc.
● Dolby and the double D mark are trademarks
of Dolby Laboratories, Inc.
● DTS and DTS Digital Surround are regis-
tered trademarks of Digital Theater Systems,
Inc.
Parental level (parental control)
DVDs with the parental control setting can be
played with this system. Please use your own
judgement to set the parental control with the
system.
Disc selection
You can play the following disc formats with the
DVD drive:
● DVD-VIDEO
● VIDEO-CD
● CD-DA (Conventional Compact Disc) (CD
with MP3/WMA cannot be played.)
Use DVDs with a region code 1; DVDs with
region code ALL or 1 will operate in the DVD
entertainment system. The region code is dis-
played as a small symbol printed on the top of the
DVD. This vehicle-installed DVD player cannot
play DVDs with a region code other than 1 or
ALL.
Display settings
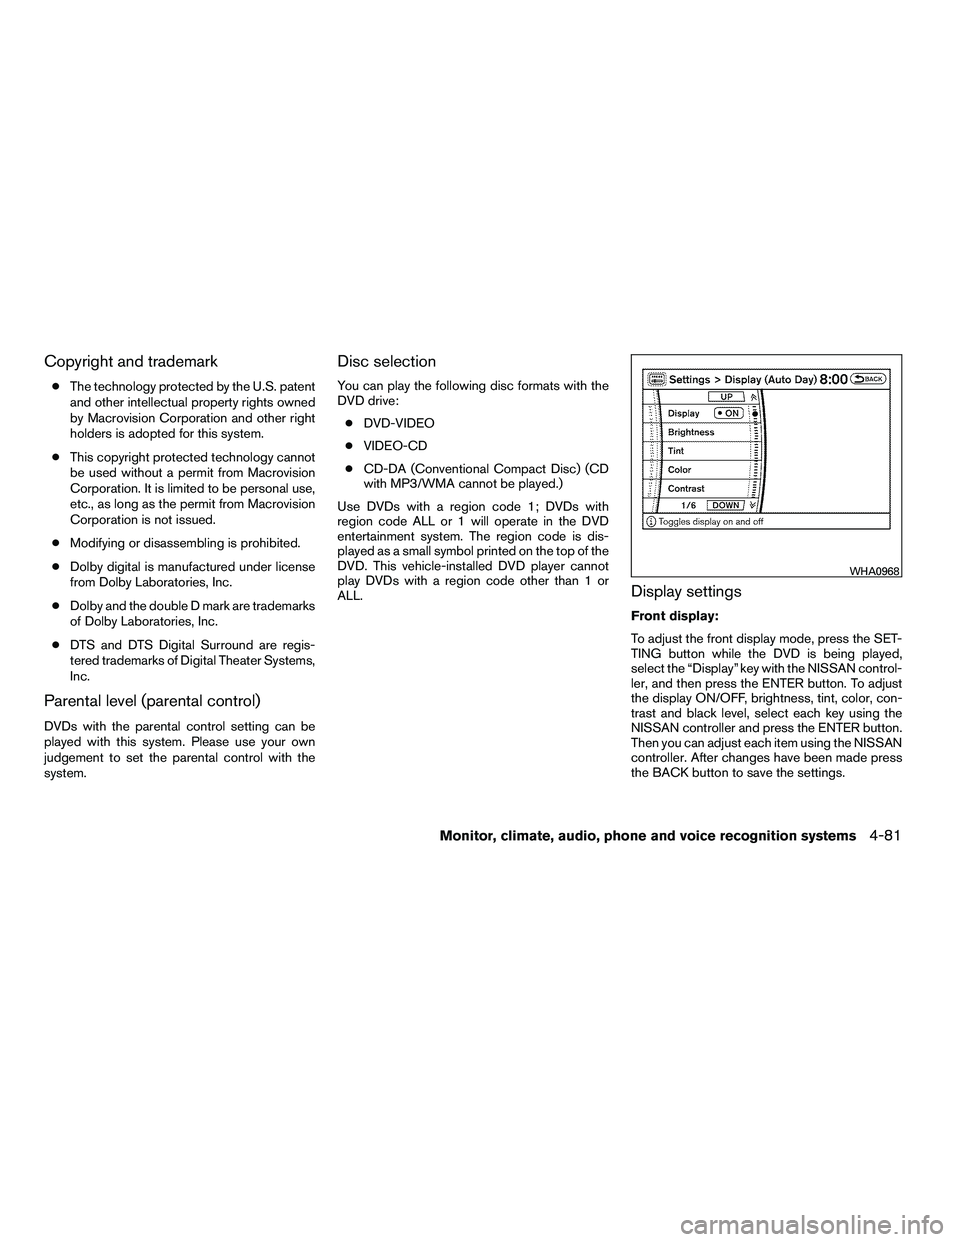
Front display:
To adjust the front display mode, press the SET-
TING button while the DVD is being played,
select the “Display” key with the NISSAN control-
ler, and then press the ENTER button. To adjust
the display ON/OFF, brightness, tint, color, con-
trast and black level, select each key using the
NISSAN controller and press the ENTER button.
Then you can adjust each item using the NISSAN
controller. After changes have been made press
the BACK button to save the settings.
Trending: emergency towing, steering, automatic transmission fluid, mirror controls, jacking, change wheel, child restraint
