USB NISSAN ARMADA PLATINUM 2015 Owners Manual
[x] Cancel search | Manufacturer: NISSAN, Model Year: 2015, Model line: ARMADA PLATINUM, Model: NISSAN ARMADA PLATINUM 2015Pages: 510, PDF Size: 4.14 MB
Page 239 of 510
USB (Universal Serial Bus)
Connection Port (if so equipped)
Page 264 of 510
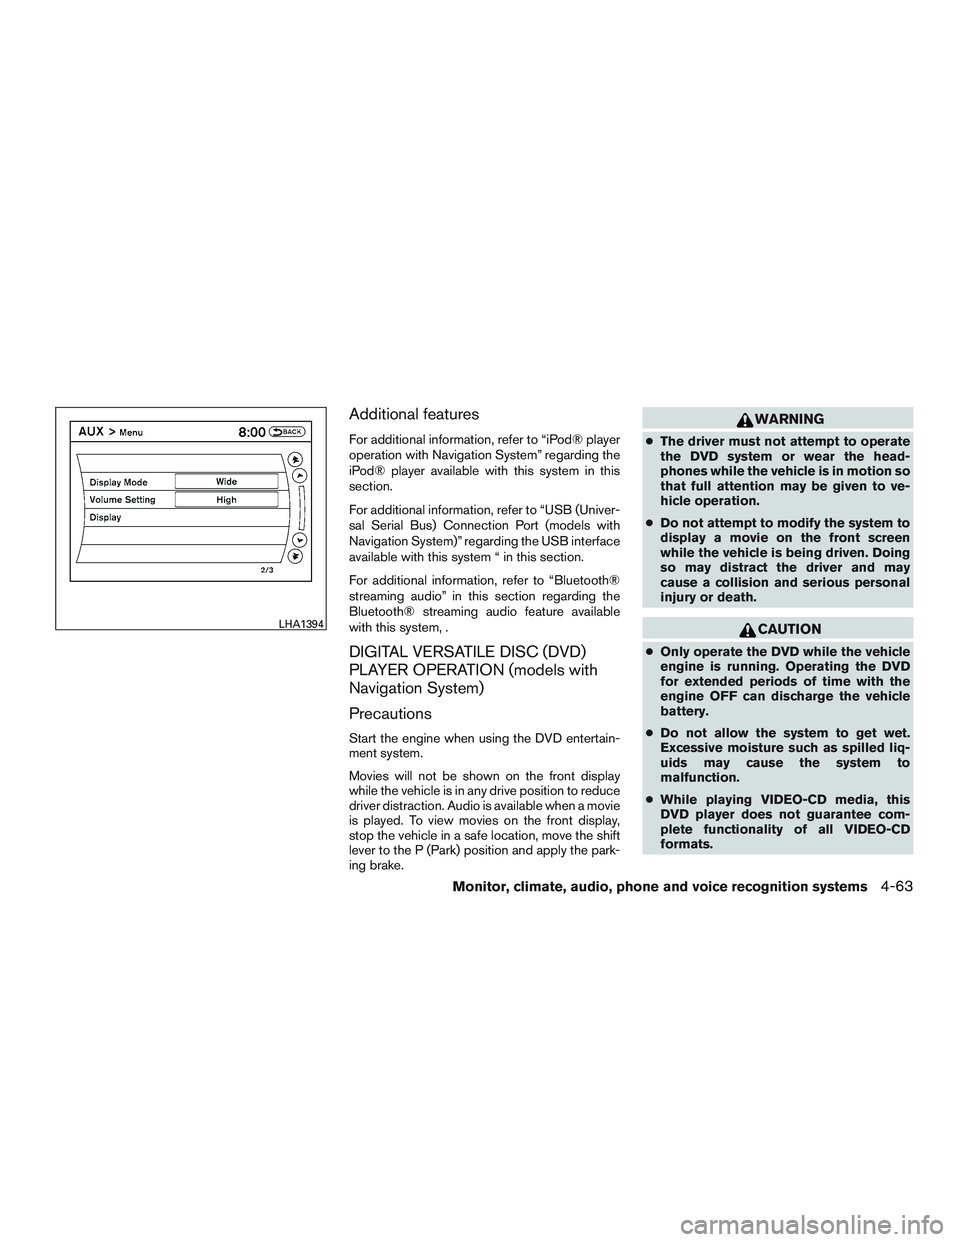
Additional features
For additional information, refer to “iPod® player
operation with Navigation System” regarding the
iPod® player available with this system in this
section.
For additional information, refer to “USB (Univer-
sal Serial Bus) Connection Port (models with
Navigation System)” regarding the USB interface
available with this system “ in this section.
For additional information, refer to “Bluetooth®
streaming audio” in this section regarding the
Bluetooth® streaming audio feature available
with this system, .
DIGITAL VERSATILE DISC (DVD)
PLAYER OPERATION (models with
Navigation System)
Precautions
Start the engine when using the DVD entertain-
ment system.
Movies will not be shown on the front display
while the vehicle is in any drive position to reduce
driver distraction. Audio is available when a movie
is played. To view movies on the front display,
stop the vehicle in a safe location, move the shift
lever to the P (Park) position and apply the park-
ing brake.
Page 267 of 510
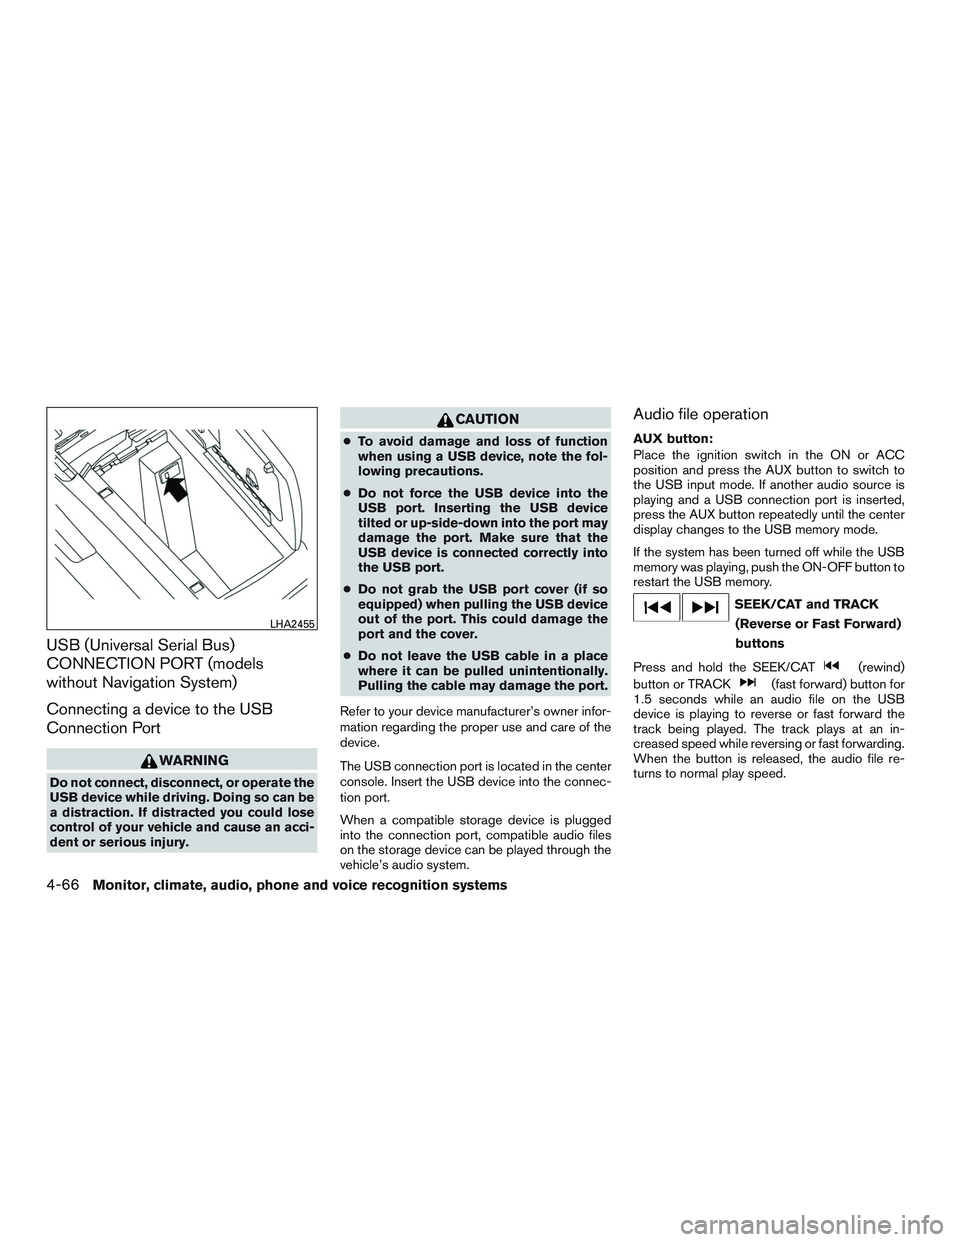
USB (Universal Serial Bus)
CONNECTION PORT (models
without Navigation System)
Connecting a device to the USB
Connection Port
Page 269 of 510
CAUTION
●To avoid damage and loss of function
when using a USB device, note the fol-
lowing precautions.
● Do not force the USB device into the
USB port. Inserting the USB device
tilted or up-side-down into the port may
damage the port. Make sure that the
USB device is connected correctly into
the USB port.
● Do not grab the USB port cover (if so
equipped) when pulling the USB device
out of the port. This could damage the
port and the cover.
● Do not leave the USB cable in a place
where it can be pulled unintentionally.
Pulling the cable may damage the port.
Refer to your device manufacturer’s owner infor-
mation regarding the proper use and care of the
device.
The USB port is located in the center console.
Insert the USB device into the connection port.
When a compatible storage device is plugged
into the connection port, compatible audio files
on the storage device can be played through the
vehicle’s audio system.
Audio file operation
DISC/AUX button:
Place the ignition switch in the ON or ACC
position and press the DISC/AUX button to
switch to the USB input mode. If another audio
source is playing and a USB connection port is
inserted, press the DISC/AUX button repeatedly
until the center display changes to the USB
memory mode.
If the system has been turned off while the USB
memory was playing, push the ON-OFF button to
restart the USB memory.
Page 272 of 510
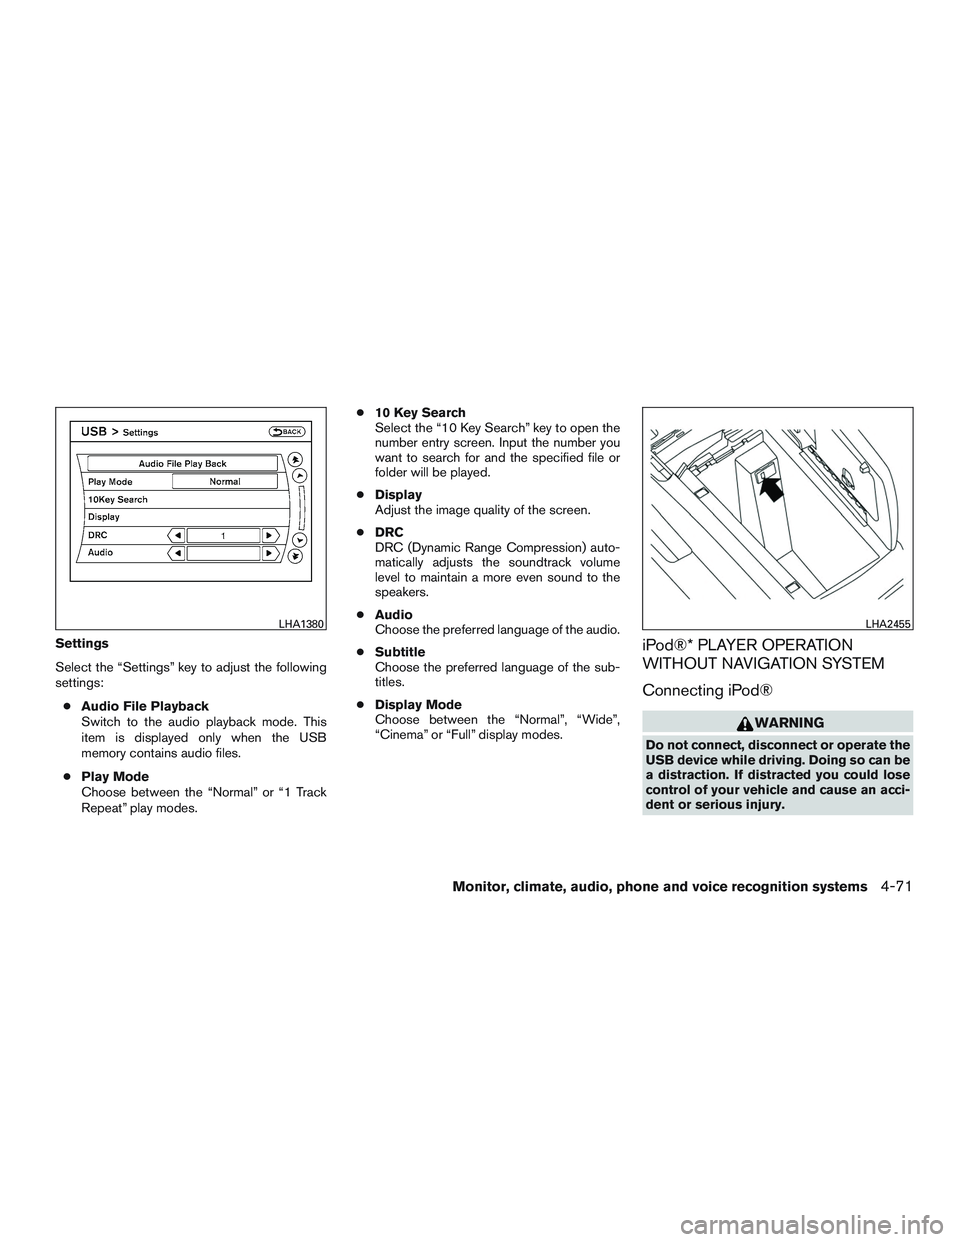
Settings
Select the “Settings” key to adjust the following
settings:● Audio File Playback
Switch to the audio playback mode. This
item is displayed only when the USB
memory contains audio files.
● Play Mode
Choose between the “Normal” or “1 Track
Repeat” play modes. ●
10 Key Search
Select the “10 Key Search” key to open the
number entry screen. Input the number you
want to search for and the specified file or
folder will be played.
● Display
Adjust the image quality of the screen.
● DRC
DRC (Dynamic Range Compression) auto-
matically adjusts the soundtrack volume
level to maintain a more even sound to the
speakers.
● Audio
Choose the preferred language of the audio.
● Subtitle
Choose the preferred language of the sub-
titles.
● Display Mode
Choose between the “Normal”, “Wide”,
“Cinema” or “Full” display modes.iPod®* PLAYER OPERATION
WITHOUT NAVIGATION SYSTEM
Connecting iPod®
Page 273 of 510
CAUTION
●Do not force the USB device into the
USB port. Inserting the USB device
tilted or up-side-down into the port may
damage the port. Make sure that the
USB device is connected correctly into
the USB port.
● Do not grab the USB port cover (if so
equipped) when pulling the USB device
out of the port. This could damage the
port and the cover.
● Do not leave the USB cable in a place
where it can be pulled unintentionally.
Pulling the cable may damage the port.
For additional information, refer to your device
manufacturer’s owner information regarding the
proper use and care of the device.
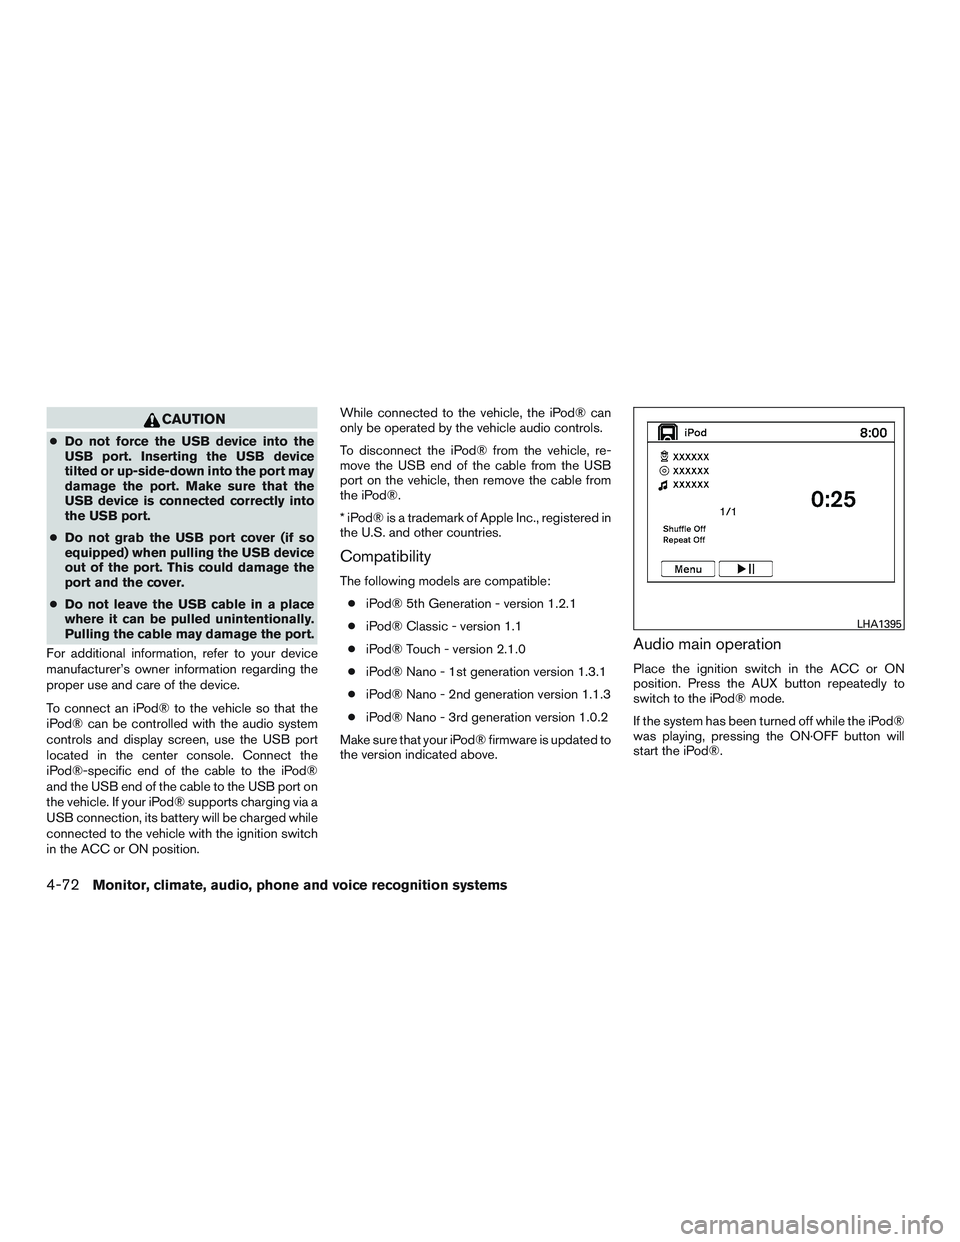
To connect an iPod® to the vehicle so that the
iPod® can be controlled with the audio system
controls and display screen, use the USB port
located in the center console. Connect the
iPod®-specific end of the cable to the iPod®
and the USB end of the cable to the USB port on
the vehicle. If your iPod® supports charging via a
USB connection, its battery will be charged while
connected to the vehicle with the ignition switch
in the ACC or ON position. While connected to the vehicle, the iPod® can
only be operated by the vehicle audio controls.
To disconnect the iPod® from the vehicle, re-
move the USB end of the cable from the USB
port on the vehicle, then remove the cable from
the iPod®.
* iPod® is a trademark of Apple Inc., registered in
the U.S. and other countries.
Compatibility
The following models are compatible:
● iPod® 5th Generation - version 1.2.1
● iPod® Classic - version 1.1
● iPod® Touch - version 2.1.0
● iPod® Nano - 1st generation version 1.3.1
● iPod® Nano - 2nd generation version 1.1.3
● iPod® Nano - 3rd generation version 1.0.2
Make sure that your iPod® firmware is updated to
the version indicated above.
Audio main operation
Place the ignition switch in the ACC or ON
position. Press the AUX button repeatedly to
switch to the iPod® mode.
If the system has been turned off while the iPod®
was playing, pressing the ON·OFF button will
start the iPod®.
Page 283 of 510
AM and FM● Tilt up/down for less than 1.5 seconds to
increase or decrease the preset station.
● Tilt up/down for more than 1.5 seconds to
seek up or down to the next station.
● Press the ENTER button to show the list of
preset stations.
XM ● Tilt up/down for less than 1.5 seconds to
increase or decrease the preset station.
● Tilt up/down for more than 1.5 seconds to
go to the next or previous category.
● Press the ENTER button to show the XM
Menu.
iPod® ● Tilt up/down for less than 1.5 seconds to
increase or decrease the track number.
● Press the ENTER button to show the iPod
Menu. CD
● Tilt up/down for less than 1.5 seconds to
increase or decrease the track number.
● Tilt up/down for more than 1.5 seconds to
increase or decrease the folder number (if
playing compressed audio files) .
● Press the ENTER button to show the CD
Menu.
DVD (if so equipped) ● Tilt up/down for less than 1.5 seconds to
increase or decrease the track number.
● Tilt up/down for more than 1.5 seconds to
increase or decrease the title number.
● Press the ENTER button to select an item
from the DVD display.
● When the transparent operation menu ap-
pears, the switch will control the menu.
USB ● Tilt up/down for less than 1.5 seconds to
increase or decrease the track number.
● Tilt up/down for more than 1.5 seconds to
increase or decrease the folder number.
● Press the ENTER button to show the USB
Menu. Bluetooth® Audio (if so equipped)
● Tilt up/down for less than 1.5 seconds to
increase or decrease the track number.
AUX ● Press the ENTER button to show the AUX
Menu.
ANTENNA
Window antenna
The antenna pattern is printed inside the rear
passenger and driver side windows.
Page 506 of 510
T
Tachometer ....................2-5
Temperature gauge Engine coolant temperature gauge .....2-5
Engine oil pressure low/engine coolant
temperature high warning light .......2-15
Theft (NISSAN Vehicle Immobilizer System) ,
engine start .............2-30,3-4,5-12
Third row power folding seats .........1-12
Three-way catalyst ................5-2
Tilting steering wheel ..............3-30
Tire Flat tire ..................6-2,6-3
Spare tire ...................6-4
TireandLoadingInformationlabel.....9-13
Tire chains ..................8-44
Tirepressure.................8-37
Tire rotation..................8-44
Tires of 4-wheel drive ............8-46
Types of tires .................8-43
Uniform tire quality grading .........9-31
Wheels and tires ...............8-37
Wheel/tire size ................9-10
Tirepressure...................8-37 Low tire pressure warning light .......2-16
Tire Pressure Monitoring System (TPMS) ....5-3
Top tether strap child restraint .........1-37
Towing 2-wheel drive models ............6-14
4-wheel drive models ............6-14
Flattowing..................9-31
Towing load/specification ..........9-22
Towtrucktowing...............6-13
Trailer towing .................9-19 Towing a trailer
..................9-19
Tow mode switch ................2-44
Transceiver HomeLink® Universal
Transceiver .......2-64,2-65,2-66,2-67
Transmission Driving with automatic transmission ....5-15
Travel (See registering a vehicle in another
country) ......................9-11
Trip odometer ...................2-4
Turn signal switch ................2-37
U
Uniform tire quality grading ...........9-31
USB interface ...............4-66,4-67
Audio file operation ..........4-66,4-68
Video file operation .............4-70
V
Vanity mirror ...................3-32
Variable voltage control system .........8-17
Vehicle dimensions and weights ........9-10
Vehicle dynamic control (VDC) off switch . . .2-41
Vehicle dynamic control (VDC) system .....5-33
Vehicle Dynamic Control (VDC) system ....5-33
Vehicle identification ...............9-11
Vehicle identification number (VIN) .......9-11
Vehicle identification number (VIN)
(Chassis number) ................9-11
Vehicle identification number (VIN) plate ....9-11
Vehicle immobilizer system .....2-30,3-4,5-12
Vehicle Information Display ...........2-21Vehicle loading information
...........9-14
Vehicle recovery ................. 6-15
Vehicle security system .............2-29
Vehicle security system
(NISSAN Vehicle Immobilizer System) ,
enginestart .............2-30,3-4,5-12
Ventilators ....................4-28
Visors.......................3-32
Voice Prompt Interrupt ........4-112, 4-124
Voice recognition system ...........4-135
Voltmeter......................2-7
W
Warning 4WD warning light ..............2-15
Airbagwarninglight.........1-72,2-18
Anti-lock brake warning light ........2-13
Battery charge warning light ........2-15
Brake warning light .............2-14
Engine oil pressure low/engine coolant
temperature high warning light .......2-15
Hazard warning flasher switch ........6-2
Loose fuel cap warning ........2-28,3-28
Low fuel warning light .....2-16,2-17,2-27
Low tire pressure warning light .......2-16
Low windshield-washer fluid warning
light ..................2-17,2-27
Passenger air bag and status light .....1-64
Seat belt warning light ........1-23,2-18
Supplemental air bag warning
light ..................1-72,2-18
TPMS ......................2-4
Vehicle security system ...........2-29
10-7