window NISSAN CUBE 2010 3.G Quick Reference Guide
[x] Cancel search | Manufacturer: NISSAN, Model Year: 2010, Model line: CUBE, Model: NISSAN CUBE 2010 3.GPages: 20, PDF Size: 2.55 MB
Page 9 of 20

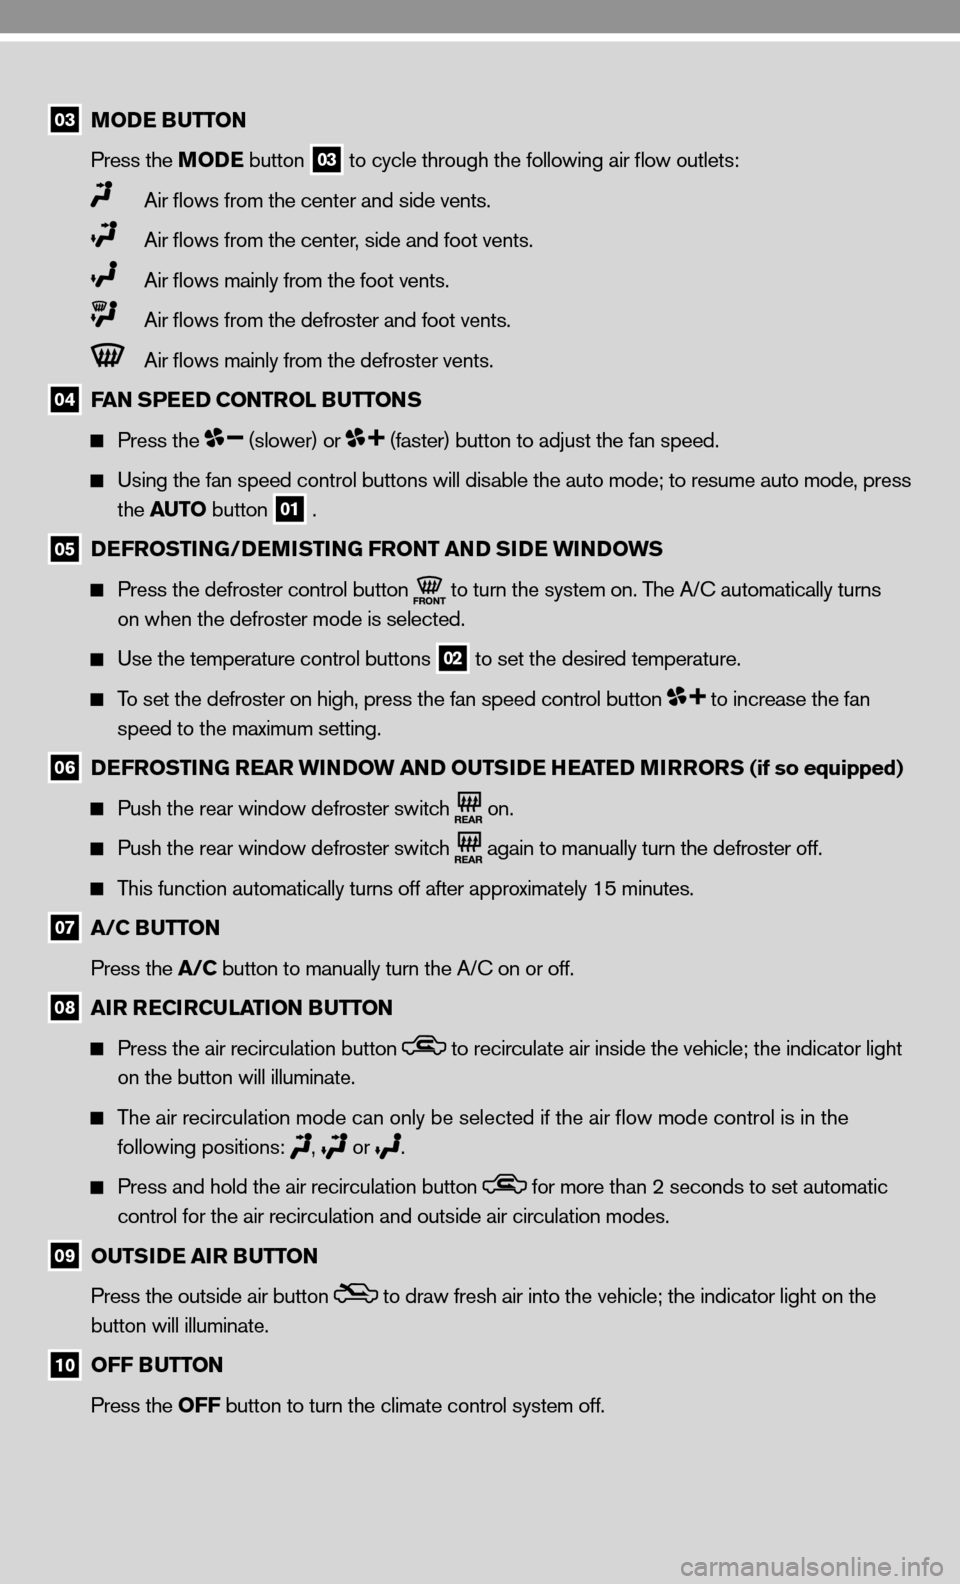
03 MODE BUTTON
Press the MODE button
03 to cycle through the following air flow outlets:
Air flows from the center and side vents.
Air flows from the center, side and foot vents.
Air flows mainly from the foot vents.
Air flows from the defroster and foot vents.
Air flows mainly from the defroster vents.
04 FAN SPEED CONTROL BUTTONS
Press the (slower) or (faster) button to adjust the fan speed.
using the fan speed control buttons will disable the auto mode; to resume auto mode, press
the AUTO button
01 .
05 DEFROSTING/DEMISTING FRONT AND SIDE WINDOWS
Press the defroster control button
to turn the system on. The A/
c automatically turns
on when the defroster mode is selected.
use the temperature control buttons
02 to set the desired temperature.
To set the defroster on high, press the fan speed control button to increase the fan
speed to the maximum setting.
06 DEFROSTING REAR WINDOW AND OUTSIDE HEATED MIRRORS (if so equipped)
Push the rear window defroster switch
on.
Push the rear window defroster switch
again to manually turn the defroster off.
This function automatically turns off after approximately 15 minutes.
07 A/C BUTTON
Press the A/C button to manually turn the A/c on or off.
08 AIR RECIRCULATION BUTTON
Press the air recirculation button to recirculate air inside the vehicle; the indicator light
on the button will illuminate.
The air recirculation mode can only be selected if the air flow mode control is in the
following positions:
,
or .
Press and hold the air recirculation button for more than 2 seconds to set automatic
control for the air recirculation and outside air circulation modes.
09 OUTSIDE AIR BUTTON
Press the outside air button
to draw fresh air into the vehicle; the indicator light on the
button will illuminate.
10 OFF BUTTON
Press the OFF button to turn the climate control system off.
Page 16 of 20

14
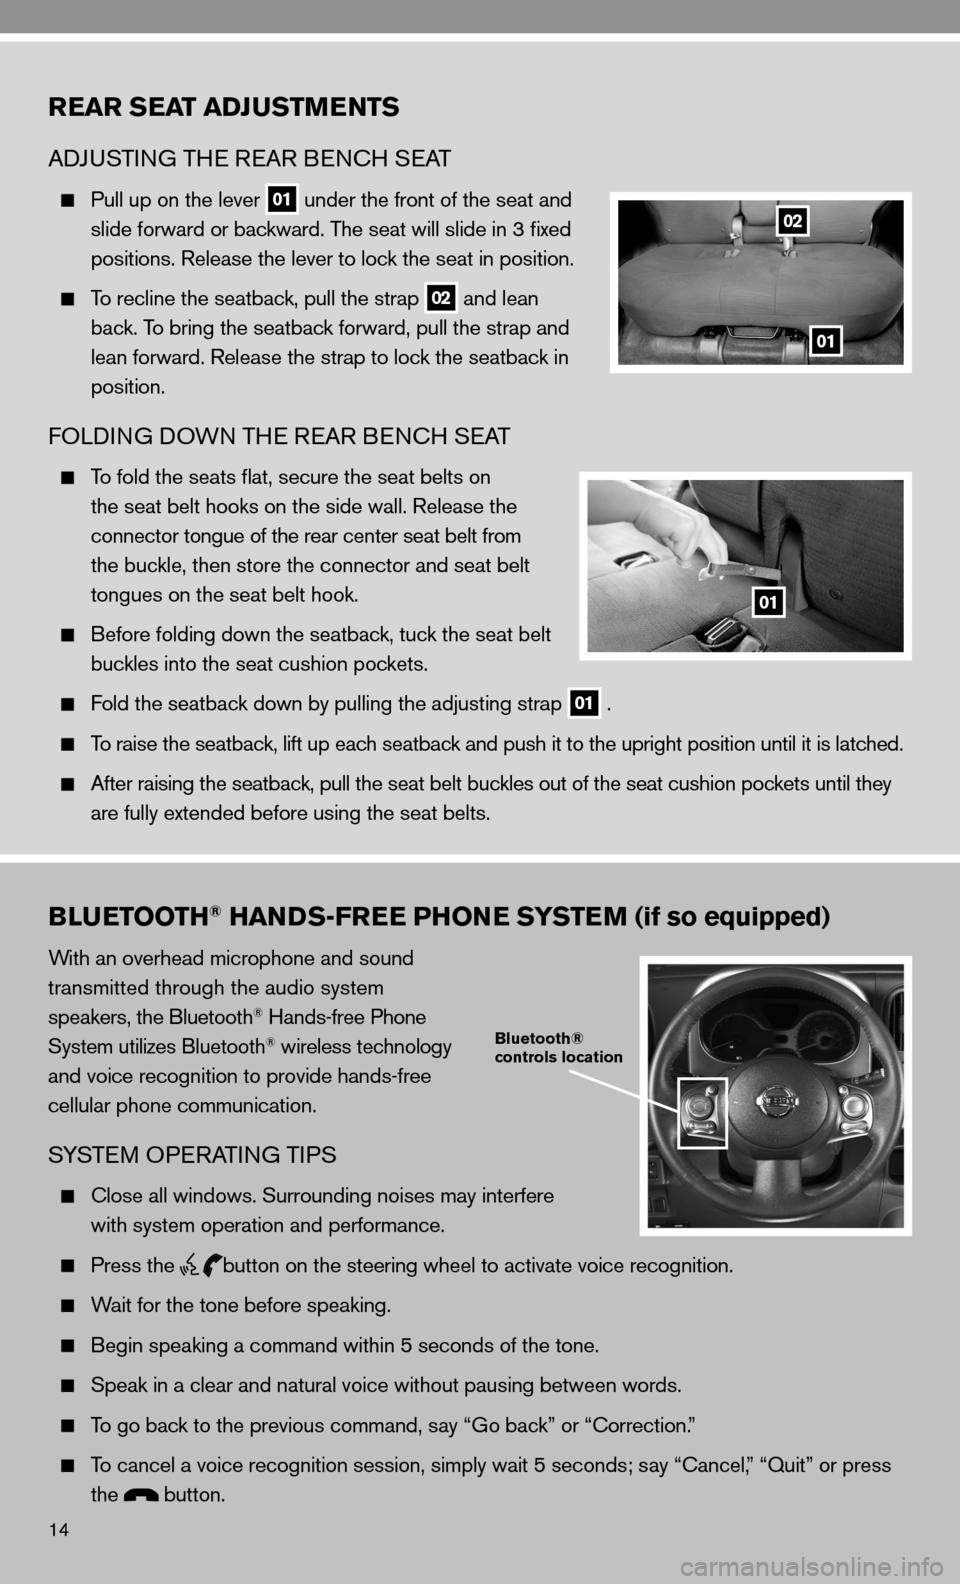
REAR SEAT ADJUSTMENTS
AdJu STin G TH e ReAR B encH SeAT
Pull up on the lever
01 under the front of the seat and
slide forward or backward. The seat will slide in 3 fixed
positions. Release the lever to lock the seat in position.
To recline the seatback, pull the strap
02 and lean
back. To bring the seatback forward, pull the strap and
lean forward. Release the strap to lock the seatback in
position.
fOLdin G dOWn TH e ReAR B encH SeAT
To fold the seats flat, secure the seat belts on
the seat belt hooks on the side wall. Release the
connector tongue of the rear center seat belt from
the buckle, then store the connector and seat belt
tongues on the seat belt hook.
Before folding down the seatback, tuck the seat belt
buckles into the seat cushion pockets.
fold the seatback down by pulling the adjusting strap
01 .
To raise the seatback, lift up each seatback and push it to the upright position until it is latched.
After raising the seatback, pull the seat belt buckles out of the seat cushion pockets until they
are fully extended before using the seat belts.
BLUETOOTH® HANDS-FREE PHONE SYSTEM (if so equipped)
With an overhead microphone and sound
transmitted through the audio system
speakers, the Bluetooth
® Hands-free Phone
System utilizes Bluetooth® wireless technology
and voice recognition to provide hands-free
cellular phone communication.
SYSTe M OPeRATin G TiPS
close all windows. Surrounding noises may interfere
with system operation and performance.
Press the
button on the steering wheel to activate voice recognition.
Wait for the tone before speaking.
Begin speaking a command within 5 seconds of the tone.
Speak in a clear and natural voice without pausing between words.
To go back to the previous command, say “Go back” or “correction.”
To cancel a voice recognition session, simply wait 5 seconds; say “ cancel,” “Quit” or press
the
button.
Bluetooth®
controls location
02
01
01