ESP NISSAN CUBE 2013 3.G Quick Reference Guide
[x] Cancel search | Manufacturer: NISSAN, Model Year: 2013, Model line: CUBE, Model: NISSAN CUBE 2013 3.GPages: 20, PDF Size: 1.9 MB
Page 6 of 20

NISSaN INTeLLIGeNT KeY® SYSTeM (if so equipped)
The NISSAN Intelligent key® System allows you to lock or
unlock the vehicle, open the back door and start the engine.
NOTE: It is important to make sure the Intelligent
key is
with you (that is, in your poc
ket or purse).
The operating range of the Intelligent key is within
31.5 in (80 cm) from eac
h request switch.
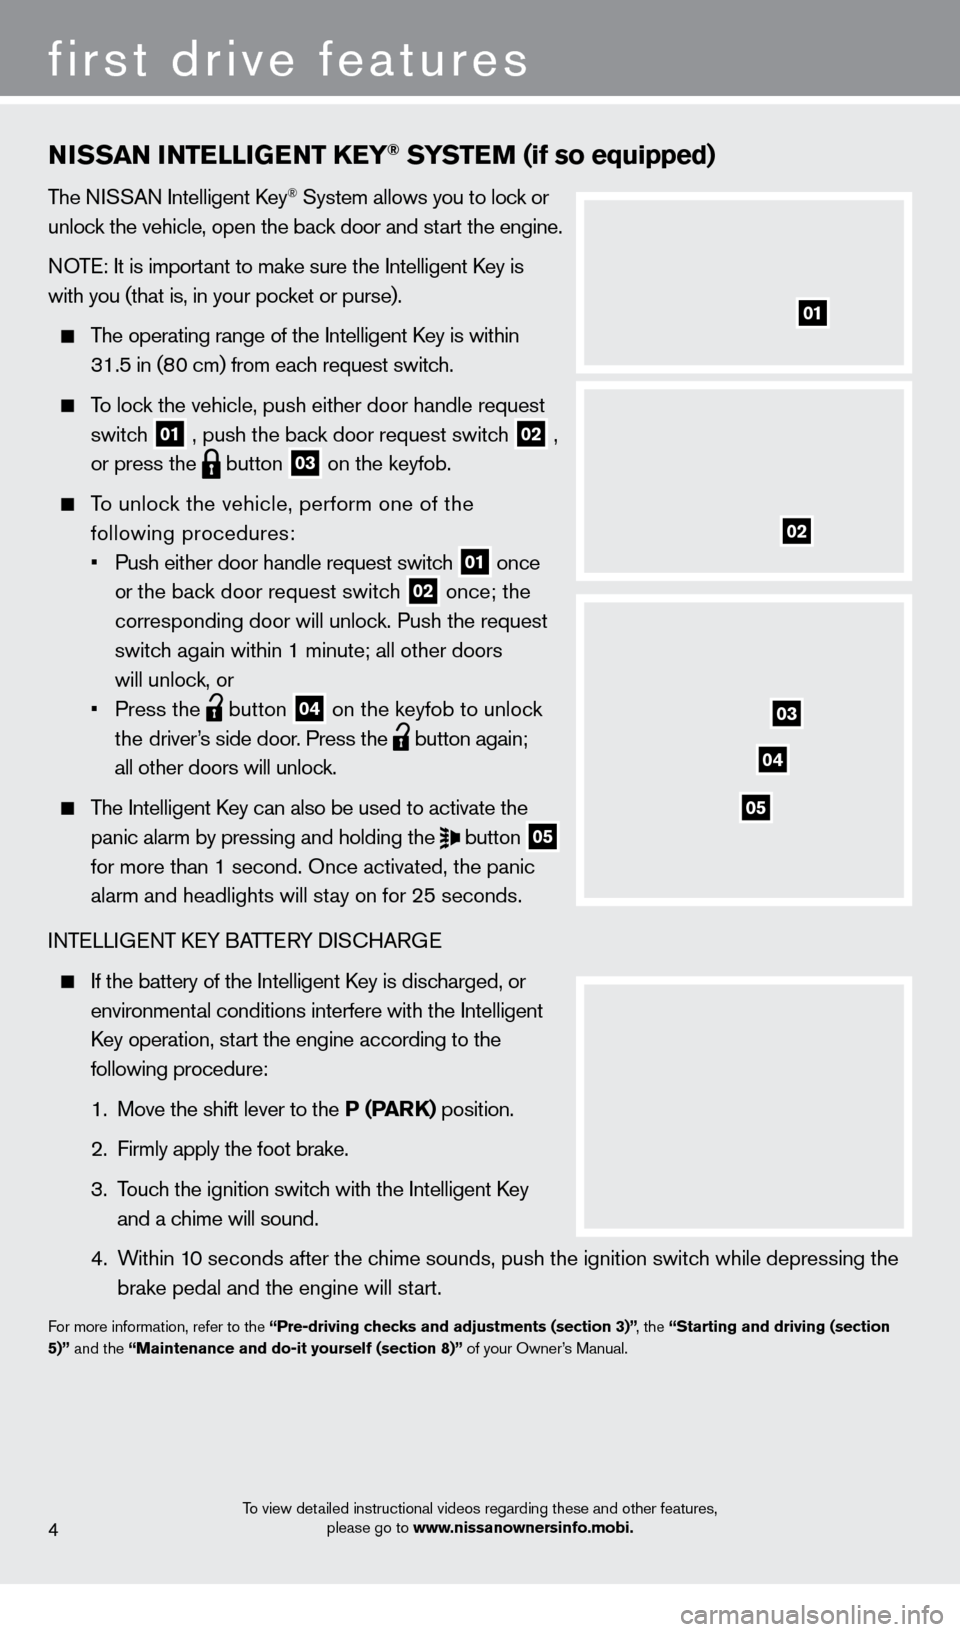
To lock the vehicle, push either door handle request
switch 01 , push the back door request switch
02 ,
or press the
button
03 on the keyfob.
To unlock the vehicle, perform one of the
following procedures:
• Push either door handle request switch 01 once
or
the back door request switch 02 once; the
corresponding door will unlock. Push the request
switch again within 1 minute; all other doors
will unlock, or
• Press the button
04 on the keyfob to unlock
th
e driver’s side door. Press the button again;
all other doors will unlock.
The Intelligent key can also be used to activate the
panic alarm by pressing and holding the button
05
for more than 1 second. Once activated, the panic
alarm and headlights will stay on for 25 seconds.
I
NTELLIGENT
kEY BATTE
RY DIS
cHARG
E
If the battery of the Intelligent key is discharged, or
environmental conditions interfere with the Intelligent
k
ey operation, start the engine according to the
following procedure:
1. Move the shift lever to the P (ParK) position.
2. Firmly apply the foot brake.
3. Touc
h the ignition switch with the Intelligent
key
and a chime will sound.
4. Within 1
0 seconds after the chime sounds, push the ignition switch while depressing the
brake pedal and the engine will start.
For more information, refer to the “Pre-driving checks and adjustments (section 3)” , the “Starting and driving (section
5)” and the “Maintenance and do-it yourself (section 8)” of your Owner’s Manual.
4
first drive features
01
02
03
04
05
To view detailed instructional videos regarding these and other features,
please go to www.nissanownersinfo.mobi.
1221378_13a_Cube_QRG_092112.indd 810/2/12 9:25 AM
Page 13 of 20

To view detailed instructional videos regarding these and other features, please go to www.nissanownersinfo.mobi.11
0506
03
0102
FM/aM/SiriusXM* SaTeLLITe raD IO wITH CD PLaYe r
(if so equipped)
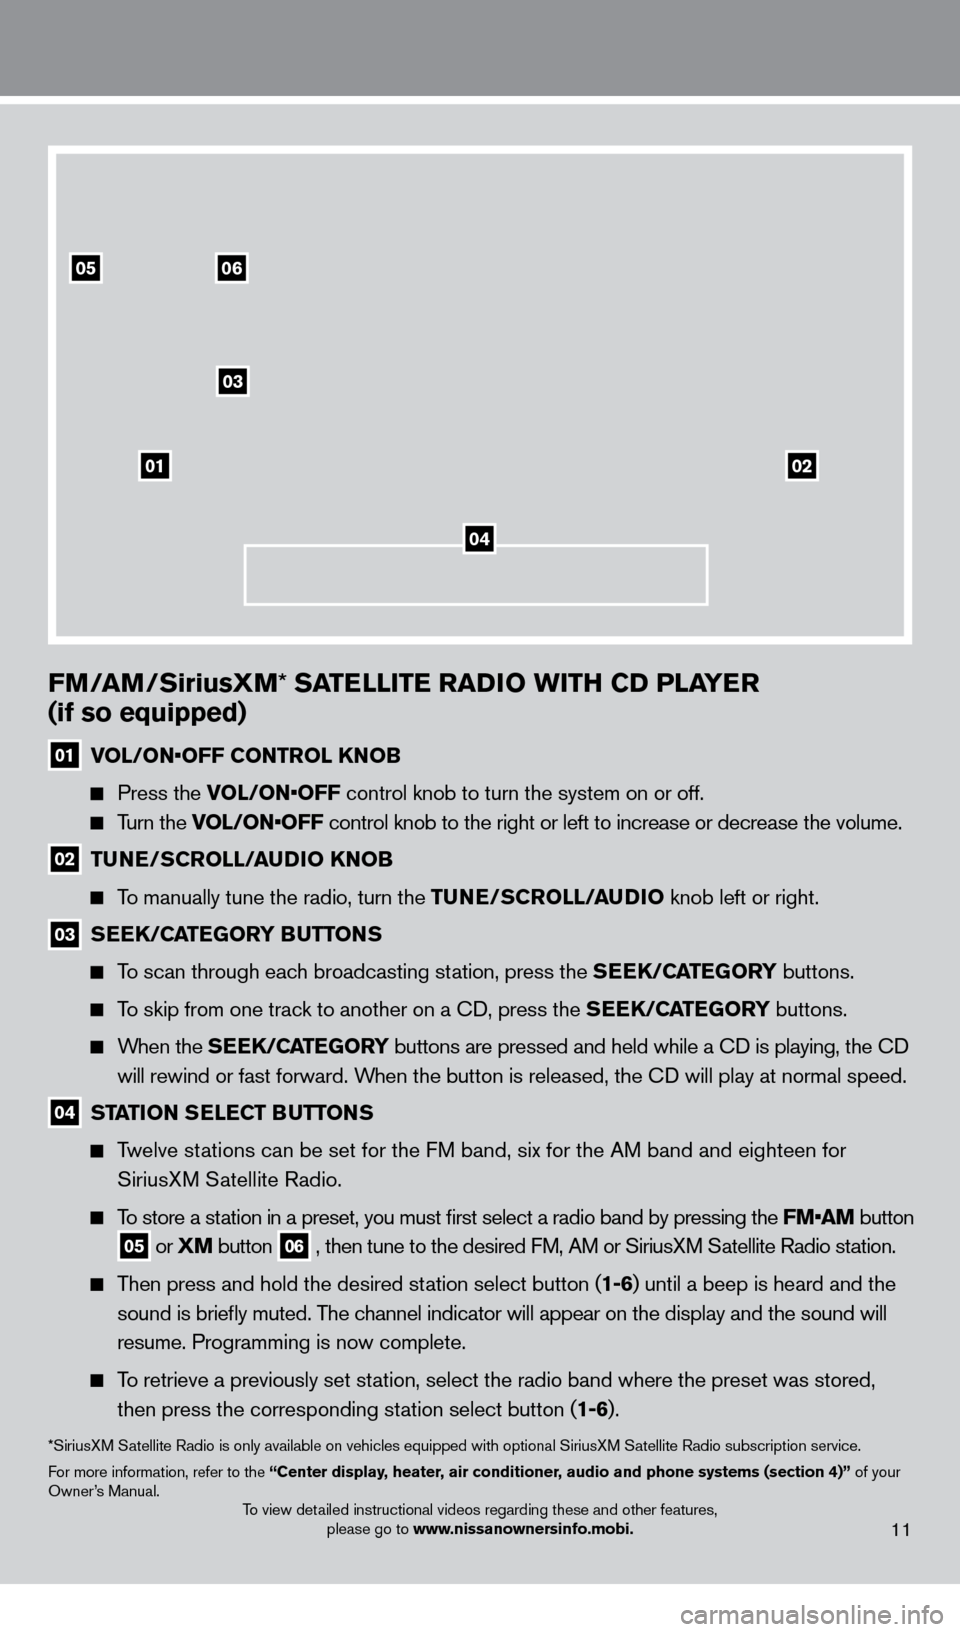
01 VOL/ON•OFF CONTR OL KNOB
Press the V
OL/ON•OFF control knob to turn the system on or off.
Turn the VOL/ON•OFF control knob to the right or left to increase or decrease the volume.
02 TuNe/SCrOLL/auDI O KNOB
To manually tune the radio, turn the TuNe/S
CrOLL/auDI O knob left or right.
03 SeeK/CaTeGOrY BuTT ONS
To scan through each broadcasting station, press the SeeK/CaTeGOrY buttons.
To skip from one track to another on a cD, press the SeeK/CaTeGOrY buttons.
When the SeeK/CaTeGOrY buttons are pressed and held while a cD is playing, the cD
w ill rewind or fast forward. When the button is released, the
cD will play at normal speed.
04 STaTION SeLeCT BuTT ONS
Twelve stations can be set for the FM band, six for the AM band and eighteen for
SiriusX
M Satellite Radio.
To store a station in a preset, you must first select a radio band by pressing the \
FM•AM button
05 or XM button
06 , then tune to the desired FM, AM or SiriusXM Satellite Radio station.
Then press and hold the desired station select button (1-6) until a beep is heard and the
sound is briefly muted. T
he channel indicator will appear on the display and the sound will
resume. Programming is now complete.
To retrieve a previously set station, select the radio band where the preset was stored,
then press the corresponding st ation select button (1-6).
*SiriusXM Satellite Radio is only available on vehicles equipped with optional Siri\
usXM Satellite Radio subscription service.
For more information, refer to the “Center display, heater, air conditioner, audio and phone systems (section 4)” of your
Owner’s Manual.
04
1221378_13a_Cube_QRG_092112.indd 1910/2/12 9:26 AM
Page 18 of 20

system guide
To increase or decrease the volume of the voice prompts, push the volume \
control switches
or
on the steering wheel or turn the VOL/ON•OFF control knob on the audio
system while the system is responding.
If the Voice Recognition system does not recognize your voice commands, train th\
e system
using the Speaker Adaptation Mode. See your Owner
’s Manual for detailed information.
Some commands are not available while the vehicle is in motion.
The “Help” command can be used to hear a list of available commands\
at any time.
Please refer to the cellular phone manufacturer’s Owner’s Manual for detailed information
regarding your Bluetooth® phone.
For recommended phones and detailed instructions, please visit
www.nissanusa.com/bluetooth.
cONNEcTING PROcEDURE
NOTE: The vehicle must be stationary when connecting the phone.
1. Press the
button
on the steering wheel. The system announces the available commands.
2. Say: “connect phone”. T
he system acknowledges the command and announces the next set
of available commands.
3. Say: “
Add phone”. The system acknowledges the command and asks you to initiate
connecting from the phone handset.
4. Initiate connecting from the phone:
The connecting procedure varies according to each cellular phone model. For
detailed connecting instructions and compatible phones, please visit
www.nissanusa.com/bluetooth
.
When prompted for a Passkey code, enter “1234” from the handset. (The Passkey code
is assigned by NI
SSAN and cannot be changed.)
5. Say a name for the phone when the system asks you to provide one. Y
ou can give the phone
a name of your choice.
PHONEBOOk SETUP
Depending on your cell phone, the system may automatically download your\
cell phone’s
entire phonebook to the vehicle’s Bluetooth® system.
If the phonebook does not download automatically, 4 0 entries can be individually downloaded.
To manually download entries:
1. Push the
button on the steering wheel.
2. After the tone, say “Phonebook”.
3. After the next tone, say “T
ransfer Entry”. The system acknowledges the command and
asks you to initiate the transfer from the phone handset. The new cont
act phone number
will be transferred from the cellular phone to the vehicle.
The transfer procedure varies according to each cellular phone. See your cellular phone’s
To view detailed instructional videos regarding these and other features,
please go to www.nissanownersinfo.mobi.16
1221378_13a_Cube_QRG_092112.indd 2410/2/12 9:26 AM