lock NISSAN CUBE 2013 3.G Quick Reference Guide
[x] Cancel search | Manufacturer: NISSAN, Model Year: 2013, Model line: CUBE, Model: NISSAN CUBE 2013 3.GPages: 20, PDF Size: 1.9 MB
Page 5 of 20

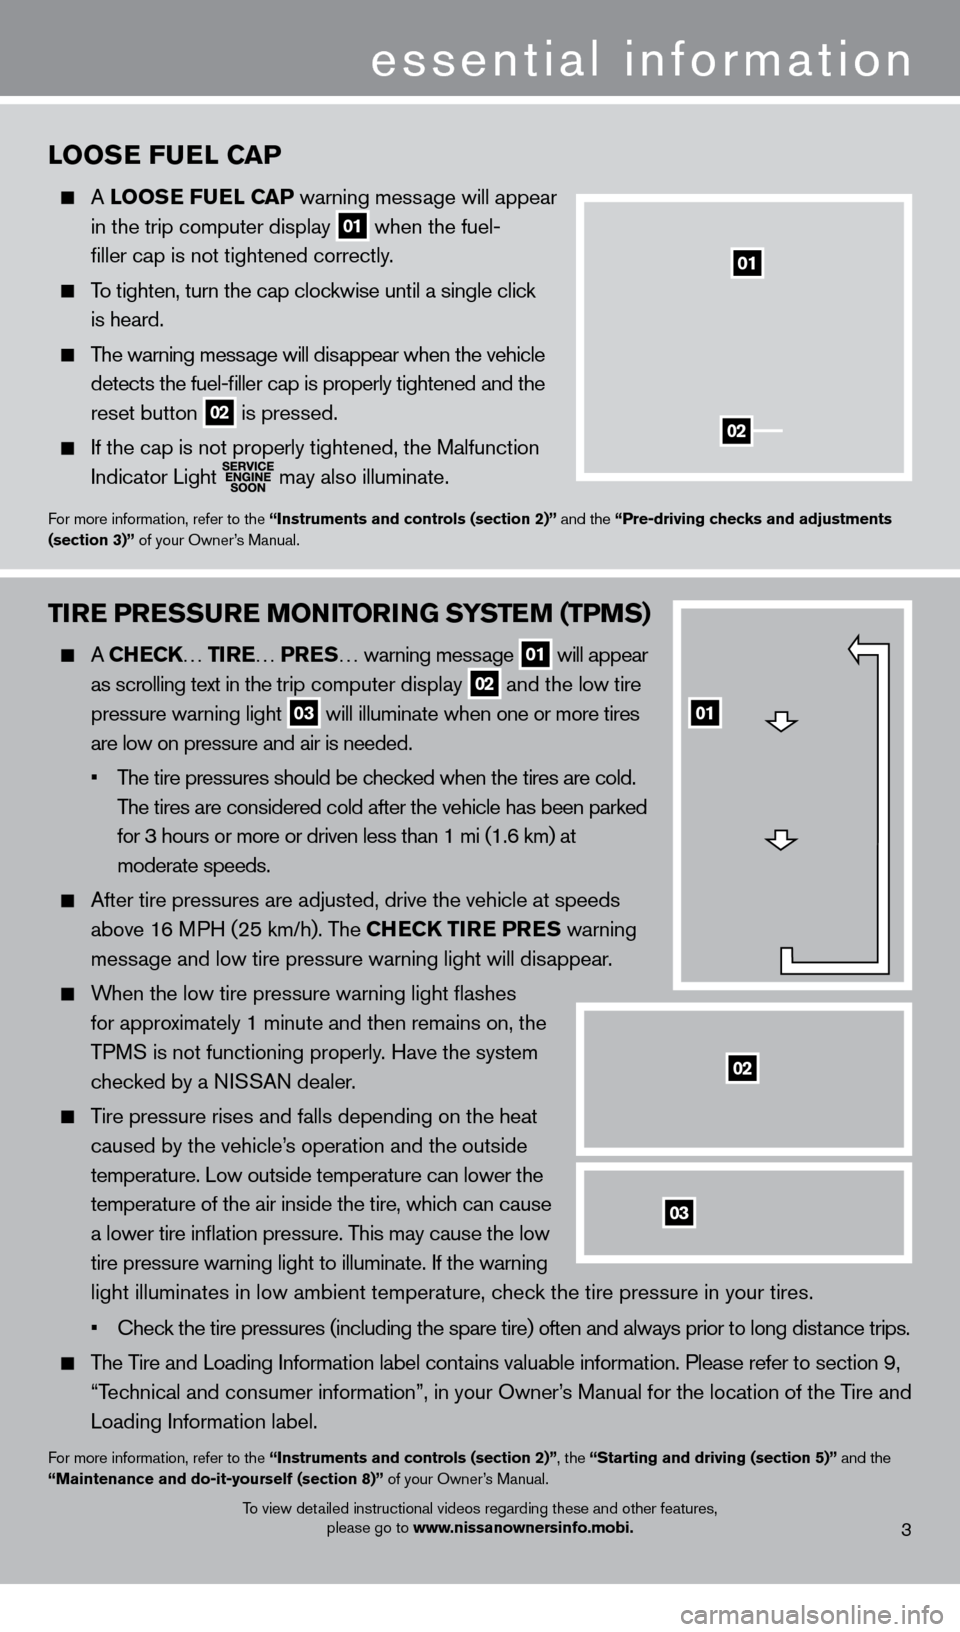
LOOSe FueL CaP
A LOOSe Fu eL CaP warning message will appear
in the trip computer display
01 when the fuel- filler cap is not tightened correctly.
To tighten, turn the cap clockwise until a single click
is heard.
The warning message will disappear when the vehicle
detects the fuel-filler cap is properly tightened and the
reset button
02 is pressed. If the cap is not properly tightened, the Malfunction
Indicator Light
may also illuminate.
For more information, refer to the “Instruments and controls (section 2)” and the “Pre-driving checks and adjustments
(section 3)” of your Owner’s Manual.
3
essential information
01
02
To view detailed instructional videos regarding these and other features,
please go to www.nissanownersinfo.mobi.
TIre PreSSur e M ONITOrIN G SYSTeM (TPMS)
A CHeCK… T Ire… PreS… warning mess age 01 will appear
as scrolling text in the tr
ip computer display 02 and the low tire
pressure warning light
03 will illuminate when one or more tires
are low on pressure and air is needed.
•
The tire pressures should be c
hecked when the tires are cold.
The tires are considered cold after the vehicle has been parked
for 3 hours or more or driven less than 1 mi (1.6 km) at
moderate speeds.
After tire pressures are adjusted, drive the vehicle at speeds
above 1 6 MPH (25 km/h). The CH
eCK TIre Pr
e
S warning
message and low tire pressure warning light will disappear.
When the low tire pressure warning light flashes
for approximately 1 minute and then remains on, the
TPM
S is not functioning properly. Have the system
chec
ked by a NISSAN dealer.
Tire pressure rises and falls depending on the heat
caused by the vehicle’s operation and the outside
temperature. Low outside temperature can lower the
temperature of the air inside the tire, which can cause
a lower tire inflation pressure. This may cause the low
tire pressure warning light to illuminate. If the warning
light illuminates in low ambient temperature, chec
k the tire pressure in your tires.
• Check the tire pressures (including the spare tire) often and alway
s prior to long distance trips.
The Tire and Loading Information label contains valuable information. Please refer to section 9,
“Tec
hnical and consumer information”, in your Owner’s Manual for the location of the Tire and
Loading Information label.
For more information, refer to the “Instruments and controls (section 2)”, the “Starting and driving (section 5)” and the
“Maintenance and do-it-yourself (section 8)” of your Owner’s Manual.
03
01
02
1221378_13a_Cube_QRG_092112.indd 710/2/12 9:25 AM
Page 6 of 20

NISSaN INTeLLIGeNT KeY® SYSTeM (if so equipped)
The NISSAN Intelligent key® System allows you to lock or
unlock the vehicle, open the back door and start the engine.
NOTE: It is important to make sure the Intelligent
key is
with you (that is, in your poc
ket or purse).
The operating range of the Intelligent key is within
31.5 in (80 cm) from eac
h request switch.
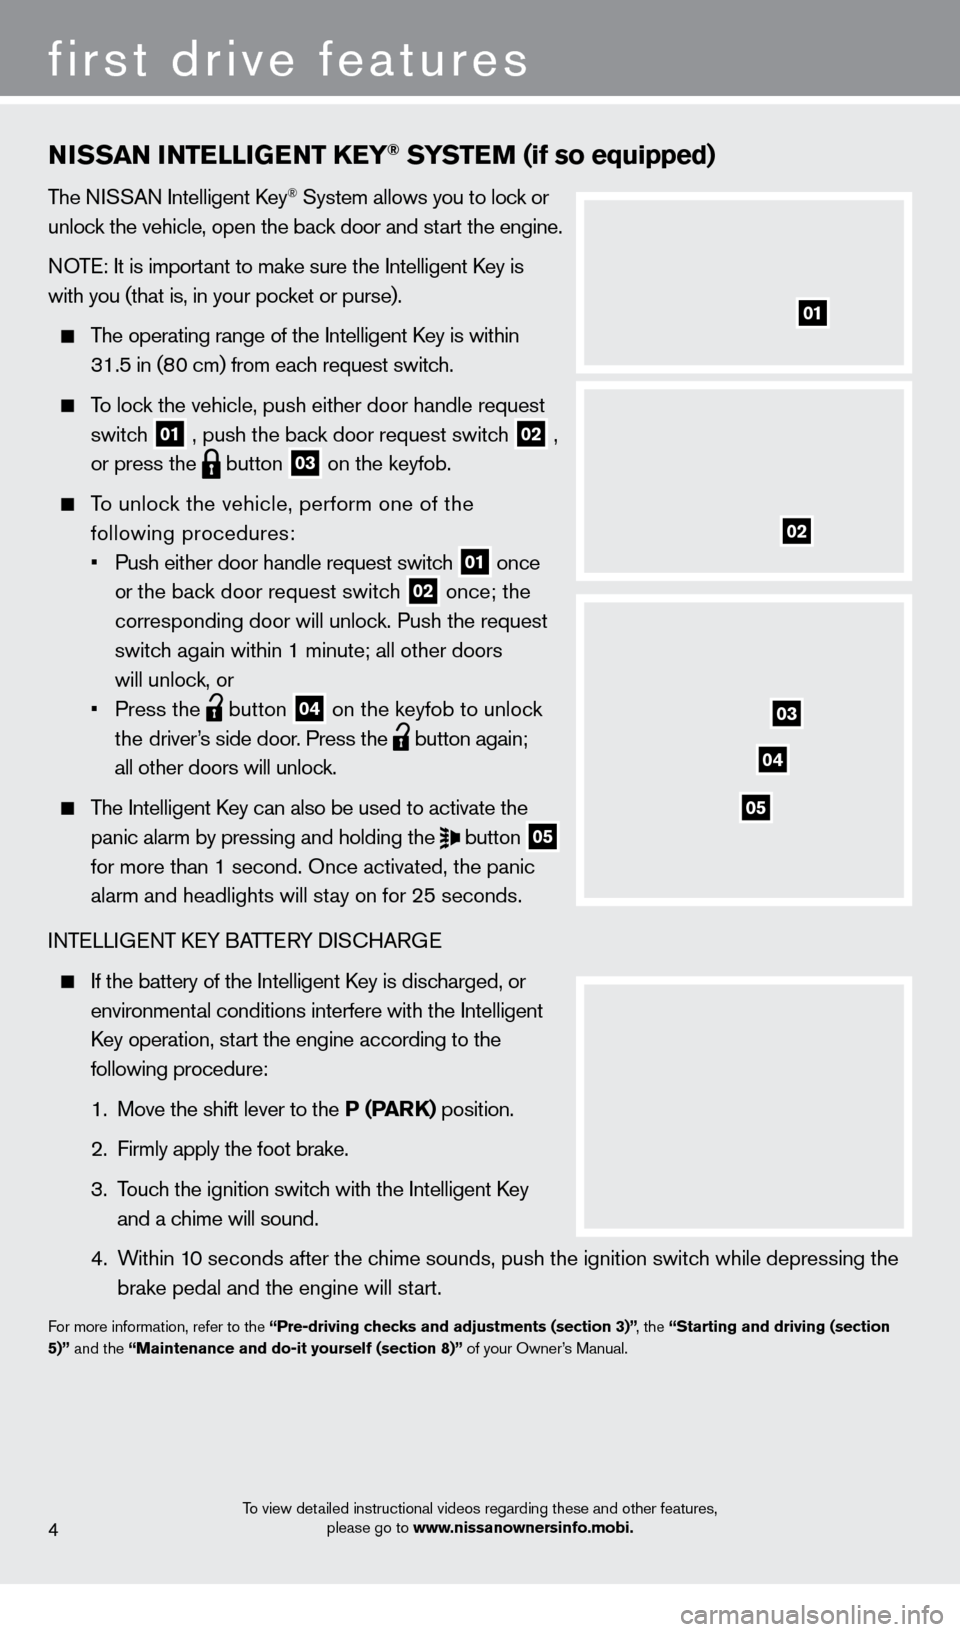
To lock the vehicle, push either door handle request
switch 01 , push the back door request switch
02 ,
or press the
button
03 on the keyfob.
To unlock the vehicle, perform one of the
following procedures:
• Push either door handle request switch 01 once
or
the back door request switch 02 once; the
corresponding door will unlock. Push the request
switch again within 1 minute; all other doors
will unlock, or
• Press the button
04 on the keyfob to unlock
th
e driver’s side door. Press the button again;
all other doors will unlock.
The Intelligent key can also be used to activate the
panic alarm by pressing and holding the button
05
for more than 1 second. Once activated, the panic
alarm and headlights will stay on for 25 seconds.
I
NTELLIGENT
kEY BATTE
RY DIS
cHARG
E
If the battery of the Intelligent key is discharged, or
environmental conditions interfere with the Intelligent
k
ey operation, start the engine according to the
following procedure:
1. Move the shift lever to the P (ParK) position.
2. Firmly apply the foot brake.
3. Touc
h the ignition switch with the Intelligent
key
and a chime will sound.
4. Within 1
0 seconds after the chime sounds, push the ignition switch while depressing the
brake pedal and the engine will start.
For more information, refer to the “Pre-driving checks and adjustments (section 3)” , the “Starting and driving (section
5)” and the “Maintenance and do-it yourself (section 8)” of your Owner’s Manual.
4
first drive features
01
02
03
04
05
To view detailed instructional videos regarding these and other features,
please go to www.nissanownersinfo.mobi.
1221378_13a_Cube_QRG_092112.indd 810/2/12 9:25 AM
Page 7 of 20

FrONT SeaT aDJuSTMeNTS
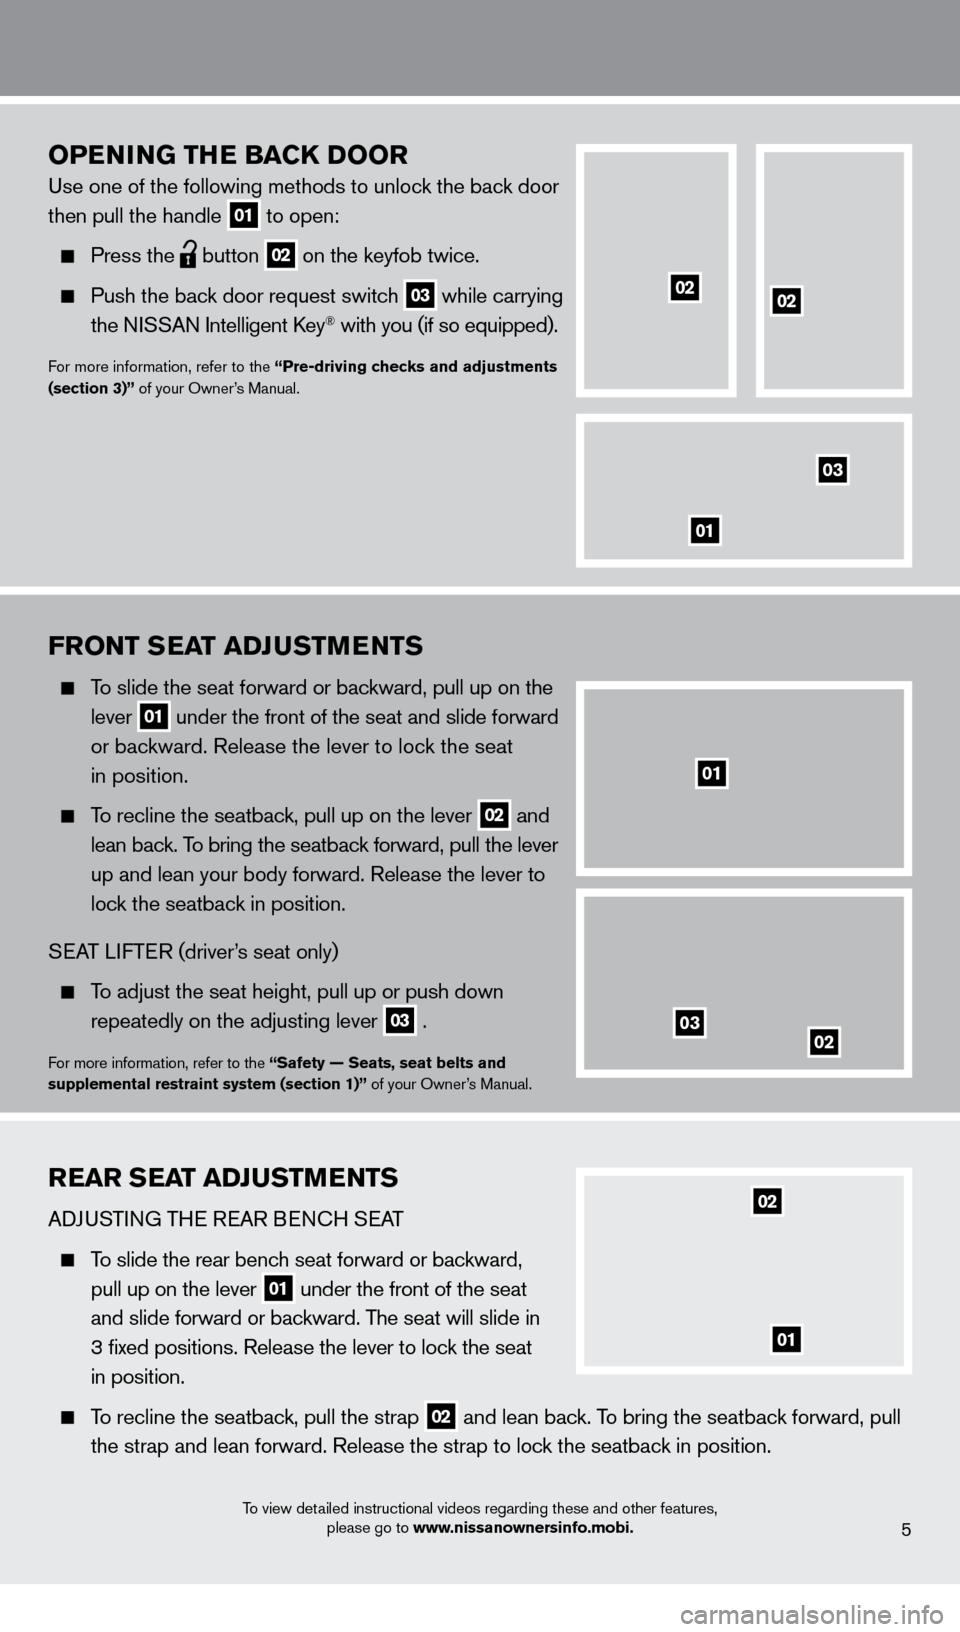
To slide the seat forward or backward, pull up on the
lever 01 under the front of the seat and slide forward or backward. Release the lever to loc
k the seat
in position.
To recline the seatback, pull up on the lever 02 and lean back. T
o bring the seatback forward, pull the lever
up and lean your body forward. Release the lever to
lock the seatbac
k in position.
S
EAT LI
FTER
(driver’
s seat only)
To adjust the seat height, pull up or push down
repeatedly on the adjusting lever
03 .
For more information, refer to the “Safety — Seats, seat belts and
supplemental restraint system (section 1)” of your Owner’s Manual.
OPeNING THe BaCK DOOr
Use one of the following methods to unlock the back door
then pull the handle
01 to open:
Press the
button
02 on the keyfob twice.
Push the back door request switc
h
03 while carrying the NI
SSAN Intelligent key® with you (if so equipped).
For more information, refer to the “Pre-driving checks and adjustments
(section 3)” of your Owner’s Manual.
03
01
5
0203
01
0202
rear SeaT aD JuSTMeNTS
ADJUSTING THE REAR BEN
cH SEA
T
To slide the rear bench seat forward or backward,
pull up on the lever 01 under the front of the seat and slide forward or backward. T
he seat will slide in
3 fixed positions. Release the lever to lock the seat
in position.
To recline the seatback, pull the strap 02 and lean back. To bring the seatback forward, pull
the strap and lean forward. Release the strap to lock the seatbac
k in position.
To view detailed instructional videos regarding these and other features,
please go to www.nissanownersinfo.mobi.
01
02
1221378_13a_Cube_QRG_092112.indd 910/2/12 9:25 AM