clock NISSAN FRONTIER 2000 D22 / 1.G User Guide
[x] Cancel search | Manufacturer: NISSAN, Model Year: 2000, Model line: FRONTIER, Model: NISSAN FRONTIER 2000 D22 / 1.GPages: 269, PDF Size: 2.19 MB
Page 128 of 269

IRecordable compact discs (CD-R)
may not function properly in the CD
player.The antenna cannot be shortened, but it can
be removed. When you need to remove the
antenna, turn the antenna rod counterclock-
wise.
To install the antenna rod, turn the antenna
clockwise. Tighten the antenna rod to speci-
fication using a suitable tool such as a
open-end wrench. The antenna rod tighten-
ing specification is 3.4 - 3.6 N×m(30-32
in-lb). Do not use pliers to tighten the an-
tenna as they can leave marks on the
antenna surface. The antenna rod can not
be hand tightened to the proper specifica-
tion.
CAUTION
Always properly tighten the antenna
rod during installation or the antenna
rod may break during vehicle opera-
tion.
Microphone installed model
If equipped with a genuine NISSAN cellular
phone (US only), your NISSAN features a
non-directional microphone in the steering
column cover, so it is not necessary to look
at or speak directly into the microphone
when calling. To do so could detract from
the driving operation and cause an acci-
dent. See the manual for car phone opera-
tion.
Pre-wired and antenna for phone
installed model
Some models are pre-wired to accept the
genuine NISSAN cellular phone (US only).
In addition, the same model has the phone
antenna built into the rear glass window.
When installing a CB, ham radio or car
phone in your NISSAN, be sure to observe
the following cautions, otherwise the new
equipment may adversely affect the MFI
(Multiport Fuel Injection) system and other
electronic parts.
ANTENNA CAR PHONE OR CB RADIO
4-28Heater, air conditioner and audio systems
ZX
Page 136 of 269

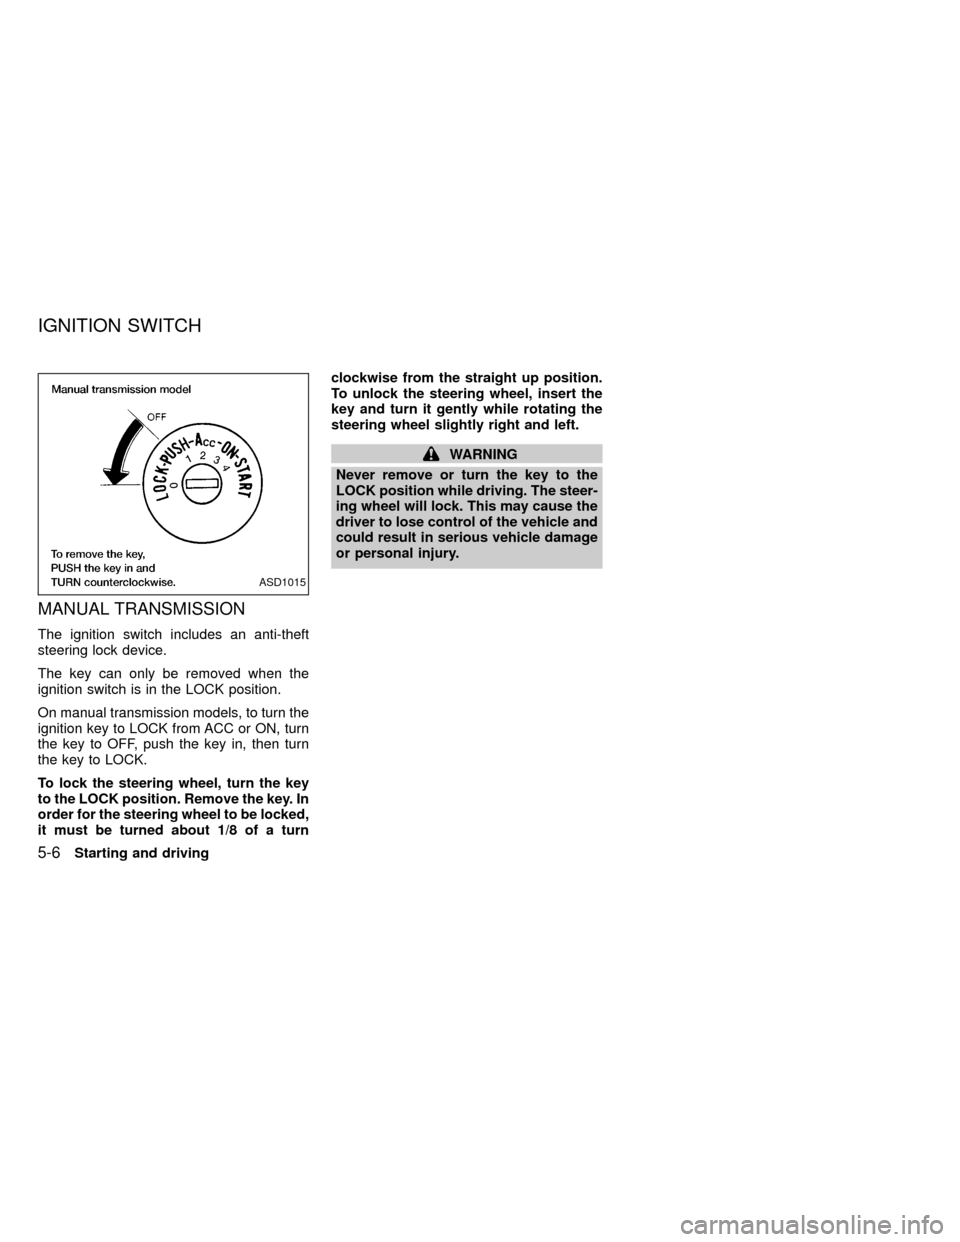
MANUAL TRANSMISSION
The ignition switch includes an anti-theft
steering lock device.
The key can only be removed when the
ignition switch is in the LOCK position.
On manual transmission models, to turn the
ignition key to LOCK from ACC or ON, turn
the key to OFF, push the key in, then turn
the key to LOCK.
To lock the steering wheel, turn the key
to the LOCK position. Remove the key. In
order for the steering wheel to be locked,
it must be turned about 1/8 of a turnclockwise from the straight up position.
To unlock the steering wheel, insert the
key and turn it gently while rotating the
steering wheel slightly right and left.
WARNING
Never remove or turn the key to the
LOCK position while driving. The steer-
ing wheel will lock. This may cause the
driver to lose control of the vehicle and
could result in serious vehicle damage
or personal injury.
ASD1015
IGNITION SWITCH
5-6Starting and driving
ZX
Page 137 of 269

AUTOMATIC TRANSMISSION
On automatic transmission models, the ig-
nition lock is designed so the key cannot be
turned to LOCK and removed until the shift
selector lever is moved to the P (Park)
position.
When removing the key from the ignition,
make sure the shift selector lever is in the P
(Park) position.
If the key cannot be turned to the LOCK
position, proceed as follows to remove the key:
1) Move the shift selector lever into the P
(Park) position.2) Turn the ignition key slightly in the ON
direction.
3) Turn the key toward the LOCK position.
4) Remove the key.
The shift lever is designed so it cannot be
moved out of P (Park) and into any of the
other gear positions if the ignition key is
turned to OFF or if the key is removed from
the switch.
The shift lever can be moved if the igni-
tion switch is in the ACC position. This
allows the vehicle to be moved if the
battery is discharged. The shift lever can
also be moved if the ignition switch is in
the ON position and the foot brake pedal
is depressed.
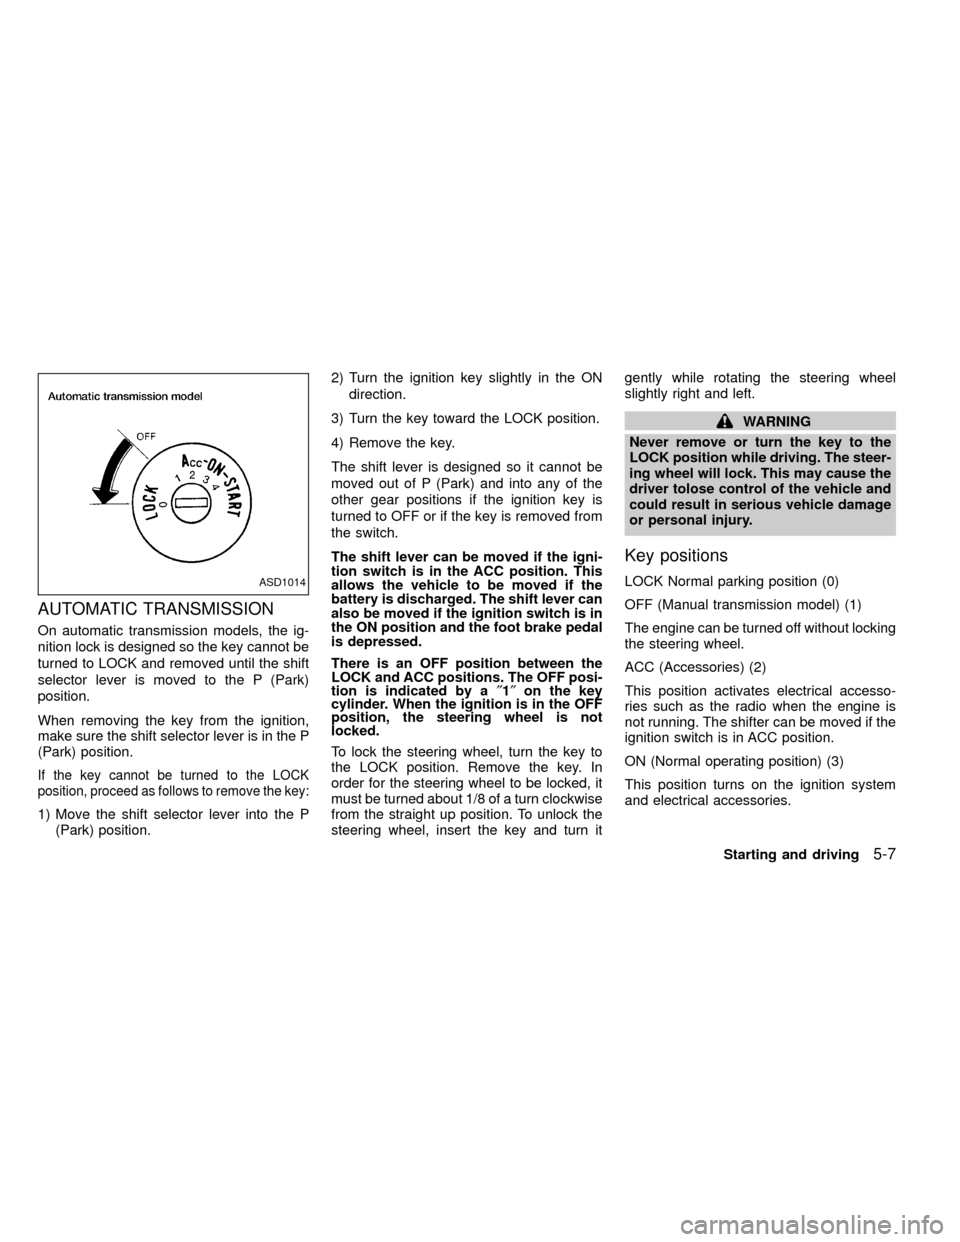
There is an OFF position between the
LOCK and ACC positions. The OFF posi-
tion is indicated by a²1²on the key
cylinder. When the ignition is in the OFF
position, the steering wheel is not
locked.
To lock the steering wheel, turn the key to
the LOCK position. Remove the key. In
order for the steering wheel to be locked, it
must be turned about 1/8 of a turn clockwise
from the straight up position. To unlock the
steering wheel, insert the key and turn itgently while rotating the steering wheel
slightly right and left.
WARNING
Never remove or turn the key to the
LOCK position while driving. The steer-
ing wheel will lock. This may cause the
driver tolose control of the vehicle and
could result in serious vehicle damage
or personal injury.
Key positions
LOCK Normal parking position (0)
OFF (Manual transmission model) (1)
The engine can be turned off without locking
the steering wheel.
ACC (Accessories) (2)
This position activates electrical accesso-
ries such as the radio when the engine is
not running. The shifter can be moved if the
ignition switch is in ACC position.
ON (Normal operating position) (3)
This position turns on the ignition system
and electrical accessories.ASD1014
Starting and driving5-7
ZX
Page 140 of 269

selector lever into the P (Park) position.
Shifting from P (Park)
If the ignition switch is in the ON position
and the foot brake pedal is depressed, but
the shift lever still cannot be moved out of P
(Park), use the following procedure:
1. Shut the engine off and remove the key.
2. Apply the parking brake.
3. Reinsert the key and turn it clockwise to
the ACC position.
4. Depress the brake pedal, move the shift
selector lever to N (Neutral).
5. Start the engine.
These instructions for starting the vehicle in
N (Neutral) should only be used until service
can be obtained at an authorized NISSAN
dealership.
R (Reverse):
Use this position to back up. Shift into this
position only after the vehicle has com-
pletely stopped.N (Neutral):
Neither forward or reverse gear is engaged.
The engine can be started in this position.
You may shift to N (Neutral) and restart a
stalled engine while the vehicle is moving.
D (Drive):
Use this position for normal forward driving.
2 (Second gear):
Use for moderate uphill grades engine brak-
ing on downhill grades or starting on slip-
pery surfaces.
Do not downshift into the 2 position at speeds
above 62 MPH (100 km/h), and do not exceed
62 MPH (100 km/h) in the 2 position.
1 (Low gear):
Use this position for steep uphill grades,
driving slowly through deep snow, sand or
mud, or for maximum engine braking on
steep downhill grades.
Do not downshift into the 1 position at
speeds above 30 MPH (48 km/h), and do
not exceed 30 MPH (48 km/h) in the 1
position.
5-10Starting and driving
ZX
Page 166 of 269

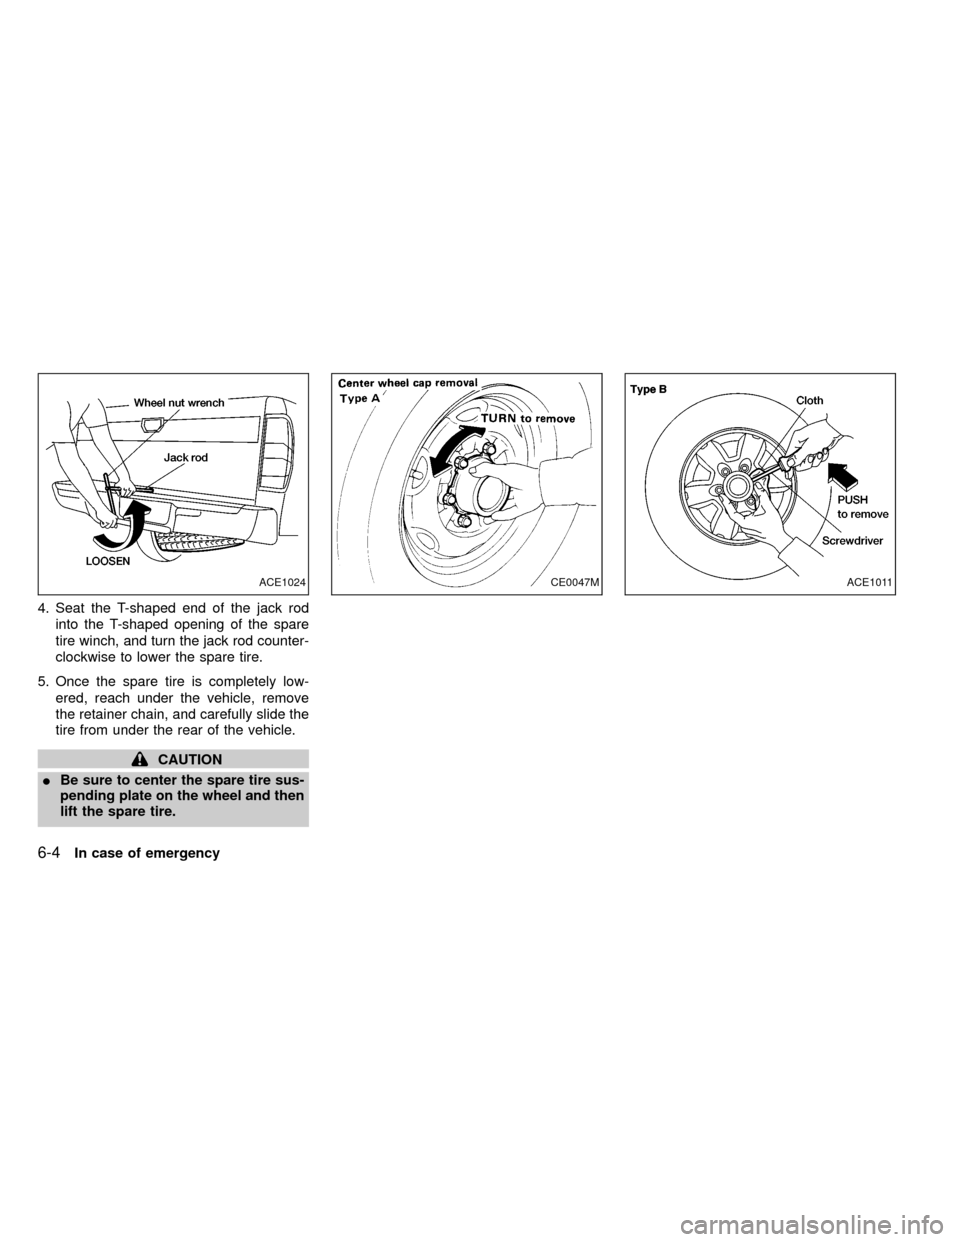
4. Seat the T-shaped end of the jack rod
into the T-shaped opening of the spare
tire winch, and turn the jack rod counter-
clockwise to lower the spare tire.
5. Once the spare tire is completely low-
ered, reach under the vehicle, remove
the retainer chain, and carefully slide the
tire from under the rear of the vehicle.
CAUTION
IBe sure to center the spare tire sus-
pending plate on the wheel and then
lift the spare tire.
ACE1024CE0047MACE1011
6-4In case of emergency
ZX