tow NISSAN FRONTIER 2007 D22 / 1.G Quick Reference Guide
[x] Cancel search | Manufacturer: NISSAN, Model Year: 2007, Model line: FRONTIER, Model: NISSAN FRONTIER 2007 D22 / 1.GPages: 14, PDF Size: 1.18 MB
Page 4 of 14

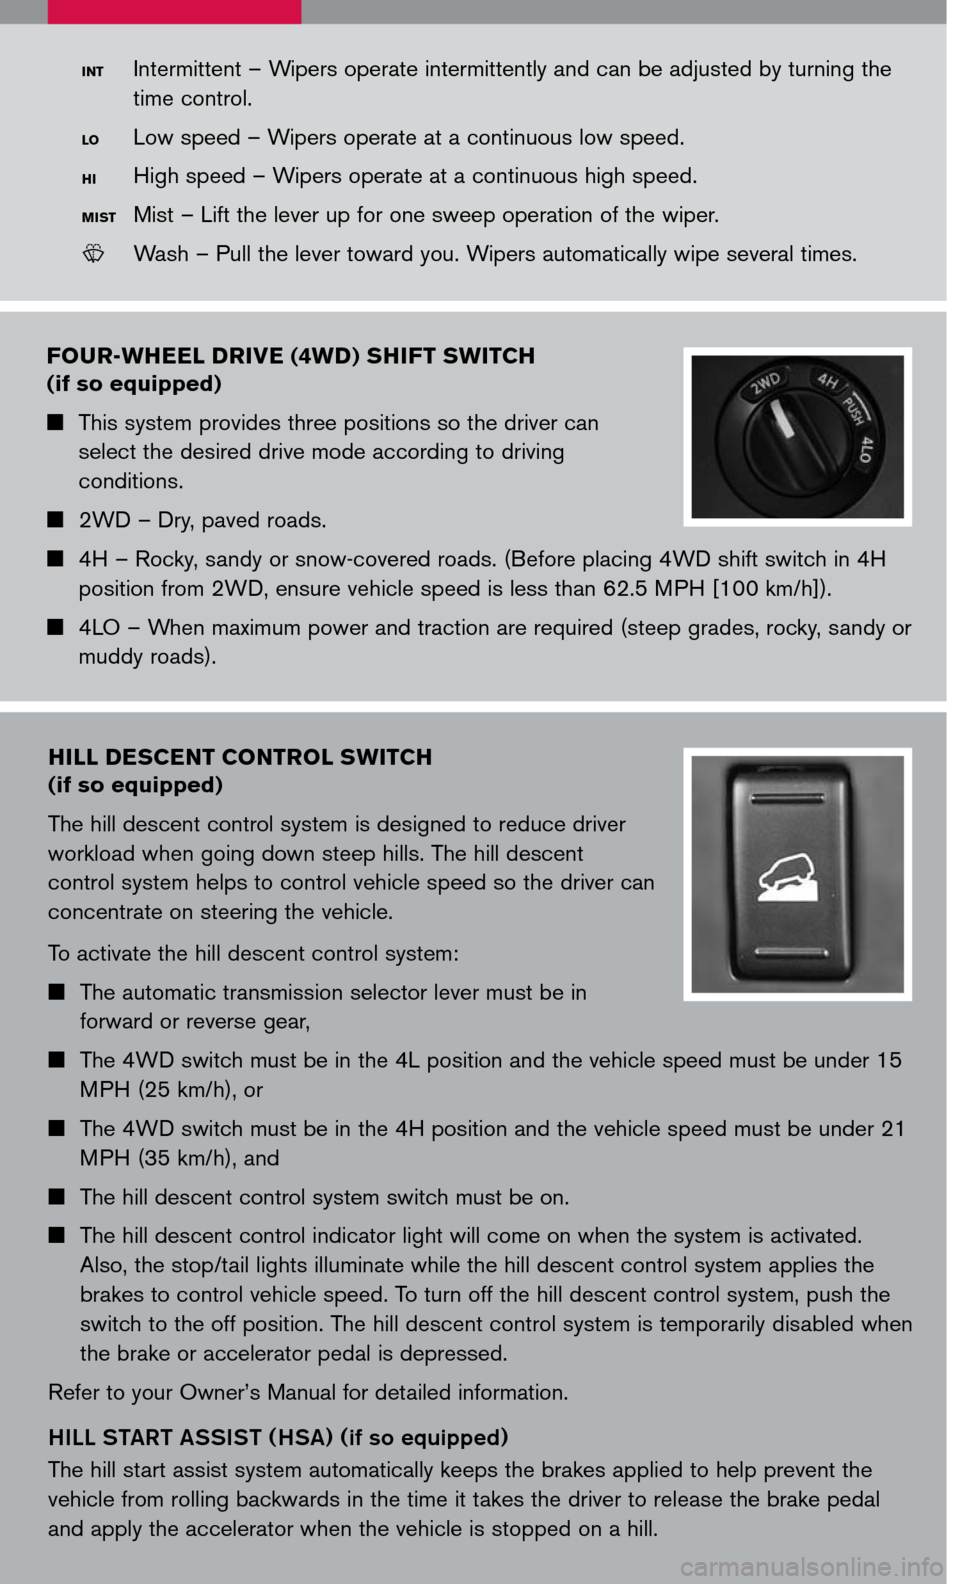
four-wheel driVe (4 wd) shift switch
(if so equipped)
This system provides three positions so the driver can
select the desired drive mode according to driving
conditions.
2WD – Dry, paved roads.
4H – Rocky, sandy or snow-covered roads. (Before placing 4WD shift switch in 4H
position from 2WD, ensure vehicle speed is less than 62.5 MPH [100 km/h]).
4LO – When maximum power and traction are required (steep grades, rocky, sandy or
muddy roads).
Intermittent – Wipers operate intermittently and can be adjusted by turning the
time control.
Low speed – Wipers operate at a continuous low speed.
High speed – Wipers operate at a continuous high speed.
Mist – Lift the lever up for one sweep operation of the wiper.
LCN0042
Wash – Pull the lever toward you. Wipers automatically wipe several times.
lo
hi
M ist
int
hill descent control switch
(if so equipped)
The hill descent control system is designed to reduce driver
workload when going down steep hills. The hill descent
control system helps to control vehicle speed so the driver can
concentrate on steering the vehicle.
To activate the hill descent control system:
The automatic transmission selector lever must be in
forward or reverse gear,
The 4WD switch must be in the 4L position and the vehicle speed must be under 15
MPH (25 km/h), or
The 4WD switch must be in the 4H position and the vehicle speed must be under 21
MPH (35 km/h), and
The hill descent control system switch must be on.
The hill descent control indicator light will come on when the system is activated.
Also, the stop/tail lights illuminate while the hill descent control system applies the
brakes to control vehicle speed. To turn off the hill descent control system, push the
switch to the off position. The hill descent control system is temporarily disabled when
the brake or accelerator pedal is depressed.
Refer to your Owner’s Manual for detailed information.
H ILL S TART A SSIST (HSA) (
if so equipped)
The hill start assist system automatically keeps the brakes applied to help prevent the
vehicle from rolling backwards in the time it takes the driver to release the brake pedal
and apply the accelerator when the vehicle is stopped on a hill.
Page 7 of 14

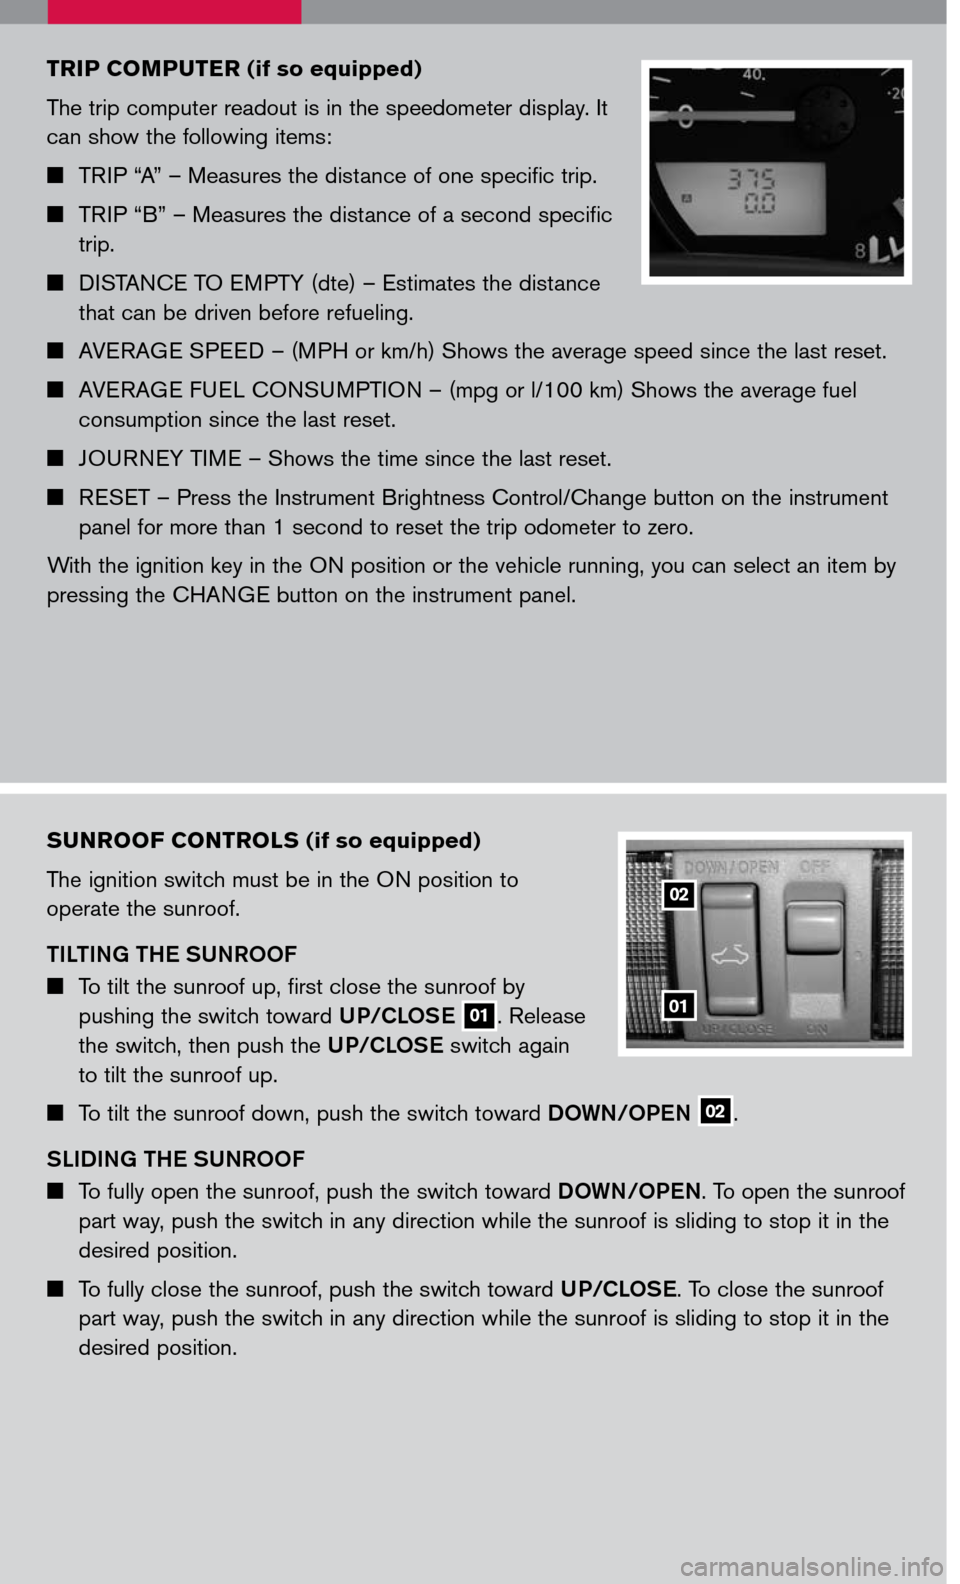
sunroof controls (if so equipped)
The ignition switch must be in the ON position to
operate the sunroof.
TILTING THE SUNROOF
To tilt the sunroof up, first close the sunroof by
pushing the switch toward UP/CLOSE 01. Release
the switch, then push the UP/CLOSE switch again
to tilt the sunroof up.
To tilt the sunroof down, push the switch toward DOWN/OPEN 02.
SLIDING THE SUNROOF
To fully open the sunroof, push the switch toward DOWN/OPEN. To open the sunroof
part way, push the switch in any direction while the sunroof is sliding to stop it in the
desired position.
To fully close the sunroof, push the switch toward UP/CLOSE. To close the sunroof
part way, push the switch in any direction while the sunroof is sliding to stop it in the
desired position.
01
02
triP co MP uter (if so equipped)
The trip computer readout is in the speedometer display. It
can show the following items:
TRIP “A” – Measures the distance of one specific trip.
TRIP “B” – Measures the distance of a second specific
trip.
DISTANCE TO EMPTY (dte) – Estimates the distance
that can be driven before refueling.
AVERAGE SPEED – (MPH or km/h) Shows the average speed since the last reset.
AVERAGE FUEL CONSUMPTION – (mpg or l/100 km) Shows the average fuel
consumption since the last reset.
JOURNEY TIME – Shows the time since the last reset.
RESET – Press the Instrument Brightness Control/Change button on the instrument
panel for more than 1 second to reset the trip odometer to zero.
With the ignition key in the ON position or the vehicle running, you can select an item by
pressing the CHANGE button on the instrument panel.
Page 13 of 14

fold flat front P assenger seat
(if so equipped)
To fold the front passenger’s seatback flat for extra
storage length when transporting long items:
Slide the seat to the rearmost position. Lift up on
the recline lever, located on the outside edge of
the seat, and fold the seatback forward as far as
it will go. 01 Then lift up on the latch located on the upper corner of the seatback to
release the back of the seat. 02
0201
folding the rear B ench seat
( c rew cab Model only)
FOLDING THE SEATBACK DOWN :
To fold the rear bench seatback down to access the
jacking tools, pull up on the straps 01 located on the
outer edge of the seatbacks and fold the seatback
forward.
FOLDING THE SEAT BASE UP:
To fold the rear bench seat base up to access the
under-seat storage bins:
Lift up on the lever 02 located on the side of the
seat, while lifting up the front of the seat cushion.
Fold the bottom of the seat cushion toward the
back of the vehicle until it locks into place.
Repeat this process to raise and secure the seat
cushion on the other side of the vehicle.
01
02