stop start NISSAN FRONTIER 2015 D23 / 3.G Owners Manual
[x] Cancel search | Manufacturer: NISSAN, Model Year: 2015, Model line: FRONTIER, Model: NISSAN FRONTIER 2015 D23 / 3.GPages: 466, PDF Size: 4.28 MB
Page 126 of 466
CAUTION
●Do not ground electrical accessories di-
rectly to the battery terminal. Doing so
will bypass the variable control system
and the vehicle battery may not charge
completely. For additional information,
refer to “Variable voltage control sys-
tem” in the “Maintenance and do-it-
yourself” section of this manual.
● Do not continue driving if the generator
belt is loose, broken or missing
Door open warning light
This light comes on when any of the doors are not
closed securely while the ignition switch is in the
ON position.
Engine oil pressure warning
light
This light warns of low engine oil pressure. If the
light flickers or comes on during normal driving,
pull off the road in a safe area, stop the engine
immediately, and call a NISSAN dealer or other
authorized repair shop. The engine oil pressure warning light is not
designed to indicate a low oil level.
Use the
dipstick to check the oil level. For additional in-
formation, refer to “Engine oil” in the “Mainte-
nance and do-it-yourself” section of this manual.
CAUTION
Running the engine with the engine oil
pressure warning light on could cause se-
rious damage to the engine almost imme-
diately. Such damage is not covered by
warranty. Turn off the engine as soon as it
is safe to do so.
4WD warning light (
model)
The 4WD warning light comes on when the igni-
tion switch is turned to ON. It turns off soon after
the engine is started.
If the engine or vehicle is not functioning properly,
the warning light will either remain illuminated or
blink. For additional information, refer to “4WD
warning light” in the “Starting and driving” section
of this manual.
CAUTION
● If the warning light comes on or blinks
during operation, have your vehicle
checked by a NISSAN dealer as soon as
possible.
● Do not drive on dry hard surface roads
in the 4H or 4LO position. If the 4WD
warning light turns on when you are
driving on dry hard surface roads:
– in the 4H position, shift the 4WD shift switch to 2WD.
– in the 4LO position for automatic transmission models, stop the ve-
hicle and shift the shift lever to the N
(Neutral) position with the brake
pedal depressed and shift the 4WD
shift switch to 2WD.
– in the 4LO position for manual trans- mission models, stop the vehicle and
shift the shift lever to the N (Neutral)
position with the clutch pedal de-
pressed and shift the 4WD shift
switch to 2WD,
● If the warning light is still on after the
above operation, have your vehicle
checked by a NISSAN dealer as soon as
possible.
Instruments and controls2-17
Page 127 of 466
Low fuel warning light
This light comes on when the fuel level in the fuel
tank is getting low. Refuel as soon as it is conve-
nient, preferably before the fuel gauge reaches E
(Empty) .There will be a small reserve of fuel
in the tank when the fuel gauge needle
reaches E (Empty) .
Low tire pressure warning light
Your vehicle is equipped with a TPMS that moni-
tors the tire pressure of all tires except the spare.
The low tire pressure warning light warns of low
tire pressure or indicates that the TPMS is not
functioning properly.
After the ignition switch is placed in the ON
position, this light illuminates for about 1 second
and turns off.
Low tire pressure warning:
If the vehicle is being driven with low tire
pressure, the warning light will illuminate.
A CHECK TIRE PRES (pressure) warning
message is also displayed in the odometer.
When the low tire pressure warning light
illuminates, you should stop and adjust the
tire pressure of all 4 tires to the recom-
mended COLD tire pressure shown on the Tire and Loading Information label located
in the driver’s door opening. The low tire
pressure warning light does not automati-
cally turn off when the tire pressure is ad-
justed. After the tire is inflated to the rec-
ommended pressure, the vehicle must be
driven at speeds above 16 MPH (25 km/h)
to activate the TPMS and turn off the low
tire pressure warning light. Use a tire pres-
sure gauge to check the tire pressure.
The low tire pressure warning light remains illu-
minated until the tires are inflated to the recom-
mended COLD tire pressure. The CHECK TIRE
PRES warning message is displayed each time
the ignition switch is placed in the ON position as
long as the low tire pressure warning light re-
mains illuminated.
For additional information, refer to “Check tire
pressure warning message” in the “Instruments
and controls” section and “Tire Pressure Monitor-
ing System (TPMS)” in the “Starting and driving”
section and in the “In case of emergency” sec-
tion.
TPMS malfunction:
If the TPMS is not functioning properly, the low
tire pressure warning light will flash for approxi-
mately 1 minute when the ignition switch is
placed in the ON position. The light will remain on
after the 1 minute. Have the system checked by aNISSAN dealer. The CHECK TIRE PRES warn-
ing message is not displayed if the low tire pres-
sure warning light illuminates to indicate a TPMS
malfunction.
For additional information, refer to “Tire Pressure
Monitoring System (TPMS)” in the “Starting and
driving” section and “Tire pressure” in the “Main-
tenance and do-it-yourself” section of this
manual.WARNING
●
If the light does not illuminate with the
ignition switch placed in the ON posi-
tion, have the vehicle checked by a
NISSAN dealer as soon as possible.
2-18Instruments and controls
Page 128 of 466
●If the light illuminates while driving,
avoid sudden steering maneuvers or
abrupt braking, reduce vehicle speed,
pull off the road to a safe location and
stop the vehicle as soon as possible.
Driving with under-inflated tires may
permanently damage the tires and in-
crease the likelihood of tire failure. Se-
rious vehicle damage could occur and
may lead to an accident and could result
in serious personal injury. Check the
tire pressure for all 4 tires. Adjust the
tire pressure to the recommended
COLD tire pressure shown on the Tire
and Loading Information label located
in the driver’s door opening to turn the
low tire pressure warning light OFF. If
the light still comes on while driving
after adjusting the tire pressure, a tire
may be flat. If you have a flat tire, re-
place it with a spare tire as soon as
possible. ●
When a spare tire is mounted or a wheel
is replaced the TPMS will not function
and the low tire pressure warning light
will flash for approximately 1 minute.
The light will remain on after 1 minute.
The CHECK TIRE PRES warning mes-
sage is not displayed if the low tire
pressure warning light illuminates to
indicate a TPMS malfunction. Contact
your NISSAN dealer as soon as pos-
sible for tire replacement and/or sys-
tem resetting.
● Replacing tires with those not originally
specified by NISSAN could affect the
proper operation of the TPMS.
CAUTION
● The TPMS is not a substitute for the
regular tire pressure check. Be sure to
check the tire pressure regularly.
● If the vehicle is being driven at speeds
of less than 16 MPH (25 km/h), the
TPMS may not operate correctly.
● Be sure to install the specified size of
tires to the 4 wheels correctly.
Low windshield-washer fluid
warning light (if so equipped)
This light comes on when the windshield-washer
fluid is at a low level. Add windshield-washer fluid
as necessary. For additional information, refer to
“Windshield-washer fluid” in the “Maintenance
and do-it-yourself” section of this manual.
Seat belt warning light andchime
The light and chime remind you to fasten your
seat belts. The light illuminates whenever the
ignition switch is placed in the ON or START
position and remains illuminated until the driver’s
seat belt is fastened. At the same time, the chime
sounds for about 6 seconds unless the driver’s
seat belt is securely fastened.
The seat belt warning light may also illuminate if
the front passenger’s seat belt is not fastened
when the front passenger’s seat is occupied . For
7 seconds after the ignition switch is placed in
the ON position, the system does not activate the
warning light for the front passenger.
For additional information, refer to “Seat belts” in
the “Safety—Seats, seat belts and supplemental
restraint system” section of this manual for pre-
cautions on seat belt usage.
Instruments and controls2-19
Page 131 of 466
Operation
The MIL will come on in one of 2 ways:● MIL on steady — An emission control system
malfunction has been detected. Check the
fuel-filler cap if the LOOSE FUEL CAP
warning message is displayed in the odom-
eter. If the fuel-filler cap is loose or missing,
tighten or install the cap and continue to
drive the vehicle. The
light should turn
off after a few driving trips. If the
light
does not turn off after a few driving trips,
have the vehicle inspected by a NISSAN
dealer. You do not need to have your vehicle
towed to the dealer.
● MIL blinking — An engine misfire has been
detected which may damage the emission
control system. To reduce or avoid emission
control system damage:
– do not drive at speeds above 45 MPH (72 km/h).
– avoid hard acceleration or deceleration.
– avoid steep uphill grades.
– if possible, reduce the amount of cargo being hauled or towed. The MIL may stop blinking and come on steady.
Have the vehicle inspected by a NISSAN dealer.
You do not need to have your vehicle towed to the
dealer.
CAUTION
Continued vehicle operation without hav-
ing the emission control system checked
and repaired as necessary could lead to
poor driveability, reduced fuel economy,
and possible damage to the emission con-
trol system.
Overdrive OFF indicator light
This light comes on when the overdrive function
is OFF.
The automatic transmission overdrive function is
controlled by the overdrive switch.
For additional information, refer to “Driving the
vehicle” in the “Starting and driving” section of
this manual.
Security indicator light (if so
equipped)
This light blinks when the ignition switch is in the
OFF, LOCK or ACC position. This function indi-
cates the security systems equipped on the ve-
hicle are operational.
For additional information, refer to “Security sys-
tems” in this section.
Slip indicator light
This indicator will blink when the VDC system is
operating, thus alerting the driver to the fact that
the road surface is slippery and the vehicle is
nearing its traction limits.
You may feel or hear the system working; this is
normal.
The light will blink for a few seconds after the
VDC system stops limiting wheel spin.
The
indicator light also comes on when
you place the ignition switch in the ON position.
The light will turn off after approximately 2 sec-
onds if the system is operational. If the light does
not come on have the system checked by a
NISSAN dealer.
2-22Instruments and controls
Page 132 of 466
Transfer 4LO position indicatorlight (
model)
This light comes on when the 4WD shift switch is
set in the 4LO position with the ignition switch in
the ON position.
The transfer case may be damaged if you shift the
switch while driving.
Make sure the transfer 4LO position indicator
light turns on when you shift the 4WD shift switch
to 4LO.
The indicator light may blink while shifting
from one drive mode to the other.
The 4LO indicator light must stop blinking and
remain illuminated or turn off before shifting the
transmission into gear. If the shift lever is shifted
from the N (Neutral) position to any other gear
when the 4LO indicator light is blinking, the ve-
hicle may move unexpectedly.
When you shift between 4H and 4LO, follow the
instructions below:
● For automatic transmission models, stop the
vehicle and shift the shift lever to the N
(Neutral) position with the brake pedal de-
pressed, then depress and turn the 4WD
shift switch to 4LO or 4H. ●
For manual transmission models, stop the
vehicle and shift the shift lever to the N
(Neutral) position with the clutch pedal de-
pressed, then depress and turn the 4WD
shift switch to 4LO or 4H.
You cannot move the transfer 4WD shift switch
between 4H and 4LO unless you stop the vehicle
and shift the shift lever to the N position with the
brake pedal (A/T models) or clutch pedal (M/T
models) depressed.
Turn signal/hazard indicator lights
The appropriate light flashes when the turn signal
switch is activated.
Both lights flash when the hazard switch is turned
on.
Vehicle Dynamic Control(VDC) OFF indicator light
This indicator light comes on when the Vehicle
Dynamic Control off switch is pushed to OFF, the
transfer case is in the 4LO position (
model) , or when the Vehicle Dynamic Control
system is not functioning properly. This indicates
the Vehicle Dynamic Control system is not oper-
ating. Push the Vehicle Dynamic Control off switch
again or restart the engine and the system will
operate normally. For additional information, refer
to “Vehicle Dynamic Control (VDC) system” in
the “Starting and driving” section of this manual.
The Vehicle Dynamic Control light also comes on
when you turn the ignition key to the ON position.
The light will turn off after about 2 seconds if the
system is operational. If the light stays on or
comes on along with the SLIP indicator light
while you are driving, have the Vehicle Dynamic
Control system checked by a NISSAN dealer.
If the battery is removed or discharged, the Ve-
hicle Dynamic Control system is disabled and the
VDC indicator light will not turn off after 2 sec-
onds when the ignition switch is turned to the ON
position. To reset the system, you must perform
the reset procedure. For additional information,
refer to “Vehicle Dynamic Control (VDC) system”
in the “Starting and driving” section of this
manual.
If the light does not go off after performing the
reset procedure, have the traction control system
checked by a NISSAN dealer.
While the Vehicle Dynamic Control system is
operating, you might feel slight vibration or hear
the system working when starting the vehicle or
accelerating, but this is normal.
Instruments and controls2-23
Page 134 of 466
Key fob operation:
●Push the
button on the key fob.
All doors lock. The hazard lights flash
twice and the horn beeps once to indicate
all doors are locked.
● When the
button is pushed with
all doors locked, the hazard lights flash
twice and the horn beeps once as a re-
minder that the doors are already locked.
The horn may or may not beep. For addi-
tional information, refer to “Silencing the
horn beep feature” in the “Pre-driving
checks and adjustments” section of this
manual.
4. Confirm that the
indicator light comes
on. The
light stays on for about
30 seconds. The vehicle security system is
now pre-armed. After about 30 seconds the
vehicle security system automatically shifts
into the armed phase. The
light begins
to flash once every 3 seconds. If, during the
30-second pre-arm time period, the driver’s
door is unlocked by the key or the key fob, or
the ignition switch is placed in ACC or ON
position, the system will not arm. ●
If the key is turned slowly when locking
the driver’s door, the system may not
arm. Furthermore, if the key is turned
beyond the vertical position toward the
unlock position the system may be dis-
armed when the key is removed. If the
indicator light fails to glow for a period
of time, unlock the door once and lock
it again.
● Even when the driver and/or passen-
gers are in the vehicle, the system will
arm with all doors closed and locked
with the ignition switch placed in the
OFF position.
Vehicle security system activation
The vehicle security system will give the following
alarm:
● The headlights blink and the horn sounds
intermittently.
● The alarm automatically turns off after a pe-
riod of time. However, the alarm reactivates if
the vehicle is tampered with again. The alarm
can be shut off by unlocking the driver’s door
with the key or by pressing the
button
on the key fob. The alarm is activated by:
● Opening a door without using the key or key
fob (even if the door is unlocked by using the
inside lock knob or the power door lock
switch) .
How to stop an activated alarm
The alarm stops only by unlocking the driver’s
door with the key or by pressing the
button
on the key fob.
NISSAN VEHICLE IMMOBILIZER
SYSTEM (if so equipped)
The NISSAN Vehicle Immobilizer System will not
allow the engine to start without the use of a
registered key.
If the engine fails to start using a registered key
(for example, when interference is caused by
another registered key, an automated toll road
device or automatic payment device on the key
ring) , restart the engine using the following pro-
cedures:
1. Leave the ignition switch in the ON position for approximately 5 seconds.
2. Turn the ignition switch to the OFF or LOCK position, and wait approximately 10 sec-
onds.
Instruments and controls2-25
Page 144 of 466
WARNING
●Never rely solely on the hill descent
control system to control vehicle speed
when driving on steep downhill grades.
Always drive carefully when using the
hill descent control system and deceler-
ate the vehicle speed by depressing the
brake pedal if necessary. Be especially
careful when driving on frozen, muddy
or extremely steep downhill roads. Fail-
ure to control vehicle speed may result
in a loss of control of the vehicle and
possible serious injury or death. ●
The hill descent control may not control
the vehicle speed on a hill under all load
or road conditions. Always be prepared
to depress the brake pedal to control
vehicle speed. Failure to do so may re-
sult in a collision or serious personal
injury.
CAUTION
When the hill descent control system op-
erates continuously for a long time, the
temperature of the brake pads may in-
crease and the hill descent control system
may be temporarily disabled (the indicator
light will blink) . If the indicator light does
not come on continuously after blinking,
stop using the system.
The hill descent control system is designed to
reduce driver workload when going down steep
hills. The hill descent control system helps to
control vehicle speed so the driver can concen-
trate on steering the vehicle.
To activate the hill descent control system: ● the 4WD switch must be in the 4L position
and the vehicle speed must be under
15 MPH (25 km/h) or ●
the 4WD switch must be in the 4H position
and the vehicle speed must be under
21 MPH (35 km/h), and
● the hill descent control system switch must
be ON.
The hill descent control system on indicator light
will come on when the system is activated. Also,
the stop/tail lights illuminate while the hill descent
control system applies the brakes to control ve-
hicle speed.
If the accelerator or brake pedal is depressed
while the hill descent control system is on, the
system will stop operating temporarily. As soon
as the accelerator or brake pedal is released, the
hill descent control system begins to function
again if the hill descent control operating condi-
tions are fulfilled.
The hill descent control system on indicator light
blinks if the switch is on and all conditions for
system activation are not met or if the system
becomes disengaged for any reason.
To turn off the hill descent control system, push
the switch to the OFF position.
For additional information, refer to “Hill descent
control system on indicator light” in this section
and “Hill descent control system” in the “Starting
and driving” section of this manual.
LIC0743
HILL DESCENT CONTROL SWITCH (if
so equipped)
Instruments and controls2-35
Page 145 of 466
The Electronic Locking Rear Differential (E-Lock)
system can help provide added traction if the
vehicle is stuck or becoming stuck.
To activate the E-Lock system:● the 4WD switch must be in the 4LO position
(4-wheel drive vehicles) ,
● the vehicle must be stopped or moving at
4 MPH (7 km/h) or less, and
● the E-Lock system switch must be turned
ON. When the E-Lock switch is turned ON, the indi-
cator light will flash until the system engages.
However, if all operation conditions listed above
are not met or the system becomes disengaged,
the indicator light will continue to flash.
The Anti-Lock Brake (ABS) system is disabled
and the ABS light illuminates when the E-Lock
system is ON. Also, the Vehicle Dynamic Control
(VDC) system is disabled and the VDC light
illuminates when the E-Lock system is ON.
For additional information, refer to “Electronic
locking rear differential (E-Lock) system” in the
“Starting and driving” section of this manual for
further explanation and system limitations.
WARNING
●
Never leave the E-Lock system ON when
driving on paved or hard-surfaced
roads. Turning the vehicle may result in
the rear wheels slipping and result in an
accident and personal injury. After us-
ing the E-Lock system to free the ve-
hicle, turn the system OFF. ●
Use the E-Lock system only when free-
ing a stuck vehicle. Try the 4LO position
before using the E-Lock system. Never
use the E-Lock system on a slippery
road surface such as snow or ice sur-
face. Using the E-Lock system when
driving in these road conditions may
cause unexpected movement of the ve-
hicle during engine braking, accelerat-
ing or turning, which may result in an
accident and serious personal injury.
CAUTION
● After using the E-Lock system, turn the
switch OFF to prevent possible damage
to driveline components from extended
use.
● Do not drive over 12 MPH (20 km/h)
when the system is engaged. Doing so
could result in possible damage to the
driveline.
● Do not turn on the E-lock system while
the tires are spinning. Doing so could
damage drivetrain components.LIC0729
ELECTRONIC LOCKING REAR
DIFFERENTIAL (E-Lock) SYSTEM
SWITCH (if so equipped)
2-36Instruments and controls
Page 146 of 466
WARNING
Pay special attention to your surroundings
when using the clutch interlock switch.
The vehicle will move forward or backward
according to the gear selected.
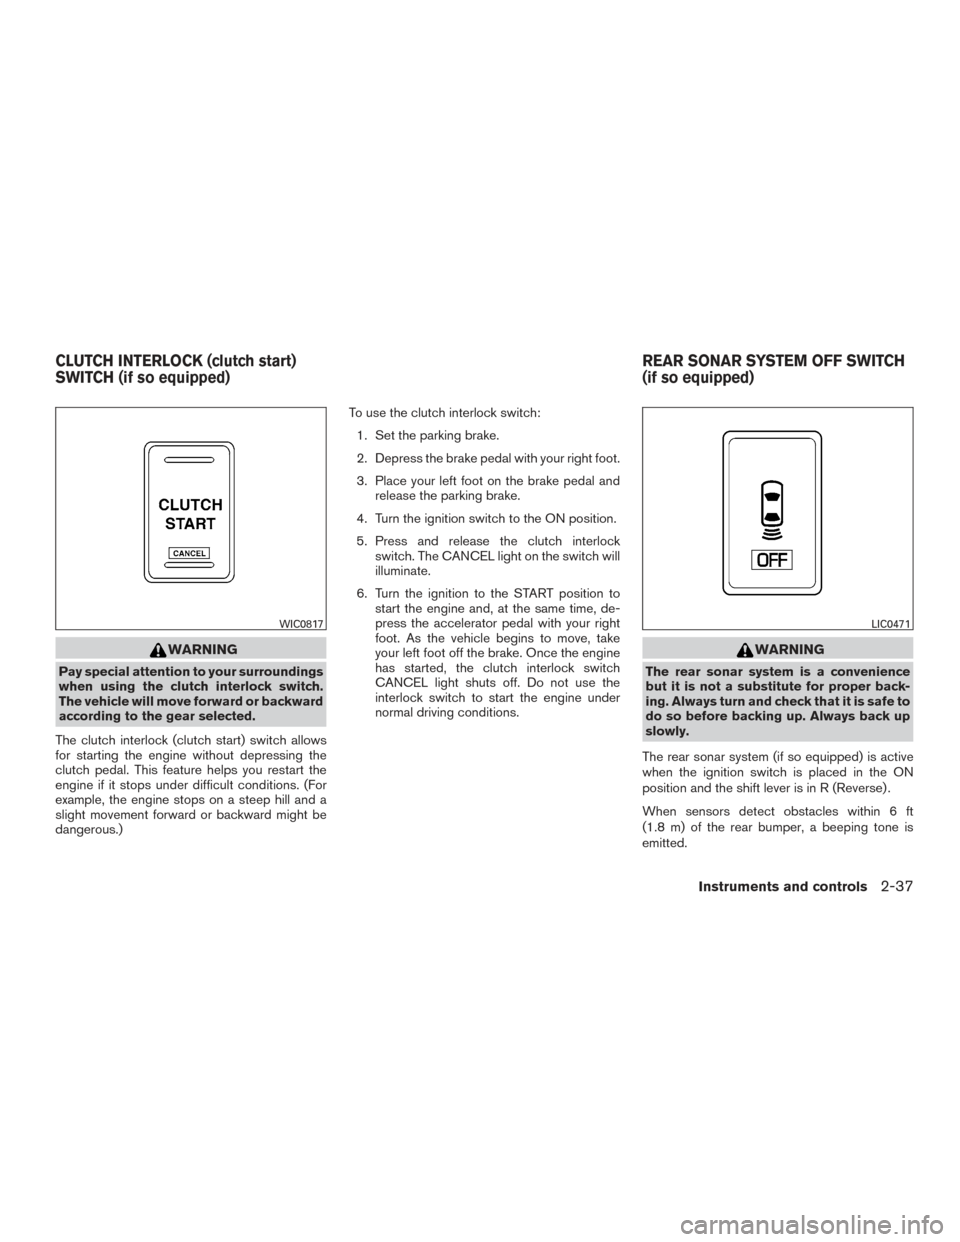
The clutch interlock (clutch start) switch allows
for starting the engine without depressing the
clutch pedal. This feature helps you restart the
engine if it stops under difficult conditions. (For
example, the engine stops on a steep hill and a
slight movement forward or backward might be
dangerous.) To use the clutch interlock switch:
1. Set the parking brake.
2. Depress the brake pedal with your right foot.
3. Place your left foot on the brake pedal and release the parking brake.
4. Turn the ignition switch to the ON position.
5. Press and release the clutch interlock switch. The CANCEL light on the switch will
illuminate.
6. Turn the ignition to the START position to start the engine and, at the same time, de-
press the accelerator pedal with your right
foot. As the vehicle begins to move, take
your left foot off the brake. Once the engine
has started, the clutch interlock switch
CANCEL light shuts off. Do not use the
interlock switch to start the engine under
normal driving conditions.
WARNING
The rear sonar system is a convenience
but it is not a substitute for proper back-
ing. Always turn and check that it is safe to
do so before backing up. Always back up
slowly.
The rear sonar system (if so equipped) is active
when the ignition switch is placed in the ON
position and the shift lever is in R (Reverse) .
When sensors detect obstacles within 6 ft
(1.8 m) of the rear bumper, a beeping tone is
emitted.
WIC0817LIC0471
CLUTCH INTERLOCK (clutch start)
SWITCH (if so equipped) REAR SONAR SYSTEM OFF SWITCH
(if so equipped)
Instruments and controls2-37
Page 178 of 466
WARNING
●Make sure the hood is completely
closed and latched before driving. Fail-
ure to do so could cause the hood to fly
open and result in an accident.
● If you see steam or smoke coming from
the engine compartment, to avoid injury
do not open the hood.
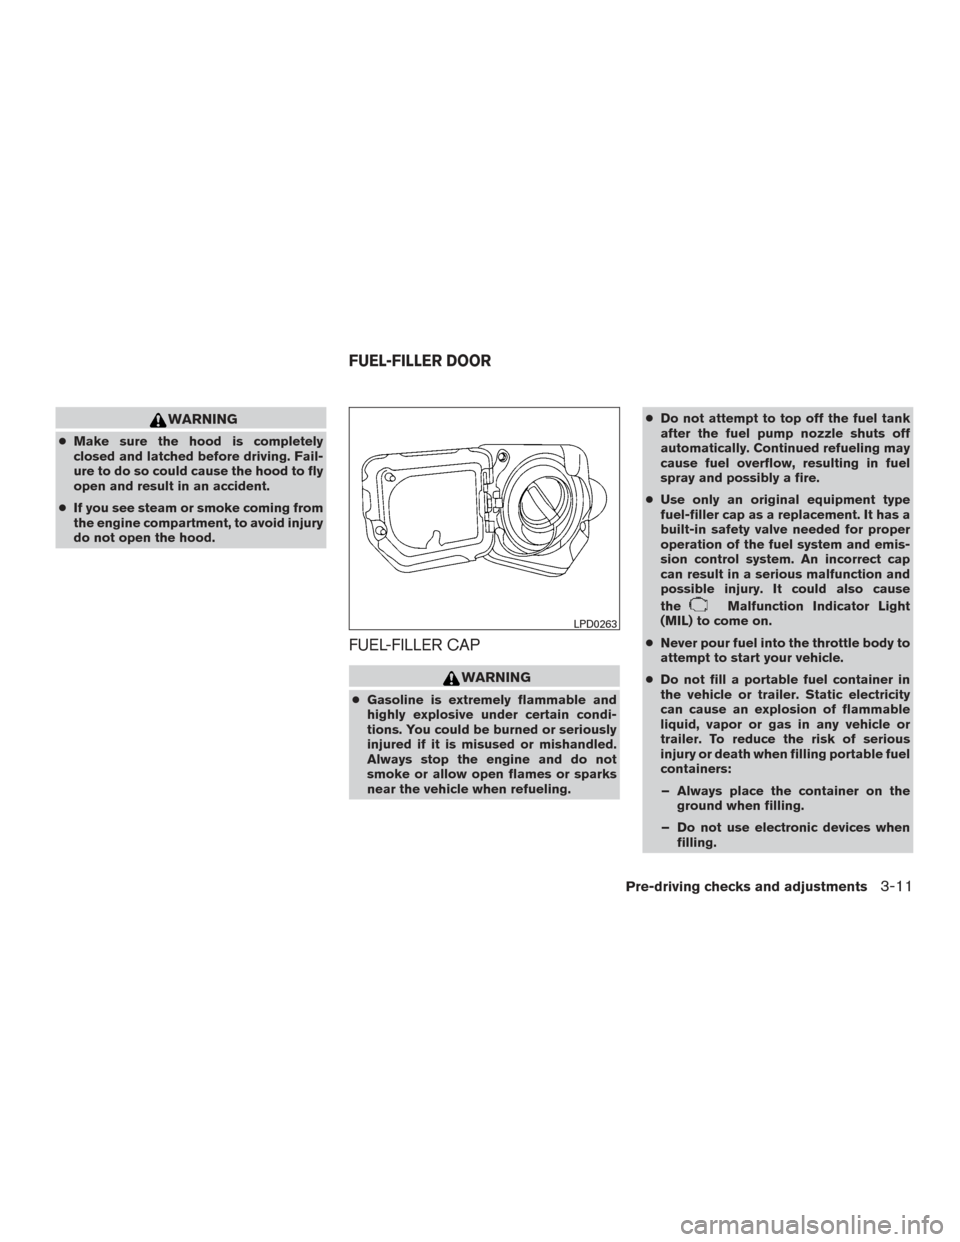
FUEL-FILLER CAP
WARNING
● Gasoline is extremely flammable and
highly explosive under certain condi-
tions. You could be burned or seriously
injured if it is misused or mishandled.
Always stop the engine and do not
smoke or allow open flames or sparks
near the vehicle when refueling. ●
Do not attempt to top off the fuel tank
after the fuel pump nozzle shuts off
automatically. Continued refueling may
cause fuel overflow, resulting in fuel
spray and possibly a fire.
● Use only an original equipment type
fuel-filler cap as a replacement. It has a
built-in safety valve needed for proper
operation of the fuel system and emis-
sion control system. An incorrect cap
can result in a serious malfunction and
possible injury. It could also cause
the
Malfunction Indicator Light
(MIL) to come on.
● Never pour fuel into the throttle body to
attempt to start your vehicle.
● Do not fill a portable fuel container in
the vehicle or trailer. Static electricity
can cause an explosion of flammable
liquid, vapor or gas in any vehicle or
trailer. To reduce the risk of serious
injury or death when filling portable fuel
containers:
– Always place the container on the ground when filling.
– Do not use electronic devices when filling.
LPD0263
FUEL-FILLER DOOR
Pre-driving checks and adjustments3-11