key NISSAN FRONTIER 2017 D23 / 3.G LC2 Kai Navigation Manual
[x] Cancel search | Manufacturer: NISSAN, Model Year: 2017, Model line: FRONTIER, Model: NISSAN FRONTIER 2017 D23 / 3.GPages: 94, PDF Size: 0.79 MB
Page 25 of 94
RETURNING TO THE CURRENT VE-
HICLE LOCATION
The basic map screen displays the current loca-
tion of the vehicle. The current location can be
displayed again even after the map is moved, or
after the menu screen is displayed.
Press the MAP button or the BACK or
BACK button and the current location will be
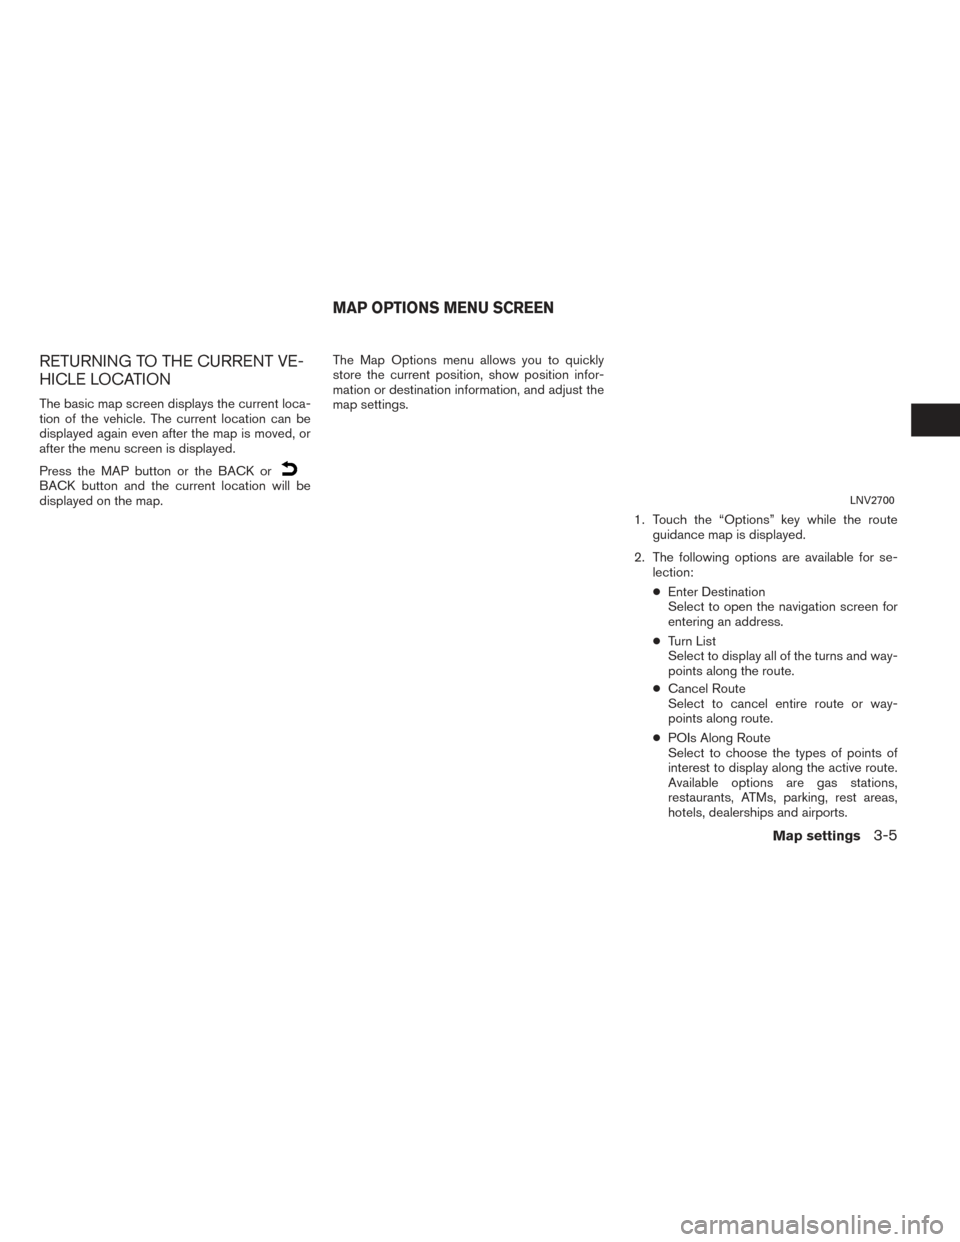
displayed on the map.The Map Options menu allows you to quickly
store the current position, show position infor-
mation or destination information, and adjust the
map settings.
1. Touch the “Options” key while the routeguidance map is displayed.
2. The following options are available for se- lection:
● Enter Destination
Select to open the navigation screen for
entering an address.
● Turn List
Select to display all of the turns and way-
points along the route.
● Cancel Route
Select to cancel entire route or way-
points along route.
● POIs Along Route
Select to choose the types of points of
interest to display along the active route.
Available options are gas stations,
restaurants, ATMs, parking, rest areas,
hotels, dealerships and airports.LNV2700
MAP OPTIONS MENU SCREEN
Map settings3-5
Page 29 of 94
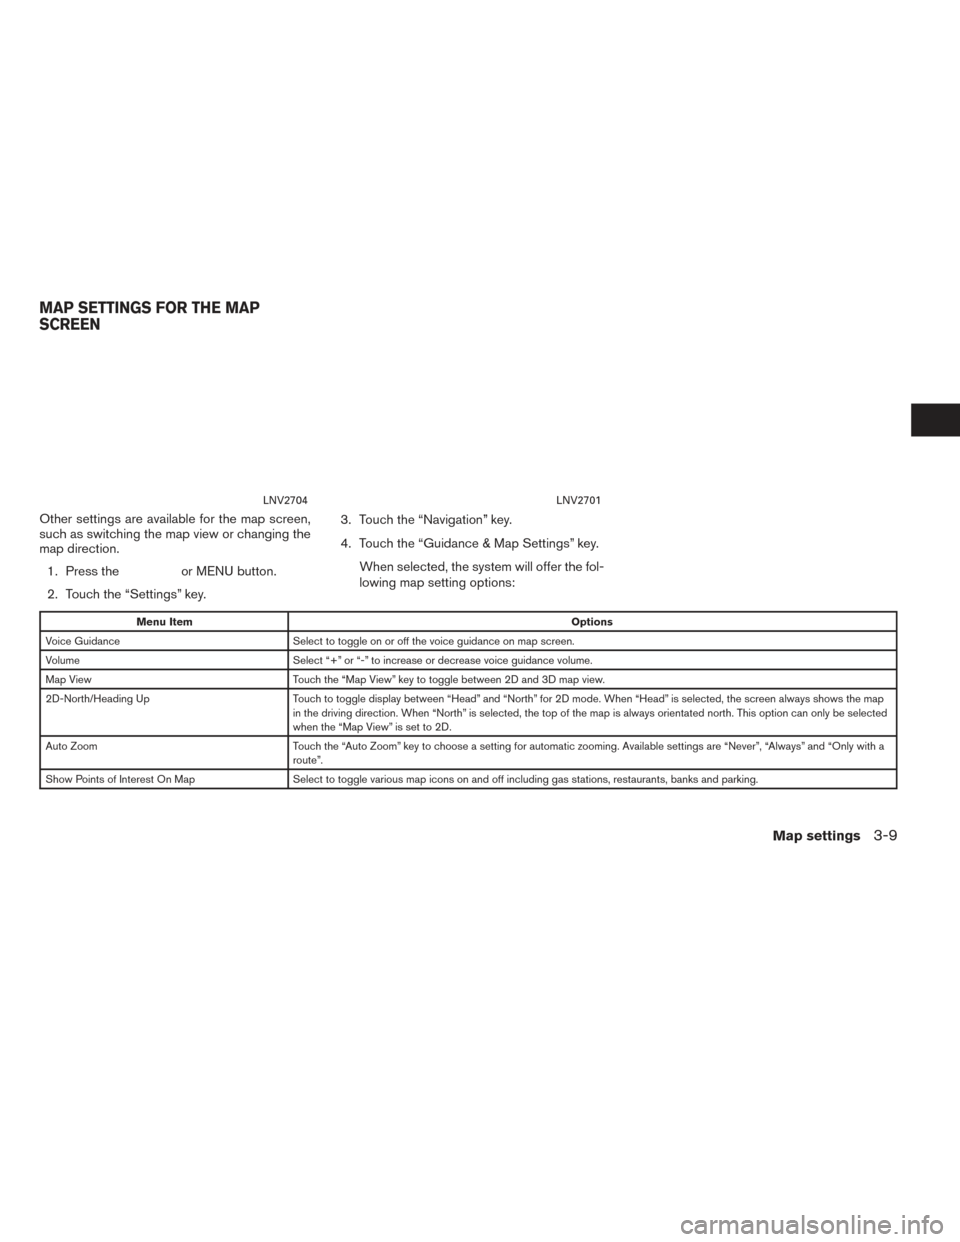
Other settings are available for the map screen,
such as switching the map view or changing the
map direction.1. Press the
or MENU button.
2. Touch the “Settings” key. 3. Touch the “Navigation” key.
4. Touch the “Guidance & Map Settings” key.
When selected, the system will offer the fol-
lowing map setting options:
Menu Item Options
Voice Guidance Select to toggle on or off the voice guidance on map screen.
Volume Select “+” or “-” to increase or decrease voice guidance volume.
Map View Touch the “Map View” key to toggle between 2D and 3D map view.
2D-North/Heading Up Touch to toggle display between “Head” and “North” for 2D mode. When “Head” is selected, the screen always shows the map
in the driving direction. When “North” is selected, the top of the map is always orientated north. This option can only be selected
when the “Map View” is set to 2D.
Auto Zoom Touch the “Auto Zoom” key to choose a setting for automatic zooming. Available settings are “Never”, “Always” and “Only with a
route”.
Show Points of Interest On Map Select to toggle various map icons on and off including gas stations, restaurants, banks and parking.
LNV2704LNV2701
MAP SETTINGS FOR THE MAP
SCREEN
Map settings3-9
Page 40 of 94
●Cancel Route:
Touch “Cancel Route” to cancel the route
guidance.
NOTE:
If route guidance is not active, “Cancel
Route” cannot be operated.
● Previous Destinations:
Searches for a destination from the previ-
ous destinations in the destination memory.
Up to 50 previous destinations will be auto-
matically stored. If the number of previous
destinations exceeds 50, the oldest one will
be removed from the list and the newest
one will be added.
To manually delete a previous destination
entry, select an entry from the list and then
touch the “Delete” key.
Touch the “Save” key to add a previous des-
tination to the address book.
Previous destinations can also be selected
using the NISSAN Voice Recognition Sys-
tem (if so equipped):
1. Press the
orbutton on the
steering wheel. The system provides
prompts and waits for voice commands. 2. Say “Navigation”.
3. Say “Previous destinations”.
4. Speak the number of an entry on the dis-
played list to choose that destination or say
“Next Page” to view more entries (if
available) .
If no route is set, route guidance is calcu-
lated automatically. If a route is set, say “Re-
place Destination” to use the chosen previ-
ous destination in Step 4 as the new
destination. Say “Set as Waypoint” to add
the chosen previous destination as a way-
point on the current route. Say “Show on
Map” to show the chosen previous destina-
tion on the map.
For more information about the NISSAN
Voice Recognition System, see the vehicle
Owner’s Manual.
NOTE:
It is not possible to retrieve deleted previ-
ous destination entries.
● Home:
Your home address can be entered as a
destination. Home can also be set as a destination using the
NISSAN Voice Recognition System (if so
equipped):
1. Press the
orbutton on the
steering wheel. The system provides
prompts and waits for voice commands.
2. Say “Navigation”.
3. Say “Home”.
If a home location is set, route guidance to the
home location is calculated automatically.
For more information about the NISSAN Voice
Recognition System, see the vehicle Owner’s
Manual.
● Address Book:
Touch “Address Book” to access stored
addresses.
● City Center:
Select “City Center” to designate a city as a
destination.
● Connected Search (if so equipped)
Touch “Connected Search” to use Nissan-
Connect Services to search for a
destination.
4-4Navigation
Page 42 of 94
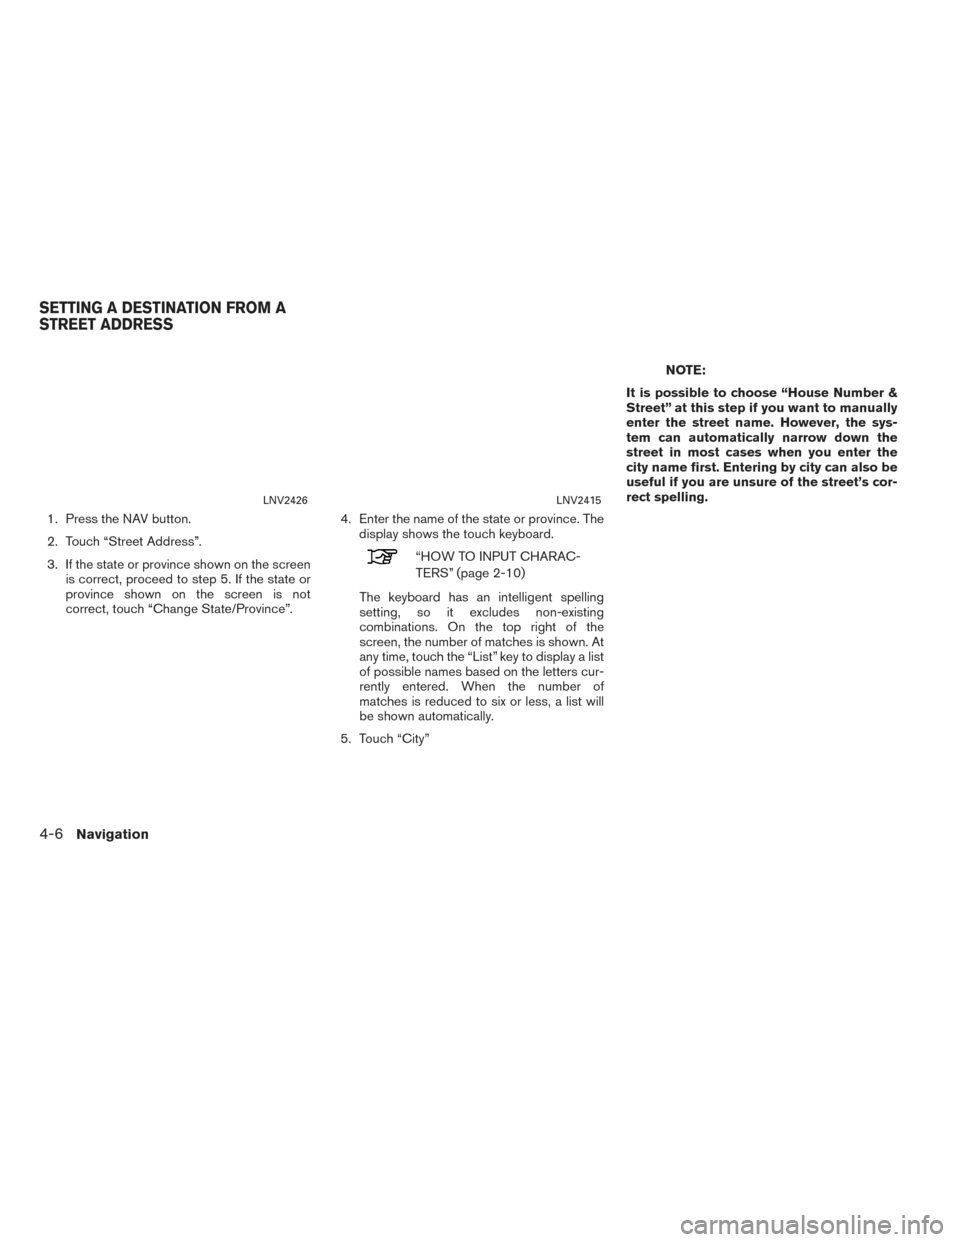
1. Press the NAV button.
2. Touch “Street Address”.
3. If the state or province shown on the screenis correct, proceed to step 5. If the state or
province shown on the screen is not
correct, touch “Change State/Province”. 4. Enter the name of the state or province. The
display shows the touch keyboard.
“HOW TO INPUT CHARAC-
TERS” (page 2-10)
The keyboard has an intelligent spelling
setting, so it excludes non-existing
combinations. On the top right of the
screen, the number of matches is shown. At
any time, touch the “List” key to display a list
of possible names based on the letters cur-
rently entered. When the number of
matches is reduced to six or less, a list will
be shown automatically.
5. Touch “City”
NOTE:
It is possible to choose “House Number &
Street” at this step if you want to manually
enter the street name. However, the sys-
tem can automatically narrow down the
street in most cases when you enter the
city name first. Entering by city can also be
useful if you are unsure of the street’s cor-
rect spelling.
LNV2426LNV2415
SETTING A DESTINATION FROM A
STREET ADDRESS
4-6Navigation
Page 43 of 94
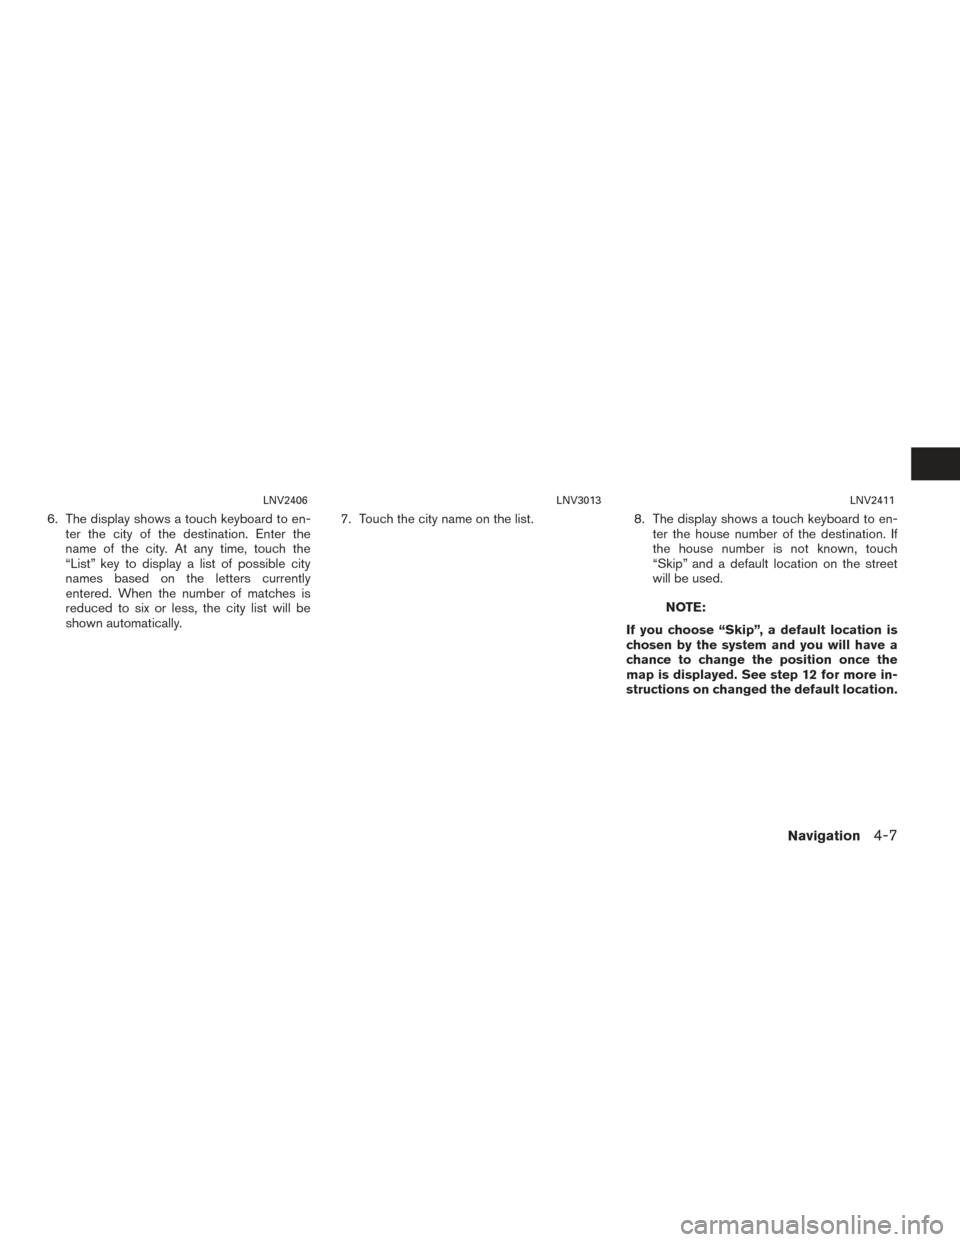
6. The display shows a touch keyboard to en-ter the city of the destination. Enter the
name of the city. At any time, touch the
“List” key to display a list of possible city
names based on the letters currently
entered. When the number of matches is
reduced to six or less, the city list will be
shown automatically. 7. Touch the city name on the list.
8. The display shows a touch keyboard to en-
ter the house number of the destination. If
the house number is not known, touch
“Skip” and a default location on the street
will be used.
NOTE:
If you choose “Skip”, a default location is
chosen by the system and you will have a
chance to change the position once the
map is displayed. See step 12 for more in-
structions on changed the default location.
LNV2406LNV3013LNV2411
Navigation4-7
Page 44 of 94
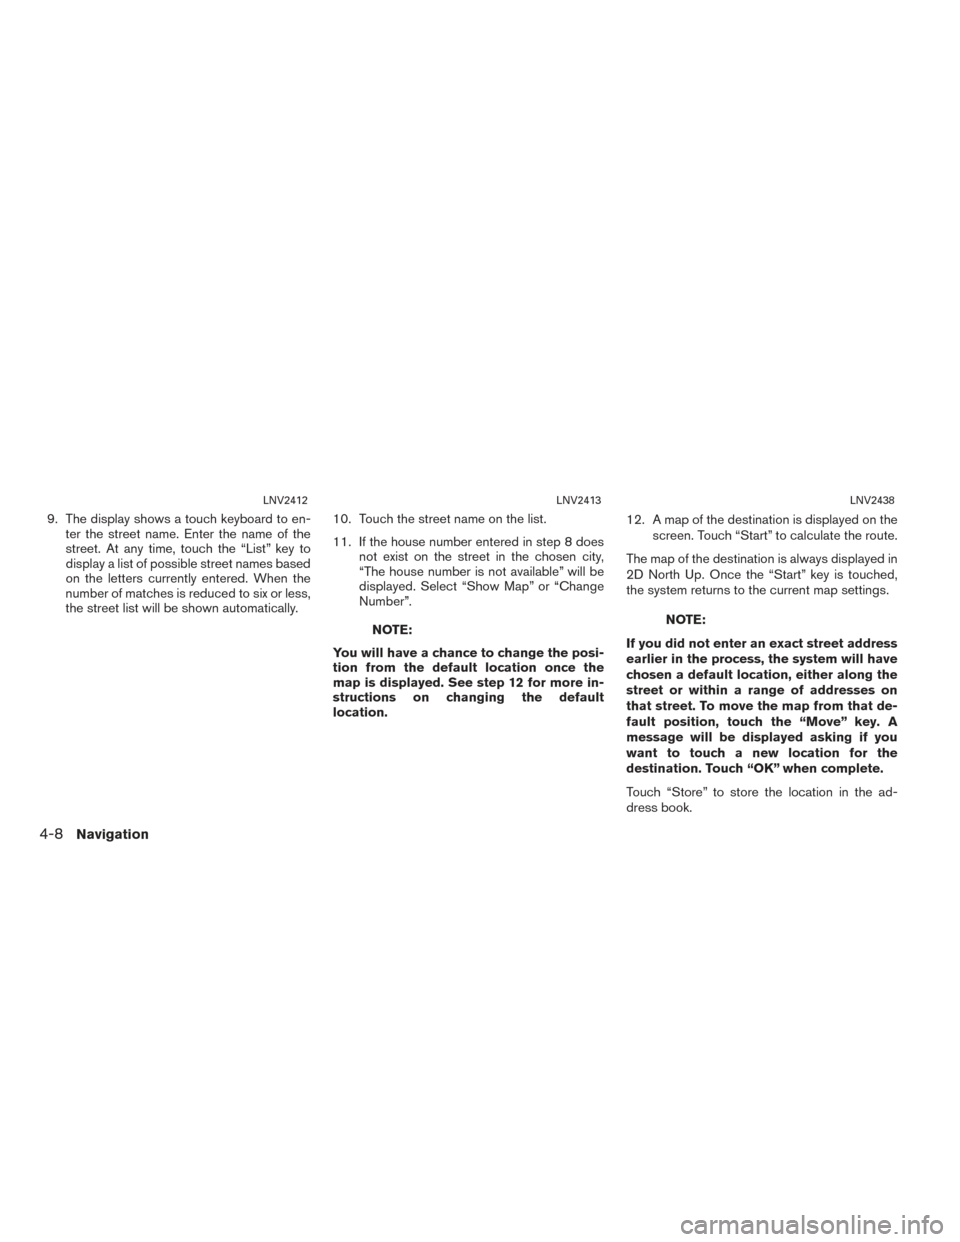
9. The display shows a touch keyboard to en-ter the street name. Enter the name of the
street. At any time, touch the “List” key to
display a list of possible street names based
on the letters currently entered. When the
number of matches is reduced to six or less,
the street list will be shown automatically. 10. Touch the street name on the list.
11. If the house number entered in step 8 does
not exist on the street in the chosen city,
“The house number is not available” will be
displayed. Select “Show Map” or “Change
Number”.
NOTE:
You will have a chance to change the posi-
tion from the default location once the
map is displayed. See step 12 for more in-
structions on changing the default
location. 12. A map of the destination is displayed on the
screen. Touch “Start” to calculate the route.
The map of the destination is always displayed in
2D North Up. Once the “Start” key is touched,
the system returns to the current map settings.NOTE:
If you did not enter an exact street address
earlier in the process, the system will have
chosen a default location, either along the
street or within a range of addresses on
that street. To move the map from that de-
fault position, touch the “Move” key. A
message will be displayed asking if you
want to touch a new location for the
destination. Touch “OK” when complete.
Touch “Store” to store the location in the ad-
dress book.
LNV2412LNV2413LNV2438
4-8Navigation
Page 48 of 94
●Town Centre
● Travel
If you choose “By Name”, you can search for
places using a specific name. The touch key-
board is shown.
“HOW TO INPUT CHARACTERS”
(page 2-10)
NOTE:
● When using “Search By Category”, the sys-
tem will search for up to 200 matches within
50 miles (80 km) of the current position.
● When using “Search By Name”, the system
will search for up to 30 matches within
50 miles (80 km) of the current position.
● If the destination is not found within the
50 mile (80 km) search radius, you can search
for places around a specific city name.
“SEARCHING FOR POINTS OF IN-
TEREST IN ANOTHER CITY”
(page 4-12)
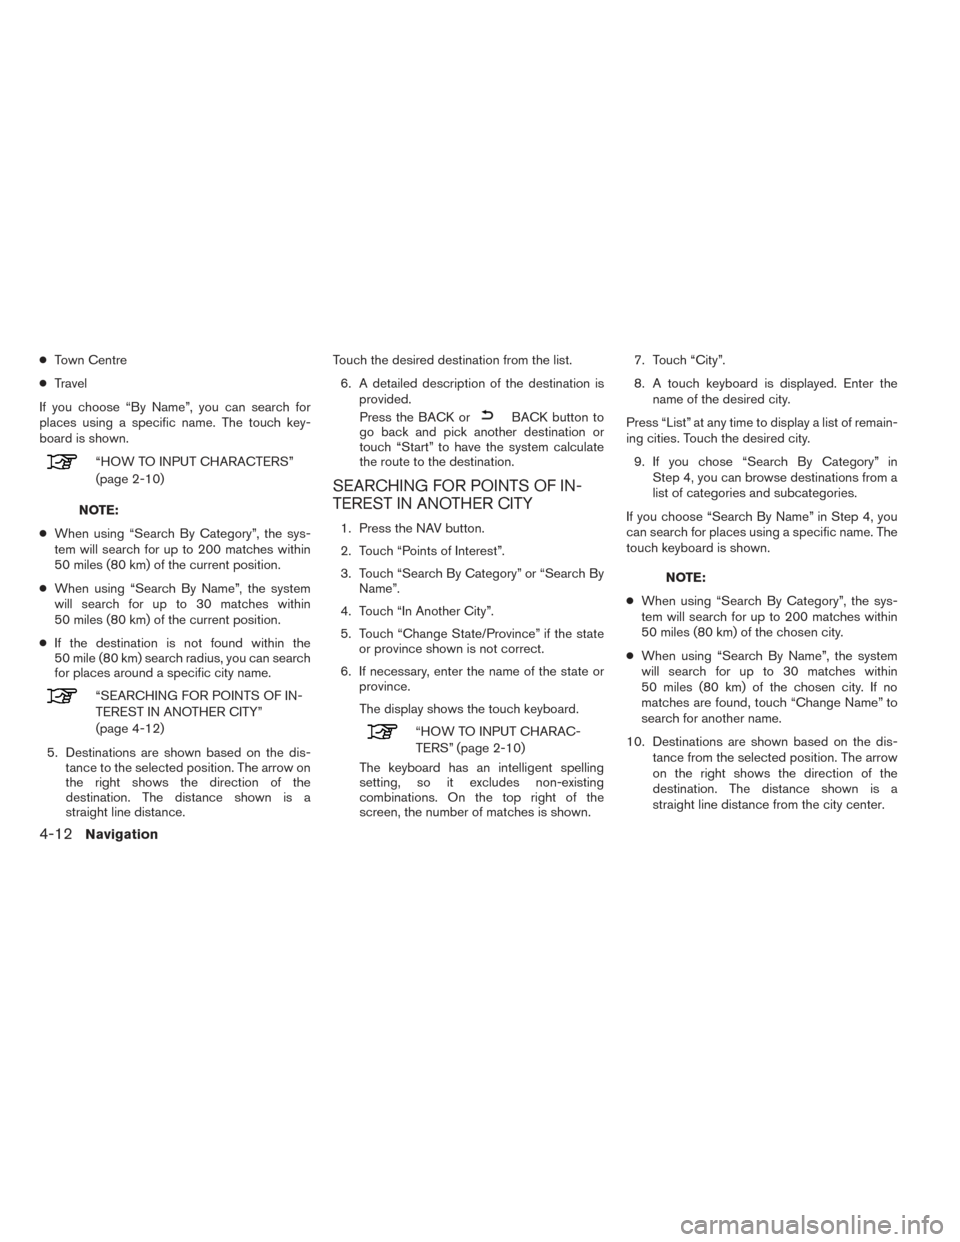
5. Destinations are shown based on the dis- tance to the selected position. The arrow on
the right shows the direction of the
destination. The distance shown is a
straight line distance. Touch the desired destination from the list.
6. A detailed description of the destination is provided.
Press the BACK or
BACK button to
go back and pick another destination or
touch “Start” to have the system calculate
the route to the destination.
SEARCHING FOR POINTS OF IN-
TEREST IN ANOTHER CITY
1. Press the NAV button.
2. Touch “Points of Interest”.
3. Touch “Search By Category” or “Search By Name”.
4. Touch “In Another City”.
5. Touch “Change State/Province” if the state or province shown is not correct.
6. If necessary, enter the name of the state or province.
The display shows the touch keyboard.
“HOW TO INPUT CHARAC-
TERS” (page 2-10)
The keyboard has an intelligent spelling
setting, so it excludes non-existing
combinations. On the top right of the
screen, the number of matches is shown. 7. Touch “City”.
8. A touch keyboard is displayed. Enter the
name of the desired city.
Press “List” at any time to display a list of remain-
ing cities. Touch the desired city. 9. If you chose “Search By Category” in Step 4, you can browse destinations from a
list of categories and subcategories.
If you choose “Search By Name” in Step 4, you
can search for places using a specific name. The
touch keyboard is shown.
NOTE:
● When using “Search By Category”, the sys-
tem will search for up to 200 matches within
50 miles (80 km) of the chosen city.
● When using “Search By Name”, the system
will search for up to 30 matches within
50 miles (80 km) of the chosen city. If no
matches are found, touch “Change Name” to
search for another name.
10. Destinations are shown based on the dis- tance from the selected position. The arrow
on the right shows the direction of the
destination. The distance shown is a
straight line distance from the city center.
4-12Navigation
Page 54 of 94
●Street Address
This option allows you to save a new entry
by selecting the address.
“SETTING A DESTINATION
FROM A STREET ADDRESS”
(page 4-6)
● Previous Destination
This option allows you to save a destination
in the address book from a location stored
in the previous destination memory.
Touch the destination you would like to save
into the address book.
The touch keyboard gives the option to change
the name of the selected destination.
Touch “OK”. The system confirms the entry and
adds it to the address book.
● Current Destination
This option allows you to store the currently
set destination in the address book when a
route is active. This option is only available
when a route is active.
Touch “Current Destination”.
The touch keyboard gives the option to change
the name of the destination. Touch “OK”. The system confirms the entry and
adds it to the address book.
●
Current Position
This option allows you to set the current po-
sition as a destination in the address book.
Touch “Current Position”.
The touch keyboard gives the option to change
the name of the destination.
Touch “OK”. The system confirms the entry and
adds it to the address book.
SETTING AN ENTRY AS A DESTINA-
TION
Instead of touching “Add New Entry”, you can
touch any previously saved address.
The detailed description of the entry is shown. If
information for the destination is not available,
latitude and longitude coordinates will be shown.
You can rename or delete the entry. Touch “OK”
to set the entry as a destination.
The system will calculate the route to the ad-
dress chosen.
SETTING A DESTINATION FROM
THE ADDRESS BOOK USING
VOICE RECOGNITION (if so
equipped)
Entries in the address book can be set as desti-
nations using the NISSAN Voice Recognition
System: 1. Press the
orbutton on the
steering wheel. The system provides
prompts and waits for voice commands.
2. Say “Navigation”.
3. Say “Address Book”.
4. Say the number of the entry in the address book displayed on the screen.
If a route is active, say “Replace Destination” to
replace the current destination with the address
book entry or say “Set as Waypoint” to set ad-
dress book entry as a waypoint on the current
route.
If a route is not set, route guidance is calculated
to the address book entry.
Say “Show on Map” to display the location of the
address book entry on the map.
For more information about the NISSAN Voice
Recognition System, see the vehicle Owner’s
Manual.
4-18Navigation
Page 55 of 94
An intersection of two streets can be set as a
destination. To set an intersection as the desti-
nation:1. Press the NAV button.
2. Touch “Next Page”.
3. Touch “Intersection”.
4. Touch “Change State/Province” if the state or province displayed is not correct.
5. If necessary, enter the name of the state or province.
The display shows the touch keyboard.
“HOW TO INPUT CHARACTERS”
(page 2-10)
6. Press “List” at any time and a list of remain- ing cities will be shown. Touch the desired
city. 7. Touch “Street”.
The display shows the touch keyboard.
8. Touch the name of the desired street.
9. A list of intersecting streets will be shown if six or less exist. Otherwise, the touch key-
board will be displayed again so that the
name of the second street in the intersec-
tion can be entered. Enter the second street
name.
10. Select the intersecting street.
11. Touch “Start”. The route to the intersection will be
calculated. The center of a city can be set as a destination.
To set a city center as a destination:
1. Press the NAV button.
2. Touch “Next Page”.
3. Touch “City Center”.
4. If the state shown is not correct, touch “Change State or Province”. Otherwise,
proceed to step 7.
5. Enter the name of the state or province. The display shows the touch keyboard.
“HOW TO INPUT CHARAC-
TERS” (page 2-10)
The keyboard has an intelligent spelling
setting, so it excludes non-existing
combinations. On the top right of the
screen, the number of matches is shown.
LNV2703LNV2703
SETTING AN INTERSECTION AS A
DESTINATION SETTING A CITY CENTER AS A DES-
TINATION
Navigation4-19
Page 56 of 94
6. Touch “City”
7. Enter the name of the first street. The dis-play shows the touch keyboard.
8. Touch “Start” to calculate the route to the city center. The Navigation System receives traffic informa-
tion from SiriusXM Traffic to inform you of traffic
events and guide you to an alternate route. Traf-
fic events include accidents, road construction,
heavy traffic and other factors that affect the
route ahead.
DISPLAYING TRAFFIC EVENTS
ALONG ROUTE
When a route is active, press thebut-
ton and then touch “SiriusXM Traffic” to display
the traffic event nearest the current vehicle
location. The location and nature of the traffic
event is displayed on the screen. Three menu
options are available on the screen.
NOTE:
This feature can also be accessed using
the NISSAN Voice Recognition System (if
so equipped) by pressing the
orbutton on the steering wheel and
when prompted, saying “Information” then
“Traffic”.
LNV2704
TRAFFIC FEATURE
4-20Navigation