clutch NISSAN FRONTIER 2019 Owner´s Manual
[x] Cancel search | Manufacturer: NISSAN, Model Year: 2019, Model line: FRONTIER, Model: NISSAN FRONTIER 2019Pages: 516, PDF Size: 5.04 MB
Page 17 of 516

15. Electronic locking rear differential(E-Lock) system switch
(if so equipped) (P. 2-37)
Heated seat switches
(if so equipped) (P. 2-34)
Rear sonar switch (if so equipped)
(P. 2-38)
Vehicle Dynamic Control (VDC) OFF
switch (P. 2-35)
16. Shif t lever (P. 5-14)
17. 4WD shif t switch (if so equipped)
(P. 5-26)
18. Climate controls (P. 4-23, P. 4-32)
19. Hazard warning flasher switch
(P. 6-2)
20. Ignition switch (P. 5-11)
21. Tilt steering wheel control
(if so equipped) (P. 3-14)
22. Cargo lamp switch (P. 2-33) Clutch interlock (clutch start)
switch (if so equipped) (P. 2-38)
Hill descent control switch
(if so equipped) (P. 2-35)
Outside mirror controls
(if so equipped) (P. 3-16)
Illustrated table of contents
0-7
Page 18 of 516

QR25DE engine
1. Windshield-washer fluid reservoir(P. 8-14)
2. Fuse/Fusible link box (P. 8-23)
3. Fuse box (P. 8-23)
4. Air cleaner (P. 8-19)
5. Engine oil filler cap (P. 8-7)
6. Engine oil dipstick (P. 8-7)
7. Brake and clutch (if so equipped)
fluid reservoir (P. 8-13)
8. Drive belt location (P. 8-17)
9. Radiator cap (P. 8-5)
10. Power steering fluid reservoir
(P. 8-12)
11. Battery (P. 8-15)
12. Engine coolant reservoir (P. 8-5)
Refer to the page number indicated in
parentheses for operating details.
WDI0643
ENGINE COMPARTMENT CHECK
LOCATIONS
0-8Illustrated table of contents
Page 19 of 516

VQ40DE engine
1. Windshield-washer fluid reservoir(P. 8-14)
2. Fuse/Fusible link box (P. 8-23)
3. Fuse box (P. 8-23)
4. Engine oil filler cap (P. 8-7)
5. Engine oil dipstick (P. 8-7)
6. Brake and clutch (if so equipped)
fluid reservoir (P. 8-13)
7. Air cleaner (P. 8-19)
8. Drive belt location (P. 8-17)
9. Radiator cap (P. 8-5)
10. Power steering fluid reservoir
(P. 8-12)
11. Battery (P. 8-15)
12. Engine coolant reservoir (P. 8-5)
*Engine cover removed for clarity.
Refer to the page number indicated in
parentheses for operating details.
LII0167
Illustrated table of contents0-9
Page 115 of 516
Hill descent control switch (if so equipped)......2-35
Electronic locking rear differential (E-Lock)
system switch (if so equipped) ..................2-37
Clutch interlock (clutch start) switch
(if so equipped) ................................. 2-38
Rear Sonar System (RSS) OFF switch
(if so equipped) ................................. 2-38
Power outlets .................................. 2-39
Storage ........................................ 2-40
Front-door pockets .......................... 2-40
Rear-door pockets .......................... 2-40
Seatback pocket (if so equipped) ............2-41
Under-seat storage bins .....................2-42
Storagetrays................................ 2-43
Glovebox.................................... 2-44
Console box ................................. 2-45
Overhead sunglasses storage ...............2-45
Cup holders ................................. 2-46
Roof rack (if so equipped) ....................2-48Windows
....................................... 2-49
Manual windows (if so equipped) ............2-49
Power windows (if so equipped) .............2-49
Rear sliding window (if so equipped) .........2-52
Moonroof (if so equipped) ......................2-52
Power moonroof ............................ 2-52
Interior lights ................................... 2-54
Map lights (if so equipped) ...................2-55
HomeLink® universal transceiver (if so
equipped) ...................................... 2-55
Programming HomeLink® ...................2-56
Programming HomeLink® for Canadian
customers and gate openers ................2-57
Operating the HomeLink® Universal
Transceiver .................................. 2-58
Programming trouble-diagnosis ............2-58
Clearing the programmed information ......2-58
Reprogramming a single HomeLink®
button....................................... 2-59
If your vehicle is stolen .......................2-59
Page 117 of 516

15. Electronic locking rear differential(E-Lock) system switch
(if so equipped) (P. 2-37)
Heated seat switches
(if so equipped) (P. 2-34)
Rear sonar switch (if so equipped)
(P. 2-38)
Vehicle Dynamic Control (VDC) OFF
switch (P. 2-35)
16. Shif t lever (P. 5-14)
17. 4WD shif t switch (if so equipped)
(P. 5-26)
18. Climate controls (P. 4-23, P. 4-32)
19. Hazard warning flasher switch
(P. 6-2)
20. Ignition switch (P. 5-11)
21. Tilt steering wheel control
(if so equipped) (P. 3-14)
22. Cargo lamp switch (P. 2-33) Clutch interlock (clutch start)
switch (if so equipped) (P. 2-38)
Hill descent control switch
(if so equipped) (P. 2-35)
Outside mirror controls
(if so equipped) (P. 3-16) 1. Warning and indicator lights
2. Tachometer
3. Speedometer
4. Fuel gauge
5. Change/reset button
6. Voltmeter (if so equipped) 7. Odometer
Twin trip odometer
Trip computer (if so equipped)
Instrument brightness control knob8. Engine oil pressure gauge
9. Engine coolant temperature gauge
LIC3327
METERS AND GAUGES
Instruments and controls2-3
Page 129 of 516
CHECKING LIGHTS
With all doors closed, apply the parking
brake, fasten the seat belts and place the
ignition switch in the ON position without
starting the engine. The following lights (if
so equipped) will come on:
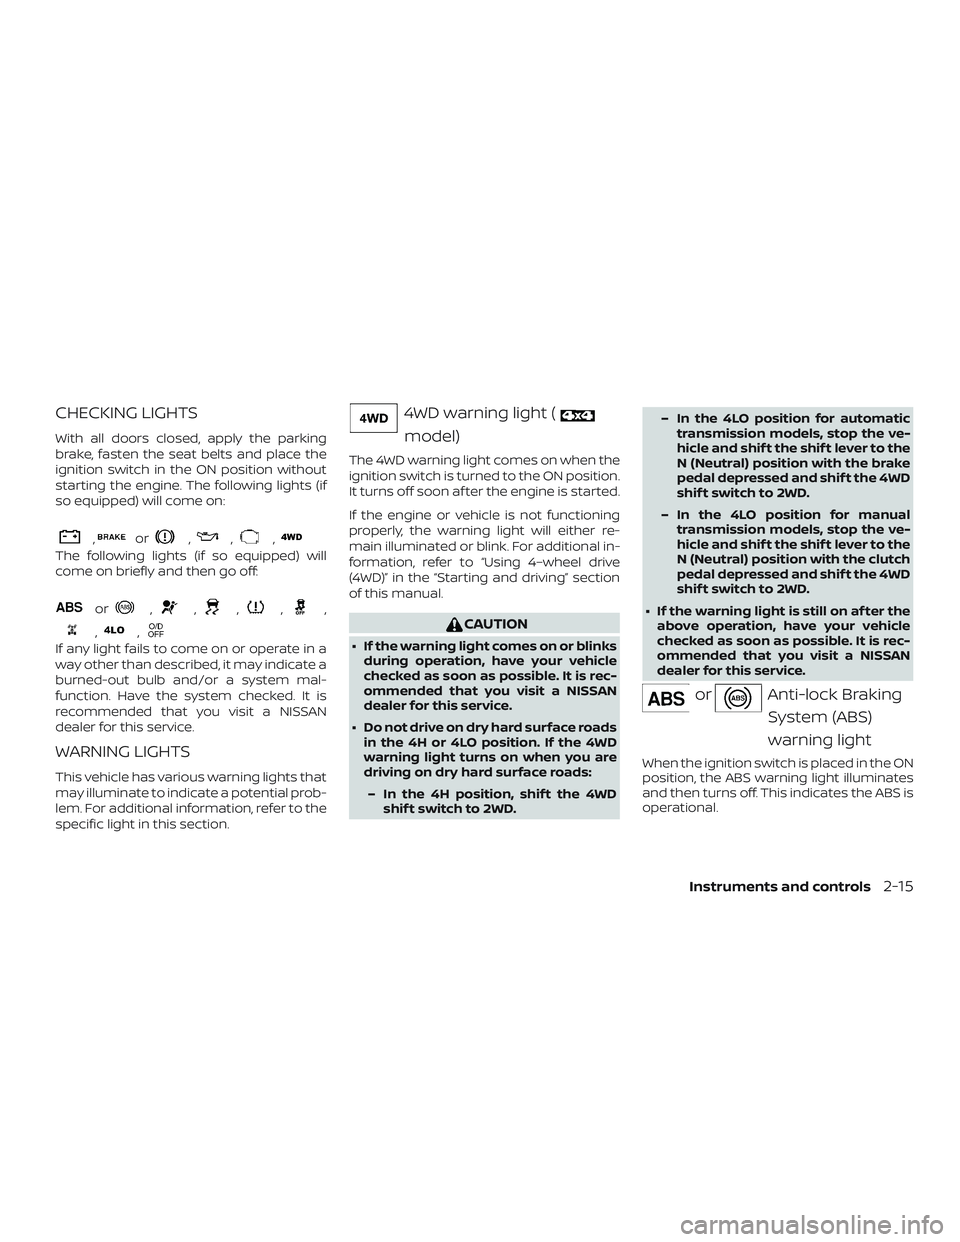
,or,,,
The following lights (if so equipped) will
come on briefly and then go off:
or,,,,,
,,
If any light fails to come on or operate in a
way other than described, it may indicate a
burned-out bulb and/or a system mal-
function. Have the system checked. It is
recommended that you visit a NISSAN
dealer for this service.
WARNING LIGHTS
This vehicle has various warning lights that
may illuminate to indicate a potential prob-
lem. For additional information, refer to the
specific light in this section.
4WD warning light (
model)
The 4WD warning light comes on when the
ignition switch is turned to the ON position.
It turns off soon af ter the engine is started.
If the engine or vehicle is not functioning
properly, the warning light will either re-
main illuminated or blink. For additional in-
formation, refer to “Using 4–wheel drive
(4WD)” in the “Starting and driving” section
of this manual.
CAUTION
∙ If the warning light comes on or blinksduring operation, have your vehicle
checked as soon as possible. It is rec-
ommended that you visit a NISSAN
dealer for this service.
∙ Do not drive on dry hard surface roads in the 4H or 4LO position. If the 4WD
warning light turns on when you are
driving on dry hard surface roads:
– In the 4H position, shif t the 4WD shif t switch to 2WD. – In the 4LO position for automatic
transmission models, stop the ve-
hicle and shif t the shif t lever to the
N (Neutral) position with the brake
pedal depressed and shif t the 4WD
shif t switch to 2WD.
– In the 4LO position for manual transmission models, stop the ve-
hicle and shif t the shif t lever to the
N (Neutral) position with the clutch
pedal depressed and shif t the 4WD
shif t switch to 2WD.
∙ If the warning light is still on af ter the above operation, have your vehicle
checked as soon as possible. It is rec-
ommended that you visit a NISSAN
dealer for this service.
orAnti-lock Braking
System (ABS)
warning light
When the ignition switch is placed in the ON
position, the ABS warning light illuminates
and then turns off. This indicates the ABS is
operational.
Instruments and controls2-15
Page 135 of 516
Electronic locking reardifferential (E-Lock) system
ON indicator light (if so
equipped)
This light comes on when the electronic
locking rear differential (E-Lock) system
clutch is fully engaged.
The indicator light flashes when the sys-
tem is first turned on. When the system fully
engages, the light remains on. If the switch
is on and the indicator light continues to
flash, the system is not engaged.
For additional information, refer to “Electronic
locking rear differential (E-Lock) system
switch” in this section and “Electronic locking
rear differential (E-Lock) system” in the “Start-
ing and driving” section of this manual.
Front passenger air bagstatus light
The front passenger air bag status
light
will be lit and the passenger front
air bag will be off depending on how the
front passenger seat is being used.
For additional information, refer to “Front
passenger air bag and status light” in the
“Safety — Seats, seat belts and supplemen-
tal restraint system” section of this manual.
High beam indicator light
(blue)
This blue light comes on when the head-
light high beams are on and goes out when
the low beams are selected.
The high beam indicator light also comes
on when the passing signal is activated.
Hill descent control systemON indicator light (if so
equipped)
When the ignition switch is placed in the ON
position, this light comes on briefly and
then turns off.
The light comes on when the hill descent
control system is activated.
If the hill descent control switch is on and
the indicator light blinks, the system is not
engaged.
If the indicator light does not come on when
the hill descent switch is on, the system may
not be functioning properly. Have the system
checked. It is recommended that you visit a
NISSAN dealer for this service.
For additional information, refer to “Hill de-
scent control switch” in this section and “Hill descent control system” in the “Starting
and driving” section of this manual.
Malfunction Indicator Light
(MIL)
If this indicator light comes on steady or
blinks while the engine is running, it may
indicate a potential emission control mal-
function.
The MIL may also come on steady if the
fuel-filler cap is loose or missing, or if the
vehicle runs out of fuel. Check to make sure
the fuel-filler cap is installed and closed
tightly, and that the vehicle has at least
3 gal (11.4 L) of fuel in the fuel tank.
Af ter a few driving trips, the
light
should turn off if no other potential emis-
sion control system malfunction exists.
If this indicator light comes on steady for
20 seconds and then blinks for 10 seconds
when the engine is not running, it indicates
that the vehicle is not ready for an emission
control system inspection/maintenance
test. For additional information, refer to
“Readiness for inspection/maintenance
(I/M) test” in the “Technical and consumer
information” section of this manual.
Instruments and controls2-21
Page 137 of 516
You may feel or hear the system working;
this is normal.
The light will blink for a few seconds af ter
the VDC system stops limiting wheel spin.
The
indicator light also comes on
when you place the ignition switch in the
ON position. The light will turn off af ter ap-
proximately 2 seconds if the system is op-
erational. If the light does not come on
have the system checked. It is recom-
mended that you visit a NISSAN dealer for
this service.
Transfer 4LO position
indicator light (
model)
This light comes on when the 4WD shif t
switch is set in the 4LO position with the
ignition switch in the ON position.
The transfer case may be damaged if you
shif t the switch while driving.
Make sure the transfer 4LO position indica-
tor light turns on when you shif t the 4WD
shif t switch to 4LO.
The indicator light may blink while shif t-
ing from one drive mode to the other. The 4LO indicator light must stop blinking
and remain illuminated or turn off before
shif ting the transmission into gear. If the
shif t lever is shif ted from the N (Neutral)
position to any other gear when the 4LO
indicator light is blinking, the vehicle may
move unexpectedly.
When you shif t between 4H and 4LO, follow
the instructions below:
∙ For automatic transmission (A/T) mod- els, stop the vehicle and shif t the shif t
lever to the N (Neutral) position with the
brake pedal depressed, then depress
and turn the 4WD shif t switch to 4LO or
4H.
∙ For manual transmission (M/T) models, stop the vehicle and shif t the shif t lever
to the N (Neutral) position with the
clutch pedal depressed, then depress
and turn the 4WD shif t switch to 4LO or
4H.
You cannot move the transfer 4WD shif t
switch between 4H and 4LO unless you
stop the vehicle and shif t the shif t lever to
the N position with the brake pedal (A/T
models) or clutch pedal (M/T models) de-
pressed.
Turn signal/hazard indicator lights
The appropriate light flashes when the turn
signal switch is activated.
NOTE:
In case of turn signal light bulb malfunc-
tion, the turn signal will flash at a higher
frequency when the turn signal switch is
activated.
Both lights flash when the hazard switch is
turned on.
Vehicle Dynamic Control(VDC) OFF indicator light
This indicator light comes on when the
VDC OFF switch is pushed to the OFF posi-
tion, the transfer case is in the 4LO position
(
model), or when the VDC system
is not functioning properly. This indicates
the VDC system is not operating.
Push the VDC OFF switch again or restart
the engine and the system will operate
normally. For additional information, refer
to “Vehicle Dynamic Control (VDC) system”
in the “Starting and driving” section of this
manual.
Instruments and controls2-23
Page 152 of 516
WARNING
Pay special attention to your surround-
ings when using the clutch interlock
switch. The vehicle will move forward or
backward according to the gear
selected.
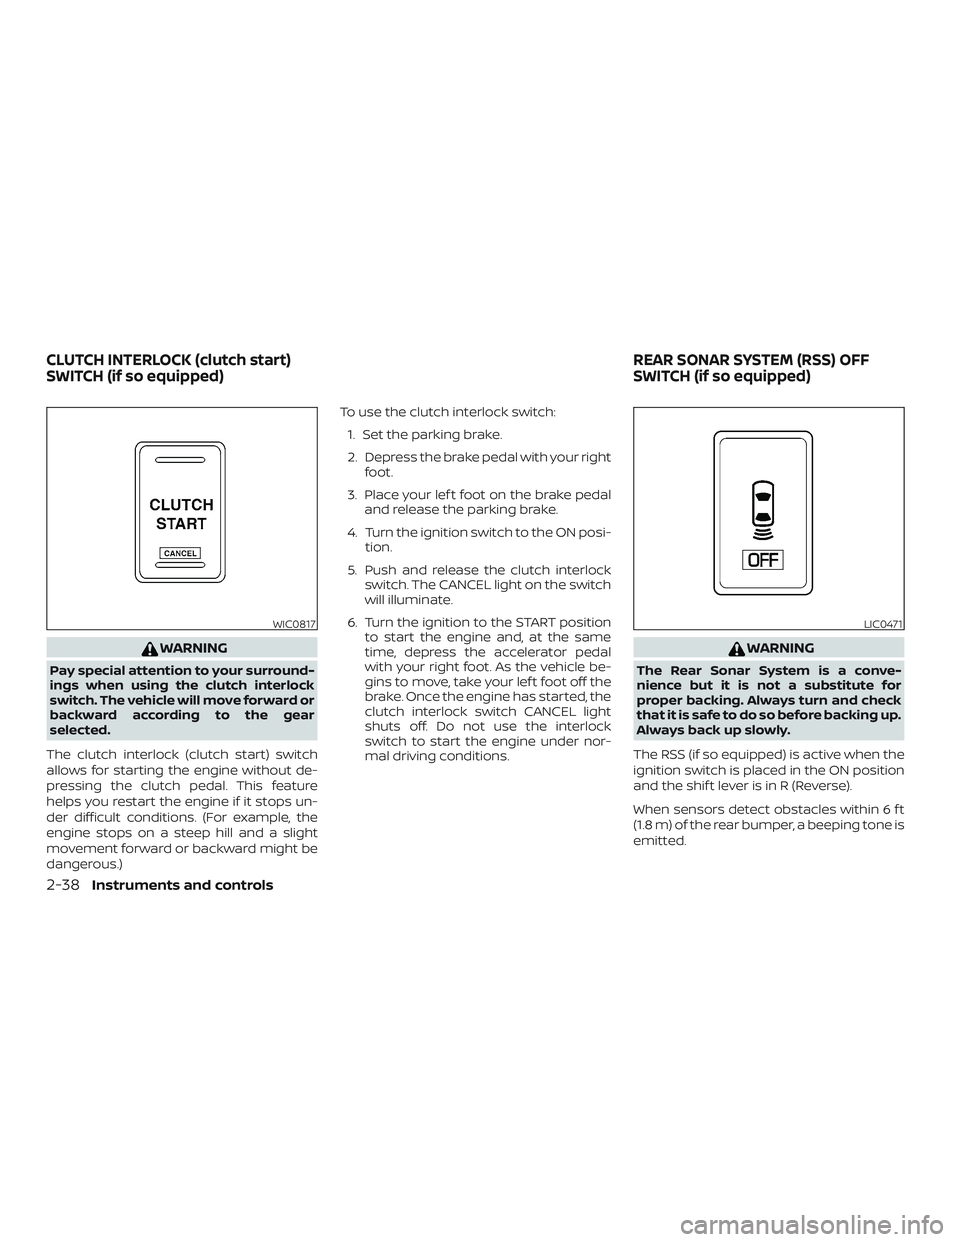
The clutch interlock (clutch start) switch
allows for starting the engine without de-
pressing the clutch pedal. This feature
helps you restart the engine if it stops un-
der difficult conditions. (For example, the
engine stops on a steep hill and a slight
movement forward or backward might be
dangerous.) To use the clutch interlock switch:
1. Set the parking brake.
2. Depress the brake pedal with your right foot.
3. Place your lef t foot on the brake pedal and release the parking brake.
4. Turn the ignition switch to the ON posi- tion.
5. Push and release the clutch interlock switch. The CANCEL light on the switch
will illuminate.
6. Turn the ignition to the START position to start the engine and, at the same
time, depress the accelerator pedal
with your right foot. As the vehicle be-
gins to move, take your lef t foot off the
brake. Once the engine has started, the
clutch interlock switch CANCEL light
shuts off. Do not use the interlock
switch to start the engine under nor-
mal driving conditions.
WARNING
The Rear Sonar System is a conve-
nience but it is not a substitute for
proper backing. Always turn and check
that it is safe to do so before backing up.
Always back up slowly.
The RSS (if so equipped) is active when the
ignition switch is placed in the ON position
and the shif t lever is in R (Reverse).
When sensors detect obstacles within 6 f t
(1.8 m) of the rear bumper, a beeping tone is
emitted.
WIC0817LIC0471
CLUTCH INTERLOCK (clutch start)
SWITCH (if so equipped) REAR SONAR SYSTEM (RSS) OFF
SWITCH (if so equipped)
2-38Instruments and controls
Page 325 of 516
DRIVING SAFETY PRECAUTIONS
Your NISSAN is designed for both normal
and off-road use. However, avoid driving in
deep water or mud as your NISSAN is
mainly designed for leisure use, unlike a
conventional off-road vehicle.
Remember that 2-Wheel Drive models are
less capable than 4–Wheel Drive (4WD)
models for rough road driving and extrica-
tion when stuck in deep snow or mud, or
the like.
Please observe the following precautions:
WARNING
∙ Drive carefully when off the road andavoid dangerous areas. Every person
who drives or rides in this vehicle
should be seated with their seat belt
fastened. This will keep you and your
passengers in position when driving
over rough terrain.
∙ Do not drive across steep slopes. In- stead drive either straight up or
straight down the slopes. Off-road ve-
hicles can tip over sideways much
more easily than they can forward or
backward. ∙ Many hills are too steep for any ve-
hicle. If you drive up them, you may
stall. If you drive down them, you may
not be able to control your speed. If
you drive across them, you may roll
over.
∙ Do not shif t gears while driving on downhill grades as this could cause
loss of control of the vehicle.
∙ Stay alert when driving to the top of a hill. At the top there could be a drop-
off or other hazard that could cause
an accident.
∙ If your engine stalls or you cannot make it to the top of a steep hill, never
attempt to turn around. Your vehicle
could tip or roll over. Always back
straight down in R (Reverse) gear.
Never back down in N (Neutral) or with
the clutch depressed (manual trans-
mission vehicles), using only the
brake, as this could cause loss of
control. ∙ Heavy braking going down a hill could
cause your brakes to overheat and
fade, resulting in loss of control and
an accident. Apply brakes lightly and
use a low gear to control your speed.
Use the hill descent control feature (if
so equipped).
∙ Unsecured cargo can be thrown around when driving over rough ter-
rain. Properly secure all cargo so it will
not be thrown forward and cause in-
jury to you or your passengers.
∙ To avoid raising the center of gravity excessively, do not exceed the rated
capacity of the roof rack (if so
equipped) and evenly distribute the
load. Secure heavy loads in the cargo
area as far forward and as low as pos-
sible. Do not equip the vehicle with
tires larger than specified in this
manual. This could cause your vehicle
to roll over.
∙ Do not grip the inside or spokes of the steering wheel when driving off-road.
The steering wheel could move sud-
denly and injure your hands. Instead
drive with your fingers and thumbs on
the outside of the rim.
Starting and driving5-9