display NISSAN GT-R 2014 R35 Multi Function Display Owners Manual
[x] Cancel search | Manufacturer: NISSAN, Model Year: 2014, Model line: GT-R, Model: NISSAN GT-R 2014 R35Pages: 314, PDF Size: 7.33 MB
Page 242 of 314
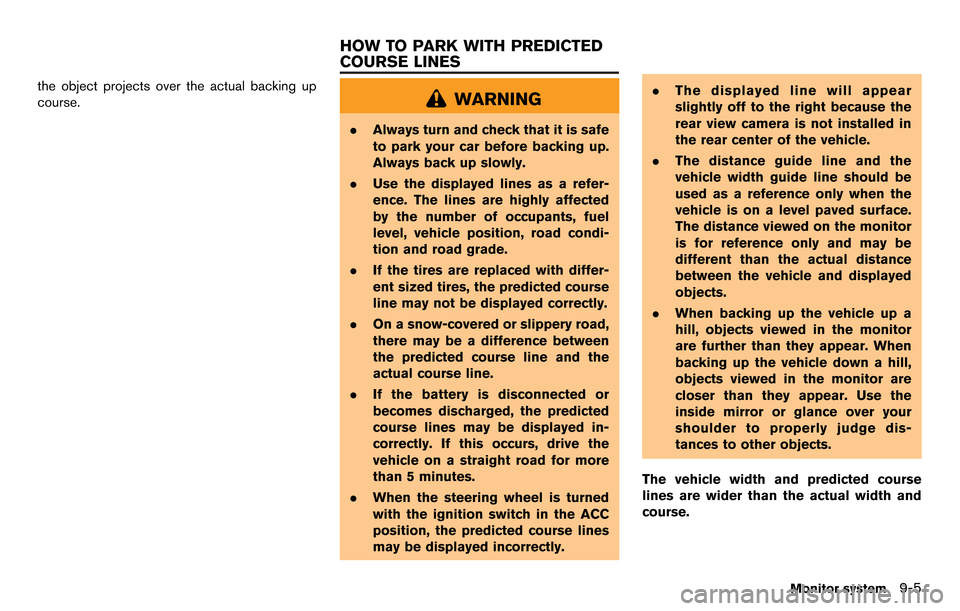
the object projects over the actual backing up
course.WARNING
.Always turn and check that it is safe
to park your car before backing up.
Always back up slowly.
. Use the displayed lines as a refer-
ence. The lines are highly affected
by the number of occupants, fuel
level, vehicle position, road condi-
tion and road grade.
. If the tires are replaced with differ-
ent sized tires, the predicted course
line may not be displayed correctly.
. On a snow-covered or slippery road,
there may be a difference between
the predicted course line and the
actual course line.
. If the battery is disconnected or
becomes discharged, the predicted
course lines may be displayed in-
correctly. If this occurs, drive the
vehicle on a straight road for more
than 5 minutes.
. When the steering wheel is turned
with the ignition switch in the ACC
position, the predicted course lines
may be displayed incorrectly. .
The displayed line will appear
slightly off to the right because the
rear view camera is not installed in
the rear center of the vehicle.
. The distance guide line and the
vehicle width guide line should be
used as a reference only when the
vehicle is on a level paved surface.
The distance viewed on the monitor
is for reference only and may be
different than the actual distance
between the vehicle and displayed
objects.
. When backing up the vehicle up a
hill, objects viewed in the monitor
are further than they appear. When
backing up the vehicle down a hill,
objects viewed in the monitor are
closer than they appear. Use the
inside mirror or glance over your
shoulder to properly judge dis-
tances to other objects.
The vehicle width and predicted course
lines are wider than the actual width and
course.
Monitor system9-5
HOW TO PARK WITH PREDICTED
COURSE LINES
Page 243 of 314
9-6Monitor system
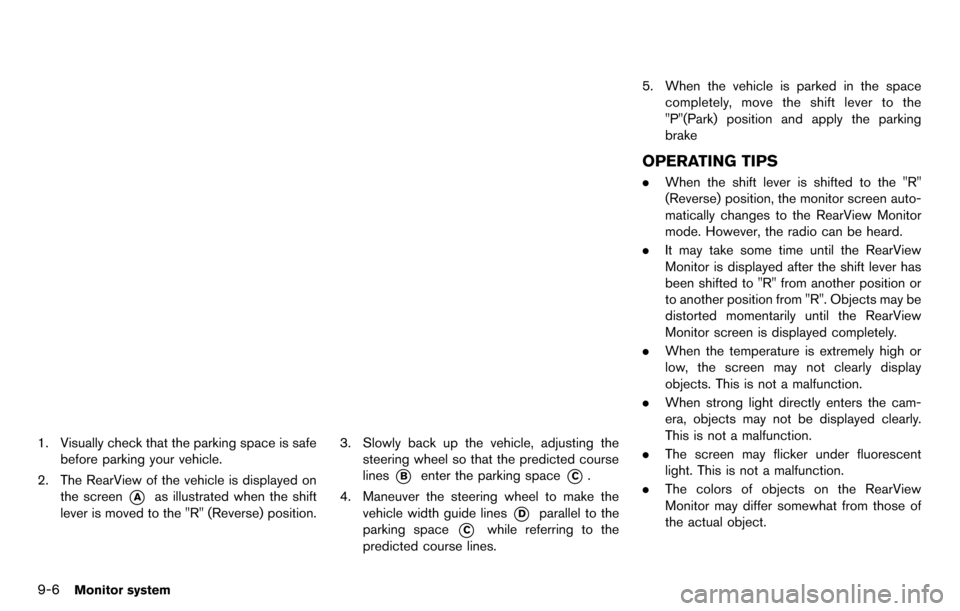
1. Visually check that the parking space is safebefore parking your vehicle.
2. The RearView of the vehicle is displayed on the screen
*Aas illustrated when the shift
lever is moved to the "R" (Reverse) position.
3. Slowly back up the vehicle, adjusting the steering wheel so that the predicted course
lines
*Benter the parking space*C.
4. Maneuver the steering wheel to make the vehicle width guide lines
*Dparallel to the
parking space
*Cwhile referring to the
predicted course lines. 5. When the vehicle is parked in the space
completely, move the shift lever to the
"P"(Park) position and apply the parking
brake
OPERATING TIPS
.When the shift lever is shifted to the "R"
(Reverse) position, the monitor screen auto-
matically changes to the RearView Monitor
mode. However, the radio can be heard.
. It may take some time until the RearView
Monitor is displayed after the shift lever has
been shifted to "R" from another position or
to another position from "R". Objects may be
distorted momentarily until the RearView
Monitor screen is displayed completely.
. When the temperature is extremely high or
low, the screen may not clearly display
objects. This is not a malfunction.
. When strong light directly enters the cam-
era, objects may not be displayed clearly.
This is not a malfunction.
. The screen may flicker under fluorescent
light. This is not a malfunction.
. The colors of objects on the RearView
Monitor may differ somewhat from those of
the actual object.
Page 244 of 314
.Objects on the monitor may not be clear in a
dark place or at night. This is not a
malfunction.
. If dirt, rain or snow attaches to the camera,
the RearView Monitor may not clearly dis-
play objects. Clean the camera.
. Do not use alcohol, benzine or thinner to
clean the camera. This will cause discolora-
tion. To clean the camera, wipe with a cloth
dampened with diluted mild cleaning agent
and then wipe with a dry cloth.
. Do not damage the camera as the monitor
screen may be adversely affected.
. Do not use wax on the camera window.
Wipe off any wax with a clean cloth
dampened with mild detergent diluted with
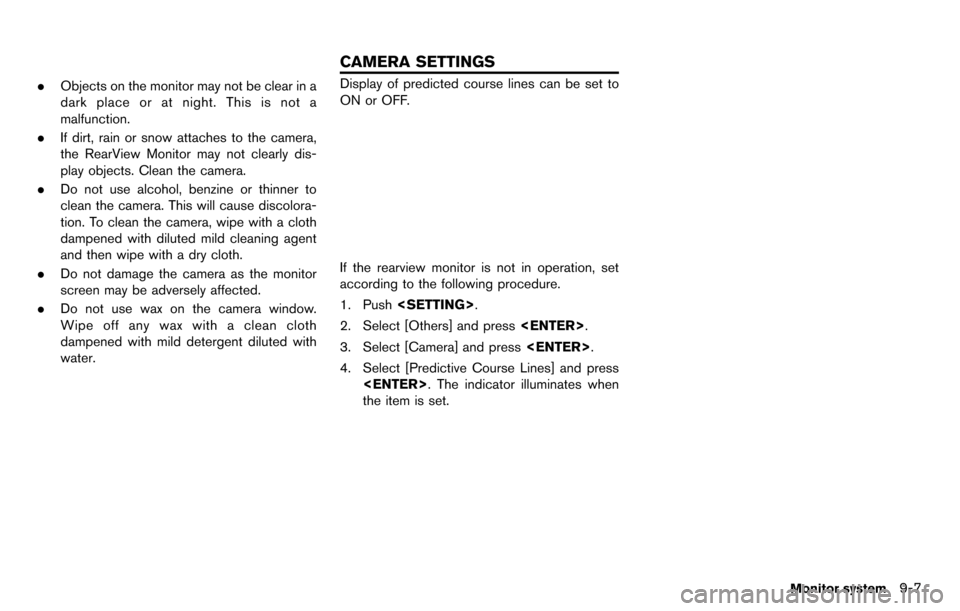
water.Display of predicted course lines can be set to
ON or OFF.
If the rearview monitor is not in operation, set
according to the following procedure.
1. Push
2. Select [Others] and press
3. Select [Camera] and press
4. Select [Predictive Course Lines] and press
the item is set.
Monitor system9-7
CAMERA SETTINGS
Page 247 of 314
10-2Multi function meter
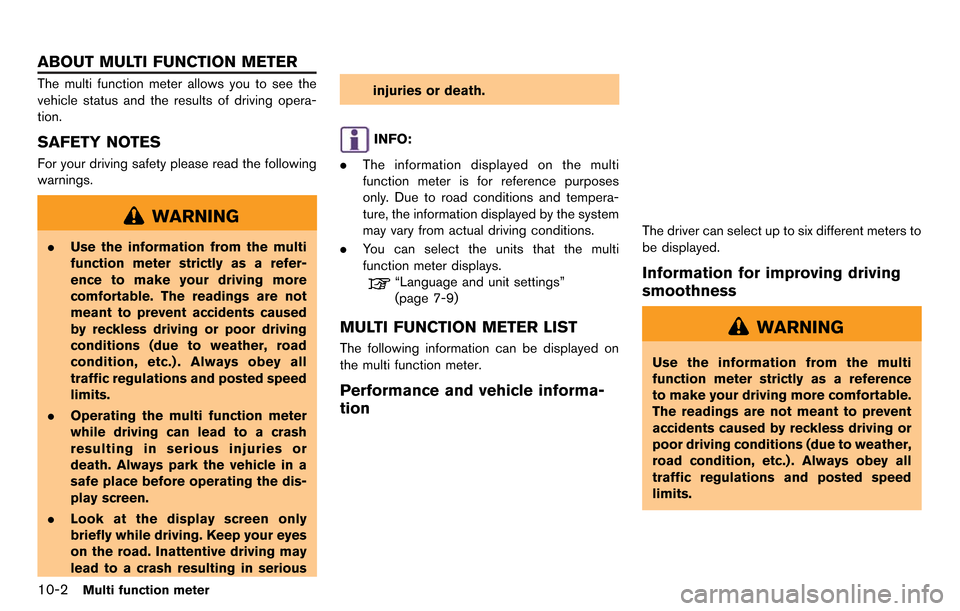
The multi function meter allows you to see the
vehicle status and the results of driving opera-
tion.
SAFETY NOTES
For your driving safety please read the following
warnings.
WARNING
.Use the information from the multi
function meter strictly as a refer-
ence to make your driving more
comfortable. The readings are not
meant to prevent accidents caused
by reckless driving or poor driving
conditions (due to weather, road
condition, etc.) . Always obey all
traffic regulations and posted speed
limits.
. Operating the multi function meter
while driving can lead to a crash
resulting in serious injuries or
death. Always park the vehicle in a
safe place before operating the dis-
play screen.
. Look at the display screen only
briefly while driving. Keep your eyes
on the road. Inattentive driving may
lead to a crash resulting in serious injuries or death.
INFO:
. The information displayed on the multi
function meter is for reference purposes
only. Due to road conditions and tempera-
ture, the information displayed by the system
may vary from actual driving conditions.
. You can select the units that the multi
function meter displays.
“Language and unit settings”
(page 7-9)
MULTI FUNCTION METER LIST
The following information can be displayed on
the multi function meter.
Performance and vehicle informa-
tion
The driver can select up to six different meters to
be displayed.
Information for improving driving
smoothness
WARNING
Use the information from the multi
function meter strictly as a reference
to make your driving more comfortable.
The readings are not meant to prevent
accidents caused by reckless driving or
poor driving conditions (due to weather,
road condition, etc.) . Always obey all
traffic regulations and posted speed
limits.
ABOUT MULTI FUNCTION METER
Page 248 of 314
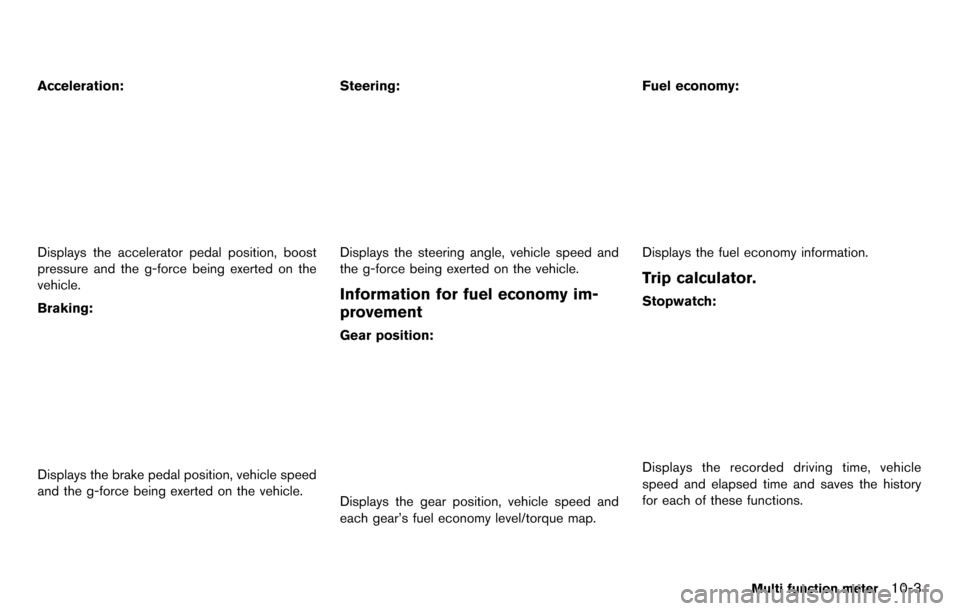
Acceleration:
Displays the accelerator pedal position, boost
pressure and the g-force being exerted on the
vehicle.
Braking:
Displays the brake pedal position, vehicle speed
and the g-force being exerted on the vehicle.Steering:
Displays the steering angle, vehicle speed and
the g-force being exerted on the vehicle.
Information for fuel economy im-
provement
Gear position:
Displays the gear position, vehicle speed and
each gear’s fuel economy level/torque map.Fuel economy:
Displays the fuel economy information.
Trip calculator.
Stopwatch:
Displays the recorded driving time, vehicle
speed and elapsed time and saves the history
for each of these functions.
Multi function meter10-3
Page 249 of 314
10-4Multi function meter
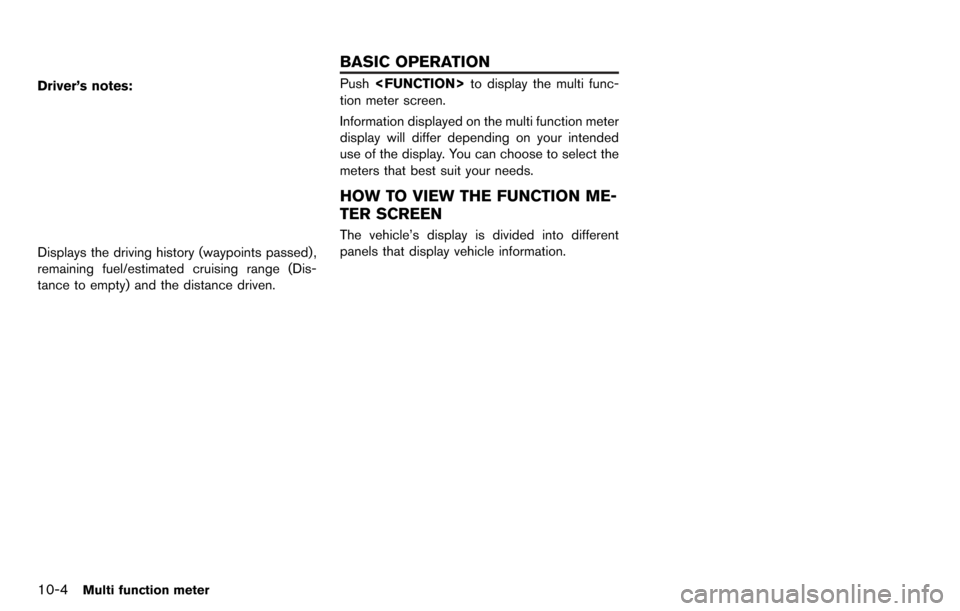
Driver’s notes:
Displays the driving history (waypoints passed) ,
remaining fuel/estimated cruising range (Dis-
tance to empty) and the distance driven.
Push
tion meter screen.
Information displayed on the multi function meter
display will differ depending on your intended
use of the display. You can choose to select the
meters that best suit your needs.
HOW TO VIEW THE FUNCTION ME-
TER SCREEN
The vehicle’s display is divided into different
panels that display vehicle information.
BASIC OPERATION
Page 250 of 314
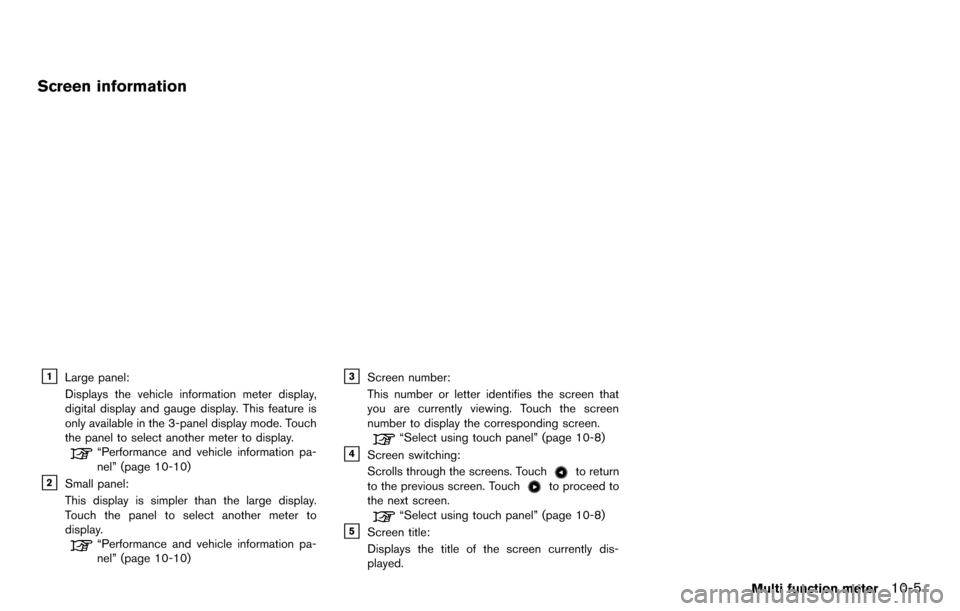
Screen information
&1Large panel:
Displays the vehicle information meter display,
digital display and gauge display. This feature is
only available in the 3-panel display mode. Touch
the panel to select another meter to display.
“Performance and vehicle information pa-
nel” (page 10-10)
&2Small panel:
This display is simpler than the large display.
Touch the panel to select another meter to
display.
“Performance and vehicle information pa-
nel” (page 10-10)
&3Screen number:
This number or letter identifies the screen that
you are currently viewing. Touch the screen
number to display the corresponding screen.
“Select using touch panel” (page 10-8)
&4Screen switching:
Scrolls through the screens. Touch
to return
to the previous screen. Touchto proceed to
the next screen.
“Select using touch panel” (page 10-8)
&5Screen title:
Displays the title of the screen currently dis-
played.
Multi function meter10-5
Page 251 of 314
10-6Multi function meter
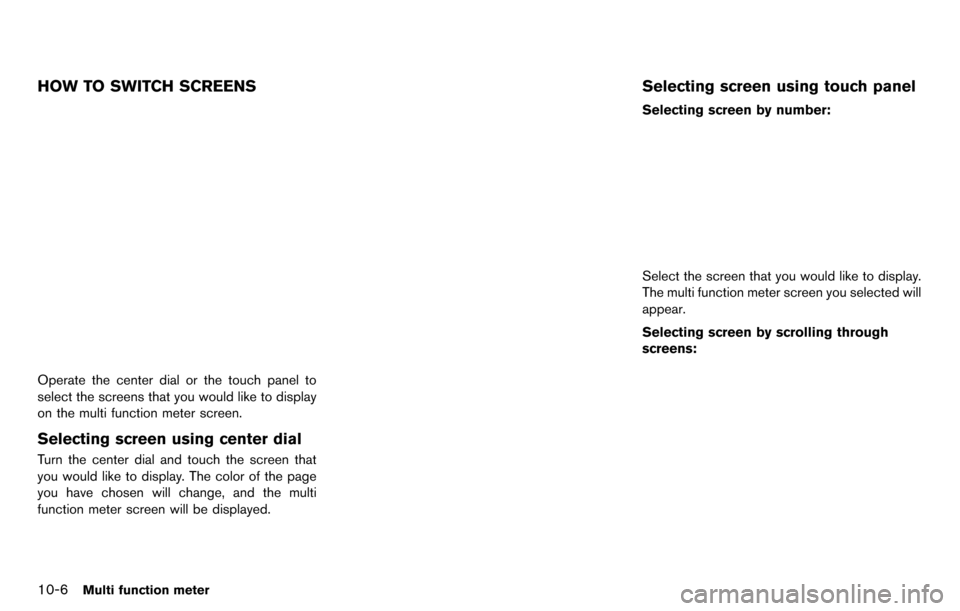
HOW TO SWITCH SCREENS
Operate the center dial or the touch panel to
select the screens that you would like to display
on the multi function meter screen.
Selecting screen using center dial
Turn the center dial and touch the screen that
you would like to display. The color of the page
you have chosen will change, and the multi
function meter screen will be displayed.
Selecting screen using touch panel
Selecting screen by number:
Select the screen that you would like to display.
The multi function meter screen you selected will
appear.
Selecting screen by scrolling through
screens:
Page 252 of 314
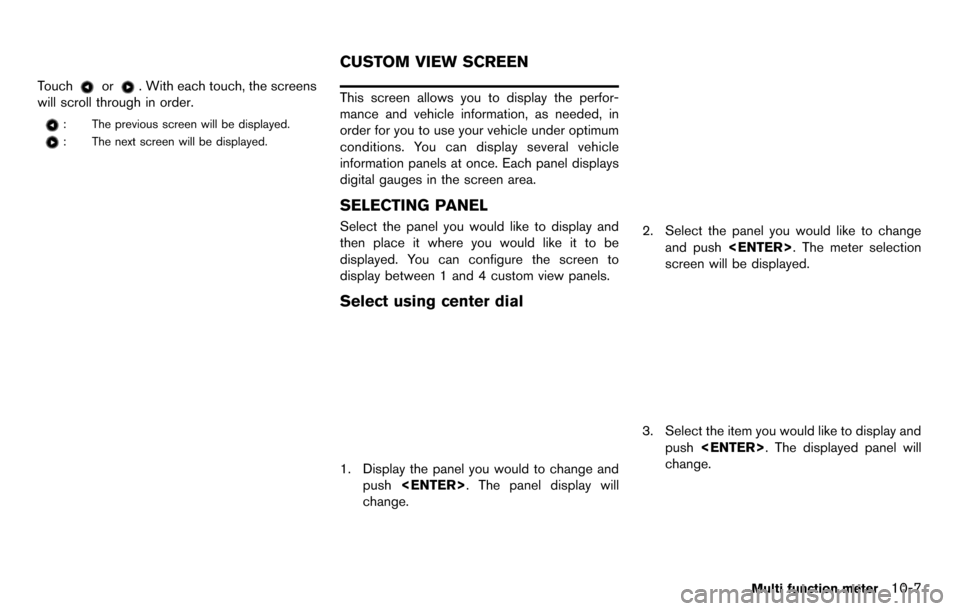
Touchor. With each touch, the screens
will scroll through in order.
: The previous screen will be displayed.
: The next screen will be displayed.
This screen allows you to display the perfor-
mance and vehicle information, as needed, in
order for you to use your vehicle under optimum
conditions. You can display several vehicle
information panels at once. Each panel displays
digital gauges in the screen area.
SELECTING PANEL
Select the panel you would like to display and
then place it where you would like it to be
displayed. You can configure the screen to
display between 1 and 4 custom view panels.
Select using center dial
1. Display the panel you would to change and push
change.
2. Select the panel you would like to change and push
screen will be displayed.
3. Select the item you would like to display and
push
change.
Multi function meter10-7
CUSTOM VIEW SCREEN
Page 253 of 314
10-8Multi function meter
Select using touch panel
1. Touch the screen number you would like tochange.
2. Touch the panel you would like to change.The meter selection screen will be dis-
played.
3. Touch the item you would like to display. The
displayed panel will change.
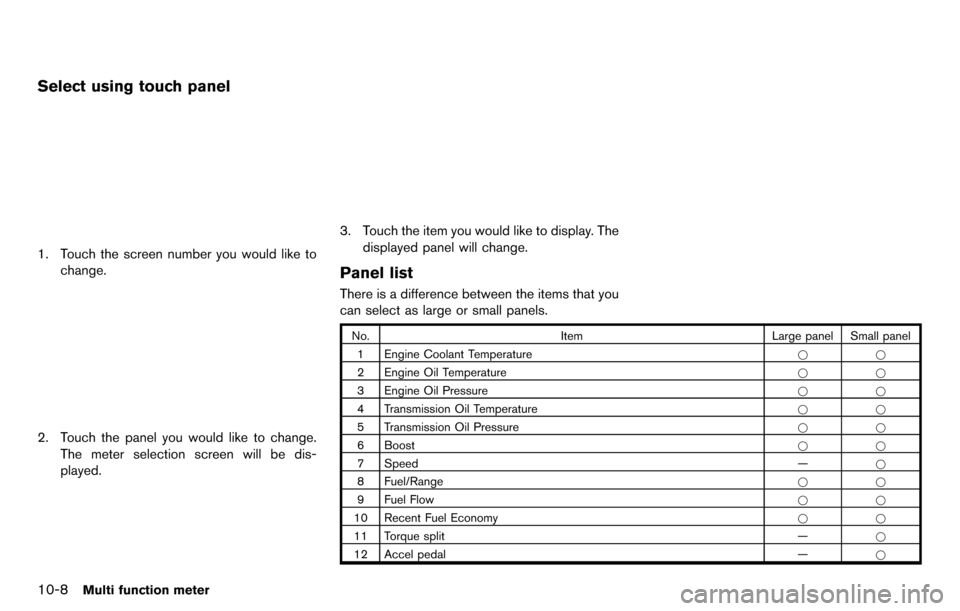
Panel list
There is a difference between the items that you
can select as large or small panels.
No. Item Large panel Small panel
1 Engine Coolant Temperature **
2 Engine Oil Temperature **
3 Engine Oil Pressure **
4 Transmission Oil Temperature **
5 Transmission Oil Pressure **
6 Boost **
7 Speed —*
8 Fuel/Range **
9 Fuel Flow **
10 Recent Fuel Economy **
11 Torque split —*
12 Accel pedal —*