steering NISSAN GT-R 2014 R35 Multi Function Display Owners Manual
[x] Cancel search | Manufacturer: NISSAN, Model Year: 2014, Model line: GT-R, Model: NISSAN GT-R 2014 R35Pages: 314, PDF Size: 7.33 MB
Page 10 of 314
1 About Multi function display system
Features of multi function display system ........................... 1-2Navigation system ................................................................ 1-2
Multi function meter ............................................................. 1-2
Control buttons and functions ................................................ 1-6 Control panel ........................................................................\
1-6
Digital media slots ............................................................... 1-9
Steering switch.................................................................. 1-10
Start-up screen ....................................................................... 1-11 Basic operation....................................................................... 1-12
Menu screen and how to operate .............................. 1-12
List screen ........................................................................\
1-14
Touch panel operation .......................................................... 1-15 Example of touch panel operation .............................. 1-15
How to input letters and numbers ..................................... 1-16
Character (letters and numbers) input screen ........ 1-16
Number input screen ..................................................... 1-17
Page 12 of 314
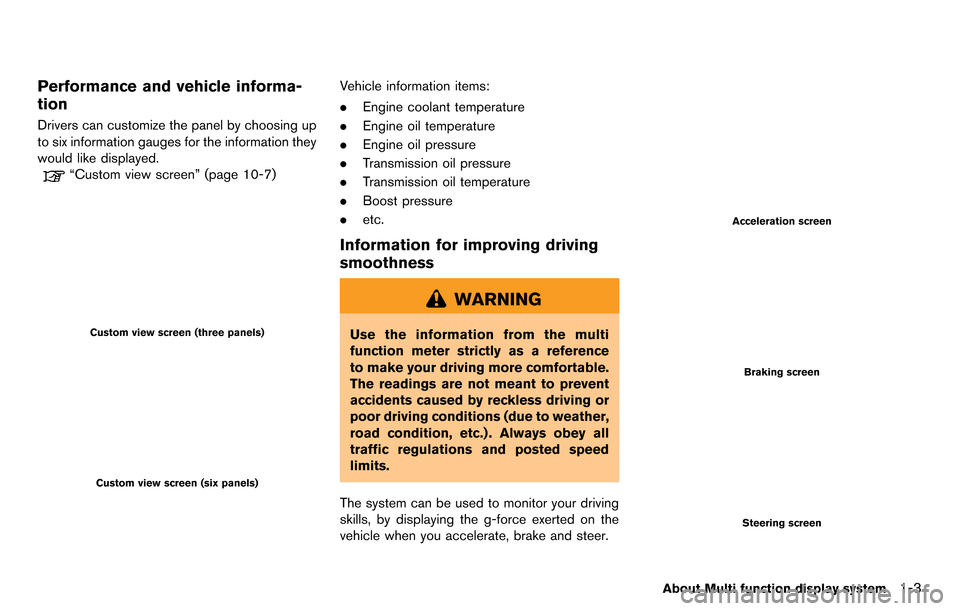
Performance and vehicle informa-
tion
Drivers can customize the panel by choosing up
to six information gauges for the information they
would like displayed.
“Custom view screen” (page 10-7)
Custom view screen (three panels)
Custom view screen (six panels)
Vehicle information items:
.Engine coolant temperature
. Engine oil temperature
. Engine oil pressure
. Transmission oil pressure
. Transmission oil temperature
. Boost pressure
. etc.
Information for improving driving
smoothness
WARNING
Use the information from the multi
function meter strictly as a reference
to make your driving more comfortable.
The readings are not meant to prevent
accidents caused by reckless driving or
poor driving conditions (due to weather,
road condition, etc.) . Always obey all
traffic regulations and posted speed
limits.
The system can be used to monitor your driving
skills, by displaying the g-force exerted on the
vehicle when you accelerate, brake and steer.
Acceleration screen
Braking screen
Steering screen
About Multi function display system1-3
Page 13 of 314
1-4About Multi function display system
Vehicle information items:
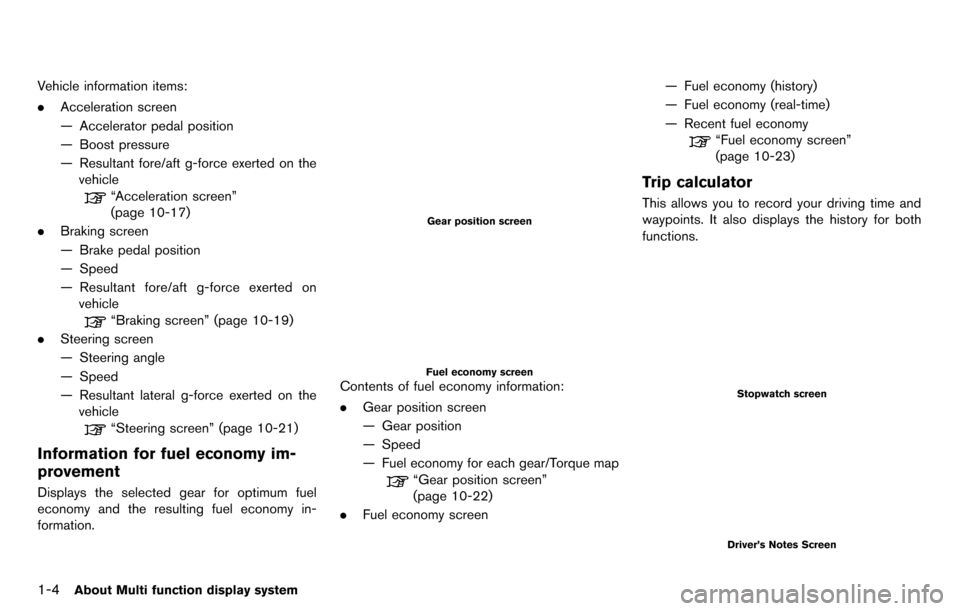
.Acceleration screen
— Accelerator pedal position
— Boost pressure
— Resultant fore/aft g-force exerted on the
vehicle
“Acceleration screen”
(page 10-17)
. Braking screen
— Brake pedal position
— Speed
— Resultant fore/aft g-force exerted on
vehicle
“Braking screen” (page 10-19)
. Steering screen
— Steering angle
— Speed
— Resultant lateral g-force exerted on the
vehicle
“Steering screen” (page 10-21)
Information for fuel economy im-
provement
Displays the selected gear for optimum fuel
economy and the resulting fuel economy in-
formation.
Gear position screen
Fuel economy screenContents of fuel economy information:
. Gear position screen
— Gear position
— Speed
— Fuel economy for each gear/Torque map
“Gear position screen”
(page 10-22)
. Fuel economy screen — Fuel economy (history)
— Fuel economy (real-time)
— Recent fuel economy
“Fuel economy screen”
(page 10-23)
Trip calculator
This allows you to record your driving time and
waypoints. It also displays the history for both
functions.
Stopwatch screen
Driver’s Notes Screen
Page 19 of 314
1-10About Multi function display system
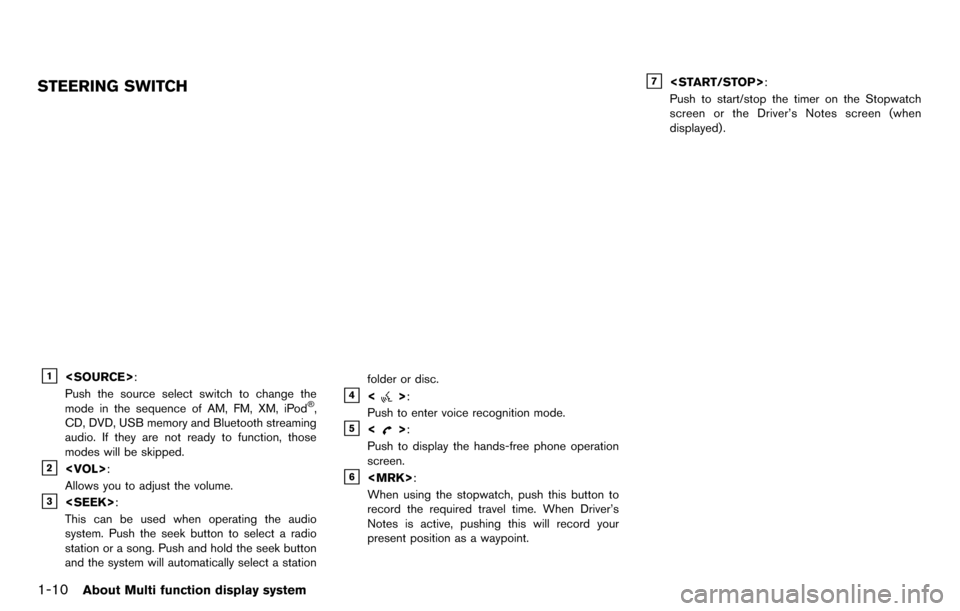
STEERING SWITCH
&1
Push the source select switch to change the
mode in the sequence of AM, FM, XM, iPod
®,
CD, DVD, USB memory and Bluetooth streaming
audio. If they are not ready to function, those
modes will be skipped.
&2
Allows you to adjust the volume.
&3
This can be used when operating the audio
system. Push the seek button to select a radio
station or a song. Push and hold the seek button
and the system will automatically select a station folder or disc.
&4<>:
Push to enter voice recognition mode.
&5<>:
Push to display the hands-free phone operation
screen.
&6
When using the stopwatch, push this button to
record the required travel time. When Driver’s
Notes is active, pushing this will record your
present position as a waypoint.
&7
Push to start/stop the timer on the Stopwatch
screen or the Driver’s Notes screen (when
displayed) .
Page 22 of 314
Using controls to adjust values, levels, etc.
There are three main methods you can use to
control the navigation system: the center dial or
the touch panel. Use these controls to adjust the
volume of phone and voice guidance, the display
brightness, etc.
How to adjust:
1. Highlight the preferred setting item andpush
sponding adjustment item changes. 2. Use the center dial or the touch panel, and
the value or bar indicating levels increases
or decreases accordingly.
3. Push
setting.
INFO:
. You can also adjust the volume of phone and
voice guidance, etc. by tilting the steering
switch up and down.
. This same adjustment can also be made by
the touch panel operation.
“List screen” (page 1-14)
About Multi function display system1-13
Page 37 of 314
![NISSAN GT-R 2014 R35 Multi Function Display Owners Manual 2-10Navigation
Operating with touch panel opera-
tion
1. Touch [].
The scale is displayed.
2. Touch [ZOOM IN] or [ZOOM OUT] to change the scale.
INFO:
Free zoom:
Once the [Small Step Zoom by Dial] is NISSAN GT-R 2014 R35 Multi Function Display Owners Manual 2-10Navigation
Operating with touch panel opera-
tion
1. Touch [].
The scale is displayed.
2. Touch [ZOOM IN] or [ZOOM OUT] to change the scale.
INFO:
Free zoom:
Once the [Small Step Zoom by Dial] is](/img/5/367/w960_367-36.png)
2-10Navigation
Operating with touch panel opera-
tion
1. Touch [].
The scale is displayed.
2. Touch [ZOOM IN] or [ZOOM OUT] to change the scale.
INFO:
Free zoom:
Once the [Small Step Zoom by Dial] is set to ON
in the setting screen, the scale can be changed
in smaller steps when [ZOOM IN] or [ZOOM
OUT] is pushed and held than when either
button is briefly pushed.
If briefly pushed, the operation returns to normal.
Setting by voice command
1. Push <
>located on the steering wheel.
2. After the tone sounds, speak a command.
To change the map scale:
“Zoom In <1 to 14>” (Alternate Command
Mode)
“Zoom Out <1 to 14>” (Alternate Command
Mode)
Map scale
Any required map scale (map coverage) be-
tween 320 miles (640 km) and 1/64 of a mile
(25 m) can be selected.
Scale level for 2D map and Birdview
TMmap
(3D) display:
Normal Map US Units Metric Units
320 miles 640 km
80 miles 160 km
32 miles 64 km8 miles 16 km
5 miles 10 km
2 miles 4 km
1 mile 2 km
1/2 mile 1 km
1/4 mile 500 m
1/8 mile 200 m
1/16 mile 100 m
1/32 mile 50 m
Shows build- ing footprint graphics 1/32 mile 50 m
1/64 mile 25 m
Page 40 of 314
5. Highlight the preferred item and push
Setting by voice command
1. Push <
>located on the steering wheel.
2. After the tone sounds, speak a command.
. To display the 2D map:
“Plan View map” (Alternate Command
Mode)
. To display the Birdview
TMmap:
“Birdview map” (Alternate Command Mode)
MAP VIEW SETTINGS
Other settings are also available for the map
screen, such as changing the map direction,
map color, Birdview
TMangle, etc.
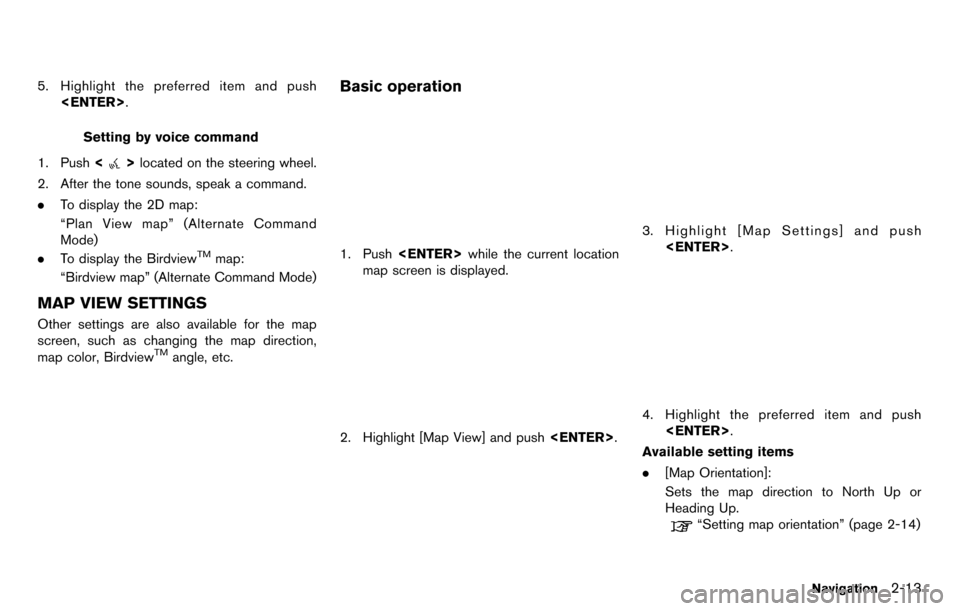
Basic operation
1. Push
map screen is displayed.
2. Highlight [Map View] and push
3. Highlight [Map Settings] and push
4. Highlight the preferred item and push
Available setting items
. [Map Orientation]:
Sets the map direction to North Up or
Heading Up.
“Setting map orientation” (page 2-14)
Navigation2-13
Page 42 of 314
INFO:
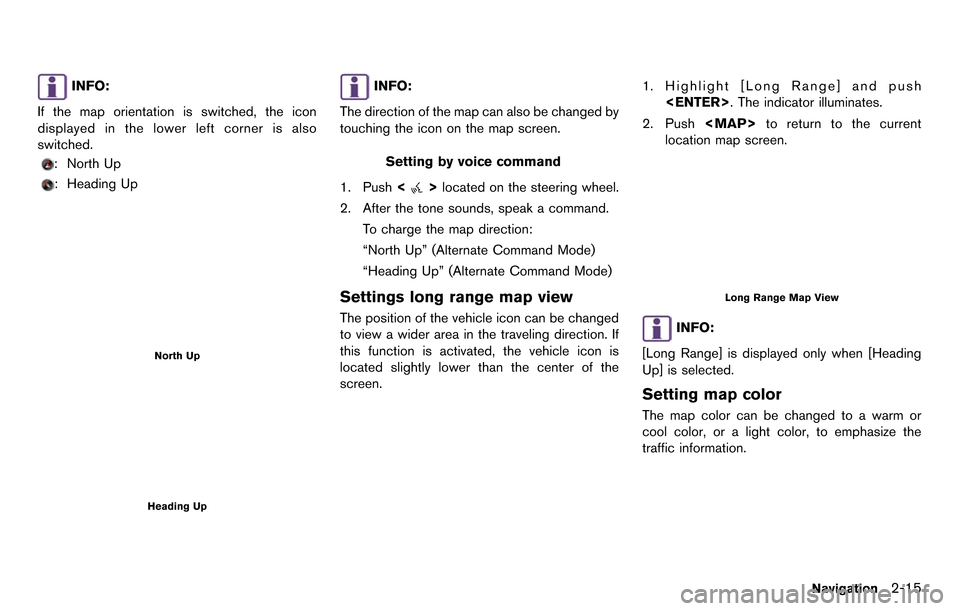
If the map orientation is switched, the icon
displayed in the lower left corner is also
switched.
: North Up
: Heading Up
North Up
Heading Up
INFO:
The direction of the map can also be changed by
touching the icon on the map screen.
Setting by voice command
1. Push <
>located on the steering wheel.
2. After the tone sounds, speak a command.
To charge the map direction:
“North Up” (Alternate Command Mode)
“Heading Up” (Alternate Command Mode)
Settings long range map view
The position of the vehicle icon can be changed
to view a wider area in the traveling direction. If
this function is activated, the vehicle icon is
located slightly lower than the center of the
screen.
1. Highlight [Long Range] and push
2. Push
Page 54 of 314
INFO:
Even after setting a destination, the location
of the destination can be adjusted, the route
can be stored, etc.
“Procedures after setting destination”
(page 2-44)
Setting by voice command
1. Push <
>located on the steering wheel.
2. After the tone sounds, speak a command.
To set the destination from a street address:
“Navigation” “Address” (Standard Mode)
“Address” (Alternate Command Mode)
INFO:
When using a voice command to set a street
name, it is recommended that the complete
street name is stated.
Examples: Correct input - North Elm Street East Jefferson Boulevard
Incorrect input - Elm Street East Jefferson
FINDING PLACE
There are 3 methods that can be used to set the
destination to places of interest: typing the
name, choosing a category or selecting a
ZAGAT reviewed location. To help improve
searching, different start points can be chosen
to search from such as near current location,
near the destination or city center.
Finding nearby place
1. Push
2. Highlight [Places] and push
3. Highlight the preferred nearby category from
the list and push
A list screen is displayed.
INFO:
Highlight [Customize Nearby Places] to
customize the nearby places list to show
categories that are frequently used.
4. Highlight the preferred destination from the list, and push
the selected location is displayed in the
preview on the right side of the screen.
Navigation2-27
Page 55 of 314
2-28Navigation
INFO:
.A maximum of 100 facilities can bedisplayed on the list screen.
.If the suggested route is already set, the system displays the facilities located
along the route. To display all the icons,
deactivate [Show Along Route].
5. The entire route is shown on the map. Highlight [Start] after confirming the location
of the displayed destination, and push
to the selected location and starts calculat-
ing a route.
INFO:
If there is a route already set, the newly selected
location can substitute a previously set destina-
tion or can be added to a route already set.
Other settings:
The destination can also be set by pushing
map screen and selecting [Nearby Places].
Setting by voice command
1. Push <
>located on the steering wheel.
2. After the tone sounds, speak a command.
To display the nearby category list and select the
destination from it:
“Navigation” “Places” (Standard Mode)
“Places” (Alternate Command Mode)
Searching by other methods
1. Push
2. Highlight [Places] and push
3. Highlight [All Categories or Name] and push