phone NISSAN GT-R 2015 R35 Multi Function Display User Guide
[x] Cancel search | Manufacturer: NISSAN, Model Year: 2015, Model line: GT-R, Model: NISSAN GT-R 2015 R35Pages: 298, PDF Size: 11.39 MB
Page 49 of 298
2-24Navigation
.Home:
Searches for a route from the current
location to the previously stored home
destination.
. Address Book:
Searches for a destination from the list of the
stored locations.
. Previous Destinations:
Searches for a destination from the previous
destinations.
. Delete Destination:
Deletes the currently set destination.
Available setting items (next page screen)
. Previous Start Point:
Sets the previous starting point as the
destination.
. Stored Routes:
Selects a stored route.
. Phone Number:
Searches for a point of interest by a
telephone number.INFO:
The system cannot search for a location using
residential phone numbers.
. Freeway Entrance/Exit:
Searches for a destination from a freeway
entrance/exit.
. Intersection:
Searches for a destination from intersec-
tions.
. City Center:
Sets the center of a city as the destination.
Changing region
When setting a destination, the location can be
narrowed down by specifying the region or city.
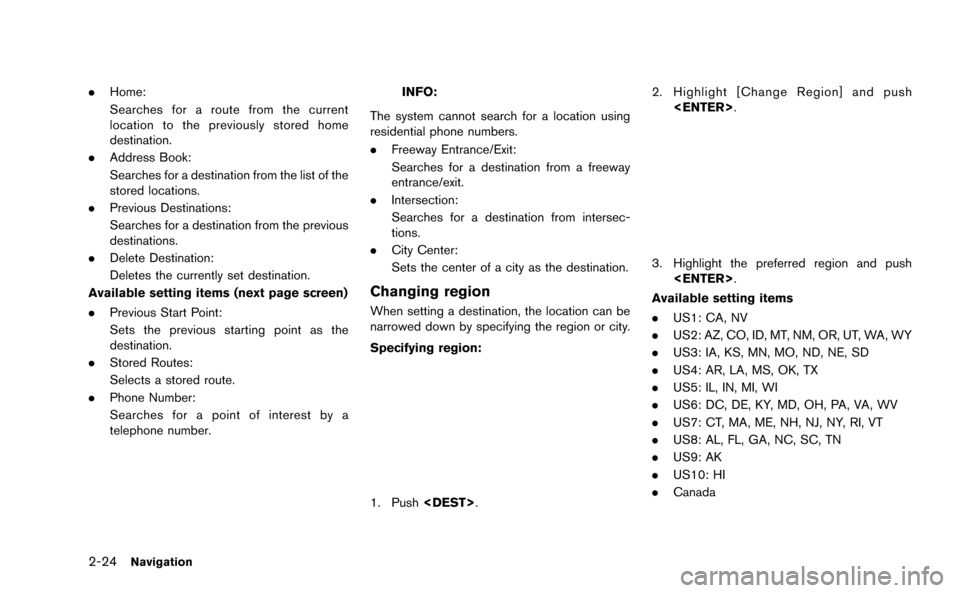
Specifying region:
1. Push
3. Highlight the preferred region and push
Available setting items
. US1: CA, NV
. US2: AZ, CO, ID, MT, NM, OR, UT, WA, WY
. US3: IA, KS, MN, MO, ND, NE, SD
. US4: AR, LA, MS, OK, TX
. US5: IL, IN, MI, WI
. US6: DC, DE, KY, MD, OH, PA, VA, WV
. US7: CT, MA, ME, NH, NJ, NY, RI, VT
. US8: AL, FL, GA, NC, SC, TN
. US9: AK
. US10: HI
. Canada
Page 62 of 298
![NISSAN GT-R 2015 R35 Multi Function Display User Guide 5. The entire route is shown on the map.Highlight [Start] after confirming the location
of the displayed destination, and push
<ENTER>. The system sets the destination
to the selected location and sta NISSAN GT-R 2015 R35 Multi Function Display User Guide 5. The entire route is shown on the map.Highlight [Start] after confirming the location
of the displayed destination, and push
<ENTER>. The system sets the destination
to the selected location and sta](/img/5/423/w960_423-61.png)
5. The entire route is shown on the map.Highlight [Start] after confirming the location
of the displayed destination, and push
to the selected location and starts calculat-
ing a route.
INFO:
. Even after setting a destination, the location
of the destination can be adjusted, the
location can be stored, etc.
“Procedures after setting destination”
(page 2-44)
. The stored route includes only locations
(destination and waypoints) and route cal-
culation conditions, not the route itself.
Therefore, when the destination is set using
a stored route, a different route may be
suggested if the current vehicle location is
different from the one when the route was stored.
SETTING BY PHONE NUMBER
If the phone number of a facility is known, it is
possible to search for a facility by entering the
phone number, and have the system calculate a
route.
INFO:
. Telephone numbers that were stored for
stored destinations can also be used.
. If the area code of the specified telephone
number does not exist in the map data, the
system cannot search for the location.
. Only the locations included in the database
in the map data can be searched by the
phone number. Residential phone numbers
cannot be used to search for a location.
1. Push
2. Highlight [Next Page] and push
3. Highlight [Phone Number] and push
screen is displayed.
4. Enter the telephone number including thearea code.
5. After finishing the entry, highlight [List] and push
“Number input screen” (page 1-15)
Navigation2-37
Page 72 of 298
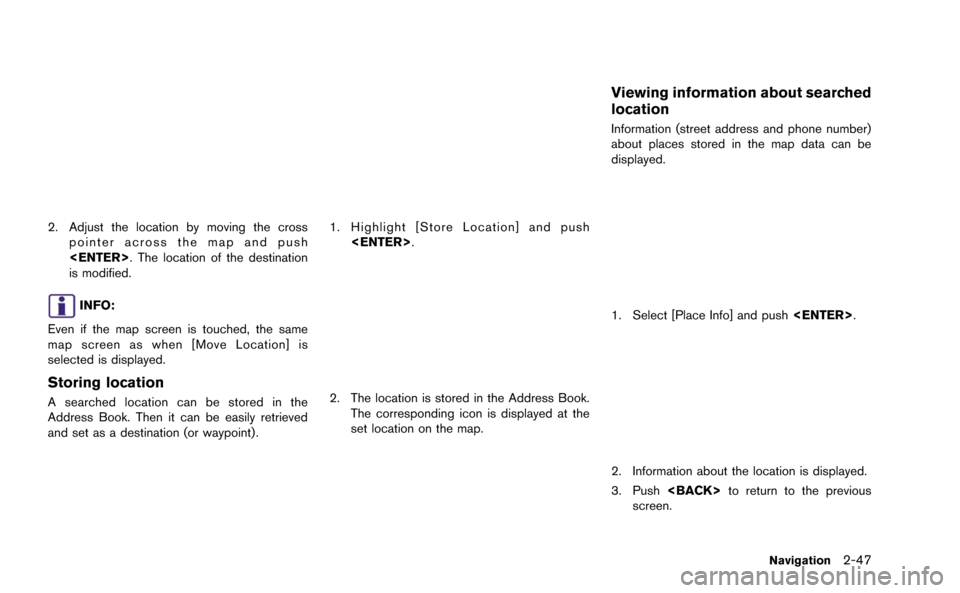
2. Adjust the location by moving the crosspointer across the map and push
is modified.
INFO:
Even if the map screen is touched, the same
map screen as when [Move Location] is
selected is displayed.
Storing location
A searched location can be stored in the
Address Book. Then it can be easily retrieved
and set as a destination (or waypoint).
1. Highlight [Store Location] and push
2. The location is stored in the Address Book.The corresponding icon is displayed at the
set location on the map.
Viewing information about searched
location
Information (street address and phone number)
about places stored in the map data can be
displayed.
1. Select [Place Info] and push
2. Information about the location is displayed.
3. Push
screen.
Navigation2-47
Page 73 of 298
![NISSAN GT-R 2015 R35 Multi Function Display User Guide 2-48Navigation
INFO:
. If [Call] is displayed on the right side of the
screen, it is possible to call the location
indicated.
. The Bluetooth
®Hands-Free Phone system
is required to be active and the NISSAN GT-R 2015 R35 Multi Function Display User Guide 2-48Navigation
INFO:
. If [Call] is displayed on the right side of the
screen, it is possible to call the location
indicated.
. The Bluetooth
®Hands-Free Phone system
is required to be active and the](/img/5/423/w960_423-72.png)
2-48Navigation
INFO:
. If [Call] is displayed on the right side of the
screen, it is possible to call the location
indicated.
. The Bluetooth
®Hands-Free Phone system
is required to be active and the cellular
phone connected to call the location in-
dicated.
. Information about locations is not displayed
while driving.
ABOUT ROUTE GUIDANCE
After setting the route, select [Start] to begin
route guidance.
Throughout route guidance, the system navi-
gates you through the guide points using visual
and voice guidance.
CAUTION
.The navigation system’s visual and
voice guidance is for reference pur-
poses only. The contents of the
guidance may be inappropriate de-
pending on the situation.
. Follow all traffic regulations when
driving along the suggested route
(e.g., one-way traffic) .
“Route guidance” (page 11-8)
Voice guidance during route gui-
dance
When approaching a guide point (intersection or
corner) , destination, etc. during route guidance,
voice guidance announces the remaining dis-
tance and/or turning direction. Push
Example of voice guidance:
*1“In about one quarter mile (400 meters) , right
(left) turn.” “Right (left) turn ahead.”*2“In about one quarter mile (400 meters) freeway
entrance on your right onto (road number and
Page 103 of 298
![NISSAN GT-R 2015 R35 Multi Function Display User Guide 2-78Navigation
3. Highlight the preferred item and push<ENTER>.
Available setting items
. [Edit]:
Edits the stored address information.
. [Move Location]:
Adjusts the location of the stored address.
. NISSAN GT-R 2015 R35 Multi Function Display User Guide 2-78Navigation
3. Highlight the preferred item and push<ENTER>.
Available setting items
. [Edit]:
Edits the stored address information.
. [Move Location]:
Adjusts the location of the stored address.
.](/img/5/423/w960_423-102.png)
2-78Navigation
3. Highlight the preferred item and push
Available setting items
. [Edit]:
Edits the stored address information.
. [Move Location]:
Adjusts the location of the stored address.
. [Delete]:
Deletes the stored address.
. [OK]:
Applies the settings.
Other settings:
A stored address can also be edited using the
following procedure.
1. Push
2. Highlight [Address Book] and push
Minor adjustment of home or stored
address
When [Edit] is selected, you can edit the
following items of the home or stored location
can be edited.
.[Show Icon on Map]:
. [Name] (only for stored locations):
. [Voicetag] (only for stored locations):
. [Icon]:
. [Sound]:
. [Direction]:
. [Distance]:
. [Phone No.]:
. [Group] (only for stored locations):
. [Entry Numbers] (only for stored locations):
Show Icon on Map:
Displays the home icon or the stored address
icon on the map.
1. Highlight [Show Icon on Map] and push
2. The indicator illuminates when the item is set. Then the system displays the icon on
the map.
Name (only for stored locations):
Changes the name of a stored location.
1. Highlight [Name] and push
A character input screen is displayed.
Page 106 of 298
![NISSAN GT-R 2015 R35 Multi Function Display User Guide 1. Highlight [Distance] and push<ENTER>.
2. Highlight the preferred distance option and
push <ENTER>. The indicator of the
selected distance illuminates.
Available distance options:
. 150 feet (50 m)
NISSAN GT-R 2015 R35 Multi Function Display User Guide 1. Highlight [Distance] and push<ENTER>.
2. Highlight the preferred distance option and
push <ENTER>. The indicator of the
selected distance illuminates.
Available distance options:
. 150 feet (50 m)](/img/5/423/w960_423-105.png)
1. Highlight [Distance] and push
2. Highlight the preferred distance option and
push
selected distance illuminates.
Available distance options:
. 150 feet (50 m)
. 300 feet (100 m)
. 1000 feet (300 m) .
1500 feet (500 m)
INFO:
Once the direction and the distance to sound an
alarm are set, the system will sound the alarm
when the vehicle enters the triggering zone.
Phone number:
Stores the telephone number of the home or a
stored location.
1. Highlight [Phone No.] and push
The telephone number entry screen is
displayed.
2. Enter the telephone number of the home or stored location.
“Number input screen” (page 1-15)
3. Highlight [OK] and push
The telephone number is stored.
INFO:
If the phone number of the home or a location is
stored, the phone number can be used to search
for the destination even if it is not included in the
map data.
Group (only for stored locations):
This groups the stored locations.
By grouping the stored locations, the [By Group]
option of the sort function can be used more
effectively in the [Sort Entries] mode.
Navigation2-81
Page 122 of 298
3 Audio system
Audio system ........................................................................\
...... 3-2Audio operation precautions ............................................. 3-2
Antenna ........................................................................\
....... 3-11
FM-AM-SAT radio with Compact Disc
(CD) player ........................................................................\
. 3-11
DVD (Digital Versatile Disc) player operation............ 3-15 USB device operation ................................................... 3-17
Bluetooth®streaming audio ......................................... 3-20
iPod®player operation .................................................. 3-23
CD/DVD/USB device care and cleaning ................. 3-25
Car phone or CB radio ........................................................ 3-26
Page 123 of 298
3-2Audio system
AUDIO OPERATION PRECAUTIONS
Radio
Push the ignition switch to the ACC or ON
position and push the radio band select button
to turn on the radio. If you listen to the radio with
the engine not running, the ignition switch
should be pushed to the ACC position.
Radio reception is affected by station signal
strength, distance from radio transmitter, build-
ings, bridges, mountains and other external
influences. Intermittent changes in reception
quality normally are caused by these external
influences.
Using a cellular phone in or near the
vehicle may influence radio reception
quality.
Radio reception:
Your NISSAN radio system is equipped with
state-of-the-art electronic circuits to enhance
radio reception. These circuits are designed to
extend reception range, and to enhance the
quality of that reception.
However there are some general characteristics
of both FM and AM radio signals that can affect
radio reception quality in a moving vehicle, even
when the finest equipment is used. These
characteristics are completely normal in a givenreception area, and do not indicate any mal-
function in your NISSAN radio system.
Reception conditions will constantly change
because of vehicle movement. Buildings, terrain,
signal distance and interference from other
vehicles can work against ideal reception.
Described below are some of the factors that
can affect your radio reception.
Some cellular phones or other devices may
cause interference or a buzzing noise to come
from the audio system speakers. Storing the
device in a different location may reduce or
eliminate the noise.
FM radio reception:
Range: FM range is normally limited to 25 to 30
miles (40 to 48 km) , with monaural (single
channel) FM having slightly more range than
stereo FM. External influences may sometimes
interfere with FM station reception even if the
FM station is within 25 miles (40 km). The
strength of the FM signal is directly related to the
distance between the transmitter and receiver.
FM signals follow a line-of-sight path, exhibiting
many of the same characteristics as light. For
example they will reflect off objects.
Fade and drift: As your vehicle moves away from
a station transmitter, the signals will tend to fade
and/or drift.
Static and flutter: During signal interference from
buildings, large hills or due to antenna position,
usually in conjunction with increased distance
from the station transmitter, static or flutter can
be heard. This can be reduced by lowering the
treble setting to reduce the treble response.
Multipath reception: Because of the reflective
characteristics of FM signals, direct and re-
flected signals reach the receiver at the same
time. The signals may cancel each other,
resulting in momentary flutter or loss of sound.
AUDIO SYSTEM
Page 132 of 298
— Receiving a hands-free call.
— Checking the connection to the hands-free phone.
. Do not place a Bluetooth
®audio device in
an area surrounded by metal or far away
from the in-vehicle Bluetooth
®module to
prevent tone quality degradation and wire-
less connection disruption.
. While an audio device is connected through
a Bluetooth
®wireless connection, the bat-
tery power of the device may discharge
quicker than usual.
. This system supports the Bluetooth
®Audio
Distribution Profile (A2DP, AVRCP).
. Bluetooth
®is a trademark owned by Blue-
tooth SIG, Inc., and licensed to Clarion Co.,
Ltd.
ANTENNA
Window antenna
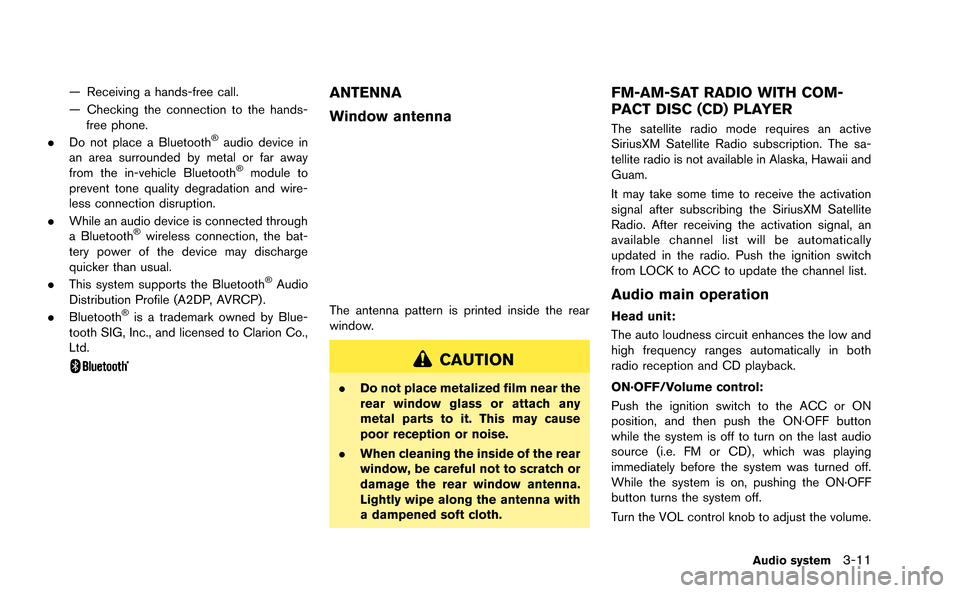
The antenna pattern is printed inside the rear
window.
CAUTION
. Do not place metalized film near the
rear window glass or attach any
metal parts to it. This may cause
poor reception or noise.
. When cleaning the inside of the rear
window, be careful not to scratch or
damage the rear window antenna.
Lightly wipe along the antenna with
a dampened soft cloth.
FM-AM-SAT RADIO WITH COM-
PACT DISC (CD) PLAYER
The satellite radio mode requires an active
SiriusXM Satellite Radio subscription. The sa-
tellite radio is not available in Alaska, Hawaii and
Guam.
It may take some time to receive the activation
signal after subscribing the SiriusXM Satellite
Radio. After receiving the activation signal, an
available channel list will be automatically
updated in the radio. Push the ignition switch
from LOCK to ACC to update the channel list.
Audio main operation
Head unit:
The auto loudness circuit enhances the low and
high frequency ranges automatically in both
radio reception and CD playback.
ON·OFF/Volume control:
Push the ignition switch to the ACC or ON
position, and then push the ON·OFF button
while the system is off to turn on the last audio
source (i.e. FM or CD) , which was playing
immediately before the system was turned off.
While the system is on, pushing the ON·OFF
button turns the system off.
Turn the VOL control knob to adjust the volume.
Audio system3-11
Page 136 of 298
DVD (Digital Versatile Disc) PLAYER
OPERATION
Precautions
Start the engine when using the DVD entertain-
ment system.
Movies will not be shown on the front display
while the vehicle is in any drive position to
reduce driver distraction. Audio is available
when a movie is played. To view movies in the
front display, stop the vehicle in a safe location,
move the shift lever to the P (Park) position and
apply the parking brake.
WARNING
.The driver must not attempt to
operate the DVD system or wear
the headphones while the vehicle is
in motion so that full attention may
be given to vehicle operation.
. Do not attempt to modify the system
to display a movie on the front
screen while the vehicle is being
driven. Doing so may distract the
driver and may cause a collision and
serious personal injury or death.
CAUTION
.Only operate the DVD while the
vehicle engine is running. Operating
the DVD for extended periods of
time with the engine OFF can dis-
charge the vehicle battery.
. Do not allow the system to get wet.
Excessive moisture such as spilled
liquids may cause the system to
malfunction.
. While playing VIDEO-CD media, this
DVD player does not guarantee
complete functionality of all VI-
DEO-CD formats.
Display settings
To adjust the front display mode, push
select [Others] and then select [Display].
To adjust the display ON/OFF, brightness, tint,
color and contrast, select [Display Adjustment]
and then select each key.
Then you can adjust each item using the center
dial. After changes have been made push
Playing a DVD
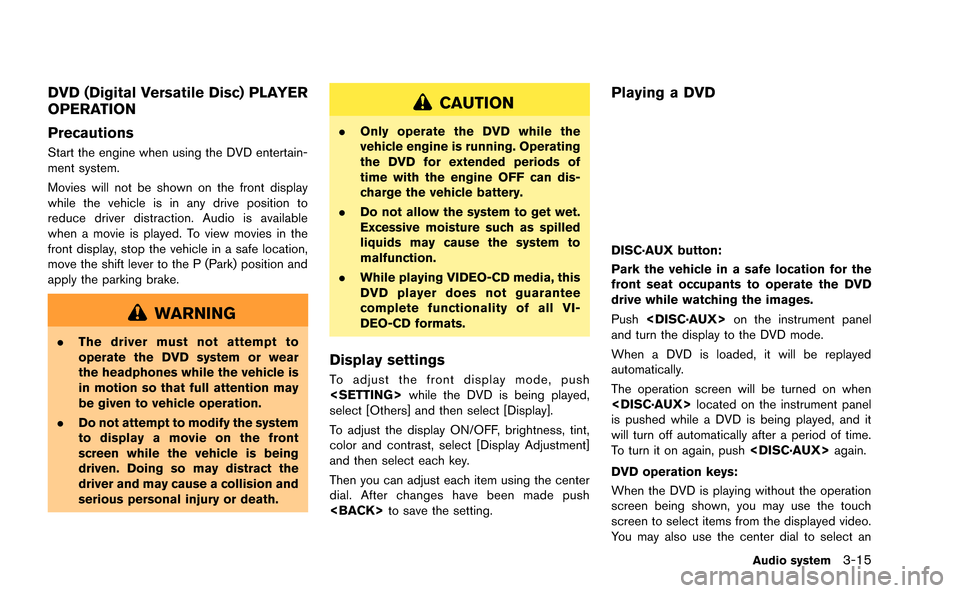
DISC·AUX button:
Park the vehicle in a safe location for the
front seat occupants to operate the DVD
drive while watching the images.
Push
and turn the display to the DVD mode.
When a DVD is loaded, it will be replayed
automatically.
The operation screen will be turned on when
is pushed while a DVD is being played, and it
will turn off automatically after a period of time.
To turn it on again, push
DVD operation keys:
When the DVD is playing without the operation
screen being shown, you may use the touch
screen to select items from the displayed video.
You may also use the center dial to select an
Audio system3-15