brake light NISSAN LEAF 2017 1.G Quick Reference Guide
[x] Cancel search | Manufacturer: NISSAN, Model Year: 2017, Model line: LEAF, Model: NISSAN LEAF 2017 1.GPages: 40, PDF Size: 2.03 MB
Page 14 of 40

12
TIRE PRESSURE MONITORING SYSTEM (TPMS)
WITH EASY-FILL TIRE ALERT
A CHECK TIRE PRESSURE warning message
will appear in the vehicle information display
1 and the low tire pressure warning light
2 will illuminate when one or more tires are
low in pressure and air is needed.
When adding air to an under -inflated tire, the
TPMS with Easy-Fill Tire Alert system provides visual and audible
signals to help you inflate the tire to the recommended COLD
tire pressure.
To use the Easy-Fill Tire Alert system: 1.
Appl
y the parking brake and push the P (PARK) switch on the shif t lever.
2.
Plac
e the power switch in the ON position. Do not place the power switch in
the ready to drive mode.
3.
A
dd air to the under-inflated tire, and within a few seconds, the hazard
warning lights will flash.
4.
When the designated tir
e pressure is reached, the horn will beep once and the
hazard warning lights will stop flashing.
5
.
R
epeat this procedure for any additional under-inflated tires.
Af ter tire pressures are adjusted, drive the vehicle at speeds above 16 mph (25 km/h) and the warning message and warning light will extinguish.
When the lo w tire pressure warning light 2 flashes for approximately 1 minute
and then remains on, the TPMS is not functioning properly. Have the system
checked. It is recommended that you visit a Nissan dealer for this service.
Tire pressure rises and falls depending on the heat caused by the vehicle’s operation and the outside temperature. Low outside temperature can lower
the temperature of the air inside the tire, which can cause a lower tire inflation
pressure. This may cause the low tire pressure warning light
2 to illuminate.
If the warning light illuminates, check the tire pressure in your tires.
The Tire and Loading Information label contains valuable information. Please refer to the “Technical and consumer information (section 9)” of your Owner’s
Manual for the location of the Tire and Loading Information label.
Please see your Owner’s Manual for important safety information, system limitations, and additional
operating and feature information.
For more information, refer to the “Instruments and controls (section 2)” and the “Starting and driving
(section 5)” of your Owner’s Manual.
ESSENTIAL INFORMATION
1
2
To view detailed instructional videos regarding these and other features, please go to www.nissanownersinfo.mobi.
Page 19 of 40

17
POWER METER
The power meter displays the traction motor power consumption and the regenerative
brake power applied to the Li-ion battery.
When the bat tery is charged, power is
generated by the regenerative brake system
and the central dot
1 illuminates and the
number of circles increases to the lef t.
When the bat tery discharges and power is provided to the motor, the central
dot
1 illuminates and the number of circles increases to the right.
The number of cir cles will increase or decrease depending on the Li-ion battery
conditions. (Motor output is limited if the Li-ion battery temperature is too high
or too low or if the Li-ion battery level is low.)
Please see your Owner’s Manual for important safety information, system limitations, and additional
operating and feature information.
For more information, refer to the “Instruments and controls (section 2)” of your Owner’s Manual.
ELECTRIC VEHICLE (EV) SYSTEM WARNING LIGHT
The warning light will illuminate if there is a malfunction in the following systems:
•
Traction motor and inverter system
• Char
ge port or on-board charger
• Li-ion bat
tery system
• C
ooling system
• Shif
t control system
• Emer
gency shut-off system
If the warning light illuminates, contact a Nissan-certified LEAF dealer.
Please see your Owner’s Manual for important safety information, system limitations, and additional
operating and feature information.
For more information, refer to the “Instruments and controls (section 2)” of your Owner’s Manual.
STARTING/STOPPING THE ELECTRIC VEHICLE (EV) SYSTEM
It is important to make sure the Nissan Intelligent Key® is with you (that is, in your
pocket or purse).
Confirm the parking brake is applied and push the P (PARK) switch on the shif t lever to place it in the P (PARK) position.
Depress the brake pedal.
Push the po wer switch to start the EV system.
Check that the r eady to drive indicator light
1 illuminates and the start-up
sound is audible.
1
To view detailed instructional videos regarding these and other features, please go to www.nissanownersinfo.mobi.
Page 20 of 40

18
FIRST DRIVE FEATURES
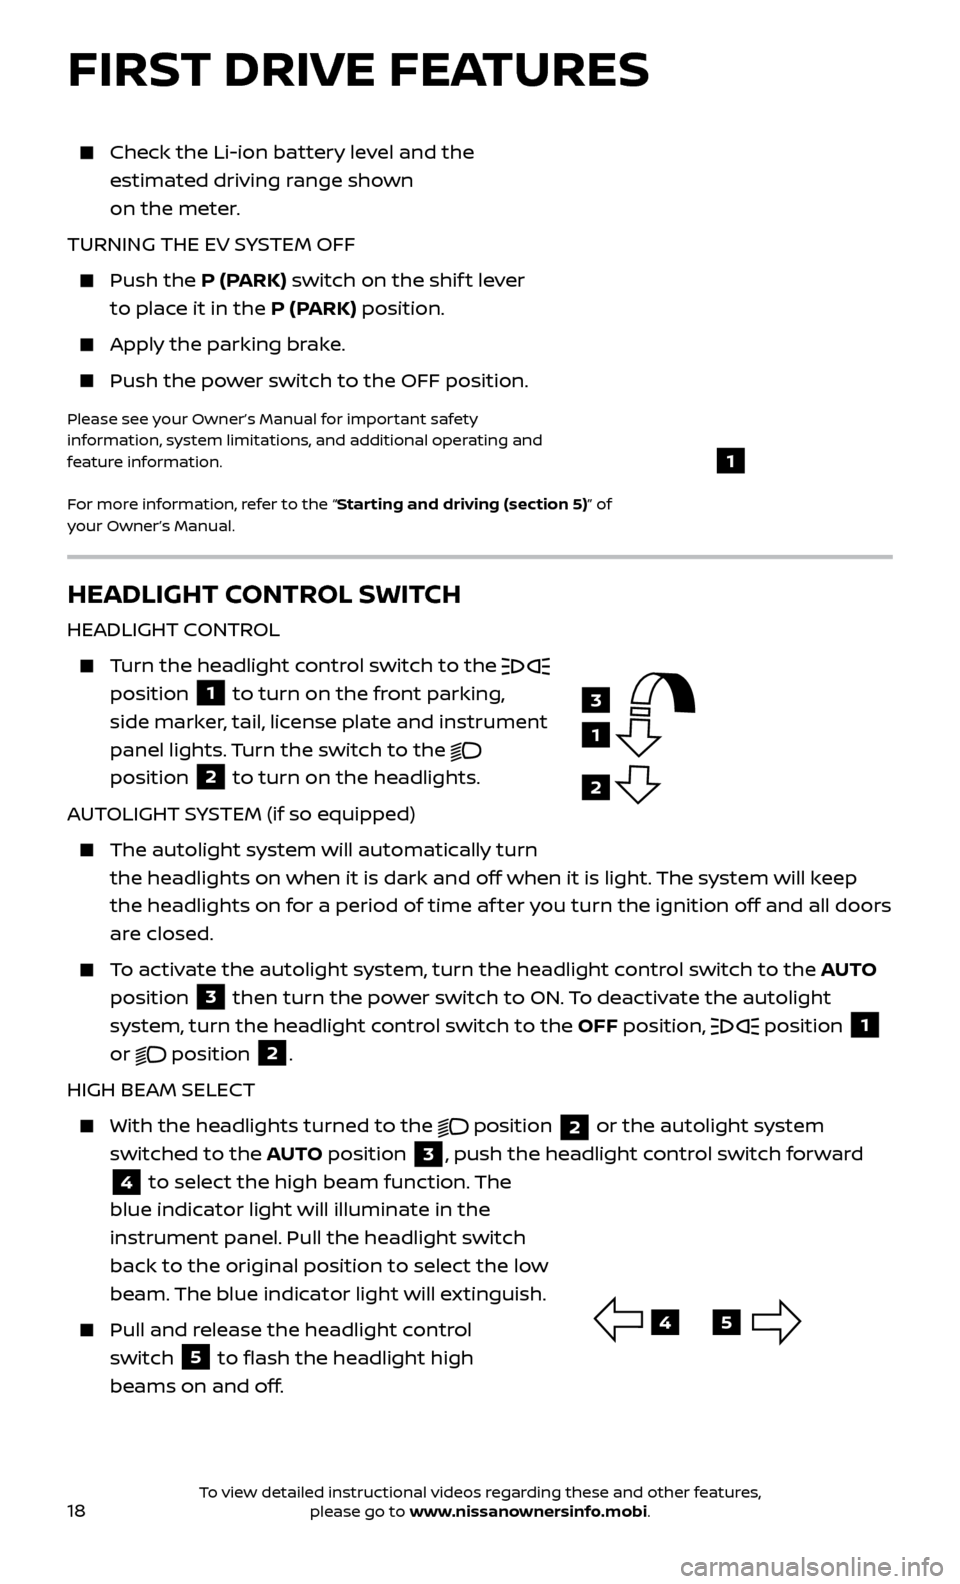
HEADLIGHT CONTROL SWITCH
HEADLIGHT CONTROL
Turn the headlight control switch to the
position 1 to turn on the front parking,
side marker, tail, license plate and instrument
panel lights. Turn the switch to the
position 2 to turn on the headlights.
AUTOLIGHT SYSTEM (if so equipped)
The autolight system wil l automatically turn
the headlights on when it is dark and off when it is light. The system will keep
the headlights on for a period of time af ter you turn the ignition off and all doors
are closed.
To activate the autolight system, turn the headlight control switch to the AUTO
position
3 then turn the power switch to ON. To deactivate the autolight
system, turn the headlight control switch to the OFF position, position 1
or position
2.
HIGH BEAM SELECT
With the he adlights turned to the
position
2 or the autolight system
switched to the AUTO position
3, push the headlight control switch forward
4 to select the high beam function. The
blue indicator light will illuminate in the
instrument panel. Pull the headlight switch
back to the original position to select the low
beam. The blue indicator light will extinguish.
Pull and release the headlight control switch
5 to flash the headlight high
beams on and off.
3
1
2
45
Check the Li-ion bat tery level and the
estimated driving range shown
on the meter.
TURNING THE EV SYSTEM OFF
Push the P (P ARK) switch on the shif t lever
to place it in the P (PARK) position.
Apply the parking brake.
Push the po wer switch to the OFF position.
Please see your Owner’s Manual for important safety
information, system limitations, and additional operating and
feature information.
For more information, refer to the “Starting and driving (section 5)” of
your Owner’s Manual.
1
To view detailed instructional videos regarding these and other features, please go to www.nissanownersinfo.mobi.
Page 25 of 40

23
To store a station in a preset, you must first select a radio band by pressing the FM•AM button
7 or XM button
8 then tune to the desired AM, FM or
satellite radio station using the TUNE/SCROLL knob
3. Next, touch and hold
the desired station preset key until you hear a beep. The channel indicator will
then display, and the sound will resume. Programing is now complete.
7 FM•
AM BUTTON Press the FM• AM button to switch between FM and AM radio screens.
8 XM BUTTON
Press the XM button to display the satellite radio screen.
9 MEDIA BUTTON Press the
MEDIA but ton to switch display options.
10 DISP BUTTON Press the
DISP but ton to turn the display on or off.
Please see your Owner’s Manual for important safety information, system limitations, and additional
operating and feature information.
For more information, refer to the “Audio system (section 4)” of your Navigation System Owner’s Manual.
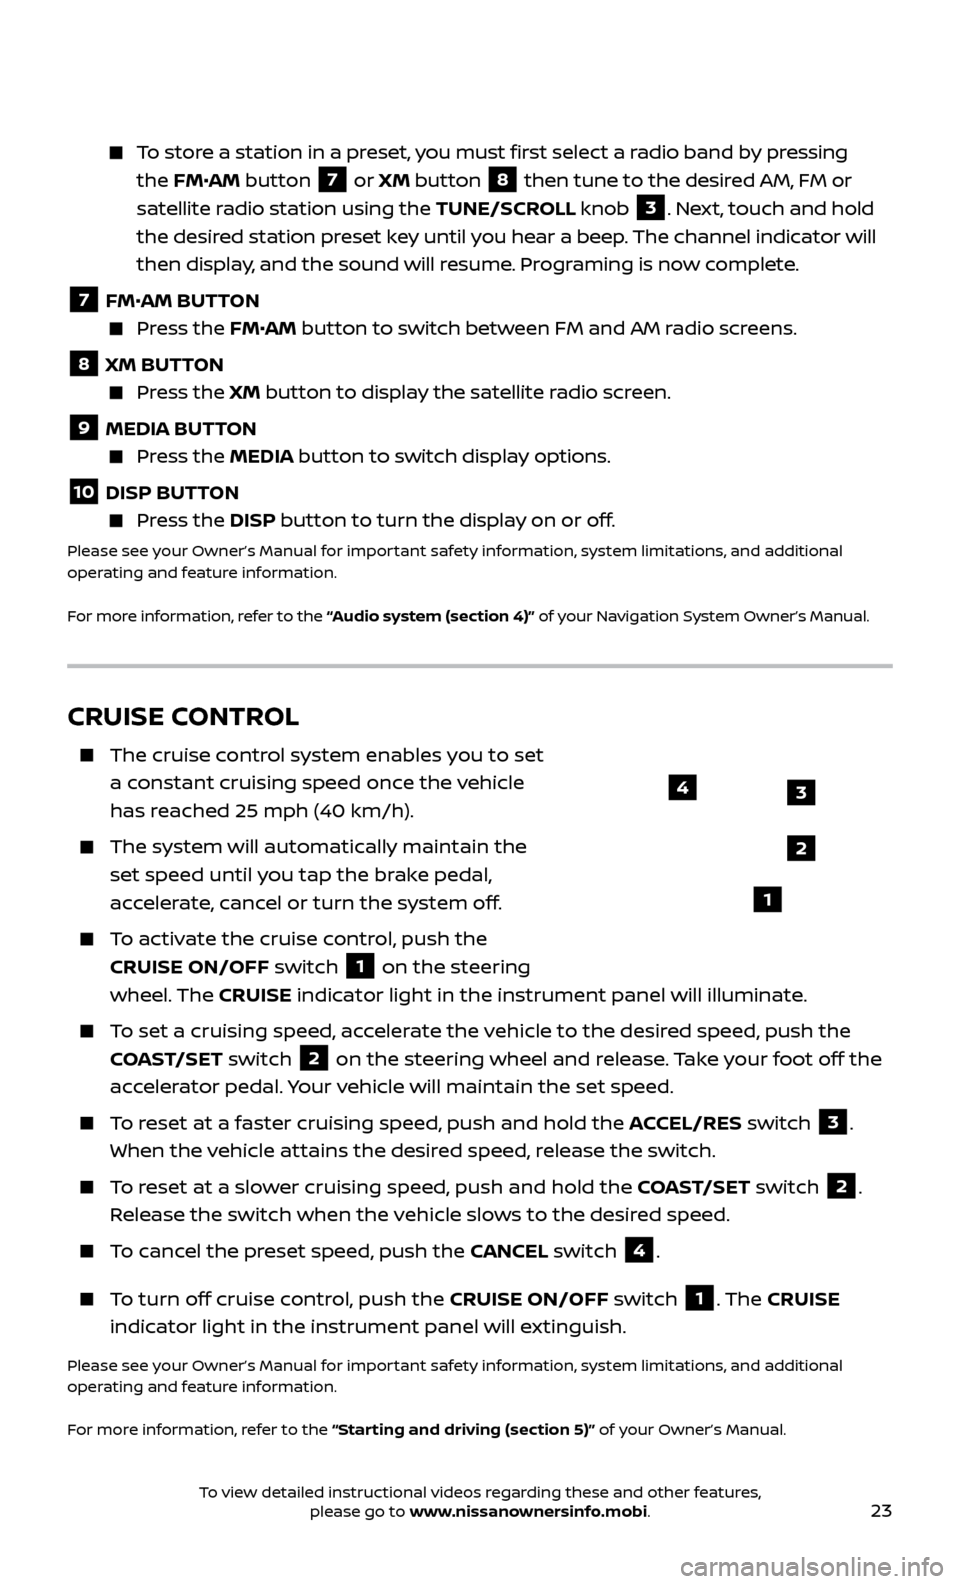
CRUISE CONTROL
The cruise control system enables you to set
a constant cruising speed once the vehicle
has reached 25 mph (40 km/h).
The system wil l automatically maintain the
set speed until you tap the brake pedal,
accelerate, cancel or turn the system off.
To activate the cruise control, push the CRUISE ON/OFF switch
1 on the steering
wheel. The CRUISE indicator light in the instrument panel will illuminate.
To set a cruising speed, accelerate the vehicle to the desired speed, push the
COAST/SET switch
2 on the steering wheel and release. Take your foot off the
accelerator pedal. Your vehicle will maintain the set speed.
To reset at a faster cruising speed, push and hold the ACCEL/RES switch 3.
When the vehicle attains the desired speed, release the switch.
To reset at a slower cruising speed, push and hold the COAST/SET switch 2.
Release the switch when the vehicle slows to the desired speed.
To cancel the preset speed, push the CANCEL switch 4.
To turn off cruise control, push the CRUISE ON/OFF switch 1. The CRUISE
indicator light in the instrument panel will extinguish.
Please see your Owner’s Manual for important safety information, system limitations, and additional
operating and feature information.
For more information, refer to the “Starting and driving (section 5)” of your Owner’s Manual.
3
2
1
4
To view detailed instructional videos regarding these and other features, please go to www.nissanownersinfo.mobi.