ECO mode NISSAN MAXIMA 2004 A34 / 6.G User Guide
[x] Cancel search | Manufacturer: NISSAN, Model Year: 2004, Model line: MAXIMA, Model: NISSAN MAXIMA 2004 A34 / 6.GPages: 280, PDF Size: 3.99 MB
Page 126 of 280

3. Adjust the driver’s seat, steering column and
outside mirrors to the desired positions by
manually operating each adjusting switch.
For additional information, see “Seats” in the
“Safety—Seats, seat belts and supplemen-
tal air bags” section and “Steering wheel”
and “Outside mirrors” earlier in this section.
During this step, do not turn the ignition to
any positions other than ON.
4. Push the SET switch and, within 5 seconds,
push the memory switch (1 or 2) fully for at
least 1 second.
The indicator light for the pushed memory
switch will come on and stay on for approxi-
mately 5 seconds after pushing the switch.
After the indicator light goes off, the se-
lected positions are stored in the selected
memory (1 or 2) .
If memory is stored in the same memory switch,
the previous memory will be deleted.
Linking a keyfob to a stored memory
position
A keyfob can be linked to a stored memory posi-
tion with the following procedure.
1. Follow the steps for storing a memory posi-
tion.2. While the indicator light for the memory
switch being set is illuminated for 5 sec-
onds, press the
button on the keyfob.
The indicator light will blink. After the indica-
tor light goes off, the keyfob is linked to that
memory setting.
With the key removed from the ignition switch,
press the
button on the keyfob. The driv-
er’s seat and outside mirrors will move to the
memorized position.
Confirming memory storage
cTurn the ignition ON and push the SET
switch. If the main memory has not been
stored, the indicator light will come on for
approximately 0.5 seconds. When the
memory has stored the position, the indica-
tor light will stay on for approximately 5 sec-
onds.
cIf the battery cable is disconnected, or if the
fuse blows, the memory will be canceled. In
such a case, reset the desired positions
using the following procedures.
1. Open and close the driver’s door more than
two times with the ignition key in the LOCK
position.
2. Reset the desired position using the previ-
ous procedure.
Selecting the memorized position
1. Set the automatic transmission selector le-
ver to the P (Park) position.
2. Turn the ignition ON.
3. Push the memory switch (1 or 2) fully for at
least 1 second.
The driver’s seat, steering column and out-
side mirrors will move to the memorized po-
sition with the indicator light flashing, and
then the light will stay on for approximately 5
seconds.
ENTRY/EXIT FUNCTION (for
automatic transmission model)
This system is designed so that the driver’s seat
and steering column will automatically move
when the automatic transmission selector lever is
in the P (Park) position. This allows the driver to
get into and out of the driver’s seat more easily.
(This feature is not available on manual transmis-
sion model.)
The driver’s seat will slide backward and the
steering wheel will move up:
cWhen the key is removed from the ignition
switch.
cWhen the driver’s door is opened with the
key turned to LOCK.
3-20Pre-driving checks and adjustments
ZREVIEW COPY:Ð2004 Maxima(max)
Owners Manual(owners)ÐUSA English(nna)
10/20/03Ðarosenma
X
Page 131 of 280
“Display”key — This is a select key on the
screen. By selecting this key you can proceed to
the next function.
NAMES OF COMPONENTS
1.brightness control button (P. 4-6)
2. PREV (previous) button (P. 4-3)
3. Joystick and ENTER push button (P. 4-3)
4. SETTING button (P. 4-5)
5.
(maintenance) button (P. 4-5)
6. TRIP drive computer button (P. 4-3)
7. FUEL ECON button (P. 4-4)
8. TRIP RESET button (P. 4-3)
9. E/M (English/metric) button (P. 4-4)
10. Clock adjust button (hours) (P. 4-4)
11. Clock adjust button (minutes) (P. 4-4)
To turn off the screen, push the
button for
more than approximately 1.5 seconds. The
screen will change to “CONFIRM DISPLAY OFF
YES or NO”.
HOW TO USE JOYSTICK AND
“ENTER” BUTTON
Choose an item on the display using the joystick.
Push the“ENTER”button only when the use of it
is instructed on the display.
HOW TO USE “PREV” BUTTON
Finish setup:
If you touch“PREV”button after the setup is
completed, the setup will start over.
HOW TO USE “TRIP” BUTTON
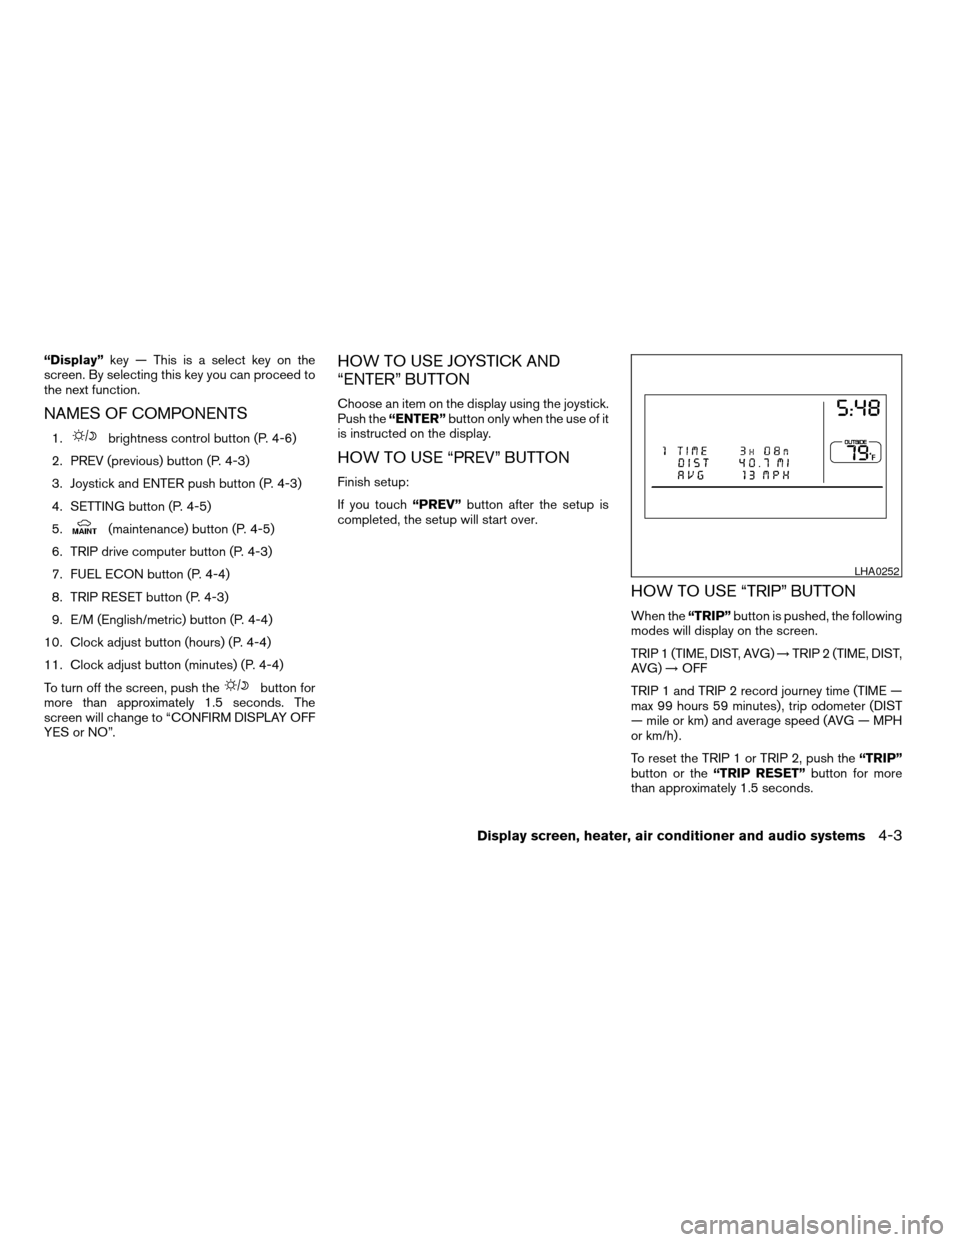
When the“TRIP”button is pushed, the following
modes will display on the screen.
TRIP 1 (TIME, DIST, AVG)!TRIP 2 (TIME, DIST,
AVG)!OFF
TRIP 1 and TRIP 2 record journey time (TIME —
max 99 hours 59 minutes) , trip odometer (DIST
— mile or km) and average speed (AVG — MPH
or km/h) .
To reset the TRIP 1 or TRIP 2, push the“TRIP”
button or the“TRIP RESET”button for more
than approximately 1.5 seconds.
LHA0252
Display screen, heater, air conditioner and audio systems4-3
ZREVIEW COPY:Ð2004 Maxima(max)
Owners Manual(owners)ÐUSA English(nna)
10/20/03Ðarosenma
X
Page 132 of 280
HOW TO USE “FUEL ECON”
BUTTON
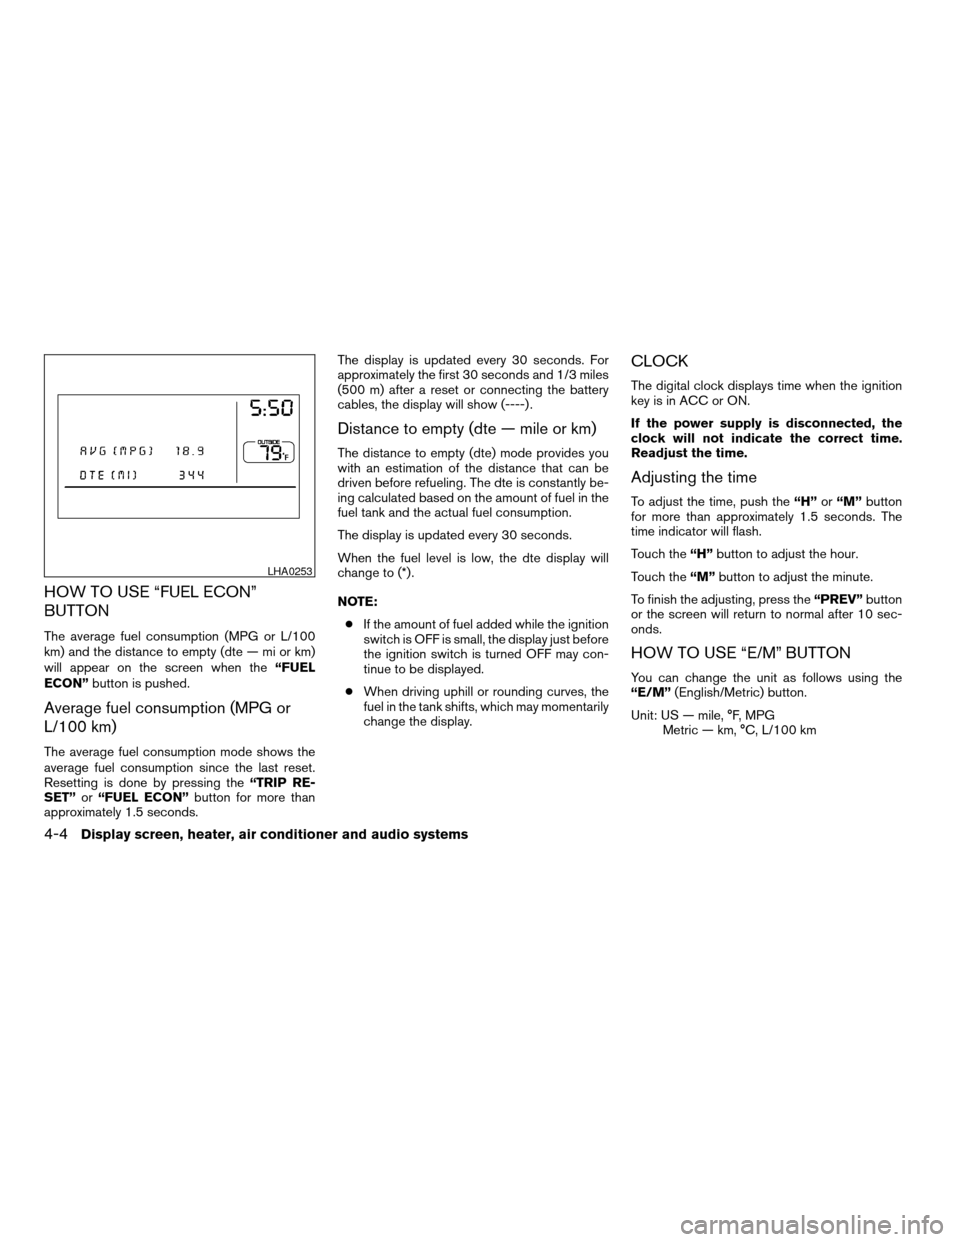
The average fuel consumption (MPG or L/100
km) and the distance to empty (dte — mi or km)
will appear on the screen when the“FUEL
ECON”button is pushed.
Average fuel consumption (MPG or
L/100 km)
The average fuel consumption mode shows the
average fuel consumption since the last reset.
Resetting is done by pressing the“TRIP RE-
SET”or“FUEL ECON”button for more than
approximately 1.5 seconds.The display is updated every 30 seconds. For
approximately the first 30 seconds and 1/3 miles
(500 m) after a reset or connecting the battery
cables, the display will show (----) .
Distance to empty (dte — mile or km)
The distance to empty (dte) mode provides you
with an estimation of the distance that can be
driven before refueling. The dte is constantly be-
ing calculated based on the amount of fuel in the
fuel tank and the actual fuel consumption.
The display is updated every 30 seconds.
When the fuel level is low, the dte display will
change to (*) .
NOTE:
cIf the amount of fuel added while the ignition
switch is OFF is small, the display just before
the ignition switch is turned OFF may con-
tinue to be displayed.
cWhen driving uphill or rounding curves, the
fuel in the tank shifts, which may momentarily
change the display.
CLOCK
The digital clock displays time when the ignition
key is in ACC or ON.
If the power supply is disconnected, the
clock will not indicate the correct time.
Readjust the time.
Adjusting the time
To adjust the time, push the“H”or“M”button
for more than approximately 1.5 seconds. The
time indicator will flash.
Touch the“H”button to adjust the hour.
Touch the“M”button to adjust the minute.
To finish the adjusting, press the“PREV”button
or the screen will return to normal after 10 sec-
onds.
HOW TO USE “E/M” BUTTON
You can change the unit as follows using the
“E/M”(English/Metric) button.
Unit: US — mile, °F, MPG
Metric — km, °C, L/100 km
LHA0253
4-4Display screen, heater, air conditioner and audio systems
ZREVIEW COPY:Ð2004 Maxima(max)
Owners Manual(owners)ÐUSA English(nna)
10/07/03Ðtbrooks
X
Page 133 of 280

HOW TO USE(maintenance)
BUTTON
Pushing thebutton will change the main-
tenance menu as follows:
ENGINE OIL!TIRE ROTATION
To reset the driving distance, push the
button or“TRIP RESET”button for more than
approximately 1.5 seconds.
To set the distance, push the joystick to left or
right.
HOW TO USE THE “SETTING”
BUTTON
Pushing the“SETTING”button will change the
settings menu as follows:
DISPLAY ON/OFF
LANGUAGE
BEEP SET
SERVICE ALERT
PERSONALIZED SETTINGS MENU
Display ON/OFF
To turn off the screen, select the OFF key of the
“Display ON/OFF” using the joystick.
The screen will change to “CONFIRM DISPLAY
OFF YES or NO”.
If YES key is selected using the joystick, the
screen will turn off after a 2 beep sound and
approximately 1 second.
To turn on the screen, push the“SETTING”, trip
control, air conditioner (except rear window de-
fogger button) or audio button.
Language
The language can be changed to “English” or
“Français” using the joystick.
Beep set
If the beep set “OFF” key is selected using the
joystick, the beep sound will not operate (except
some caution beep sounds) .
Service alert
If the service alert “ON” key is selected, the
information will be displayed when the engine oil
and the tire rotation periods reach the preset
driving distance.
Personalized settings menu
You can set the following electronic systems
operating conditions using the joystick.
Slide back DR (driver’s) seat on exit:
The driver’s seat automatically moves back and
returns to the original position for exceptional
ease of exit and entry.
Remote unlock door logic:
This option allows you to select which doors will
unlock first during an unlocking operation:
Only the driver’s doorÃ!All the doors
Horn chirp with remote:
This option allows you to select the horn chirp
mode that occurs when the LOCK or UNLOCK
button on the keyfob is pressed.LHA0250
Display screen, heater, air conditioner and audio systems4-5
ZREVIEW COPY:Ð2004 Maxima(max)
Owners Manual(owners)ÐUSA English(nna)
10/07/03Ðtbrooks
X
Page 134 of 280
NOTE:
If you change the horn beep or the lamp
flash feature with the keyfob, the mode will
not be changed with the display. Use the
keyfob to return to the previous mode and
re-enable the display control.
Lamps flash with remote:
This option allows you to select the hazard indi-
cator flash mode that occurs when the LOCK or
UNLOCK button on the keyfob is pressed.
NOTE:
If you change the horn beep or the lamp
flash feature with the keyfob, the mode will
not be changed with the display. Use the
keyfob to return to the previous mode and
re-enable the display control.
Auto relock time:
This option allows you to set the length of time
before the doors lock with the auto re-lock func-
tion.
Auto headlamp sensitivity:
This option allows you to set the sensitivity of the
autolights.Auto headlamp off delay:
This option allows you to select the length of time
before the autolights turn off.
Speed sensing wiper interval:
This option allows you to turn on or turn off the
driving speed dependent intermittent wiper func-
tion.
Confirm reset settings:
This option allows you to reset all options to their
default settings.
BUTTON
To change the display brightness, push
thebutton. Pushing the button again will
change the display to DAY or NIGHT display.
Then, adjust the brightness moving the joystick
right or left.
If no operation is done within 10 seconds, or if the
“PREV”button is pushed, the display will return
to the previous display.
WARNING
cPositioning of the heating or air condi-
tioning controls and display controls
should not be done while driving in or-
der that full attention may be given to
the driving operation.cDo not disassemble or modify this sys-
tem. If you do, it may result in accidents,
fire, or electrical shock.
cDo not use this system if you notice any
abnormality, such as a frozen screen or
lack of sound. Continued use of the
system may result in accident, fire or
electric shock.
cIn case you notice any foreign object in
the system hardware, spill liquid on it,
or notice smoke or smell coming from
it, stop using the system immediately
and contact your nearest NISSAN
dealer. Ignoring such conditions may
lead to accidents, fire or electrical
shock.
4-6Display screen, heater, air conditioner and audio systems
ZREVIEW COPY:Ð2004 Maxima(max)
Owners Manual(owners)ÐUSA English(nna)
10/07/03Ðtbrooks
X
Page 136 of 280
HOW TO USE JOYSTICK AND
“ENTER” BUTTON
Choose an item on the display using the joystick
and push the“ENTER”button for operation.
HOW TO USE “PREV” BUTTON
This button has two functions.
cGo back to the previous display (cancel) .
If you touch“PREV”button during setup, the
setup will be canceled and/or the display will
return to the previous screen.
cFinish setup.
If you touch this button after the setup is com-
pleted, the setup will start over, and the display
will return to the climate control or audio mode
and Navigation screen.
SETTING UP THE START-UP
SCREEN
When you turn the ignition key to ACC or ON, the
SYSTEM START-UP warning is displayed on the
screen. Read the warning and select the “I
AGREE” (English) or “ENTER” (Français) key
then push the“ENTER”button.
If you do not push the“ENTER”button, the
Navigation system will not proceed to the next
step display.If you do not touch the button or screen key for
more than 1 minute on the TRIP, SETTING or
START-UP screen, the screen will change to
TRIP screen automatically.
To proceed to the next step, refer to the separate
Navigation System Owner’s Manual.
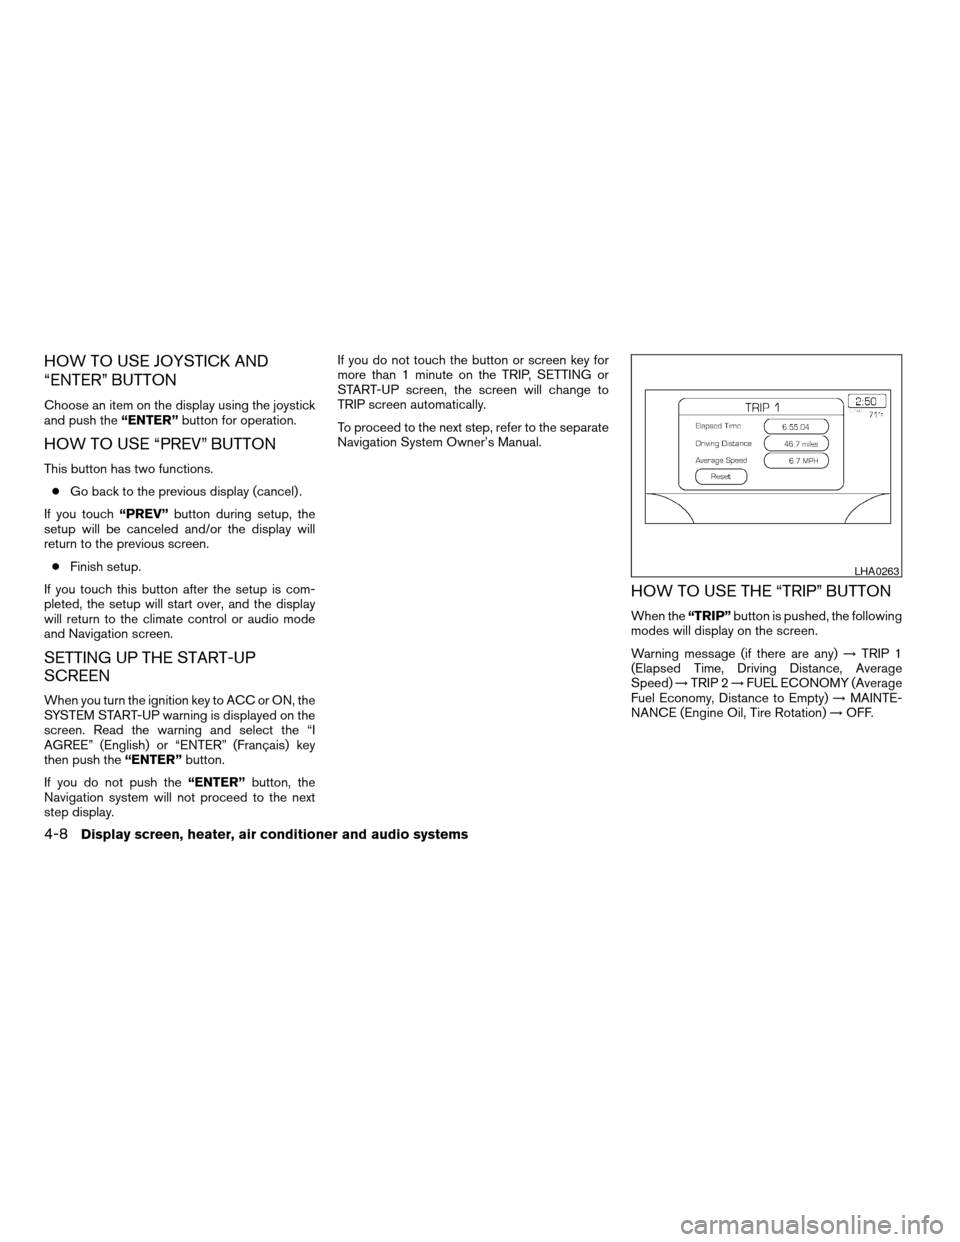
HOW TO USE THE “TRIP” BUTTON
When the“TRIP”button is pushed, the following
modes will display on the screen.
Warning message (if there are any)!TRIP 1
(Elapsed Time, Driving Distance, Average
Speed)!TRIP 2!FUEL ECONOMY (Average
Fuel Economy, Distance to Empty)!MAINTE-
NANCE (Engine Oil, Tire Rotation)!OFF.
LHA0263
4-8Display screen, heater, air conditioner and audio systems
ZREVIEW COPY:Ð2004 Maxima(max)
Owners Manual(owners)ÐUSA English(nna)
10/07/03Ðtbrooks
X
Page 144 of 280

1. Temperature control button (driver side)
2. AUTO climate control ON button
3.
(fresh air) button
4.
(front defroster) button
5. A/C (air conditioner) ON/OFF button
6.
(fan speed control) button
7. MODE (manual air flow control) button
8. Temperature control button (passenger
side)
9.
DUAL (passenger side tempera-
ture control) ON/OFF button
10.
Rear window defroster switch
11.
Air recirculation button12.
OFF button for climate control
system
WARNING
cThe air conditioner cooling function op-
erates only when the engine is running.
cDo not leave children, impaired adults,
or pets alone in your vehicle. On hot,
sunny days, temperatures in a closed
vehicle could quickly become high
enough to cause severe or possibly fa-
tal injuries to people or animals.cDo not use the recirculation mode for
long periods as it may cause the interior
air to become stale and the windows to
fog up.
cPositioning of the heater and/or air
conditioner controls should not be
done while driving so full attention may
be given to vehicle operation.
Start the engine and operate the controls to
activate the air conditioner.
AUTOMATIC OPERATION
Cooling and/or dehumidified heating
(AUTO)
This mode may be used all year round as the
system automatically works to keep a constant
temperature. Air flow distribution and fan speed
are also controlled automatically.
1. Push the AUTO button on. (AUTO will be
displayed.)
2. Push the temperature control button up or
down to set the desired temperature.
cAdjust the temperature display to about 75°
F (24° C) for normal operation.
cThe temperature of the passenger compart-
ment will be maintained automatically. Air
LHA0247
HEATER AND AIR CONDITIONER
(automatic)
4-16Display screen, heater, air conditioner and audio systems
ZREVIEW COPY:Ð2004 Maxima(max)
Owners Manual(owners)ÐUSA English(nna)
10/07/03Ðtbrooks
X
Page 145 of 280

flow distribution and fan speed are also con-
trolled automatically.
3. You can individually set driver and front pas-
senger side temperature using each tem-
perature control button. When the DUAL
button or passenger side temperature but-
ton is pushed, the DUAL indicator will come
on. To turn off the passenger side tempera-
ture control, push the DUAL button.
Heating (A/C OFF)
The air conditioner does not activate. When you
need to heat only, use this mode.
1. Push the A/C button. (A/C OFF will be dis-
played and A/C indicator will turn off.)
2. Push the temperature control button up or
down to set the desired temperature.
cThe temperature of the passenger compart-
ment will be maintained automatically. Air
flow distribution and fan speed are also con-
trolled automatically.
cDo not set the temperature lower than the
outside air temperature. Otherwise the sys-
tem may not work properly.
cNot recommended if windows fog up.
Dehumidified defrosting or defogging
1. Push thedefroster button on. The in-
dicator light on the button will come on.
2. Push the temperature control button up or
down to set the desired temperature.
cTo quickly remove ice from the outside of the
windows, set the fan speed to maximum.
cAs soon as possible after the windshield is
clean, push the AUTO button to return to the
automatic mode.
cWhen the front defroster button is pushed,
the air conditioner will automatically be
turned on at outside temperatures above
23°F (25°C) . The air conditioning system
will continue to operate until the fan control
dial is turned to OFF or the vehicle is shut off,
even if the air flow control button is used to
select a position other than
position.
This dehumidifies the air which helps defog
the windshield. The air recirculate mode au-
tomatically turns off, allowing outside air to
be drawn into the passenger compartment
to further improve the defogging perfor-
mance.
MANUAL OPERATION
Fan speed control
Push the fan control buttonto manually
control the fan speed.
Push the AUTO button to return to automatic
control of the fan speed.
Air recirculation
Push the air recirculation button to recirculate
interior air inside the vehicle. The indicator light
on the button will come on.
The air recirculation cannot be activated when
the air conditioner is in the front defrosting mode.
Fresh air
Push the button to draw outside air into the
passenger compartment. The indicator light on
the button will come on.
Automatic intake air control
In the AUTO mode, the intake air will be con-
trolled automatically. To manually control the in-
take air, push the air recirculate or fresh air but-
ton. To return to the automatic control mode,
push the same button for about 2 seconds. The
indicator lights (both air recirculate and fresh air
buttons) will flash twice, and then the intake air
will be controlled automatically.
Display screen, heater, air conditioner and audio systems4-17
ZREVIEW COPY:Ð2004 Maxima(max)
Owners Manual(owners)ÐUSA English(nna)
10/07/03Ðtbrooks
X
Page 146 of 280

Air flow control
Pushing the MODE (manual air flow control) but-
ton selects the air outlet to:
— Air flows from center and side
ventilators.
— Air flows from center and side
ventilators and foot outlets.
— Air flows mainly from foot outlets.
— Air flows from defroster outlets
and foot outlets.
To turn system off
Push the OFF button.
OPERATING TIPS
cWhen the engine coolant temperature and
outside air temperature are low, the air flow
from the foot outlets may not operate for a
maximum of 150 seconds. However, this is
not a malfunction. After the coolant tempera-
ture warms up, air flow from the foot outlets
will operate normally.The sunload sensor, located on the top passen-
ger side of the instrument panel, helps the system
maintain a constant temperature. Do not put any-
thing on or around this sensor.The air conditioner system in your NISSAN ve-
hicle is charged with a refrigerant designed with
the environment in mind.
This refrigerant does not harm the earth’s
ozone layer.
Special charging equipment and lubricant is re-
quired when servicing your NISSAN air condi-
tioner. Using improper refrigerants or lubricants
will cause severe damage to your air conditioner
system. See “Air conditioner system refrigerant
and lubricant recommendations” in the “Techni-
cal and consumer information” section of this
manual.
A NISSAN dealer is able to service your “environ-
mentally friendly” air conditioning system.WARNING
The air conditioner system contains re-
frigerant under high pressure. To avoid
personal injury, any air conditioner ser-
vice should be done only by an experi-
enced technician with proper equipment.
WHA0209
SERVICING AIR CONDITIONER
4-18Display screen, heater, air conditioner and audio systems
ZREVIEW COPY:Ð2004 Maxima(max)
Owners Manual(owners)ÐUSA English(nna)
10/07/03Ðtbrooks
X
Page 152 of 280
antenna are installed (late availability only/retrofit
unavailable without factory satellite radio pre-
wiring) , and an XMTor SIRIUS™ satellite radio
service subscription is active.
Audio main operation
The tape deck employs a permalloy head which
allows for improved reproduction of high fre-
quency ranges. Noise is also greatly reduced by
the combined use of the Dolby NR (Noise Re-
duction) system. The auto loudness circuit en-
hances the low frequency range automatically in
both radio reception and tape and CD playback.
ON·OFF/Volume control:
Turn the ignition key to ACC or ON, and then
push the ON·OFF/Volume control knob while the
system is off to call up the mode (radio, tape or
CD) which was playing immediately before the
system was turned off.
To turn the system off, press the ON·OFF/Volume
control knob.
Turn the ON·OFF/Volume control knob to adjust
the volume.
This vehicle has speed sensitive control volume
(SSV) for audio (type B only) . The audio volume
changes as the driving speed changes.AUDIO knob (BASS, TREBLE, FADE, BAL-
ANCE, (SSV and NR (Dolby) — Type B
only)):
Press the AUDIO knob to change the mode as
follows:
BASS!TREBLE!FADE!BALANCE!
SSV (Type B only)!NR (when cassette playing,
Type B only)
To adjust Bass, Treble, Fade and Balance, press
the AUDIO knob until the desired mode appears
in the display. Turn the Tuning knob to adjust
Bass and Treble to the desired level. You can also
use the Tuning knob to adjust Fader and Balance
modes. Fader adjusts the sound level between
the front and rear speakers and Balance adjusts
the sound between the right and left speakers.
To change the SSV mode (Type B only) to OFF,
LOW, MID or HIGH, turn the Tuning knob to right
or left.
To change the NR (Dolby) mode to OFF or ON,
turn the Tuning knob to right or left while cassette
tape is playing. When Dolby is ON, the
mark is displayed.
Dolby noise reduction manufactured under li-
cense from Dolby Laboratories Licensing Corpo-
ration. Dolby NR and the double-D symbol
are trademarks of Dolby Laboratories Licensing
Corporation.Once you have adjusted the sound quality to the
desired level, press the AUDIO knob repeatedly
until the radio, cassette tape or CD display reap-
pears. Otherwise, the radio, cassette tape or CD
display will automatically reappear after about 10
seconds.
Display CD text:
To change the text displayed while playing a CD,
press the AUDIO knob until “Display Mode” ap-
pears.
Turn the Tuning knob within 2 seconds. The text
will change as follows:
Track numberÃ!Track titleÃ!Disc titleÃ!
Track number
Display satellite radio text:
To change the text displayed while listening to
satellite radio, press the AUDIO knob until “Dis-
play Mode” appears.
Turn the Tuning knob within 2 seconds. The text
will change as follows:
Channel numberÃ!Channel nameÃ!Artist
Ã!TitleÃ!Channel number
Pause/mute button:
To mute or pause the audio sound, push the
PAUSE/MUTE button.
4-24Display screen, heater, air conditioner and audio systems
ZREVIEW COPY:Ð2004 Maxima(max)
Owners Manual(owners)ÐUSA English(nna)
10/07/03Ðtbrooks
X