navigation NISSAN MAXIMA 2017 A36 / 8.G Quick Reference Guide
[x] Cancel search | Manufacturer: NISSAN, Model Year: 2017, Model line: MAXIMA, Model: NISSAN MAXIMA 2017 A36 / 8.GPages: 38, PDF Size: 3.15 MB
Page 2 of 38
*See your Owner’s Manual for information.
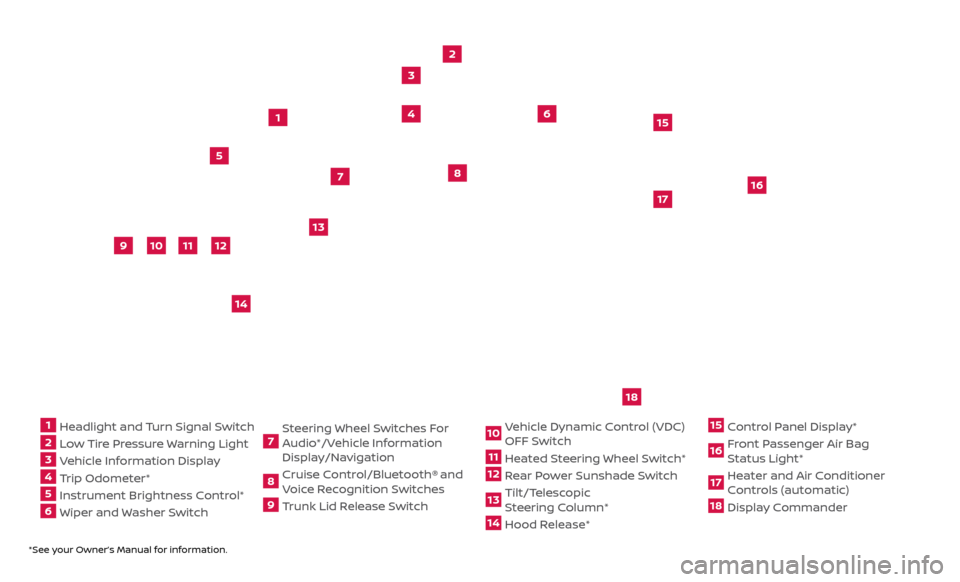
1 Headlight and Turn Signal Switch2 Low Tire Pressure Warning Light3 Vehicle Information Display4 Trip Odometer*5 Instrument Brightness Control* 6 Wiper and Washer Switch
7 Steering Wheel Switches For
Audio*/Vehicle Information
Display/Navigation8 Cruise Control/Bluetooth®
and
Voice Recognition Switches
9 Trunk Lid Release Switch
10 Vehicle Dynamic Control (VDC) OFF Switch11 Heated Steering Wheel Switch*12 Rear Power Sunshade Switch13 Tilt/Telescopic
S teering Column*14 Hood Release*
15 Control Panel Display*16 Front Passenger Air Bag Status Light*17 Heater and Air Conditioner Controls (automatic)18 Display Commander
2
3
5
4
1
6
10
11
9
12
13
14
15
16
17
7
8
Underneath
instrument
panel
18
Page 3 of 38
Please see your Owner’s Manual for important safety information and system
operation limitations.
•
A c
ellular telephone should not be used for any purpose while
driving so full attention may be given to vehicle operation.
•
A
lways wear your seat belt.
•
Supplemental air bags do not r
eplace proper seat belt usage.
•
Childr
en 12 and under should always ride in the rear seat properly secured
in child restraints or seat belts according to their age and weight.
•
Do not drink and driv
e.
For more information, refer to the “Safety — Seats, seat belts and supplemental restraint system
(section 1)”, the “Monitor, climate, audio, phone and voice recognition systems (section 4)” and the
“Starting and driving (section 5)” of your Owner’s Manual.
Additional information about your vehicle is also available in your Owner’s Manual,
Navigation System Owner’s Manual and at www.NissanUSA.com.
NEW SYSTEM FEATURESHow to Use Your Maxima’s Touch-screen Display .....................................2
Ar ound View® Monitor (AVM) with Moving Object Detection (MOD) (if so equipped)..3
Blind Spot
Warning (BSW) (if so equipped)
.............................................5
Pr
edictive Forward Collision Warning (PFCW) (if so equipped) .........................
5
F
orward Emergency Braking (FEB) (if so equipped) ...................................
5
V
ehicle Dynamic Control (VDC) ........................................................
6
NissanC
onnect
SM Services Powered by SiriusXM™ (if so equipped)....................6
SiriusXM
Travel Link and SiriusXM Traffic ..............................................8
Displa
y Commander ...................................................................
8
ESSENTIAL INFORMATIONTire Pressure Monitoring System (TPMS) with Easy-Fill Tire Alert .....................9
L oose Fuel Cap........................................................................\
10
F
uel-filler Door .......................................................................\
.
10
He
ated Steering Wheel (if so equipped)
...............................................10
Clock Set/A
djustment .................................................................
11
FIRST DRIVE FEATURESNissan Intelligent Key® System .......................................................12
T runk Lid Release .....................................................................14
Se
at Adjustments
.....................................................................15
A
utomatic Drive Positioner (if so equipped) ..........................................
16
Outside Mirr
or Control Switch ........................................................
16
S
tarting/Stopping the Engine ........................................................
17
He
adlight Control Switch
.............................................................17
Wiper and
Washer Switch
.............................................................18
Moonr
oof/Rear Sunshade Switch (if so equipped) ...................................
19
He
ater and Air Conditioner (automatic) ..............................................
20
FM/AM/SiriusXM® Satel
lite Radio with CD Player
.....................................22
USB (Univ
ersal Serial Bus) Connection Port/AUX Jack and iPod® Interface
(if so equipped)
........................................................................\
23
F
ront Armrest/Center Console Storage Box
..........................................24
Cruise C
ontrol (if so equipped)
........................................................24
Intel
ligent Cruise Control (ICC) (if so equipped)
.......................................25
SYSTEM GUIDEVehicle Information Display...........................................................26
Apple C arPlay™ (if so equipped) ......................................................27
Hands-fr
ee Text Messaging Assistant ................................................
28
Bluetooth® Hands-fr
ee Phone System ...............................................
29 S
ystem Operating Tips
.............................................................29
Bluetooth® S
treaming Audio
..........................................................32
Na
vigation System
....................................................................33
HomeLink®
Universal Transceiver
.....................................................35
TABLE OF CONTENTS
Page 4 of 38
2
NEW SYSTEM FEATURES
HOW TO USE YOUR MAXIMA’S
TOUCH-SCREEN DISPLAY
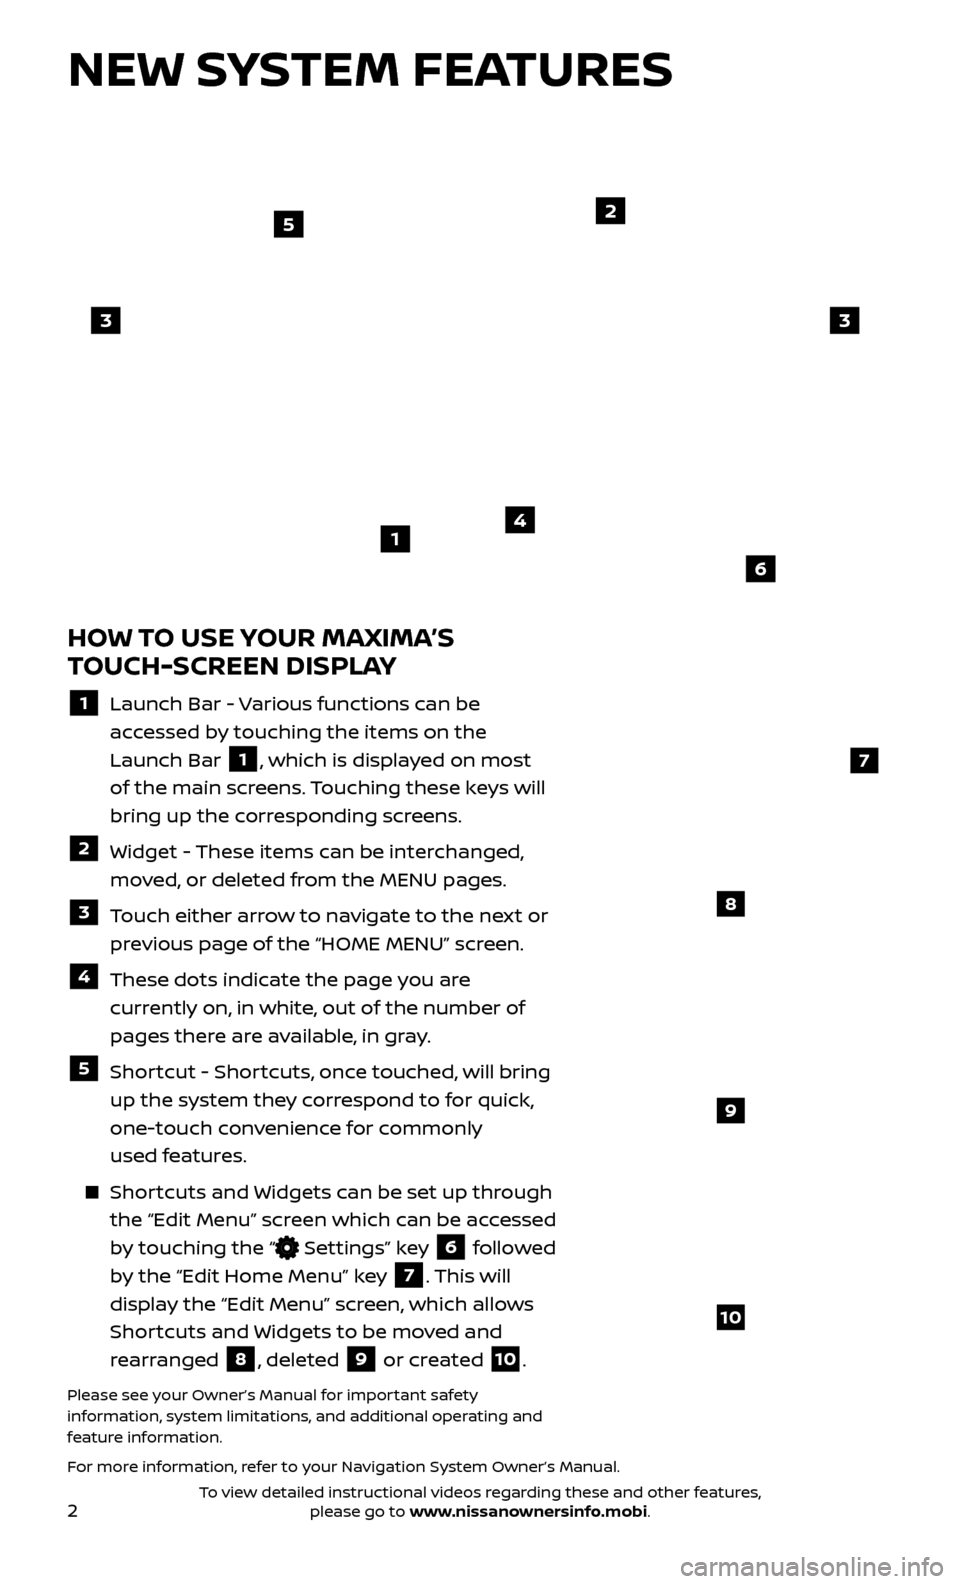
1 Launch Bar - Various functions can be
accessed by touching the items on the
Launch Bar
1, which is displayed on most
of the main screens. Touching these keys will
bring up the corresponding screens.
2 Widget - These items can be interchanged, moved, or deleted from the MENU pages.
3 Touch either arrow to navigate to the next or previous page of the “HOME MENU” screen.
4 These dots indic ate the page you are
currently on, in white, out of the number of
pages there are available, in gray.
5 Shortcut - Shortcuts, once touched, will bring up the system they correspond to for quick,
one-touch convenience for commonly
used features.
Shortcuts and Widgets can be set up through the “Edit Menu” screen which can be accessed
by touching the “
Settings” key 6 followed
by the “Edit Home Menu” key
7. This will
display the “Edit Menu” screen, which allows
Shortcuts and Widgets to be moved and
rearranged
8, deleted 9 or created 10.
Please see your Owner’s Manual for important safety
information, system limitations, and additional operating and
feature information.
For more information, refer to your Navigation System Owner’s Manual.
4
2
33
5
7
8
9
10
1
6
To view detailed instructional videos regarding these and other features, please go to www.nissanownersinfo.mobi.
Page 8 of 38

6
NEW SYSTEM FEATURES
NISSANCONNECTSM SERVICES1 POWERED BY SiriusXM®
(if so equipped)
NissanConnect Services is a collection of security and convenience services that add
innovation to your daily drive.
To enroll in NissanConnect Services, create an account or log into your Nissan
Owner Portal with your Vehicle Identification Number or VIN. Under the
NissanConnect Services tab, select the red button next to Manage Subscription.
Follow the prompts to enroll in NissanConnect Services. Next, download the
NissanConnect Services companion app and log into it using your Nissan Owner
Portal ID and password.
For full details on NissanConnect Services or to enroll your vehicle, please visit
www.NissanUSA.com/connect or call 855-426-6628.
Here is a quick overview of some of the features that may be available for your
vehicle. A full description of these and other NissanConnect Services can be found in
your Navigation System Owner’s Manual.
Automatic Collision Notification, a service that generates an automatic connection between the vehicle and the Emergency Response Center when the
vehicle has been involved in an accident that was severe enough to deploy the
air bags.
Emergency Call, which connects you to a NissanConnect Services Specialist who will
assist in the dispatch of emergency services
to the vehicle location. To use this feature,
press the
SOS button 1 on the overhead
console. The
SOS button should only be used
in emergency situations.1
VEHICLE DYNAMIC CONTROL (VDC)
VDC should r emain on when driving, except when freeing the
vehicle from mud or snow.
When the VDC OFF switch 1 is pushed, an indicator light
will illuminate. If the system is turned off, it will turn back on
when the switch is pushed a second time. Also, if the system
is turned off and the vehicle is restarted, the system will
automatically turn on again.
Please see your Owner’s Manual for important safety information, system limitations, and additional
operating and feature information.
For more information, refer to the “Instruments and controls (section 2)” and the “Starting and driving
(section 5)” of your Owner’s Manual.
1
To view detailed instructional videos regarding these and other features, please go to www.nissanownersinfo.mobi.
Page 9 of 38

7
Roadside Assistance, which dispatches roadside assistance to the vehicle’s location
in non-emergency situations. Roadside
Assistance can be accessed by touching the
headset icon 2 on the map screen, via
the NissanConnect Services companion app
or by calling the Roadside Assistance
provider directly.
Stolen Vehicle Locator, a service that works in coordination with law enforcement agencies to assist in the recovery of a stolen vehicle.
Remote Door Lock/Unlock, for use when you forget to lock your vehicle or if you need to open it and do not have the keys. To use this feature, log into the
NissanConnect Services companion app or website or contact a NissanConnect
Services Response Specialist.
Assisted Se arch, a feature that allows you to verbally request point-of-interest
or destination data from a live operator by touching the
headset icon 2 on
the map screen.
Journey Planner, with which you can send a route with a destination and up to five way points directly to the vehicle.
Boundar y Alert, a feature that allows you to
monitor the movement of your vehicle in
and out of specified regions you have set on
the Monitoring section of the NissanConnect
Services web portal or companion app.
Speed Alert, which sends you alerts when your vehicle speed exceeds a threshold
you have set on the web portal or
companion app.
To access these features in your vehicle:
•
Touch the “
Info” key 3 on the
control panel.
•
Touch the NissanConnect Services key
4.
Please see your Owner’s Manual for important safety information, system limitations, and additional
operating and feature information.
For more information, refer to the “Information (section 5)” of your Navigation System Owner’s Manual.
2
4
3
To view detailed instructional videos regarding these and other features, please go to www.nissanownersinfo.mobi.
Page 10 of 38
8
NEW SYSTEM FEATURES
DISPLAY COMMANDER
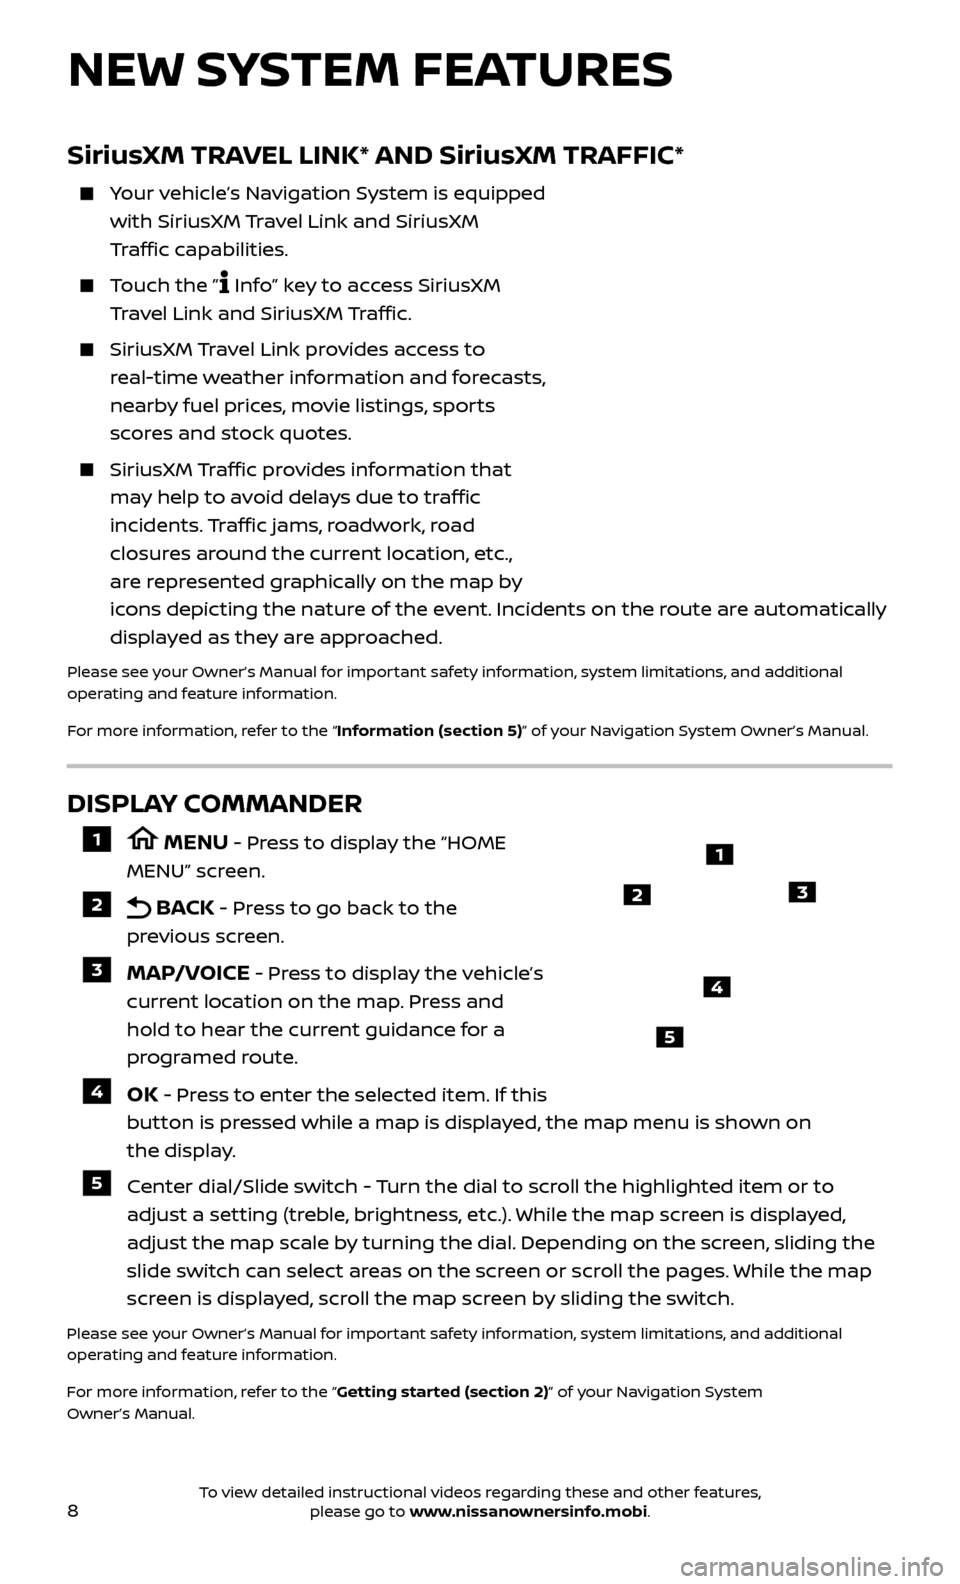
1 MENU - Press to display the “HOME
MENU” screen.
2 BACK - Press to go back to the
previous screen.
3 MAP/VOICE - Press to display the vehicle’s
current location on the map. Press and
hold to hear the current guidance for a
programed route.
4 OK - Press to enter the selected item. If this
button is pressed while a map is displayed, the map menu is shown on
the display.
5 Center dial/Slide switch - Turn the dial to scroll the highlighted item or to adjust a setting (treble, brightness, etc.). While the map screen is displayed,
adjust the map scale by turning the dial. Depending on the screen, sliding the
slide switch can select areas on the screen or scroll the pages. While the map
screen is displayed, scroll the map screen by sliding the switch.
Please see your Owner’s Manual for important safety information, system limitations, and additional
operating and feature information.
For more information, refer to the “Getting started (section 2)” of your Navigation System
Owner’s Manual.
1
23
4
5
SiriusXM TRAVEL LINK* AND SiriusXM TRAFFIC*
Your vehicle’s Navigation System is equipped with SiriusXM Travel Link and SiriusXM
Traffic capabilities.
Touch the ” Info” key to access SiriusXM
Travel Link and SiriusXM Traffic.
SiriusXM Travel Link provides access to
real-time weather information and forecasts,
nearby fuel prices, movie listings, sports
scores and stock quotes.
SiriusXM Traffic provides information that
may help to avoid delays due to traffic
incidents. Traffic jams, roadwork, road
closures around the current location, etc.,
are represented graphically on the map by
icons depicting the nature of the event. Incidents on the route are automatically
displayed as they are approached.
Please see your Owner’s Manual for important safety information, system limitations, and additional
operating and feature information.
For more information, refer to the “Information (section 5)” of your Navigation System Owner’s Manual.
To view detailed instructional videos regarding these and other features, please go to www.nissanownersinfo.mobi.
Page 13 of 38

11
CLOCK SET/ADJUSTMENT
To adjust the time and the appearance of the clock on the display:
1.
Pr
ess the
MENU button on the
control panel.
2.
T
ouch the “
Settings” key on the
Launch Bar.
3.
Touch the “
Clock” key.
The following settings can be adjusted:
• On-screen Clock: The clock in the upper right corner of the display can be turned
ON or OFF.
• Clock Format (24h): The clock can be set to 12 hours or 24 hours.
• Offset (hour): The time can be adjusted by increasing or decreasing per hour.
• Offset (min): The time can be adjusted by increasing or decreasing
per minute.
• Daylight Savings Time: The application of Daylight Savings Time can be turned
ON or OFF.
• Time Zone: Adjust the time zone. Choose a time zone from the available list.
Touch the key or press the BACK button on the Display Commander to
return to the previous screen.
Please see your Owner’s Manual for important safety information, system limitations, and additional
operating and feature information.
For more information, refer to the “Getting started (section 2)” of your Navigation System
Owner’s Manual.
To view detailed instructional videos regarding these and other features, please go to www.nissanownersinfo.mobi.
Page 25 of 38

23
To store a station in a preset, you must first select a radio band by touching the ”AM” key
6, “FM” key 7 or “SXM” key 8 then tune to the desired AM,
FM or satellite radio station. Next, press and hold the desired station preset
key until you hear a beep. The channel indicator will then display, and the
sound will resume. Programing is now complete.
To retrieve a previously set station, select the radio band where the preset was stored then press the corresponding station select key.
6 AM KEY / 7 FM KEY
Touch the “AM Menu” or “FM Menu” key to view the station list or turn HD mode on or off.
Tag favorite songs to save to an iPod®.
•
Apple® w
ebsite: If you are listening to a radio station that supports iTunes
Tagging, you can tag a song you hear so you can preview and purchase it
later on the iTunes Store. Songs that can be tagged are marked with a tag
icon next to the song title or on the “Now Playing” screen.
8 SXM KEY
Touch the “SXM Menu” key to bring up the categories, favorites and replay options.
9 CD KEY
Touch the “CD Menu” key to view the track list.
10 AUX KEY
A cable with 1/8 in (3.5 mm) stereo mini plugs is required for audio playback.
Please see your Owner’s Manual for important safety information, system limitations, and additional
operating and feature information.
For more information, refer to the “Audio system (section 3)” of your Navigation System Owner’s Manual.
USB (Universal Serial Bus) CONNECTION PORT/AUX JACK
AND iPOD® INTERFACE (if so equipped)
The USB por ts are located in the media
pocket
1 below the climate control system.
USB1/iPod® and USB2/iPod®
• When a devic e is connected via USB, the
system will automatically start playing
music from it.
• This system suppor
ts Apple® devices and
USB memory devices. Only Apple® brand or Apple® certified cables will work.
NISSAN cannot guarantee compatibility with af termarket cables that are not
certified by Apple®.
• Apple C
arPlay™ can only be used with USB1, which is the port closest to the driver.
• It ma
y not be compatible with some versions of Android.
Touch the “USB/iPod® Menu” key to view the folder list and track listing, playlist,
albums, album art, artist and songs.
Please see your Owner’s Manual for important safety information, system limitations, and additional
operating and feature information.
For more information, refer to the “Audio system (section 3)” of your Navigation System Owner’s Manual.
1
To view detailed instructional videos regarding these and other features, please go to www.nissanownersinfo.mobi.
Page 28 of 38
26
VEHICLE INFORMATION DISPLAY
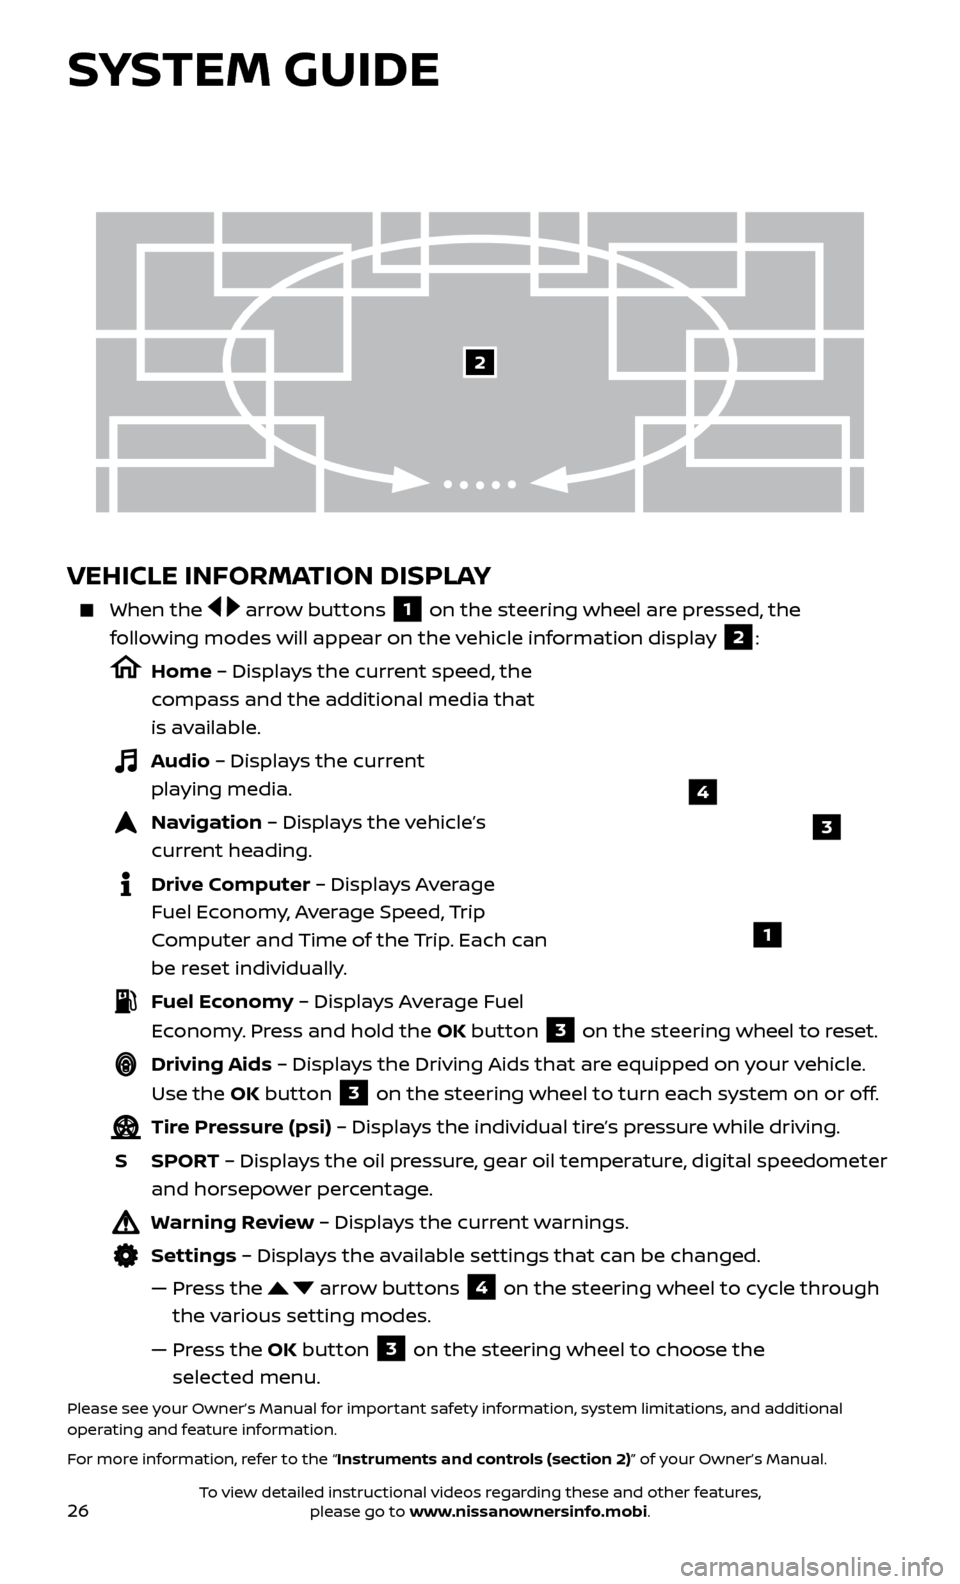
When the arrow buttons 1 on the steering wheel are pressed, the
following modes will appear on the vehicle information display
2:
Home – Displays the current speed, the
compass and the additional media that
is available.
Audio – Displays the current playing media.
Navigation – Displays the vehicle’s curr ent heading.
Drive Computer – Displays Average Fuel Economy, Average Speed, Trip
Computer and Time of the Trip. Each can
be reset individually.
Fuel Economy – Displays Average Fuel Economy. Press and hold the OK button
3 on the steering wheel to reset.
Driving Aids – Displays the Driving Aids that are equipped on your vehicle.
Use the OK button
3 on the steering wheel to turn each system on or off.
Tire Pressure (psi) – Displays the individual tire’s pressure while driving.
S
SPOR
T – Displays the oil pressure, gear oil temperature, digital speedometer
and horsepower percentage.
Warning Review – Displays the current warnings.
Settings – Displays the available settings that can be changed.
—
Pr
ess the
arrow buttons 4 on the steering wheel to cycle through
the various setting modes.
—
Pr
ess the OK button
3 on the steering wheel to choose the
selected menu.
Please see your Owner’s Manual for important safety information, system limitations, and additional
operating and feature information.
For more information, refer to the “Instruments and controls (section 2)” of your Owner’s Manual.
3
1
2
SYSTEM GUIDE
4
To view detailed instructional videos regarding these and other features, please go to www.nissanownersinfo.mobi.
Page 30 of 38

28
SYSTEM GUIDE
HANDS-FREE TEXT MESSAGING ASSISTANT*
This text messaging feature allows for sending and receiving text messages through
the vehicle’s interface.
Using predefined or custom messages, send a text to an entry stored in your Bluetooth®
Hands-free Phone System.
Once enabled, the text message, sender and delivery time are shown on the control panel
display when the vehicle speed is less than 5 mph (8 km/h).
Text messages have the option of being read aloud.
Once the vehicle is in motion, text messages can only be replied to using the Voice Recognition
button on the steering wheel.
Text messages can be created manually when the vehicle is not in motion.
Custom te xt messages must be created in advance.
• To exit the Apple CarPlay™ screen and display the other screens, press the
MENU button or one of the other buttons on the control panel and touch
the preferred menus.
• T
o return to the Apple CarPlay™ screen, touch the “
Info” key 3 on the
Launch Bar and then touch the Apple CarPlay™ key 2.
When connected to Apple CarPlay™, Siri® Eyes Free operation can also be accessed.
There are two ways to start a Siri® Eyes Free session.
1.
Pr
ess and hold the
button on the steering wheel.
2.
T
ouch and hold the
key 4 at the lower lef t corner of the Apple
CarPlay™ screen.
Press the button on the steering wheel or touch the key 4 at the lower
lef t corner of the Apple CarPlay™ screen to end Siri® Eyes Free operation.
Keep the interior of the vehicle as quiet as possible. Close the windows to eliminate the surrounding noises (traffic noises, vibration sounds, etc.), which
may prevent the system from recognizing the voice commands correctly.
Some Siri® E yes Free functions may not be available during driving.
For functions that can be used with Siri® Eyes Free, please refer to the
Apple® website.
Nissan Phone menu and Nissan Voice Recognition cellular phone commands will
not be available when Apple CarPlay™ is active.
Please see your Owner’s Manual for important safety information, system limitations, and additional
operating and feature information.
For more information, refer to the ”Getting started (section 2)” and the ”Information (section 5)” of your
Navigation System Owner’s Manual.
To view detailed instructional videos regarding these and other features, please go to www.nissanownersinfo.mobi.