stop start NISSAN MAXIMA 2017 A36 / 8.G Quick Reference Guide
[x] Cancel search | Manufacturer: NISSAN, Model Year: 2017, Model line: MAXIMA, Model: NISSAN MAXIMA 2017 A36 / 8.GPages: 38, PDF Size: 3.15 MB
Page 3 of 38

Please see your Owner’s Manual for important safety information and system
operation limitations.
•
A c
ellular telephone should not be used for any purpose while
driving so full attention may be given to vehicle operation.
•
A
lways wear your seat belt.
•
Supplemental air bags do not r
eplace proper seat belt usage.
•
Childr
en 12 and under should always ride in the rear seat properly secured
in child restraints or seat belts according to their age and weight.
•
Do not drink and driv
e.
For more information, refer to the “Safety — Seats, seat belts and supplemental restraint system
(section 1)”, the “Monitor, climate, audio, phone and voice recognition systems (section 4)” and the
“Starting and driving (section 5)” of your Owner’s Manual.
Additional information about your vehicle is also available in your Owner’s Manual,
Navigation System Owner’s Manual and at www.NissanUSA.com.
NEW SYSTEM FEATURESHow to Use Your Maxima’s Touch-screen Display .....................................2
Ar ound View® Monitor (AVM) with Moving Object Detection (MOD) (if so equipped)..3
Blind Spot
Warning (BSW) (if so equipped)
.............................................5
Pr
edictive Forward Collision Warning (PFCW) (if so equipped) .........................
5
F
orward Emergency Braking (FEB) (if so equipped) ...................................
5
V
ehicle Dynamic Control (VDC) ........................................................
6
NissanC
onnect
SM Services Powered by SiriusXM™ (if so equipped)....................6
SiriusXM
Travel Link and SiriusXM Traffic ..............................................8
Displa
y Commander ...................................................................
8
ESSENTIAL INFORMATIONTire Pressure Monitoring System (TPMS) with Easy-Fill Tire Alert .....................9
L oose Fuel Cap........................................................................\
10
F
uel-filler Door .......................................................................\
.
10
He
ated Steering Wheel (if so equipped)
...............................................10
Clock Set/A
djustment .................................................................
11
FIRST DRIVE FEATURESNissan Intelligent Key® System .......................................................12
T runk Lid Release .....................................................................14
Se
at Adjustments
.....................................................................15
A
utomatic Drive Positioner (if so equipped) ..........................................
16
Outside Mirr
or Control Switch ........................................................
16
S
tarting/Stopping the Engine ........................................................
17
He
adlight Control Switch
.............................................................17
Wiper and
Washer Switch
.............................................................18
Moonr
oof/Rear Sunshade Switch (if so equipped) ...................................
19
He
ater and Air Conditioner (automatic) ..............................................
20
FM/AM/SiriusXM® Satel
lite Radio with CD Player
.....................................22
USB (Univ
ersal Serial Bus) Connection Port/AUX Jack and iPod® Interface
(if so equipped)
........................................................................\
23
F
ront Armrest/Center Console Storage Box
..........................................24
Cruise C
ontrol (if so equipped)
........................................................24
Intel
ligent Cruise Control (ICC) (if so equipped)
.......................................25
SYSTEM GUIDEVehicle Information Display...........................................................26
Apple C arPlay™ (if so equipped) ......................................................27
Hands-fr
ee Text Messaging Assistant ................................................
28
Bluetooth® Hands-fr
ee Phone System ...............................................
29 S
ystem Operating Tips
.............................................................29
Bluetooth® S
treaming Audio
..........................................................32
Na
vigation System
....................................................................33
HomeLink®
Universal Transceiver
.....................................................35
TABLE OF CONTENTS
Page 11 of 38

9
TIRE PRESSURE MONITORING SYSTEM (TPMS)
WITH EASY-FILL TIRE ALERT
A Tire Pressure Low Add Air warning
message will appear in the vehicle
information display
1 and the low tire
pressure warning light
2 will illuminate
when one or more tires are low in pressure
and air is needed.
• The tir
e pressures should be checked when
the tires are cold. The tires are considered
cold af ter the vehicle has been parked for 3 hours or more or
driven less than 1 mi (1.6 km) at moderate speeds.
Af ter tire pressures are adjusted, drive the vehicle at speeds above 16 mph (25 km/h). The Tire Pressure Low Add Air warning message and low tire
pressure warning light
2 will extinguish.
In addition to the Tire Pressure Low Add Air warning message, you can view
the individual tire’s pressure in the vehicle information display as well as the
recommended pressure, denoted by blue lettering, for each tire.
When adding air to an under -inflated tire, the TPMS with Easy-Fill Tire Alert
provides visual and audible signals to help you inflate the tire to the
recommended COLD tire pressure.
T
o use the Easy-Fill Tire Alert:
1.
Move the shif t lever to the P (PARK) position and apply the parking brake.
2.
Plac
e the ignition switch in the ON position. Do not start the engine.
3.
A
dd air to the under-inflated tire, and within a few seconds, the hazard
warning lights will start flashing.
4.
When the designated tir
e pressure is reached, the horn will beep once and the
hazard warning flashers will stop flashing.
5
. Repeat this procedure for any additional under-inflated tires.
When the lo w tire pressure warning light 2 flashes for 1 minute and then
remains on, the TPMS is not functioning properly. Have the system checked. It is
recommended that you visit a Nissan dealer for this service.
Tire pressure rises and falls depending on the heat caused by the vehicle’s operation and the outside temperature. Low outside temperature can lower
the temperature of the air inside the tire, which can cause a lower tire inflation
pressure. This may cause the low tire pressure warning light
2 to illuminate. If
the warning light illuminates, check the tire pressure in your tires.
•
Check the tir
e pressure (including the spare tire) of ten and always prior to long
distance trips.
The Tire and Loading Information label contains valuable information. Refer to the “Technical and consumer information (section 10)” of your Owner’s Manual
for the location of the Tire and Loading Information label.
Please see your Owner’s Manual for important safety information, system limitations, and additional
operating and feature information.
For more information, refer to the “Instruments and controls (section 2)”, the “Starting and driving
(section 5)” and the “Do-it-yourself (section 8)” of your Owner’s Manual.
1
2
ESSENTIAL INFORMATION
To view detailed instructional videos regarding these and other features, please go to www.nissanownersinfo.mobi.
Page 15 of 38

13
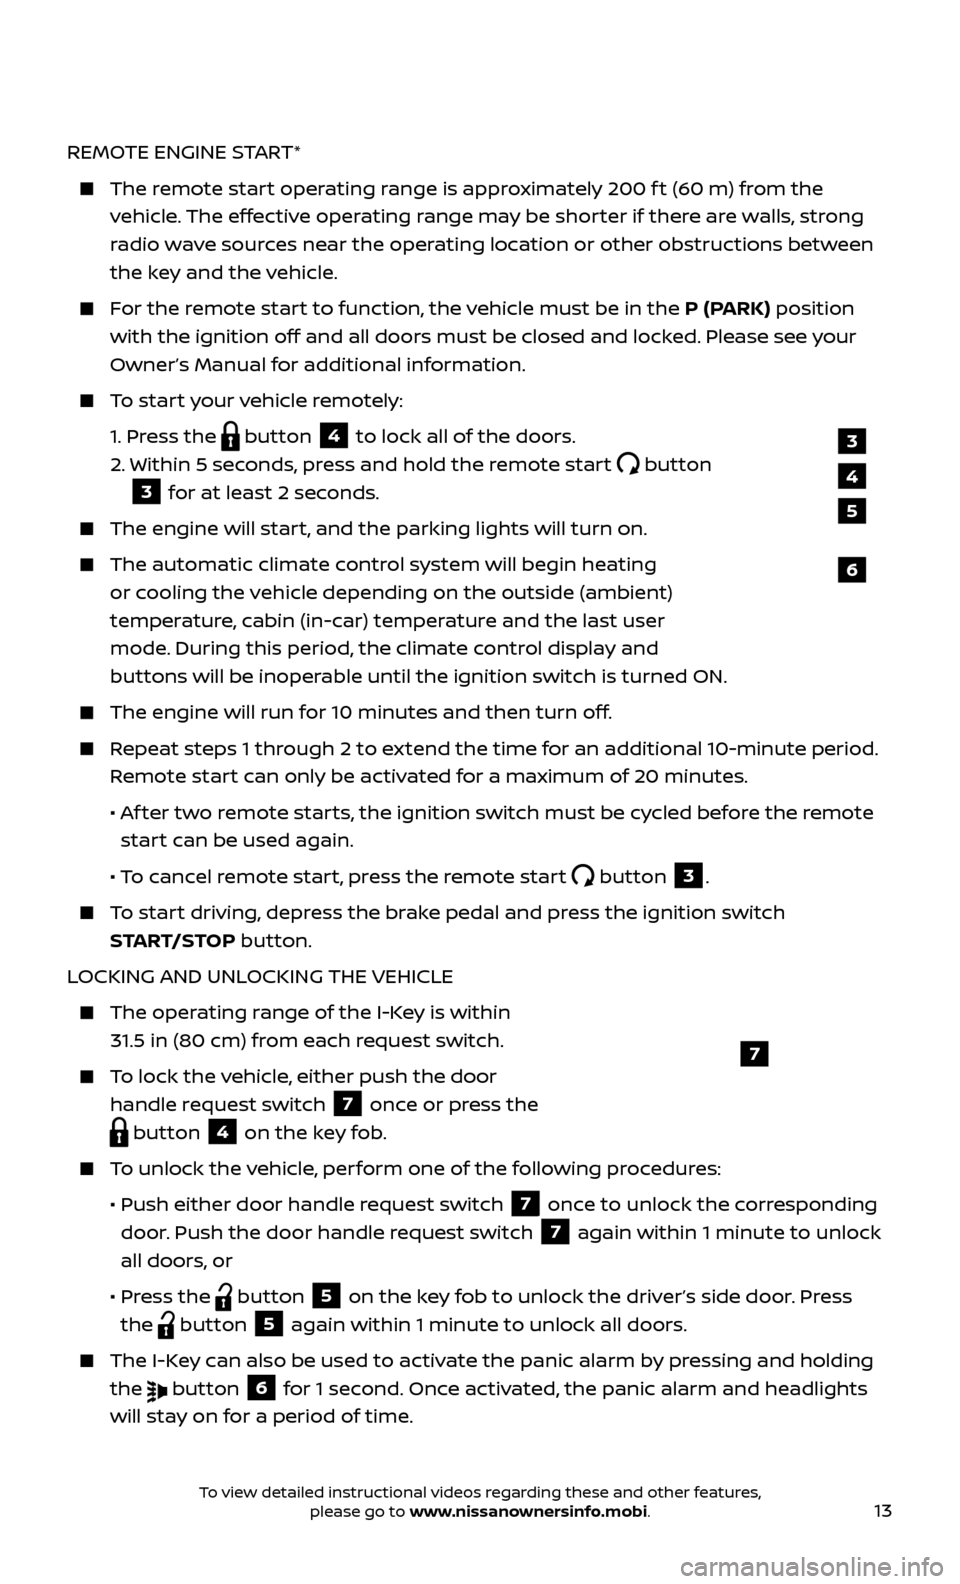
REMOTE ENGINE START*
The remote start operating range is approximately 200 f t (60 m) from the vehicle. The effective operating range may be shorter if there are walls, strong
radio wave sources near the operating location or other obstructions between
the key and the vehicle.
For the remote start to function, the vehicle must be in the P (PARK) position with the ignition off and all doors must be closed and locked. Please see your
Owner’s Manual for additional information.
To start your vehicle remotely:
1.
Press the
button 4 to lock all of the doors.
2.
Within 5 sec
onds, press and hold the remote start
button
3 for at least 2 seconds.
The engine wil l start, and the parking lights will turn on.
The automatic climate c ontrol system will begin heating
or cooling the vehicle depending on the outside (ambient)
temperature, cabin (in-car) temperature and the last user
mode. During this period, the climate control display and
buttons will be inoperable until the ignition switch is turned ON.
The engine wil l run for 10 minutes and then turn off.
Repeat steps 1 through 2 to extend the time for an additional 10-minute period.
Remote start can only be activated for a maximum of 20 minutes.
•
A
f ter two remote starts, the ignition switch must be cycled before the remote
start can be used again.
• T
o cancel remote start, press the remote start
button 3.
To start driving, depress the brake pedal and press the ignition switch START/STOP button.
LOCKING AND UNLOCKING THE VEHICLE
The oper ating range of the I-Key is within
31.5 in (80 cm) from each request switch.
To lock the vehicle, either push the door handle request switch
7 once or press the
button 4 on the key fob.
To unlock the vehicle, perform one of the following procedures:
•
Push either door hand
le request switch
7 once to unlock the corresponding
door. Push the door handle request switch
7 again within 1 minute to unlock
all doors, or
•
Pr
ess the
button 5 on the key fob to unlock the driver’s side door. Press
the
button 5 again within 1 minute to unlock all doors.
The I-Key can also be used to activate the panic alarm by pressing and holding the
button 6 for 1 second. Once activated, the panic alarm and headlights
will stay on for a period of time.
7
3
4
6
5
To view detailed instructional videos regarding these and other features, please go to www.nissanownersinfo.mobi.
Page 16 of 38

14
AUTO UNLOCK
In the Vehicle Settings menu in the vehicle information display, there are three
options to choose from for the auto unlock function:
•
OFF - A
uto Unlock is disabled.
•
IGNITION OFF - A
ll doors unlock when the ignition is turned off.
•
SHIFT
TO PARK - All doors unlock when the shif t lever is moved to the
P (PARK) position.
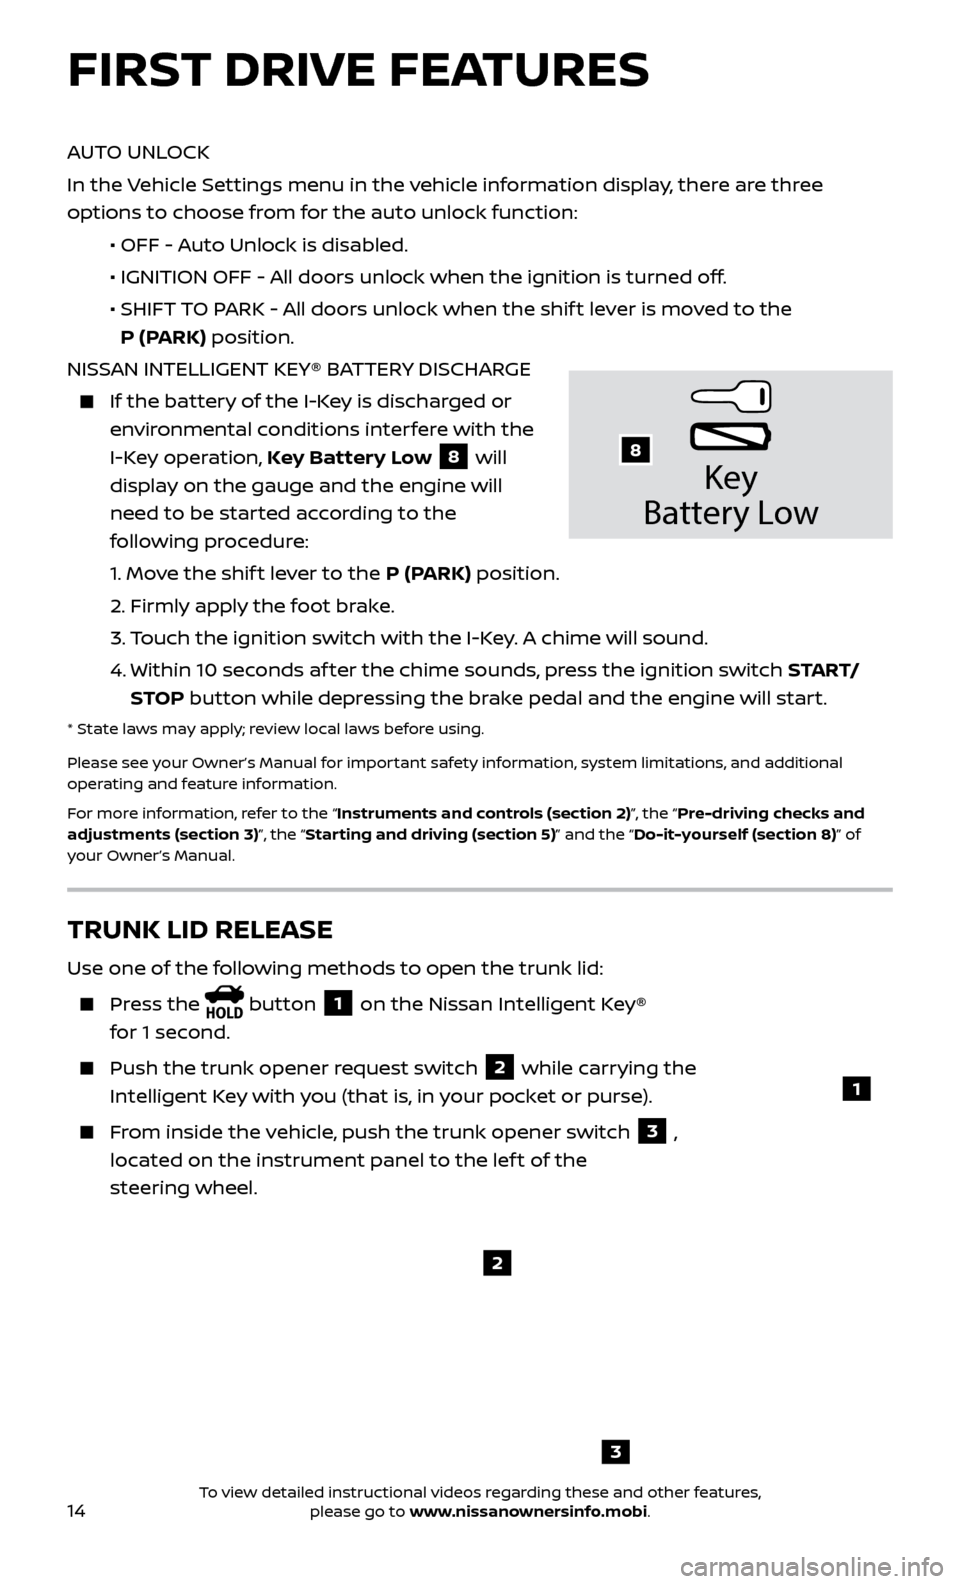
NISSAN INTELLIGENT KEY® BATTERY DISCHARGE
If the bat tery of the I-Key is discharged or
environmental conditions interfere with the
I-Key operation, Key Battery Low
8 will
display on the gauge and the engine will
need to be started according to the
following procedure:
1.
Move the shif t lever to the P (PARK) position.
2.
Firmly apply the foot brake.
3.
T
ouch the ignition switch with the I-Key. A chime will sound.
4.
Within 10 sec
onds af ter the chime sounds, press the ignition switch S TA R T/
STOP button while depressing the brake pedal and the engine will start.
* State laws may apply; review local laws before using.
Please see your Owner’s Manual for important safety information, system limitations, and additional
operating and feature information.
For more information, refer to the “Instruments and controls (section 2)”, the “Pre-driving checks and
adjustments (section 3)”, the “Starting and driving (section 5)” and the “Do-it-yourself (section 8)” of
your Owner’s Manual.
Key
Battery Lo w
8
FIRST DRIVE FEATURES
3
TRUNK LID RELEASE
Use one of the following methods to open the trunk lid:
Press the button 1 on the Nissan Intelligent Key®
for 1 second.
Push the trunk opener r equest switch 2 while carrying the
Intelligent Key with you (that is, in your pocket or purse).
From inside the vehicle, push the trunk opener switch 3 ,
located on the instrument panel to the lef t of the
steering wheel.
1
2
To view detailed instructional videos regarding these and other features, please go to www.nissanownersinfo.mobi.
Page 19 of 38

17
STARTING/STOPPING THE ENGINE
It is important to make sure the Nissan
Intelligent Key® is with you (that is, in your
pocket or purse).
Depress the brake pedal.
Press the ignition switch START/STOP
button to start the engine.
TURNING THE ENGINE OFF
Move the shif t lever to the P (PARK) position.
Press the ignition switch START/STOP button to turn the engine off.
Please see your Owner’s Manual for important safety information, system limitations, and additional
operating and feature information.
For more information, refer to the “Starting and driving (section 5)” of your Owner’s Manual.
3. Move the shif t lever to the R (REVERSE) position.
4.
Both outside mirr
or surfaces will turn downward. (The mirror control switch
1
must be out of the center [neutral] position.)
The outside mirror surfaces will return to their original positions when one of the
following conditions occurs:
The shift lever is moved to any position other than R (REVERSE).
The outside mirr or control switch 1 is set to the center (neutral) position.
The ignition switch is plac
ed in the OFF position.
Please see your Owner’s Manual for important safety information, system limitations, and additional
operating and feature information.
For more information, refer to the “Pre-driving checks and adjustments (section 3)” of your
Owner’s Manual.
HEADLIGHT CONTROL SWITCH
HEADLIGHT CONTROL
Rotate the headlight control switch to the
position 1 to turn on the front
parking, side marker, tail, license plate and
instrument panel lights. Rotate the switch
to the
position 2 to turn on
the headlights.
AUTOLIGHT SYSTEM
The autolight system wil l automatically turn the headlights on when it is dark
and off when it is light. The system will keep the headlights on for a period of
time af ter you turn the ignition off and all doors are closed.
To activate the autolight system, turn the headlight control switch to the AUTO
position
3 then push the ignition switch to ON. To deactivate the autolight
system, turn the headlight control switch to the
OFF position, position 1
or
position 2.
1
3
2
To view detailed instructional videos regarding these and other features, please go to www.nissanownersinfo.mobi.