light NISSAN MAXIMA 2021 Owner´s Manual
[x] Cancel search | Manufacturer: NISSAN, Model Year: 2021, Model line: MAXIMA, Model: NISSAN MAXIMA 2021Pages: 476, PDF Size: 3.32 MB
Page 101 of 476

•When the power steering warning
light illuminates with the engine run-
ning, there will be no power assist for
the steering. You will still have control
of the vehicle, but the steering will be
harder to operate. Have the power
steering system checked. It is recom-
mended that you visit a NISSAN
dealer for this service.
When the ignition switch is placed in the ON
position, the power steering warning light
illuminates. Af ter starting the engine, the
power steering warning light turns off. This
indicates the power steering is operational.
If the power steering warning light illumi-
nates while the engine is running, it may
indicate the power steering is not function-
ing properly and may need servicing. Have
the power steering checked. It is recom-
mended that you visit a NISSAN dealer for
this service.
When the power steering warning light illu-
minates with the engine running, there will
be no power assist for the steering, but you
will still have control of the vehicle. At this
time, greater steering effort is required to
operate the steering wheel, especially in
sharp turns and at low speeds. For additional information, see “Power
steering” (P. 5-112).
Rear Automatic Braking
(RAB) warning light
This light comes on when the ignition
switch is placed in the ON position. It turns
off af ter the engine is started.
This light illuminates when the RAB system
is turned off in the vehicle information
display.
If the light illuminates when the RAB sys-
tem is on, it may indicate that the system is
unavailable. For additional information, see
“Rear Automatic Braking (RAB)” (P. 5-80).
Slip indicator light
This indicator light will blink when the Ve-
hicle Dynamic Control (VDC) system is op-
erating, thus alerting the driver to the fact
that the road surface is slippery and the
vehicle is nearing its traction limits.
You may feel or hear the system working;
this is normal.
The light will blink for a few seconds af ter
the VDC system stops limiting wheel spin.The
indicator light also comes on
when you place the ignition switch in the
ON position. The light will turn off af ter ap-
proximately 2 seconds if the system is
operational.
If the light remains on continuously, it may
indicate a failure of the VDC system. If the
light does not come on or remains on con-
tinuously, have the system checked. It is
recommended that you visit a NISSAN
dealer for this service.
Vehicle Dynamic Control
(VDC) OFF indicator light
This indicator light comes on when the
VDC OFF switch is pushed to off. This indi-
cates the VDC system has been turned off.
Push the VDC OFF switch again or restart
the engine and the system will operate
normally. For additional information, see
“Vehicle Dynamic Control (VDC) system”
(P. 5-113).
The VDC OFF indicator light also comes on
when you place the ignition switch in the
ON position. The light will turn off af ter
about 2 seconds if the system is opera-
tional. If the
indicator light comes on
and remains on while you are driving, it
may indicate a failure of the VDC system.
Instruments and controls2-15
Page 102 of 476
Have the VDC system checked. It is recom-
mended that you visit a NISSAN dealer for
this service.
While the VDC system is operating, you
might feel a slight vibration or hear the sys-
tem working when starting the vehicle or
accelerating, but this is normal.
WARNING/INDICATOR LIGHTS
(other)
For additional information, see “Vehicle in-
formation display” (P. 2-17).
Front fog light indicator
light (green) (if so
equipped)
The front fog light indicator light illumi-
nates when the front fog lights are on. For
additional information, see “Fog light
switch” (P. 2-51).
High Beam Assist indicator
light (green)
This indicator light illuminates when the
headlights come on while the headlight
switch is in the AUTO position with the high
beams selected. This indicates that the
high beam assist is operational.For additional information, see “Headlight
and turn signal switch” (P. 2-45).
High beam indicator light
(blue)
This blue light comes on when the head-
light high beams are on and goes out when
the low beams are selected.
Side light and headlight
indicator light (green)
The side light and headlight indicator light
illuminates when the side light or head-
lights are on (not including the Daytime
Running Lights system or signature lights).
If the headlight switch is in the AUTO posi-
tion, the side light and headlight indicator
light will illuminate when the headlights
turn on. For additional information, see
“Headlight and turn signal switch” (P. 2-45).
Turn signal/hazard
indicator lights (green)
The appropriate light flashes when the turn
signal switch is activated.
Both lights flash when the hazard switch is
turned on.
AUDIBLE REMINDERS
Brake pad wear warning
The disc brake pads have audible wear
warnings. When a disc brake pad requires
replacement, it makes a high pitched
scraping sound when the vehicle is in mo-
tion, whether or not the brake pedal is de-
pressed. Have the brakes checked as soon
as possible if the warning sound is heard. It
is recommended that you visit a NISSAN
dealer for this service.
Light reminder chime
With the ignition switch placed in the OFF
position, a chime sounds when the driver's
door is opened if the headlights or parking
lights are on.
Turn the headlight control switch off or to
AUTO before leaving the vehicle.
2-16Instruments and controls
Page 108 of 476
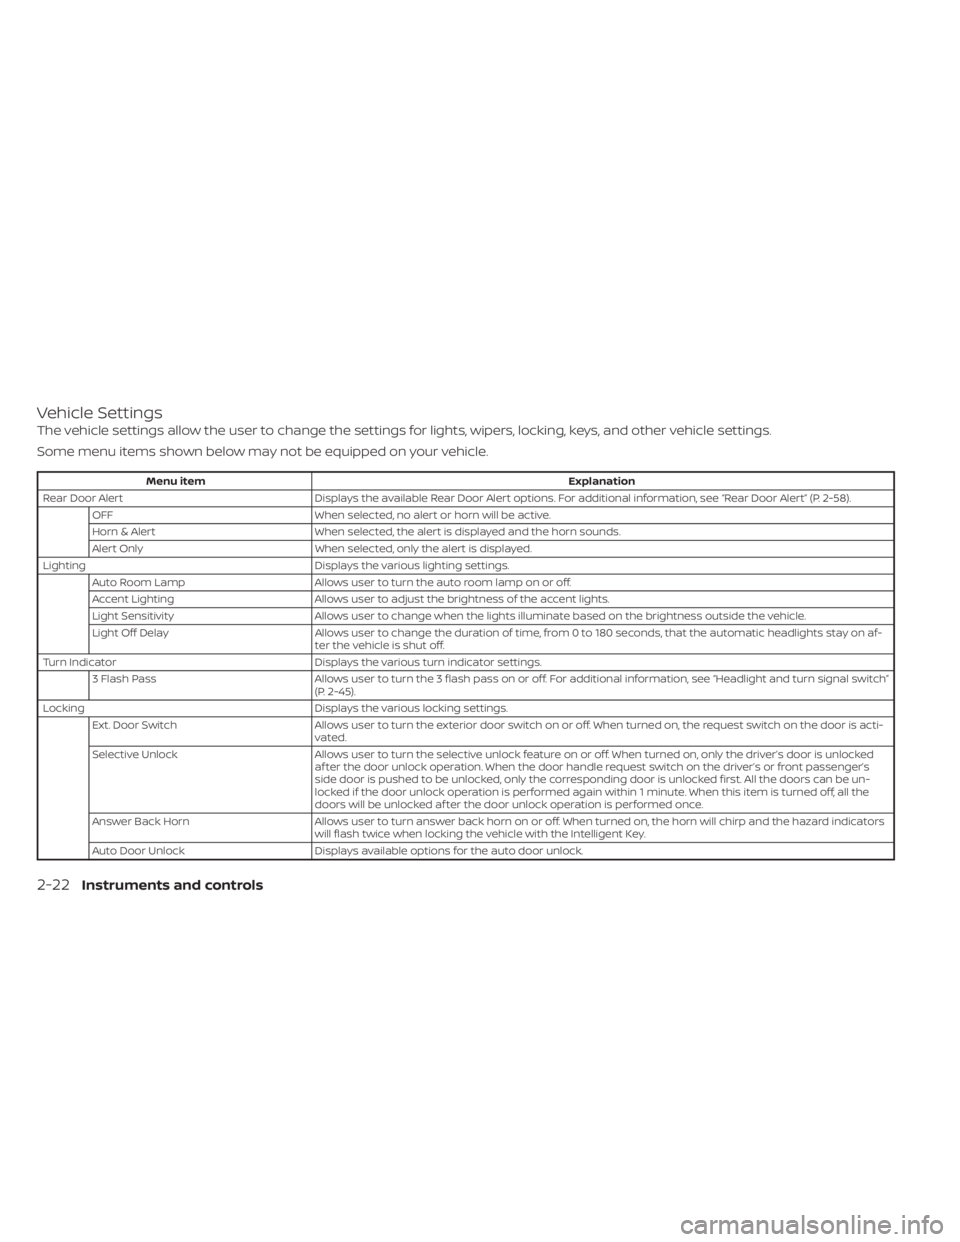
Vehicle Settings
The vehicle settings allow the user to change the settings for lights, wipers, locking, keys, and other vehicle settings.
Some menu items shown below may not be equipped on your vehicle.
Menu itemExplanation
Rear Door Alert Displays the available Rear Door Alert options. For additional information, see “Rear Door Alert” (P. 2-58).
OFF When selected, no alert or horn will be active.
Horn & Alert When selected, the alert is displayed and the horn sounds.
Alert Only When selected, only the alert is displayed.
Lighting Displays the various lighting settings.
Auto Room Lamp Allows user to turn the auto room lamp on or off.
Accent Lighting Allows user to adjust the brightness of the accent lights.
Light Sensitivity Allows user to change when the lights illuminate based on the brightness outside the vehicle.
Light Off Delay Allows user to change the duration of time, from 0 to 180 seconds, that the automatic headlights stay on af-
ter the vehicle is shut off.
Turn Indicator Displays the various turn indicator settings.
3 Flash Pass Allows user to turn the 3 flash pass on or off. For additional information, see “Headlight and turn signal switch”
(P. 2-45).
Locking Displays the various locking settings.
Ext. Door Switch Allows user to turn the exterior door switch on or off. When turned on, the request switch on the door is acti-
vated.
Selective Unlock Allows user to turn the selective unlock feature on or off. When turned on, only the driver’s door is unlocked
af ter the door unlock operation. When the door handle request switch on the driver’s or front passenger’s
side door is pushed to be unlocked, only the corresponding door is unlocked first. All the doors can be un-
locked if the door unlock operation is performed again within 1 minute. When this item is turned off, all the
doors will be unlocked af ter the door unlock operation is performed once.
Answer Back Horn Allows user to turn answer back horn on or off. When turned on, the horn will chirp and the hazard indicators
will flash twice when locking the vehicle with the Intelligent Key.
Auto Door Unlock Displays available options for the auto door unlock.
2-22Instruments and controls
Page 113 of 476

• Using the steering wheel switch, a drivercan select “Dismiss Message” to clear the
display for a period of time. If no selection
is made, this message automatically
turns off af ter a period of time.
• Using the steering wheel switch, a driver can select “Disable Alert” to disable the
selected alert for the remainder of the
current trip.
WARNING
Selecting “Dismiss Message” during a
stop within a trip temporarily dis-
misses the message for that stop with-
out turning the system off. Alerts can
be provided for other stops during the
trip. Selecting “Disable Alert” turns off
the Rear Door Alert system for the re-
mainder of a trip and no audible alert
will be provided.
NOTE:
This system is disabled until a driver en-
ables it using the vehicle information
display. For additional information, see
“How to use the vehicle information dis-
play ” (P. 2-18).
For additional information, see “Rear Door
Alert” (P. 2-58).
Check Rear Seat For All Articles
When the system is enabled, this message
appears when the vehicle comes to a com-
plete stop, the vehicle is transitioned from
the D (Drive) position to P (Park) position,
and the driver exits the vehicle. This mes-
sage alerts the driver, af ter a period of time,
to check for items in the rear seat af ter the
audible alert has been provided.
NOTE:
This system is disabled until a driver en-
ables it using the vehicle information
display. For additional information, see
“How to use the vehicle information dis-
play ” (P. 2-18).
For additional information, see “Rear Door
Alert” (P. 2-58).
Door/Trunk Open
This warning appears when a door or the
trunk has been opened.
Headlight System Error: See Owner’s
Manual
This warning appears when there is an er-
ror with the system. For additional informa-
tion, see “Headlight and turn signal switch”
(P. 2-45).
Loose Fuel Cap
This warning appears when the fuel-filler
cap is not tightened correctly af ter the ve-
hicle has been refueled. For additional in-
formation, see “Fuel-filler cap” (P. 3-22).
Low Fuel
This warning appears when the fuel level in
the fuel tank is getting low. Refuel as soon
as it is convenient, preferably before the
fuel gauge reaches 0 (Empty). There will be
a small reserve of fuel in the tank when
the fuel gauge needle reaches 0 (Empty).
Low Outside Temperature
This warning appears if the outside tem-
perature is below 37°F (3°C). The tempera-
ture can be changed to display in Celsius or
Fahrenheit. For additional information, see
“Settings” (P. 2-19).
Low Washer Fluid
This warning appears when the
windshield-washer fluid is at a low level.
Add windshield-washer fluid as necessary.
For additional information, see
“Windshield-washer fluid” (P. 8-12).
Instruments and controls2-27
Page 114 of 476
Oil and Filter
This indicator appears when the customer
set distance comes for changing the en-
gine oil and filter. You can set or reset the
distance for checking or replacing these
items. For scheduled maintenance items
and intervals, see “Maintenance and
schedules” (P. 9-2).
Other
This indicator appears when the customer
set distance is reached for checking or re-
placing maintenance items other than the
engine oil, oil filter and tires. Other mainte-
nance items can include such things as air
filter or tire rotation. The distance for
checking or replacing the items can be set
or reset.
Outside Temperature
Display
The outside temperature display appears
in the center region of the vehicle informa-
tion display.
Power turned off to save the battery
This message appears af ter the ignition
switch is automatically turned off. For addi-
tional information, see “Push-button igni-
tion switch positions” (P. 5-10).
Power will turn off to save the battery
This message appears in the vehicle infor-
mation display af ter a period of time if the
ignition switch is in the ACC or the ON po-
sition and if the vehicle is in P (Park). For
additional information, see “Push-button
ignition switch positions” (P. 5-10).
Push brake and start
switch to drive
This indicator appears when the shif t lever
is in the P (Park) position.
This indicator also appears when the ve-
hicle has been started using the Remote
Engine Start function.
This indicator means that the engine will
start by pushing the ignition switch with
the brake pedal depressed. You can start
the engine from any position of the ignition
switch.
Push ignition to OFF
Af ter the Push ignition to OFF warning ap-
pears, the warning will appear if the ignition
switch is placed in the ACC position when
the shif t lever is moved to the P (Park)
position.
To turn off the Push warning, place the ig-
nition switch in the ON position and then in
the LOCK position.
Release Parking Brake
This warning appears when the parking
brake is set and the vehicle is driven.
Reminder: Turn OFF
Headlights
This warning appears when the headlights
are lef t in the ON position when exiting the
vehicle. Place the headlight switch in the
OFF (if so equipped) or AUTO position. For
additional information, see “Headlight and
turn signal switch” (P. 2-45).
Rotate the steering and
push the start switch
This warning appears when the steering
lock cannot be unlocked or is malfunction-
ing. This warning may appear if the steer-
ing wheel is not aligned with the locking
2-28Instruments and controls
Page 115 of 476
mechanism. If this warning appears, lightly
turn the steering wheel right and lef t to
realign the steering wheel position with the
locking mechanism, and then push the ig-
nition switch to ON. This warning will re-
main on until the steering lock is realigned
with the locking mechanism and the igni-
tion switch has been pressed to ON, or until
15 seconds has elapsed. If the warning con-
tinues to appear even af ter realignment,
have the system checked. It is recom-
mended that you visit a NISSAN dealer for
this service.
The Master warning light will remain illumi-
nated until the Electrical steering lock re-
lease warning is cleared.
Shif t to Park
This warning appears when the ignition
switch is in the ACC or OFF position and the
shif t lever is not in the P (Park) position. Also,
a chime sounds when the ignition switch is
in the ACC or OFF position.
If this warning appears, move the shif t lever
to the P (Park) position and start the engine.
Shipping Mode On Push Storage Fuse
This warning may appear if the extended
storage switch is not pushed in. When this
warning appears, push in the extended
storage switch to turn off the warning. For
additional information, see “Extended stor-
age switch” (P. 2-60).
SPORT
This indicator appears when sport mode is
activated. The sport mode screen will re-
main on for about 6 seconds unless the
driver dismisses the notification early using
the vehicle information display switches.
For additional information, see “Sport
mode” (P. 5-22).
Tire
This indicator appears when the customer
set distance is reached for replacing tires.
You can set or reset the distance for replac-
ing tires.
WARNING
The tire replacement indicator is not a
substitute for regular tire checks, includ-
ing tire pressure checks. For additional in-
formation, see “Changing wheels and
tires” (P. 8-34). Many factors including tireinflation, alignment, driving habits and
road conditions affect tire wear and when
tires should be replaced. Setting the tire
replacement indicator for a certain driv-
ing distance does not mean your tires will
last that long. Use the tire replacement
indicator as a guide only and always per-
form regular tire checks. Failure to per-
form regular tire checks, including tire
pressure checks could result in tire failure.
Serious vehicle damage could occur and
may lead to a collision, which could result
in serious personal injury or death.
Tire Pressure Low - Add Air
This warning appears when the low tire
pressure warning light in the meter illumi-
nates and low tire pressure is detected. The
warning appears each time the ignition
switch is placed in the ON position as long
as the low tire pressure warning light re-
mains illuminated. If this warning appears,
stop the vehicle and adjust the tire pres-
sures of all four tires to the recommended
COLD tire pressure shown on the Tire and
Loading Information label. For additional
information, see “Low tire pressure warning
light” (P. 2-12) and “Tire Pressure Monitoring
System (TPMS)” (P. 5-5).
Instruments and controls2-29
Page 119 of 476
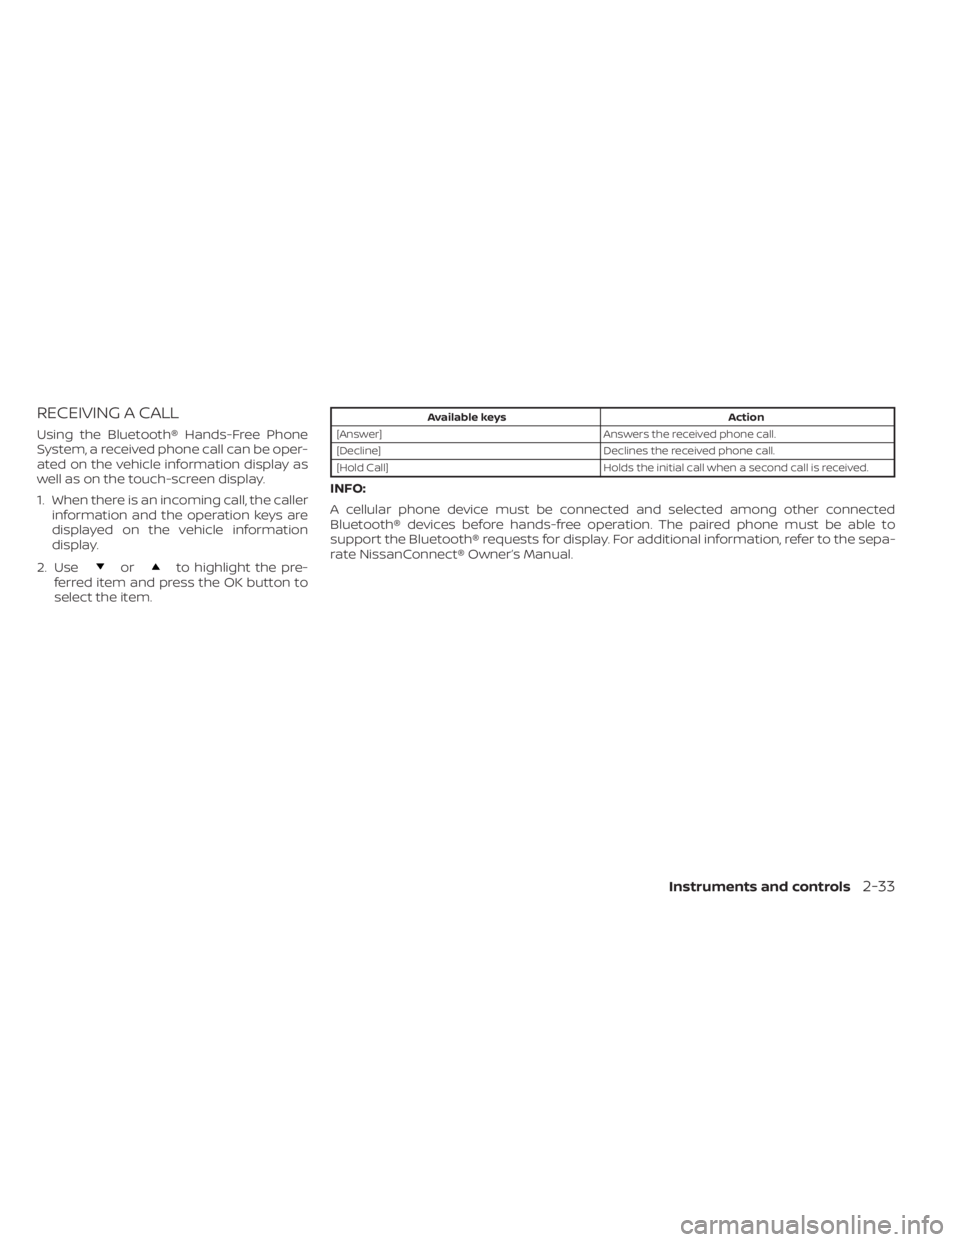
RECEIVING A CALL
Using the Bluetooth® Hands-Free Phone
System, a received phone call can be oper-
ated on the vehicle information display as
well as on the touch-screen display.
1. When there is an incoming call, the callerinformation and the operation keys are
displayed on the vehicle information
display.
2. Use
orto highlight the pre-
ferred item and press the OK button to
select the item.
Available keys Action
[Answer] Answers the received phone call.
[Decline] Declines the received phone call.
[Hold Call] Holds the initial call when a second call is received.
INFO:
A cellular phone device must be connected and selected among other connected
Bluetooth® devices before hands-free operation. The paired phone must be able to
support the Bluetooth® requests for display. For additional information, refer to the sepa-
rate NissanConnect® Owner’s Manual.
Instruments and controls2-33
Page 120 of 476
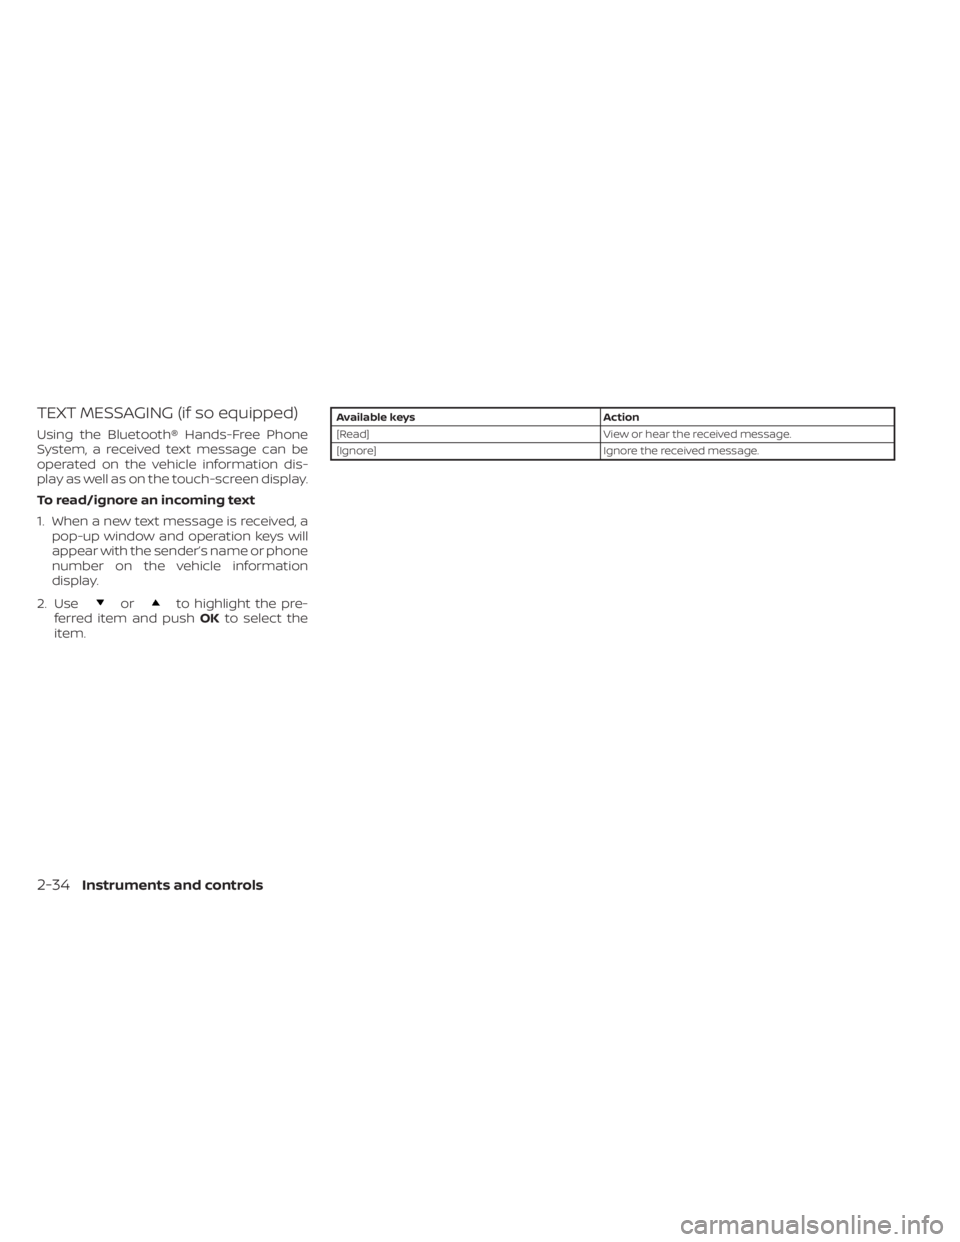
TEXT MESSAGING (if so equipped)
Using the Bluetooth® Hands-Free Phone
System, a received text message can be
operated on the vehicle information dis-
play as well as on the touch-screen display.
To read/ignore an incoming text
1. When a new text message is received, apop-up window and operation keys will
appear with the sender’s name or phone
number on the vehicle information
display.
2. Use
orto highlight the pre-
ferred item and push OKto select the
item.
Available keys Action
[Read] View or hear the received message.
[Ignore] Ignore the received message.
2-34Instruments and controls
Page 121 of 476
![NISSAN MAXIMA 2021 Owner´s Manual To reply to/exit from a text
1. When a new text message is receivedand [Read] is selected, operation keys
are displayed on the vehicle information
display.
2. Use
orto highlight the pre-
ferred item a NISSAN MAXIMA 2021 Owner´s Manual To reply to/exit from a text
1. When a new text message is receivedand [Read] is selected, operation keys
are displayed on the vehicle information
display.
2. Use
orto highlight the pre-
ferred item a](/img/5/40345/w960_40345-120.png)
To reply to/exit from a text
1. When a new text message is receivedand [Read] is selected, operation keys
are displayed on the vehicle information
display.
2. Use
orto highlight the pre-
ferred item and press the OK button to
select the item.
Available keys Action
[Reply] Available pre-determined messages will be displayed
on the vehicle information display if the steering
switch controls are used. Further operations, such as
voice recognition reply operation, is available when
using the touch-screen display.
[Exit] Ends text message operation and the vehicle infor-
mation display will show the previous screen.
INFO
A cellular phone device must be connected and selected from among other connected
Bluetooth® devices before hands-free operation. The paired phone must be able to
support the Bluetooth® requests for display. For additional information, refer to the sepa-
rate NissanConnect® Owner’s Manual.
Instruments and controls2-35
Page 126 of 476

The system helps deter vehicle thef t but
cannot prevent it, nor can it prevent the
thef t of interior or exterior vehicle compo-
nents in all situations. Always secure your
vehicle even if parking for a brief period.
Never leave your Intelligent Key in the ve-
hicle, and always lock the vehicle when un-
attended. Be aware of your surroundings,
and park in secure, well-lit areas whenever
possible.
Many devices offering additional protec-
tion, such as component locks, identifica-
tion markers, and tracking systems, are
available at auto supply stores and spe-
cialty shops. A NISSAN dealer may also offer
such equipment. Check with your insur-
ance company to see if you may be eligible
for discounts for various thef t protection
features.
How to arm the vehicle security
system
1. Close all windows.(The system can be
armed even if the windows are open.)
2. Remove the Intelligent Key from the vehicle. 3. Close all doors, hood and trunk. Lock all
doors. The doors can be locked with the
Intelligent Key or door handle request
switch.
4. Confirm that the
security indicator
light stays on for about 30 seconds. The
vehicle security system is now pre-
armed. The vehicle security system will
automatically shif t into the armed
phase. The
security light begins to
flash once every three seconds. If during
the pre-armed phase one of the follow-
ing occurs, the system will not arm:
• Any door is unlocked with the Intelligent Key or door request switch.
• Ignition switch is placed in ACC or ON position.
• Even when the driver and/or passen-
gers are in the vehicle, the system will
activate with all the doors, hood and
trunk lid locked with the ignition switch
placed in the LOCK position. When plac-
ing the ignition switch in the ACC or ON
position, the system will be released.
Vehicle security system activation
The vehicle security system will give the
following alarm:
• The headlights blink and the horn sounds intermittently but synchronously.
• The alarm automatically turns off af ter a period of time. However, the alarm reacti-
vates if the vehicle is tampered with
again.
The alarm is activated by:
• opening any door or hood without using the Intelligent Key (even if the door is un-
locked by releasing the door inside lock
knob).
How to stop an activated alarm
The alarm stops only by pushing thebutton on the Intelligent Key, or pushing the
request switch on the driver's or passen-
ger's door with the Intelligent Key in range
of the door handle.
2-40Instruments and controls