instrument panel NISSAN MURANO 2007 1.G Quick Reference Guide
[x] Cancel search | Manufacturer: NISSAN, Model Year: 2007, Model line: MURANO, Model: NISSAN MURANO 2007 1.GPages: 14, PDF Size: 0.96 MB
Page 3 of 14

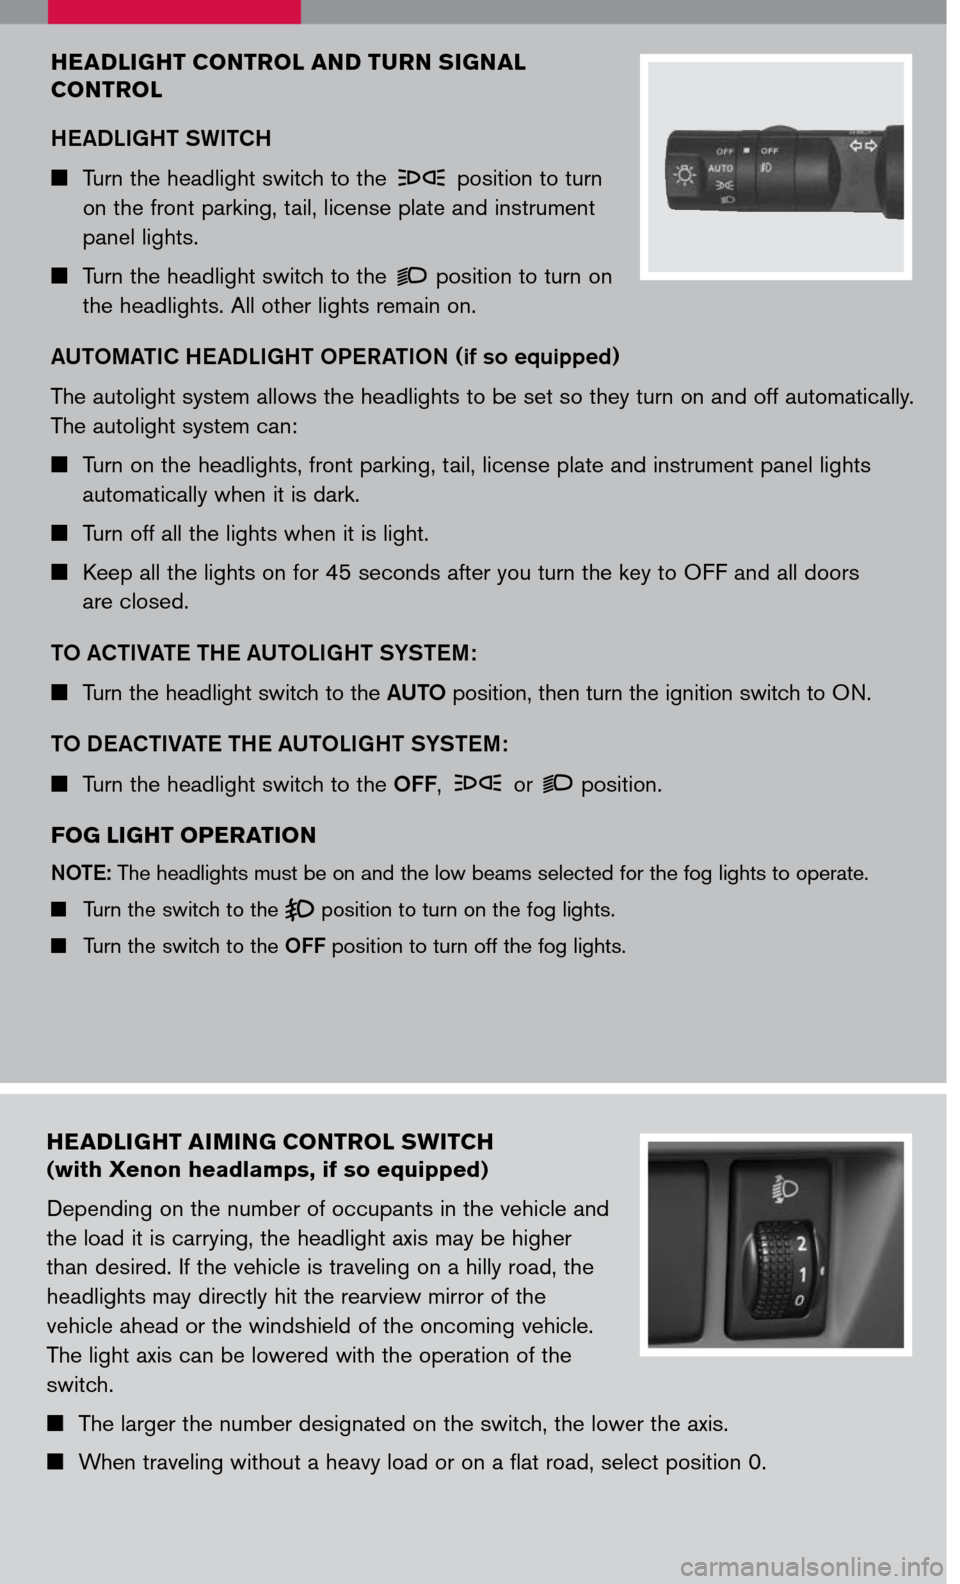
HEADLIGHT AIMING CONTROL SWITCH
(with Xenon headlamps, if so equipped)
Depending on the number of occupants in the vehicle and
the load it is carrying, the headlight axis may be higher
than desired. If the vehicle is traveling on a hilly road, the
headlights may directly hit the rearview mirror of the
vehicle ahead or the windshield of the oncoming vehicle.
The light axis can be lowered with the operation of the
switch.
The larger the number designated on the switch, the lower the axis.
When traveling without a heavy load or on a flat road, select position 0.
HEADLIGHT CONTROL AND TURN SIGNAL
CONTROL
HEADLIGHT SWITCH
Turn the headlight switch to the position to turn
on the front parking, tail, license plate and instrument
panel lights.
Turn the headlight switch to the position to turn on
the headlights. All other lights remain on.
AUTOMATIC HEADLIGHT OPERATION (if so equipped)
The autolight system allows the headlights to be set so they turn on and off automatically.
The autolight system can:
Turn on the headlights, front parking, tail, license plate and instrument panel lights
automatically when it is dark.
Turn off all the lights when it is light.
Keep all the lights on for 45 seconds after you turn the key to OFF and all doors
are closed.
TO ACTIVATE THE AUTOLIGHT SYSTEM :
Turn the headlight switch to the AUTO position, then turn the ignition switch to ON.
TO DEACTIVATE THE AUTOLIGHT SYSTEM :
Turn the headlight switch to the OFF, or position.
FOG LIGHT OPERATION
NOTE: The headlights must be on and the low beams selected for the fog lights to operate.
Turn the switch to the position to turn on the fog lights.
Turn the switch to the OFF position to turn off the fog lights.
Page 5 of 14

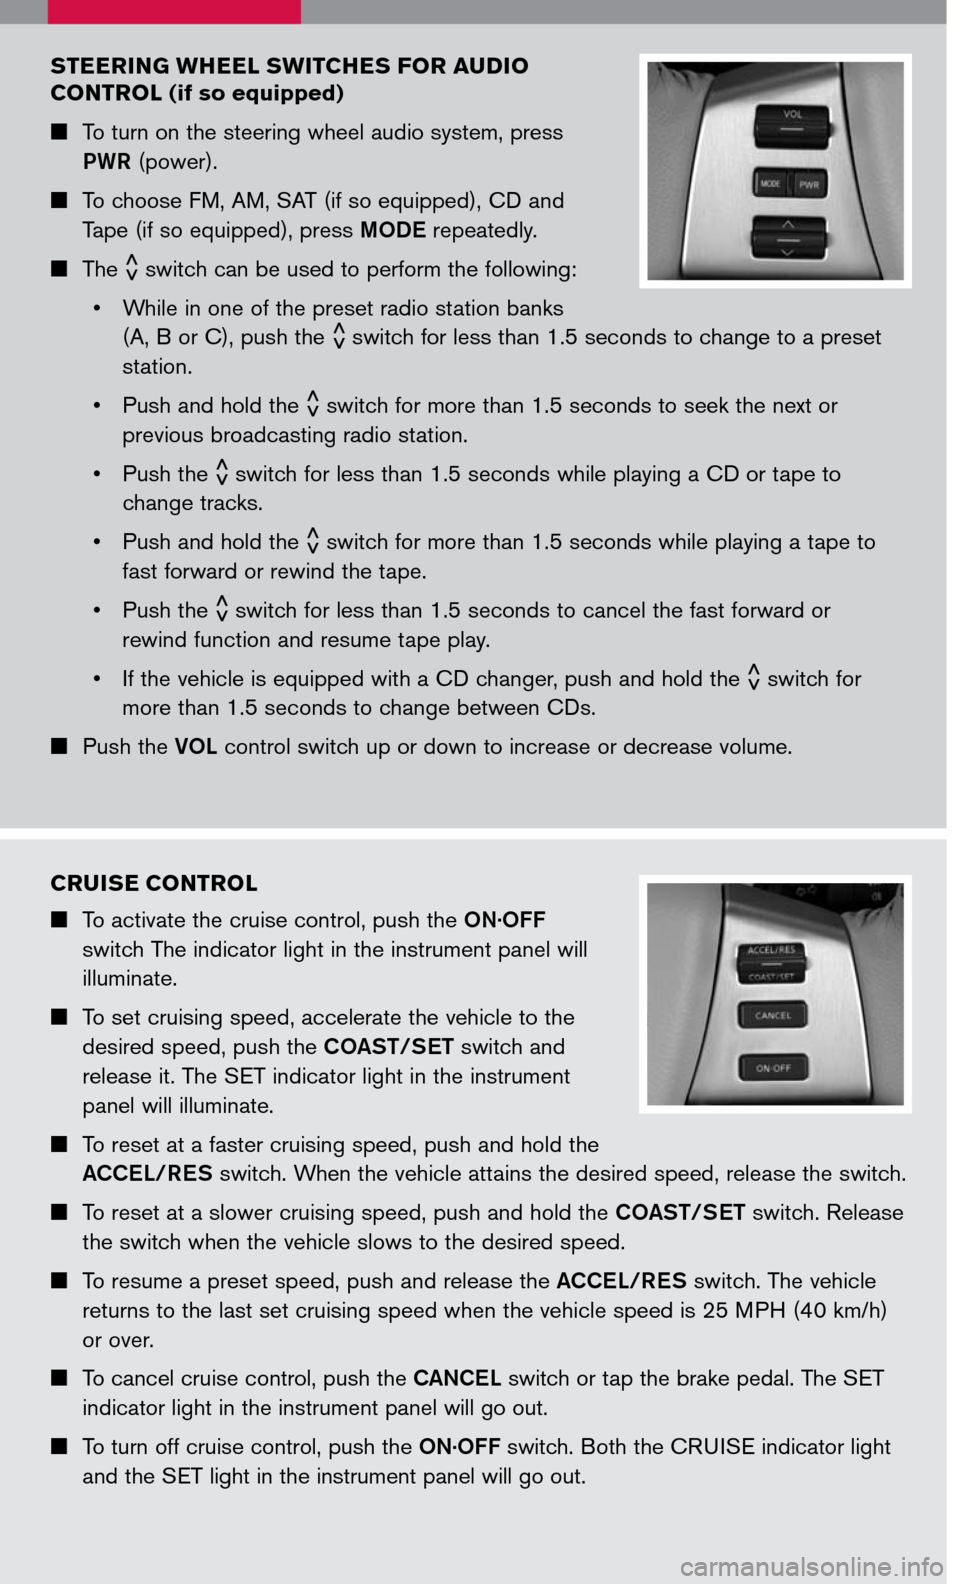
STEERING WHEEL SWITCHES FOR AUDIO
CONTROL (if so equipped)
To turn on the steering wheel audio system, press
PWR (power).
To choose FM, AM, SAT (if so equipped), CD and
Tape (if so equipped), press MODE repeatedly.
The
< >
switch can be used to perform the following:
• While in one of the preset radio station banks
(A, B or C), push the
< >
switch for less than 1.5 seconds to change to a preset
station.
• Push and hold the
< >
switch for more than 1.5 seconds to seek the next or
previous broadcasting radio station.
• Push the
< >
switch for less than 1.5 seconds while playing a CD or tape to
change tracks.
• Push and hold the
< >
switch for more than 1.5 seconds while playing a tape to
fast forward or rewind the tape.
• Push the
< >
switch for less than 1.5 seconds to cancel the fast forward or
rewind function and resume tape play.
• If the vehicle is equipped with a CD changer, push
and hold the
< >
switch for
more than 1.5 seconds to change between CDs.
Push the VOL control switch up or down to increase or decrease volume.
CRUISE CONTROL
To activate the cruise control, push the ON.OFF
switch The indicator light in the instrument panel will
illuminate.
To set cruising speed, accelerate the vehicle to the
desired speed, push the COAST/SET switch and
release it. The SET indicator light in the instrument
panel will illuminate.
To reset at a faster cruising speed, push and hold the
ACCEL/RES switch. When the vehicle attains the desired speed, release the switch.
To reset at a slower cruising speed, push and hold the COAST/SET switch. Release
the switch when the vehicle slows to the desired speed.
To resume a preset speed, push and release the ACCEL/RES switch. The vehicle
returns to the last set cruising speed when the vehicle speed is 25 MPH (40 km/h)
or over.
To cancel cruise control, push the CANCEL switch or tap the brake pedal. The SET
indicator light in the instrument panel will go out.
To turn off cruise control, push the ON.OFF switch. Both the CRUISE indicator light
and the SET light in the instrument panel will go out.