indicator light NISSAN MURANO 2011 Owner´s Manual
[x] Cancel search | Manufacturer: NISSAN, Model Year: 2011, Model line: MURANO, Model: NISSAN MURANO 2011Pages: 433, PDF Size: 3.7 MB
Page 92 of 433
Black plate (90,1)
Model "Z51-D" EDITED: 2010/ 7/ 23
SIC4680
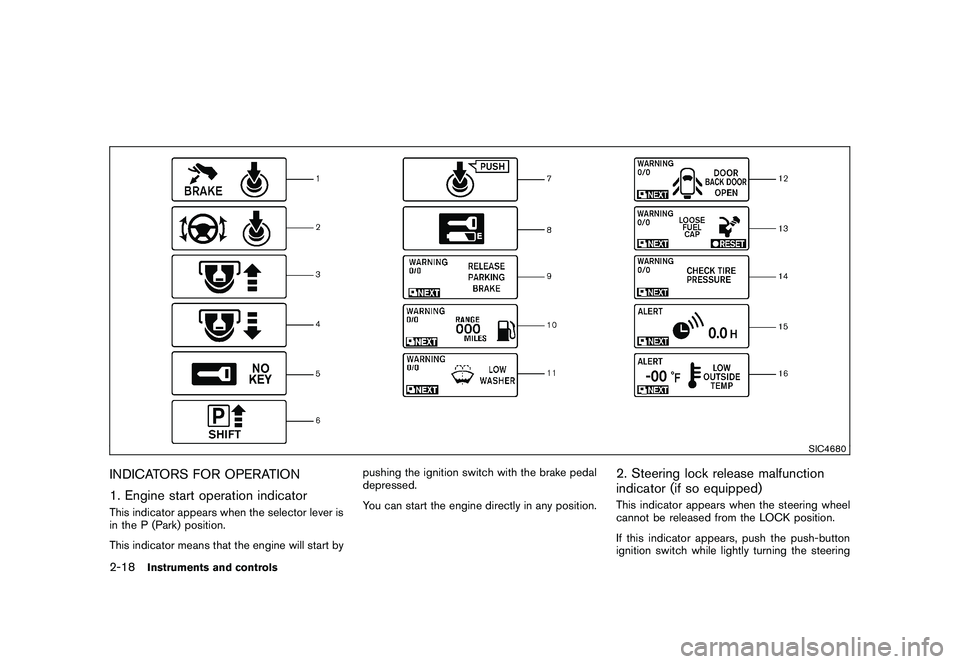
INDICATORS FOR OPERATION
1. Engine start operation indicatorThis indicator appears when the selector lever is
in the P (Park) position.
This indicator means that the engine will start bypushing the ignition switch with the brake pedal
depressed.
You can start the engine directly in any position.
2. Steering lock release malfunction
indicator (if so equipped)This indicator appears when the steering wheel
cannot be released from the LOCK position.
If this indicator appears, push the push-button
ignition switch while lightly turning the steering
2-18
Instruments and controls
Page 94 of 433
Black plate (92,1)
Model "Z51-D" EDITED: 2010/ 9/ 28
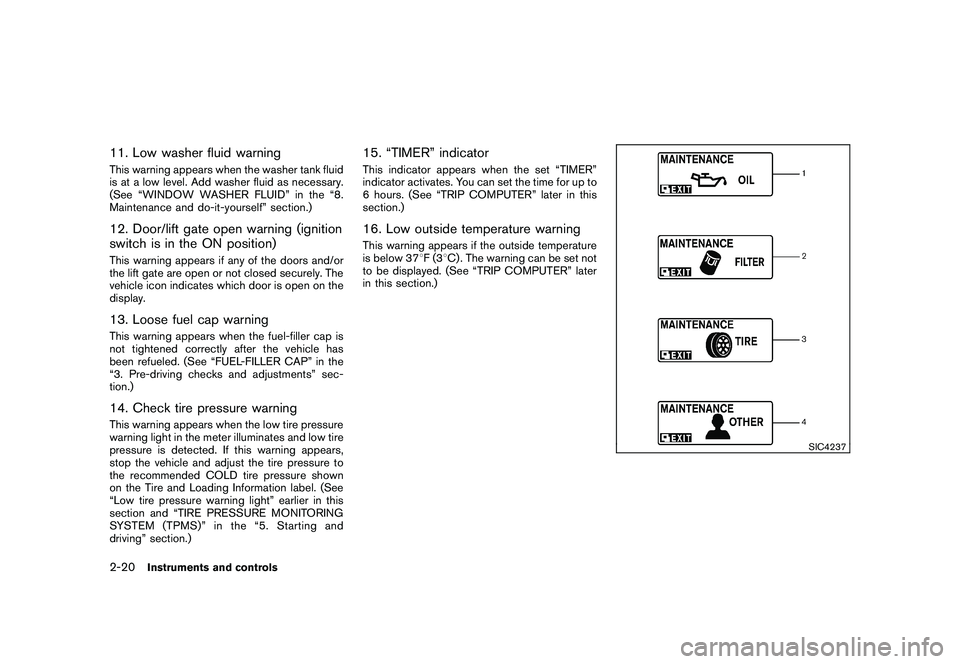
11. Low washer fluid warningThis warning appears when the washer tank fluid
is at a low level. Add washer fluid as necessary.
(See “WINDOW WASHER FLUID” in the “8.
Maintenance and do-it-yourself” section.)12. Door/lift gate open warning (ignition
switch is in the ON position)This warning appears if any of the doors and/or
the lift gate are open or not closed securely. The
vehicle icon indicates which door is open on the
display.13. Loose fuel cap warningThis warning appears when the fuel-filler cap is
not tightened correctly after the vehicle has
been refueled. (See “FUEL-FILLER CAP” in the
“3. Pre-driving checks and adjustments” sec-
tion.)14. Check tire pressure warningThis warning appears when the low tire pressure
warning light in the meter illuminates and low tire
pressure is detected. If this warning appears,
stop the vehicle and adjust the tire pressure to
the recommended COLD tire pressure shown
on the Tire and Loading Information label. (See
“Low tire pressure warning light” earlier in this
section and “TIRE PRESSURE MONITORING
SYSTEM (TPMS)” in the “5. Starting and
driving” section.)
15. “TIMER” indicatorThis indicator appears when the set “TIMER”
indicator activates. You can set the time for up to
6 hours. (See “TRIP COMPUTER” later in this
section.)16. Low outside temperature warningThis warning appears if the outside temperature
is below 378F(3 8C) . The warning can be set not
to be displayed. (See “TRIP COMPUTER” later
in this section.)
SIC4237
2-20
Instruments and controls
Page 100 of 433
Black plate (98,1)
Model "Z51-D" EDITED: 2010/ 7/ 23
SIC2133
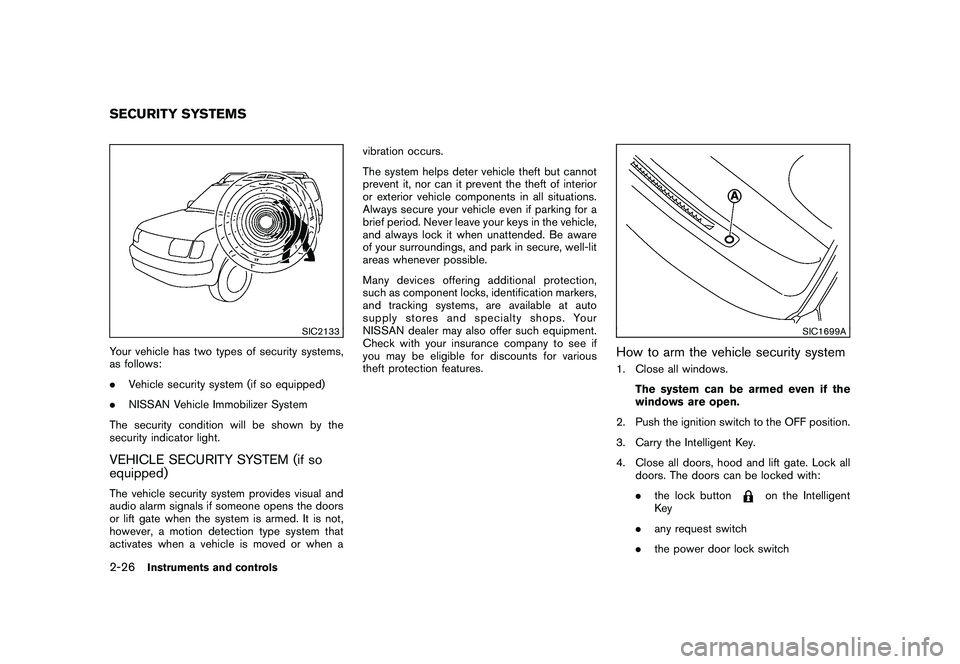
Your vehicle has two types of security systems,
as follows:
.Vehicle security system (if so equipped)
. NISSAN Vehicle Immobilizer System
The security condition will be shown by the
security indicator light.VEHICLE SECURITY SYSTEM (if so
equipped)The vehicle security system provides visual and
audio alarm signals if someone opens the doors
or lift gate when the system is armed. It is not,
however, a motion detection type system that
activates when a vehicle is moved or when a vibration occurs.
The system helps deter vehicle theft but cannot
prevent it, nor can it prevent the theft of interior
or exterior vehicle components in all situations.
Always secure your vehicle even if parking for a
brief period. Never leave your keys in the vehicle,
and always lock it when unattended. Be aware
of your surroundings, and park in secure, well-lit
areas whenever possible.
Many devices offering additional protection,
such as component locks, identification markers,
and tracking systems, are available at auto
supply stores and specialty shops. Your
NISSAN dealer may also offer such equipment.
Check with your insurance company to see if
you may be eligible for discounts for various
theft protection features.
SIC1699A
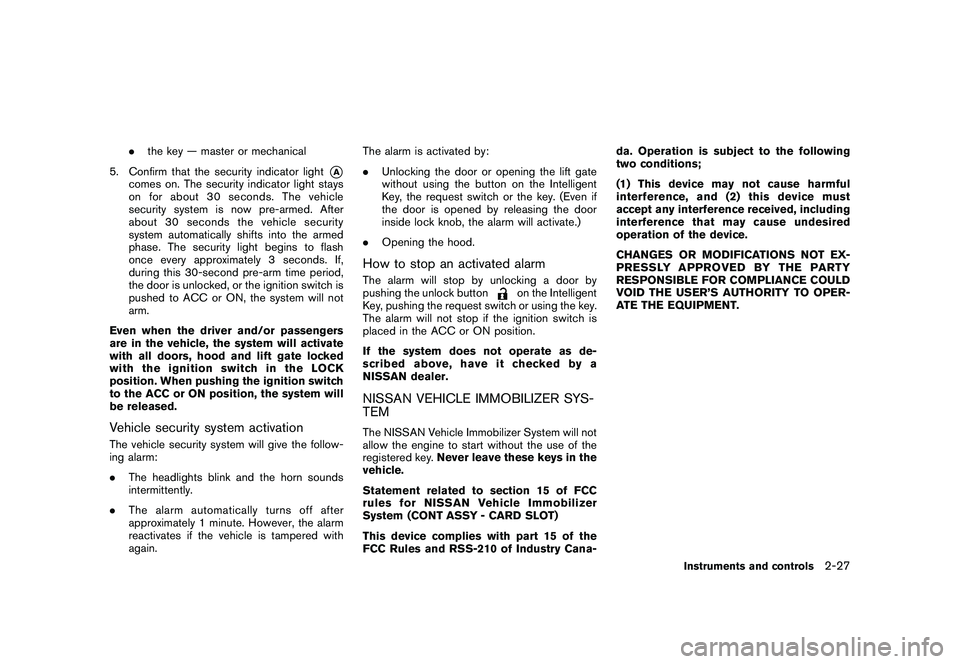
How to arm the vehicle security system1. Close all windows.
The system can be armed even if the
windows are open.
2. Push the ignition switch to the OFF position.
3. Carry the Intelligent Key.
4. Close all doors, hood and lift gate. Lock all doors. The doors can be locked with:
.the lock button
on the Intelligent
Key
. any request switch
. the power door lock switch
SECURITY SYSTEMS2-26
Instruments and controls
Page 101 of 433
Black plate (99,1)
Model "Z51-D" EDITED: 2010/ 7/ 23
.the key — master or mechanical
5. Confirm that the security indicator light
*A
comes on. The security indicator light stays
on for about 30 seconds. The vehicle
security system is now pre-armed. After
about 30 seconds the vehicle security
system automatically shifts into the armed
phase. The security light begins to flash
once every approximately 3 seconds. If,
during this 30-second pre-arm time period,
the door is unlocked, or the ignition switch is
pushed to ACC or ON, the system will not
arm.
Even when the driver and/or passengers
are in the vehicle, the system will activate
with all doors, hood and lift gate locked
withtheignitionswitchintheLOCK
position. When pushing the ignition switch
to the ACC or ON position, the system will
be released.
Vehicle security system activationThe vehicle security system will give the follow-
ing alarm:
. The headlights blink and the horn sounds
intermittently.
. The alarm automatica lly turns off after
approximately 1 minute. However, the alarm
reactivates if the vehicle is tampered with
again. The alarm is activated by:
.
Unlocking the door or opening the lift gate
without using the button on the Intelligent
Key, the request switch or the key. (Even if
the door is opened by releasing the door
inside lock knob, the alarm will activate.)
. Opening the hood.
How to stop an activated alarmThe alarm will stop by unlocking a door by
pushing the unlock button
on the Intelligent
Key, pushing the request switch or using the key.
The alarm will not stop if the ignition switch is
placed in the ACC or ON position.
If the system does not operate as de-
scribed above, have it checked by a
NISSAN dealer.
NISSAN VEHICLE IMMOBILIZER SYS-
TEMThe NISSAN Vehicle Immobilizer System will not
allow the engine to start without the use of the
registered key. Never leave these keys in the
vehicle.
Statement related to section 15 of FCC
rules for NISSAN Vehicle Immobilizer
System (CONT ASSY - CARD SLOT)
This device complies with part 15 of the
FCC Rules and RSS-210 of Industry Cana- da. Operation is subject to the following
two conditions;
(1) This device may not cause harmful
interference, and (2) this device must
accept any interference received, including
interference that may cause undesired
operation of the device.
CHANGES OR MODIFICATIONS NOT EX-
PRESSLY APPROVED BY THE PARTY
RESPONSIBLE FOR COMPLIANCE COULD
VOID THE USER’S AUTHORITY TO OPER-
ATE THE EQUIPMENT.
Instruments and controls
2-27
Page 102 of 433
Black plate (100,1)
Model "Z51-D" EDITED: 2010/ 7/ 23
SIC1699A
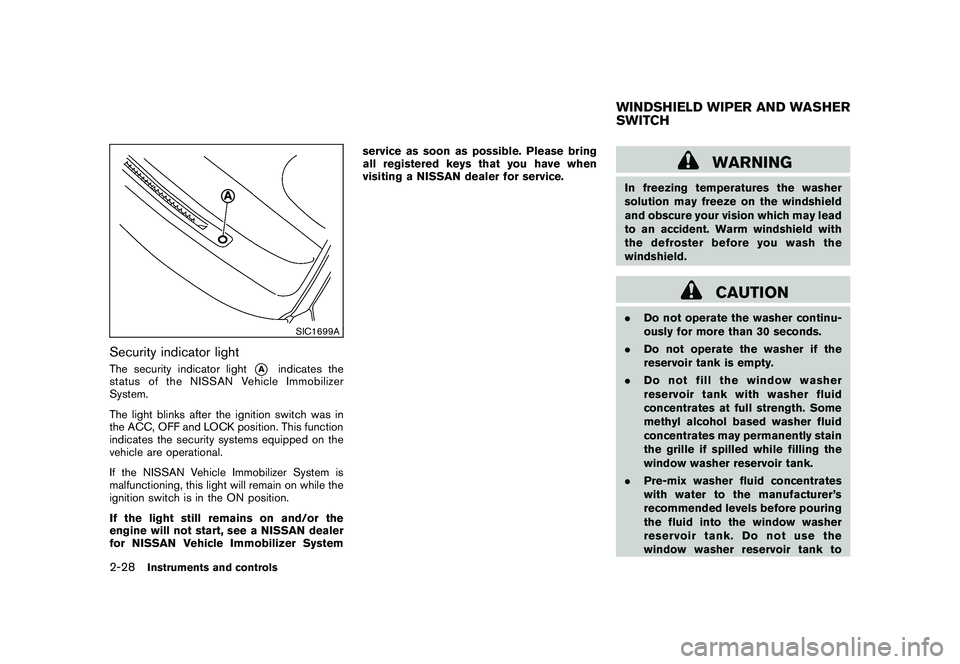
Security indicator lightThe security indicator light
*A
indicates the
status of the NISSAN Vehicle Immobilizer
System.
The light blinks after the ignition switch was in
the ACC, OFF and LOCK position. This function
indicates the security systems equipped on the
vehicle are operational.
If the NISSAN Vehicle Immobilizer System is
malfunctioning, this light will remain on while the
ignition switch is in the ON position.
If the light still remains on and/or the
engine will not start, see a NISSAN dealer
for NISSAN Vehicle Immobilizer System service as soon as possible. Please bring
all registered keys that you have when
visiting a NISSAN dealer for service.
WARNING
In freezing temperatures the washer
solution may freeze on the windshield
and obscure your vision which may lead
to an accident. Warm windshield with
the defroster before you wash the
windshield.
CAUTION
.
Do not operate the washer continu-
ously for more than 30 seconds.
. Do not operate the washer if the
reservoir tank is empty.
. Do not fill the window washer
reservoir tank with washer fluid
concentrates at full strength. Some
methyl alcohol based washer fluid
concentrates may permanently stain
the grille if spilled while filling the
window washer reservoir tank.
. Pre-mix washer fluid concentrates
with water to the manufacturer’s
recommended levels before pouring
the fluid into the window washer
reservoir tank. Do not use the
window washer reservoir tank toWINDSHIELD WIPER AND WASHER
SWITCH
2-28
Instruments and controls
Page 106 of 433
Black plate (104,1)
Model "Z51-D" EDITED: 2010/ 7/ 23
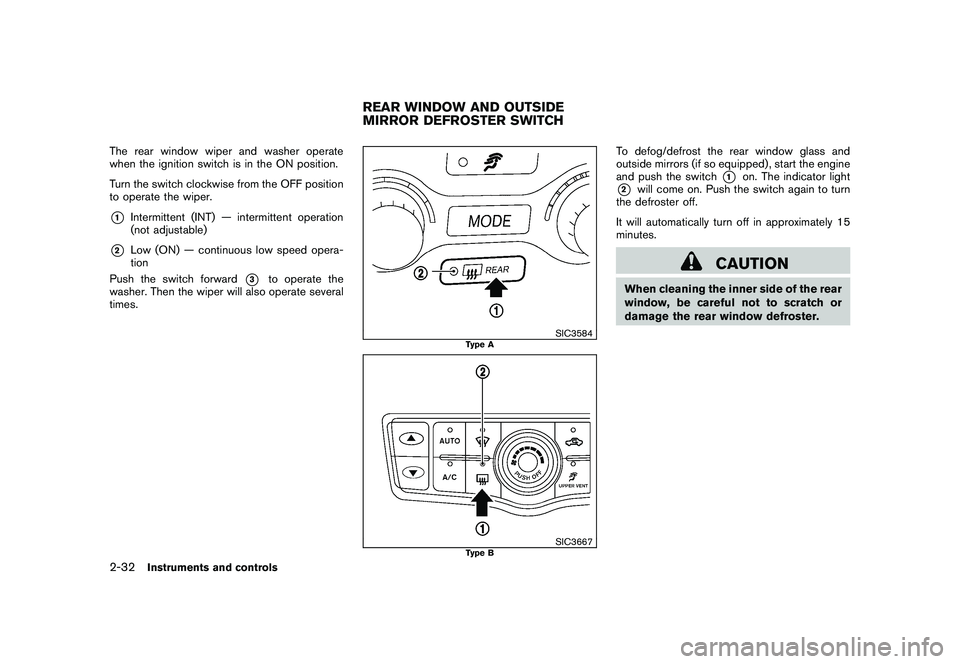
The rear window wiper and washer operate
when the ignition switch is in the ON position.
Turn the switch clockwise from the OFF position
to operate the wiper.*1
Intermittent (INT) — intermittent operation
(not adjustable)
*2
Low (ON) — continuous low speed opera-
tion
Push the switch forward
*3
to operate the
washer. Then the wiper will also operate several
times.
SIC3584
Type A
SIC3667
Type B
To defog/defrost the rear window glass and
outside mirrors (if so equipped) , start the engine
and push the switch
*1
on. The indicator light
*2
will come on. Push the switch again to turn
the defroster off.
It will automatically turn off in approximately 15
minutes.
CAUTION
When cleaning the inner side of the rear
window, be careful not to scratch or
damage the rear window defroster.
REAR WINDOW AND OUTSIDE
MIRROR DEFROSTER SWITCH
2-32
Instruments and controls
Page 112 of 433
Black plate (110,1)
Model "Z51-D" EDITED: 2010/ 7/ 23
SIC4401
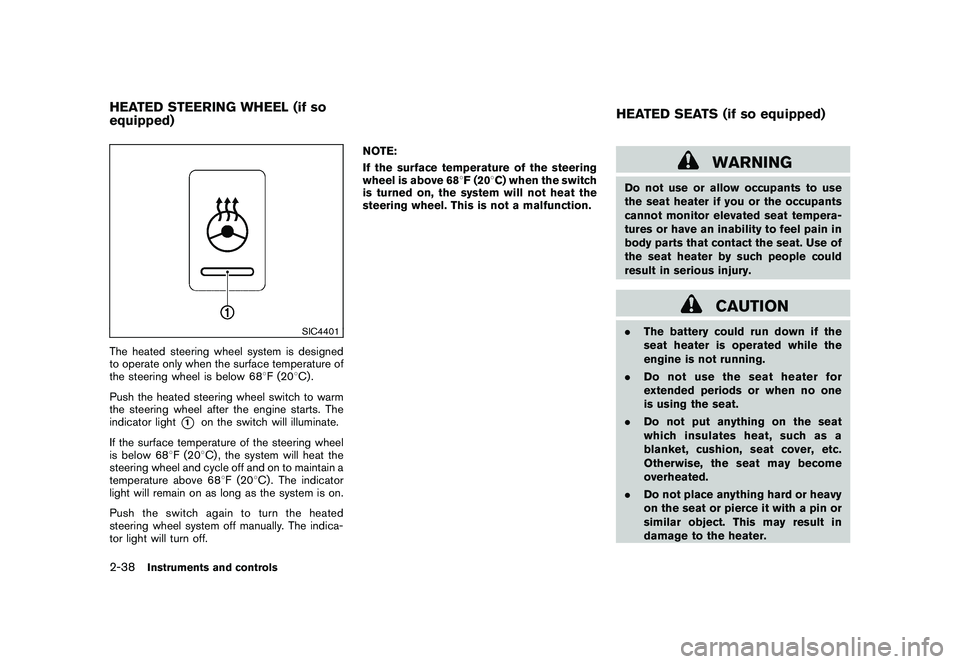
The heated steering wheel system is designed
to operate only when the surface temperature of
the steering wheel is below 688F (20 8C) .
Push the heated steering wheel switch to warm
the steering wheel after the engine starts. The
indicator light
*1
on the switch will illuminate.
If the surface temperature of the steering wheel
is below 68 8F (20 8C) , the system will heat the
steering wheel and cycle off and on to maintain a
temperature above 68 8F (20 8C) . The indicator
light will remain on as long as the system is on.
Push the switch again to turn the heated
steering wheel system off manually. The indica-
tor light will turn off. NOTE:
If the surface temperature of the steering
wheel is above 68
8F (20 8C) when the switch
is turned on, the system will not heat the
steering wheel. This is not a malfunction.
WARNING
Do not use or allow occupants to use
the seat heater if you or the occupants
cannot monitor elevated seat tempera-
tures or have an inability to feel pain in
body parts that contact the seat. Use of
the seat heater by such people could
result in serious injury.
CAUTION
. The battery could run down if the
seat heater is operated while the
engine is not running.
. Do not use the seat heater for
extended periods or when no one
is using the seat.
. Do not put anything on the seat
which insulates heat, such as a
blanket, cushion, seat cover, etc.
Otherwise, the seat may become
overheated.
. Do not place anything hard or heavy
on the seat or pierce it with a pin or
similar object. This may result in
damage to the heater.
HEATED STEERING WHEEL (if so
equipped) HEATED SEATS (if so equipped)2-38
Instruments and controls
Page 113 of 433
Black plate (111,1)
Model "Z51-D" EDITED: 2010/ 7/ 23
.Any liquid spilled on the heated seat
should be removed immediately
with a dry cloth.
. When cleaning the seat, never use
gasoline, thinner, or any similar
materials.
. If any malfunctions are found or the
heated seat does not operate, turn
the switch off and have the system
checked by a NISSAN dealer.
SIC2770
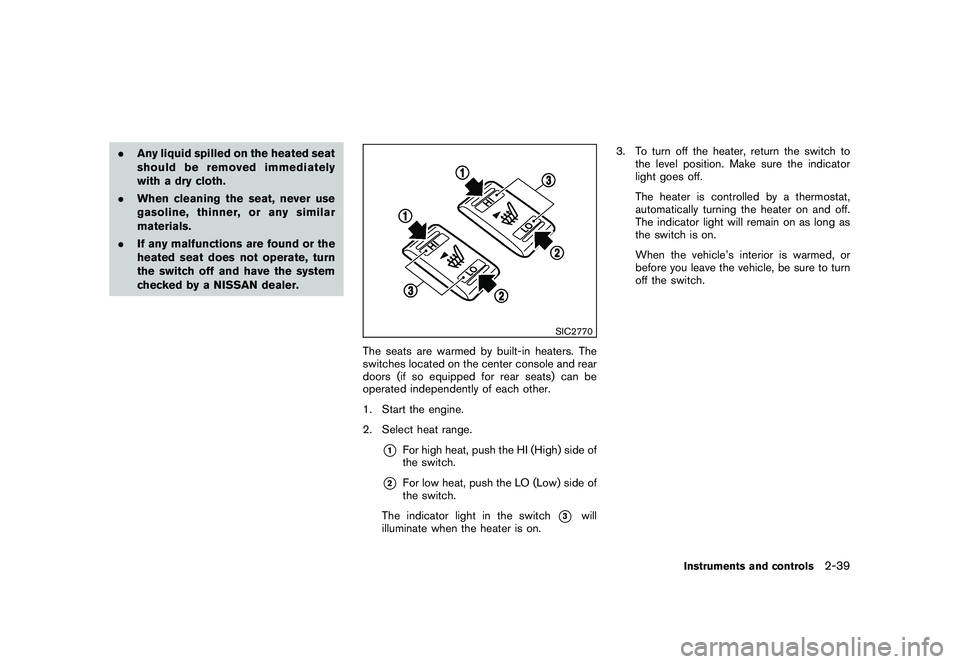
The seats are warmed by built-in heaters. The
switches located on the center console and rear
doors (if so equipped for rear seats) can be
operated independently of each other.
1. Start the engine.
2. Select heat range.
*1
For high heat, push the HI (High) side of
the switch.
*2
For low heat, push the LO (Low) side of
the switch.
The indicator light in the switch
*3
will
illuminate when the heater is on. 3. To turn off the heater, return the switch to
the level position. Make sure the indicator
light goes off.
The heater is controlled by a thermostat,
automatically turning the heater on and off.
The indicator light will remain on as long as
the switch is on.
When the vehicle’s interior is warmed, or
before you leave the vehicle, be sure to turn
off the switch.
Instruments and controls
2-39
Page 132 of 433
Black plate (130,1)
Model "Z51-D" EDITED: 2010/ 7/ 23
reverse features as required by
federal safety standards. (These
standards became effective for
opener models manufactured after
April 1, 1982.) A garage door opener
which cannot detect an object in the
path of a closing garage door and
then automatically stop and reverse,
does not meet current federal safety
standards. Using a garage door
opener without these features in-
creases the risk of serious injury or
death.
. During programming procedure,
your garage door or security gate
may open or close. Make sure that
people and objects are clear of the
garage door, gate, etc. that you are
programming.
. Your vehicle’s engine should be
turned off while programming
HomeLink
®Universal Transceiver.
PROGRAMMING HomeLink
®
To program your HomeLink
®Transceiver to
operate a garage door, gate, or entry door
opener, home or office lighting, you need to be
at the same location as the device. Note:
Garage door openers (manufactured after 1996) have “rolling code protection”. To pro-
gram a garage door opener equipped with
“rolling code protection”; you will need to use
a ladder to get up to the garage door opener
motor to be able to access the “smart or learn”
program button.
SIC3612
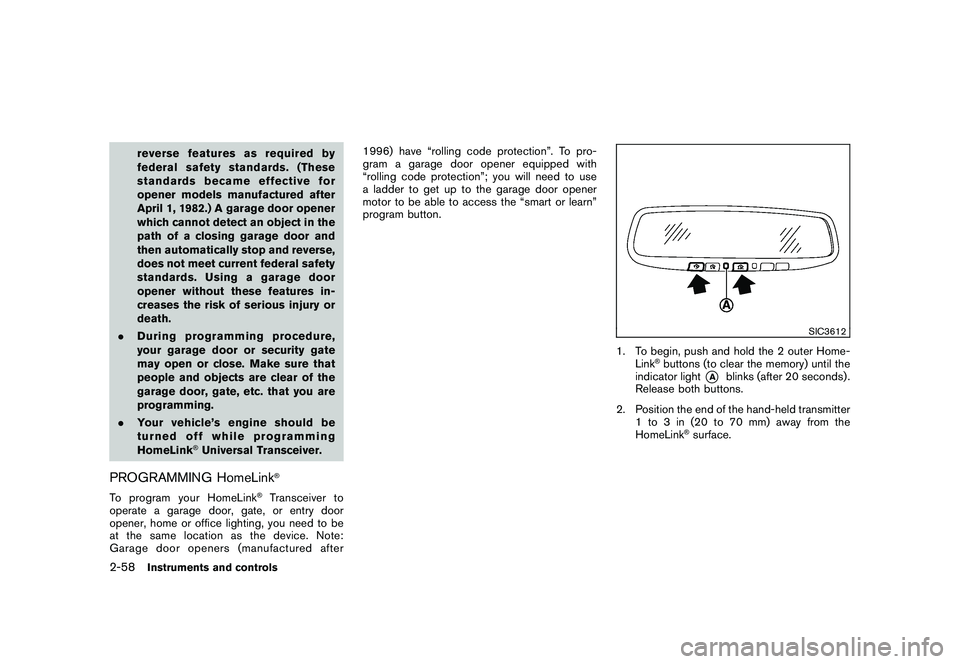
1. To begin, push and hold the 2 outer Home-
Link
®buttons (to clear the memory) until the
indicator light
*A
blinks (after 20 seconds) .
Release both buttons.
2. Position the end of the hand-held transmitter 1 to 3 in (20 to 70 mm) away from the
HomeLink
®surface.
2-58
Instruments and controls
Page 133 of 433
Black plate (131,1)
Model "Z51-D" EDITED: 2010/ 7/ 23
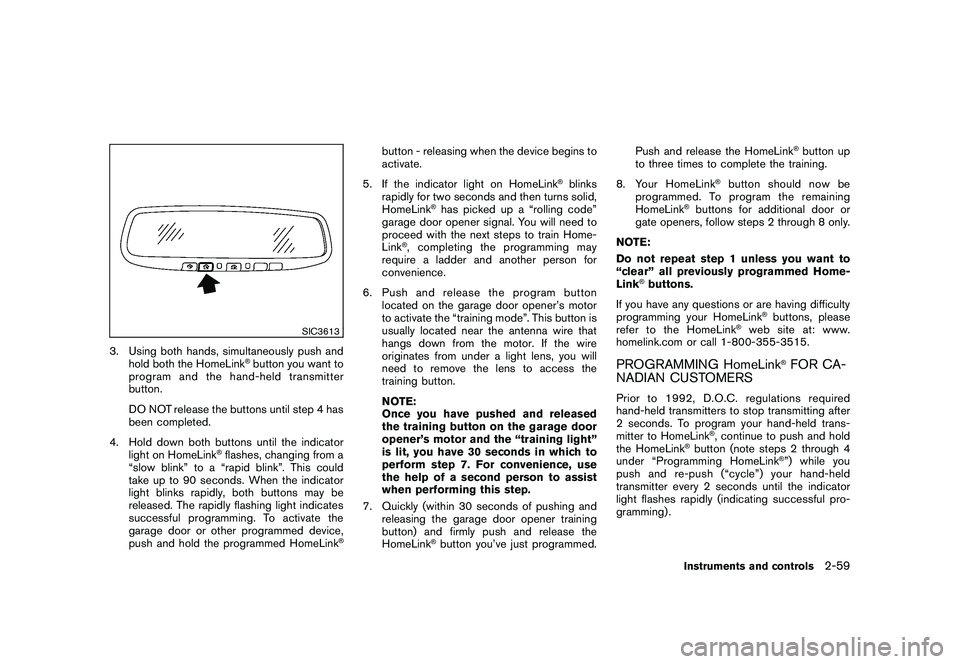
SIC3613
3. Using both hands, simultaneously push andhold both the HomeLink
®button you want to
program and the hand-held transmitter
button.
DO NOT release the buttons until step 4 has
been completed.
4. Hold down both buttons until the indicator light on HomeLink
®flashes, changing from a
“slow blink” to a “rapid blink”. This could
take up to 90 seconds. When the indicator
light blinks rapidly, both buttons may be
released. The rapidly flashing light indicates
successful programming. To activate the
garage door or other programmed device,
push and hold the programmed HomeLink
®
button - releasing when the device begins to
activate.
5. If the indicator light on HomeLink
®blinks
rapidly for two seconds and then turns solid,
HomeLink
®has picked up a “rolling code”
garage door opener signal. You will need to
proceed with the next steps to train Home-
Link
®, completing the programming may
require a ladder and another person for
convenience.
6. Push and release the program button located on the garage door opener’s motor
to activate the “training mode”. This button is
usually located near the antenna wire that
hangs down from the motor. If the wire
originates from under a light lens, you will
need to remove the lens to access the
training button.
NOTE:
Once you have pushed and released
the training button on the garage door
opener’s motor and the “training light”
is lit, you have 30 seconds in which to
perform step 7. For convenience, use
the help of a second person to assist
when performing this step.
7. Quickly (within 30 seconds of pushing and releasing the garage door opener training
button) and firmly push and release the
HomeLink
®button you’ve just programmed. Push and release the HomeLink
®button up
to three times to complete the training.
8. Your HomeLink
®button should now be
programmed. To prog ram the remaining
HomeLink
®buttons for additional door or
gate openers, follow steps 2 through 8 only.
NOTE:
Do not repeat step 1 unless you want to
“clear” all previously programmed Home-
Link
®buttons.
If you have any questions or are having difficulty
programming your HomeLink
®buttons, please
refer to the HomeLink
®web site at: www.
homelink.com or call 1-800-355-3515.
PROGRAMMING HomeLink
®FOR CA-
NADIAN CUSTOMERS
Prior to 1992, D.O.C. regulations required
hand-held transmitters to stop transmitting after
2 seconds. To program your hand-held trans-
mitter to HomeLink
®, continue to push and hold
the HomeLink
®button (note steps 2 through 4
under “Programming HomeLink
®”) while you
push and re-push (“cycle”) your hand-held
transmitter every 2 seconds until the indicator
light flashes rapidly (indicating successful pro-
gramming) .
Instruments and controls
2-59