window NISSAN PATHFINDER 2008 R51 / 3.G Quick Reference Guide
[x] Cancel search | Manufacturer: NISSAN, Model Year: 2008, Model line: PATHFINDER, Model: NISSAN PATHFINDER 2008 R51 / 3.GPages: 36, PDF Size: 3.11 MB
Page 8 of 36

aiR FLOW/ mOD e BU ttONSPress to select the following air flow outlets:
Air flows from the center and side vents.
Air flows from the center, side, and foot vents.
Air flows mainly from the foot vents.
Air flows from the defroster and foot vents.
Air flows mainly from the defroster vents.
F a N SP eeD CON tROL BU ttONS
Press (slower) or (faster) button to manually control fan speed. Press
a Ut O to automatically control fan speed. Press OFF to cancel fan speed operation.
D eFROS tiNg /D eFO ggi Ng FRON t a ND S iD e W iNDOWS
Press the defroster control button to turn the system on. The A/C automatically turns on when the defroster mode is selected.
Turn the driver’s side temperature control dial left or right to set the desired temperature.
To set the defroster on high, press and hold until fan speed increases.
D eFROS tiNg /D eFO ggi Ng R e a R W iNDOW aND (if so equipped) OU tS iD e
he ate D mi RROR
Push the rear window defroster switch on. Push the switch again to manually turn the defroster off. This function automatically turns off in approximately 15 minutes.
a/C ON/OFF BU ttON
Press the a/C button to manually turn the A/C on or off.
ai R R eC iRCUL atiON BU ttON
Press the air recirculation button to recirculate air inside the vehicle.
Press the air recirculation button again to turn air recirculation off.
The air recirculation mode cannot be selected if the , or air flow mode is selected.
05
06
08
07
09
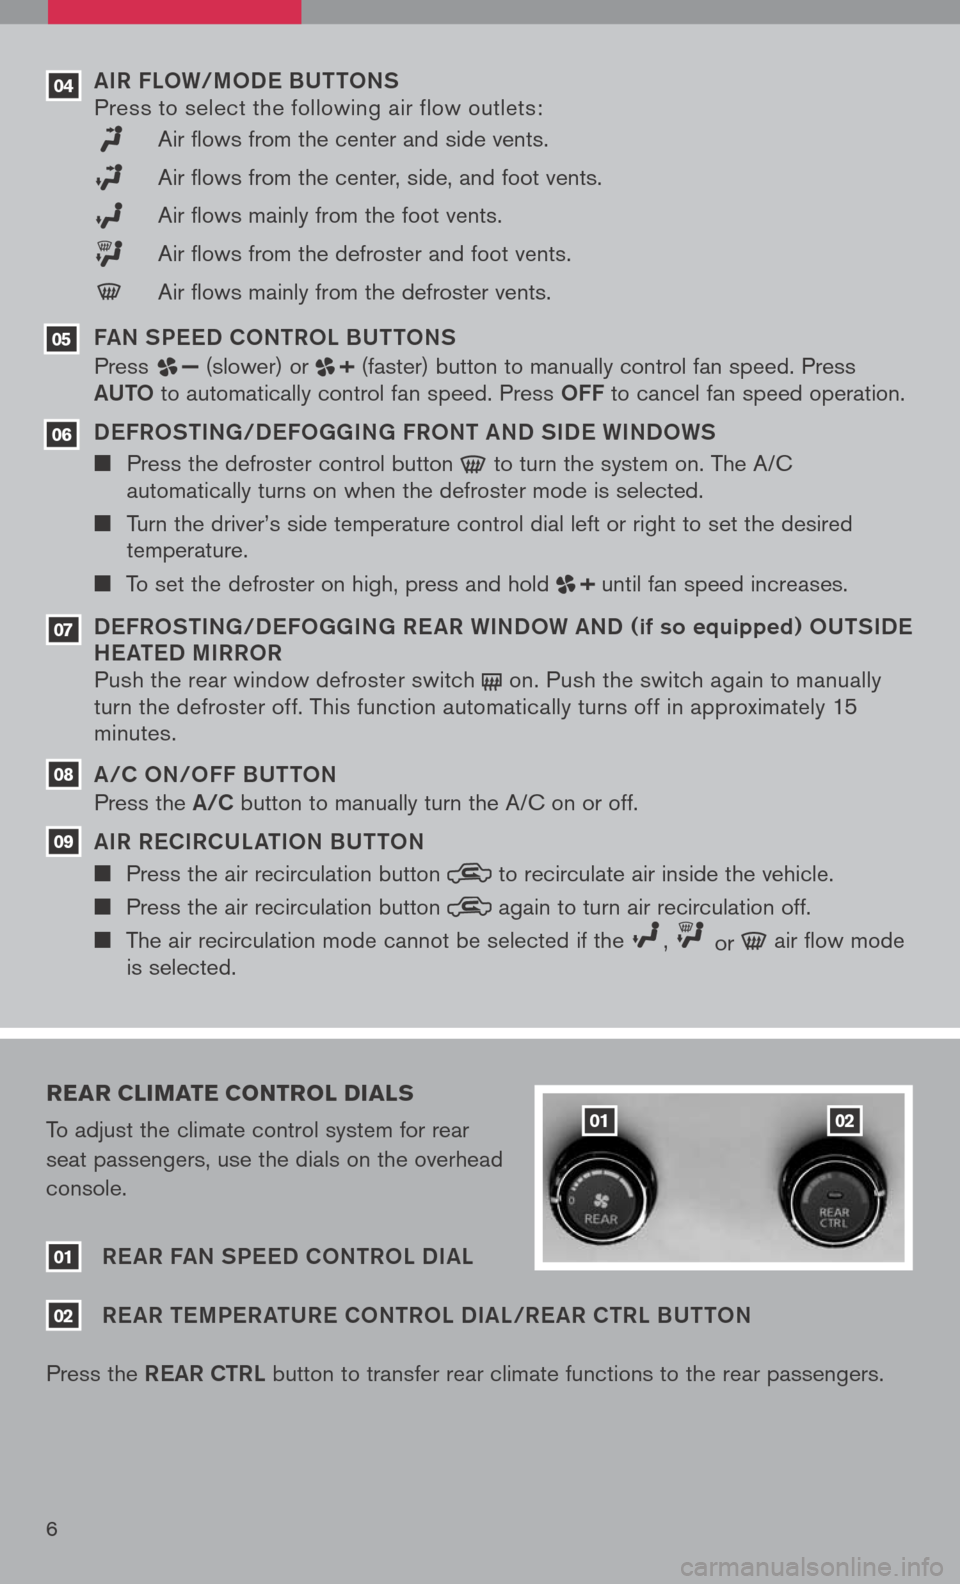
rear cliMate control dials
To adjust the climate control system for rear
seat passengers, use the dials on the overhead
console.
01 Re a R F a N SP eeD CON tROL D ia L
02 Re a R tem Pe R at UR e CON tROL D ia L/R e a R C tRL BUttON
Press the ReaR C tRL button to transfer rear climate functions to the rear passengers.
0102
6
04
Page 20 of 36

16
bluetooth® hands -Free phone syste M
( n avigation system only)
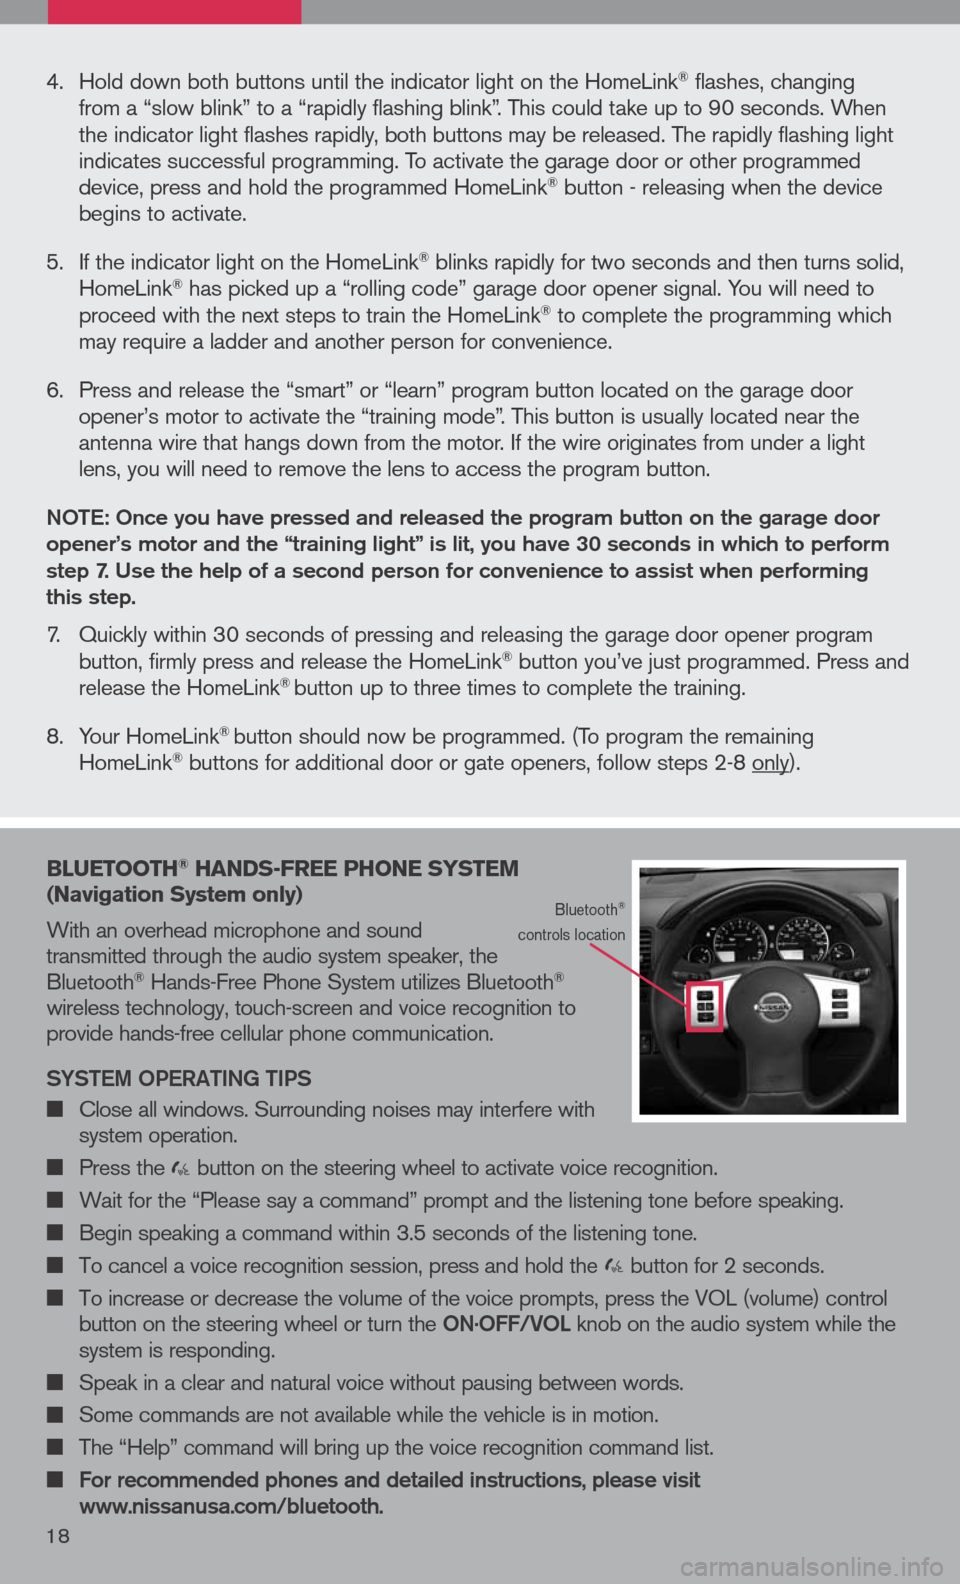
With an overhead microphone and sound transmitted through the audio system speaker, the Bluetooth® Hands-Free Phone System utilizes Bluetooth® wireless technology, touch-screen and voice recognition to provide hands-free cellular phone communication.
SYS tem OPeR ati Ng ti PS
Close all windows. Surrounding noises may interfere with system operation.
Press the button on the steering wheel to activate voice recognition.
Wait for the “Please say a command” prompt and the listening tone before speaking.
Begin speaking a command within 3.5 seconds of the listening tone.
To cancel a voice recognition session, press and hold the button for 2 seconds.
To increase or decrease the volume of the voice prompts, press the VOL (volume) control button on the steering wheel or turn the ON.OFF/VOL knob on the audio system while the system is responding.
Speak in a clear and natural voice without pausing between words.
Some commands are not available while the vehicle is in motion.
The “Help” command will bring up the voice recognition command list.
For recommended phones and detailed instructions, please visit www.nissanusa.com/bluetooth.
Bluetooth® controls location
4. Hold down both buttons until the indicator light on the HomeLink® flashes, changing from a “slow blink” to a “rapidly flashing blink”. This could take up to 90 seconds. When the indicator light flashes rapidly, both buttons may be released. The rapidly flashing light indicates successful programming. To activate the garage door or other programmed device, press and hold the programmed HomeLink® button - releasing when the device begins to activate.
5. If the indicator light on the HomeLink
® blinks rapidly for two seconds and then turns solid, HomeLink® has picked up a “rolling code” garage door opener signal. You will need to proceed with the next steps to train the HomeLink® to complete the programming which may require a ladder and another person for convenience.
6. Press and release the “smart” or “learn” program button located on the garage door
opener’s motor to activate the “training mode”. This button is usually located near the antenna wire that hangs down from the motor. If the wire originates from under a light lens, you will need to remove the lens to access the program button.
NO te: Once you have pressed and released the program button on the garage door opener’s motor and the “training light” is lit, you have 30 seconds in which to perform step 7. Use the help of a second person for convenience to assist when performing this step.
7. Quickly within 30 seconds of pressing and releasing the garage door opener program button, firmly press and release the HomeLink® button you’ve just programmed. Press and release the HomeLink® button up to three times to complete the training.
8. Your HomeLink
® button should now be programmed. (To program the remaining HomeLink® buttons for additional door or gate openers, follow steps 2-8 only).
18