ECO mode NISSAN PATHFINDER 2013 R52 / 4.G Quick Reference Guide
[x] Cancel search | Manufacturer: NISSAN, Model Year: 2013, Model line: PATHFINDER, Model: NISSAN PATHFINDER 2013 R52 / 4.GPages: 28, PDF Size: 2.77 MB
Page 6 of 28
TiRE PRESSURE MoNi To RiN G SYSTEM (TPMS)
with Easy Fill Tire Alert
A Tire Pressure l ow – Add Air warning message
will appear in the vehicle information display
01 and
the low tire pressure warning light
02 will illuminate
when one or more tires are low on pressure and air
is needed.
•
T
he tire pressures should be checked when the
tires are cold. The tires are considered cold after
the vehicle has been parked for 3 hours or more or
driven less than 1 mi (1.6 km) at moderate speeds.
When adding air to an under-inflated tire, the TPMS with Easy Fill Tire Alert provides visual and
audible signals to help you inflate the tires to the
recommended
c
O
LD tire pressure.
T
o use the Easy Fill Tire Alert:
1.
Move the shift lever to the
P (PARK) position and apply the parking brake.
2.
Place the ignition switc
h in the o N position. Do not start the engine.
3.
Add air to the under-inflated tire and within a few seconds, the hazar\
d warning lights will
start flashing.
4.
W
hen the designated tire pressure is reached, the horn will beep once and the hazard
warning flashers will stop flashing.
5.
Repeat this procedure for any additional under-inflated tires.
02
01
looSE FUEl CAP
A looSE FUEl CAP warning message will appear
in the vehicle information display
01 when the
fuel-filler cap is not tightened correctly.
To tighten, turn the cap clockwise until a single click
is heard.
The warning message will disappear when the vehicle detects the fuel-filler cap is properly tightened and the
reset
button 02 is pressed for about 1 second.
If the cap is not properly tightened, the Malfunction
Indicator Light
may illuminate.
For more information, refer to the “instruments and controls (section 2)” and the “Pre-driving checks and adjustments
(section 3)” of your Owner’s Manual.
02
01
essential information
4To view detailed instructional videos regarding these and other features,
please go to www.nissanownersinfo.mobi.
1351506_13c_Pathfinder_QRG_013013.indd 41/31/13 9:10 AM
Page 10 of 28
first drive features
SECoND RoW SEATS
To slide the seat forward or backward, pull the center
of the bar
01 up and hold it while you slide the seat
forward or backward to the desired position. Release
the bar to lock the seat in position.
To recline the seatback, pull up on the seatback release lever
02 and lean back. To bring the seatback
forward, pull the lever up and lean your body forward,
Release the lever to lock the seatback in position.
c
HILD SEAT A
cc
ESS MODE
If a child safety seat is installed on the passenger’s side of the 2nd row seat, the 3rd row can be accessed without removing the child safety seat.
To access the 3rd row from outside the vehicle, lift up on the seatback release lever 03.
MULTI-MODE
To enter the 3rd row from outside the vehicle, lift up on the seatback lever 03. This will
release the back of the seat and fold up the seat cushion.
Slide the entire seat forward for access to the rear seat.
To return the seat to a locked position, push the upper seatback rearward until the seatback and track are locked. Push the seat cushion down.
For more information, refer to the “Safety—seats, seat belts and supplemental restraint system (sect\
ion 1)” of your
Owner’s Manual.
02
03
FRo NT PoWE R SEAT ADJUSTMENTS
(if so equipped)
To slide the seat forward or backward, push the
control switch
01 forward or backward.
To recline the seatback, push the switch 02 forward
or backward.
SEAT LIFTER
To raise or lower the front portion or height of the seat, push the front\
or back end of the switch
01 up or down
POWER LUMBAR SUPPORT (if so equipped for driver’s seat)
To adjust the seat lumbar support, push the front or back end of the switch 03 .
For more information, refer to the “Safety—seats, seat belts and supplemental restraint system (sect\
ion 1)” of your
Owner’s Manual.
010203
8
01
To view detailed instructional videos regarding these and other features, please go to www.nissanownersinfo.mobi.
1351506_13c_Pathfinder_QRG_013013.indd 81/31/13 9:10 AM
Page 15 of 28
03 ON•OFF/FAN SPEED CONTROL DIAL
Turn the fan speed control dial left to decrease fan speed or right to in\
crease fan speed.
Press the button to turn the system on or off.
04 MoDE BUTTo N
Press the
Mo DE button to cycle through the following air flow outlets:
Air flows from the center and side vents.
Air flows from the center , side and foot vents.
Air flows mainly from the foot vents.
Air flows from the defroster and foot vents.
05 A iR R EC iR CUl AT io N BUTTo N
Press the air recirculation button to recirculate interior air inside the vehicle. The
indicator light on the button will come on. This system is used to avoid certain outside odors
and helps to adjust the inside vehicle temperature more effectively.
The air recirculation mode cannot be activated when the air conditioner i\
s in the front defrosting mode
or the front defrosting and foot vent mode .
06 R EAR A iR C o NDi T io NER
To control the rear automatic air conditioning system
with the front air conditioner control panel, press the
REAR button.
When the rear automatic air conditioning system is on, the indicator light on the REAR button will
illuminate and the front display will switch to the rear
air conditioner screen. Use the driver temperature and fan speed buttons\
to adjust settings.
To adjust the front air conditioning system, press the REAR button again or wait 10 seconds.
The rear control buttons will not function when the Rear Air-conditioning screen is shown
on the front display.
07 D EFRo ST iN G/DEFo GGiN G FRo NT AND SiD E W iN DoWS
Press the defroster control button to turn the system on. The A/c automatically turns on
when the defroster mode is selected. T his feature removes humidity from the air.
Turn the temperature control dial 01 to set the desired temperature.
To defrost the front and side windows, set the temperature control 01 and fan speed control 03 to their maximum settings.
08 R EAR W iN DoW AN D o UTSiD E MiR Ro R (if so equipped) DEFRo STER SW i TCH
Press the rear window defroster switc
h to turn the system on or off.
This function automatically turns off after approximately 15 minutes.
09 A/C BUTTo N
Press the
A/C button to turn the air conditioner system on or off. This system helps cool and
dehumidify the air inside the cabin and defog the windows.
For more information, refer to the “instruments and controls (section 2)” and the “Monitor, climate, audio, phone and
voice recognition systems (section 4)” of your Owner’s Manual.
13To view detailed instructional videos regarding these and other features,
please go to www.nissanownersinfo.mobi.
1351506_13c_Pathfinder_QRG_013013.indd 131/31/13 9:10 AM
Page 20 of 28
vEHiCl E iN Fo RMAT io N DiS P l AY
The vehicle information display 01 displays such items as:
Vehicle settings
Trip computer information
Drive system warnings and settings (if so equipped)
cruise control system
Intelligent key operation information
Indicators and warnings
Tire pressure information
4X4 information (if so equipped)
USI NG THE VEHI c LE INFORMATION DISPLAY
The vehicle information display modes can be changed
using the
button 02 and
ENTER button 03 located
on the steering wheel.
Press the button 02 to enter the vehicle information menu items.
Press
the button 04 to navigate through the items in vehicle information.
Press the
E NTER button 03 to change or select an item in the vehicle information display.
Press the button 05 to go back to the previous menu.
RESETTING THE TRIP
c
O
MPUTER
1.
Press the
button 02 until you reach the Trip
computer mode 06 .
2.
Press the
button 02 again for more than 1.5
seconds to reset the trip computer.
SETTINGS
The setting mode allows you to change the information
displayed in the vehicle information display:
Driver assist ance (if so equipped)
Main menu selection
Body color
Maintenance
Alarms
Vehicle settings
Language
Unit
Welcome effect
For more information, refer to the “instruments and controls (section 2)” of your Owner’s Manual.
18
system guide
01
02
040305
06
To view detailed instructional videos regarding these and other features,
please go to www.nissanownersinfo.mobi.
1351506_13c_Pathfinder_QRG_013013.indd 181/31/13 9:10 AM
Page 21 of 28
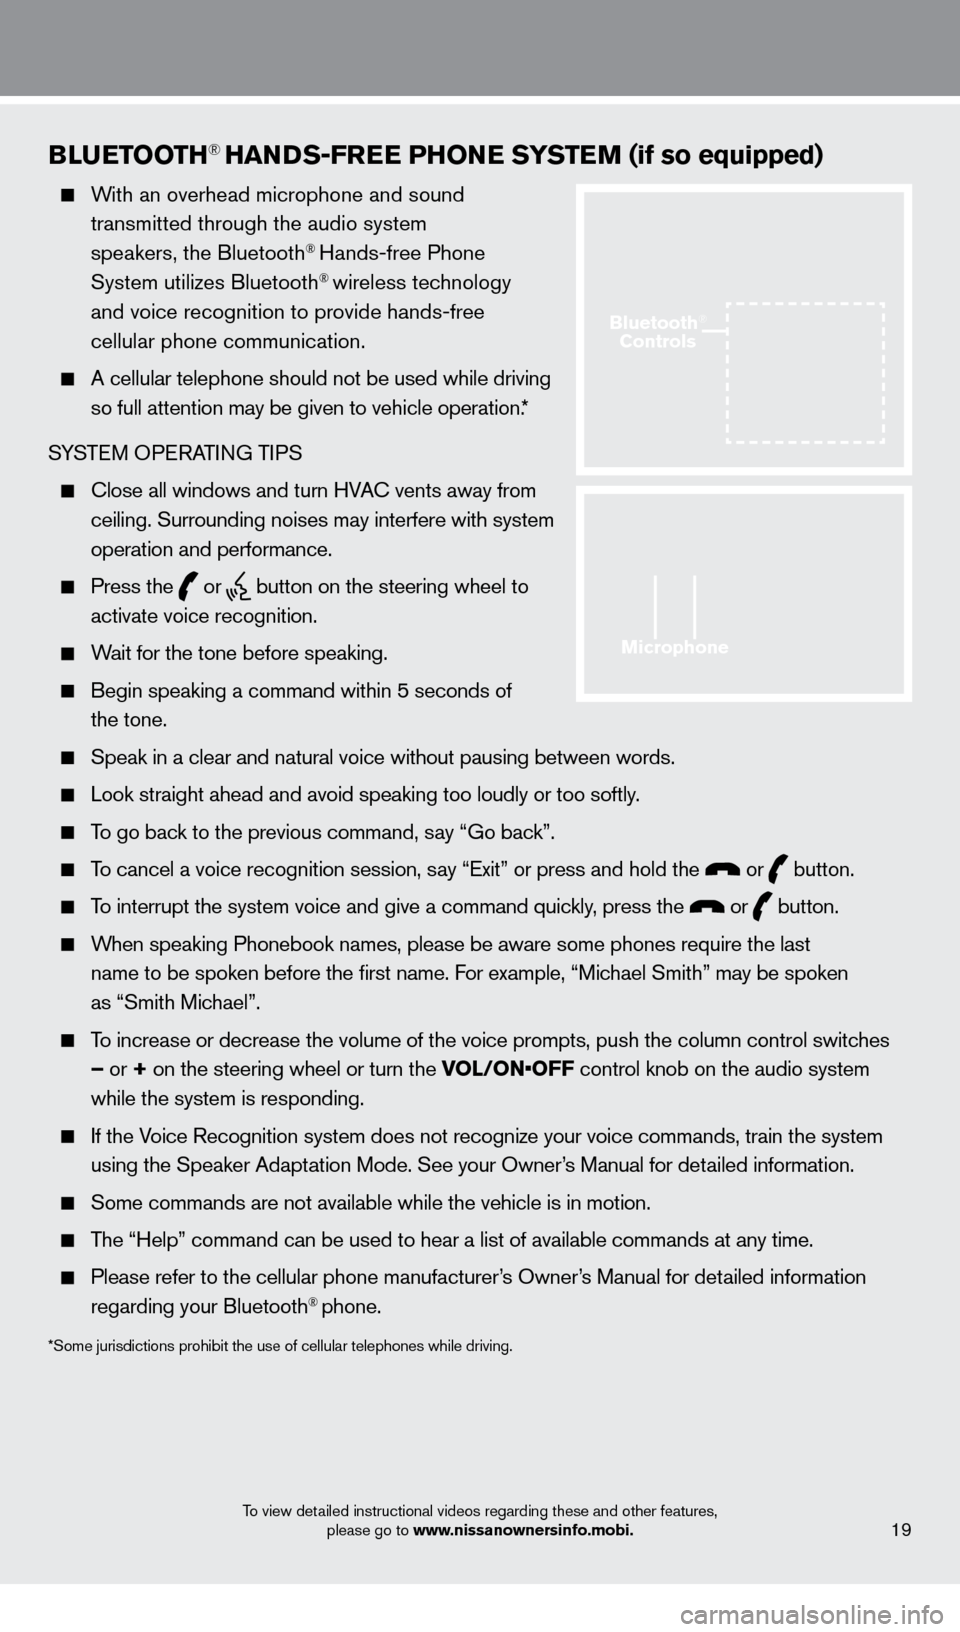
BlUETooTH® HANDS-FREE PHo NE SYSTEM (if so equipped)
With an overhead microphone and sound
transmitted through the audio system
speakers, the Bluetooth
® Hands-free Phone
System utilizes Bluetooth® wireless technology
and voice recognition to provide hands-free
cellular phone communication.
A cellular telephone should not be used while driving
so full attention may be given to vehicle operation.*
SYSTEM OPERATING TIPS
close all windows and turn HVAc vents away from
ceiling. Surrounding noises may interfere with system
operation and performance.
Press the or button on the steering wheel to
activate voice recognition.
Wait for the tone before speaking.
Begin speaking a command within 5 seconds of
the tone.
Speak in a clear and natural voice without pausing between words.
Look straight ahead and avoid speaking too loudly or too softly .
To go back to the previous command, say “Go back”.
To cancel a voice recognition session, say “Exit” or press and hold the or button.
To interrupt the system voice and give a command quickly, press the or button.
When speaking Phonebook names, please be aware some phones require the la\
st
name to be spoken before the first name. For example, “Michael Smith” may be spoken
as “Smith Michael”.
To increase or decrease the volume of the voice prompts, push the column \
control switches
– or + on the steering wheel or turn the VOL/ON•OFF control knob on the audio system
while the system is responding.
If the Voice Recognition system does not recognize your voice commands, train th\
e system using the Speaker Adaptation Mode. See your Owner’s Manual for detailed information.
Some commands are not available while the vehicle is in motion.
The “Help” command can be used to hear a list of available commands\
at any time.
Please refer to the cellular phone manufacturer ’s Owner’s Manual for detailed information
regarding your Bluetooth® phone.
*Some jurisdictions prohibit the use of cellular telephones while drivin\
g.
19
Microphone
Bluetooth®
Controls
To view detailed instructional videos regarding these and other features,
please go to www.nissanownersinfo.mobi.
1351506_13c_Pathfinder_QRG_013013.indd 191/31/13 9:10 AM
Page 24 of 28
BlUETooTH® SYSTEM WiTHo UT
NA
viGA
T
io
N (if so equipped)
cONNEcTING PRO c EDURE
NOTE: The vehicle must be stationary when connecting
the phone.
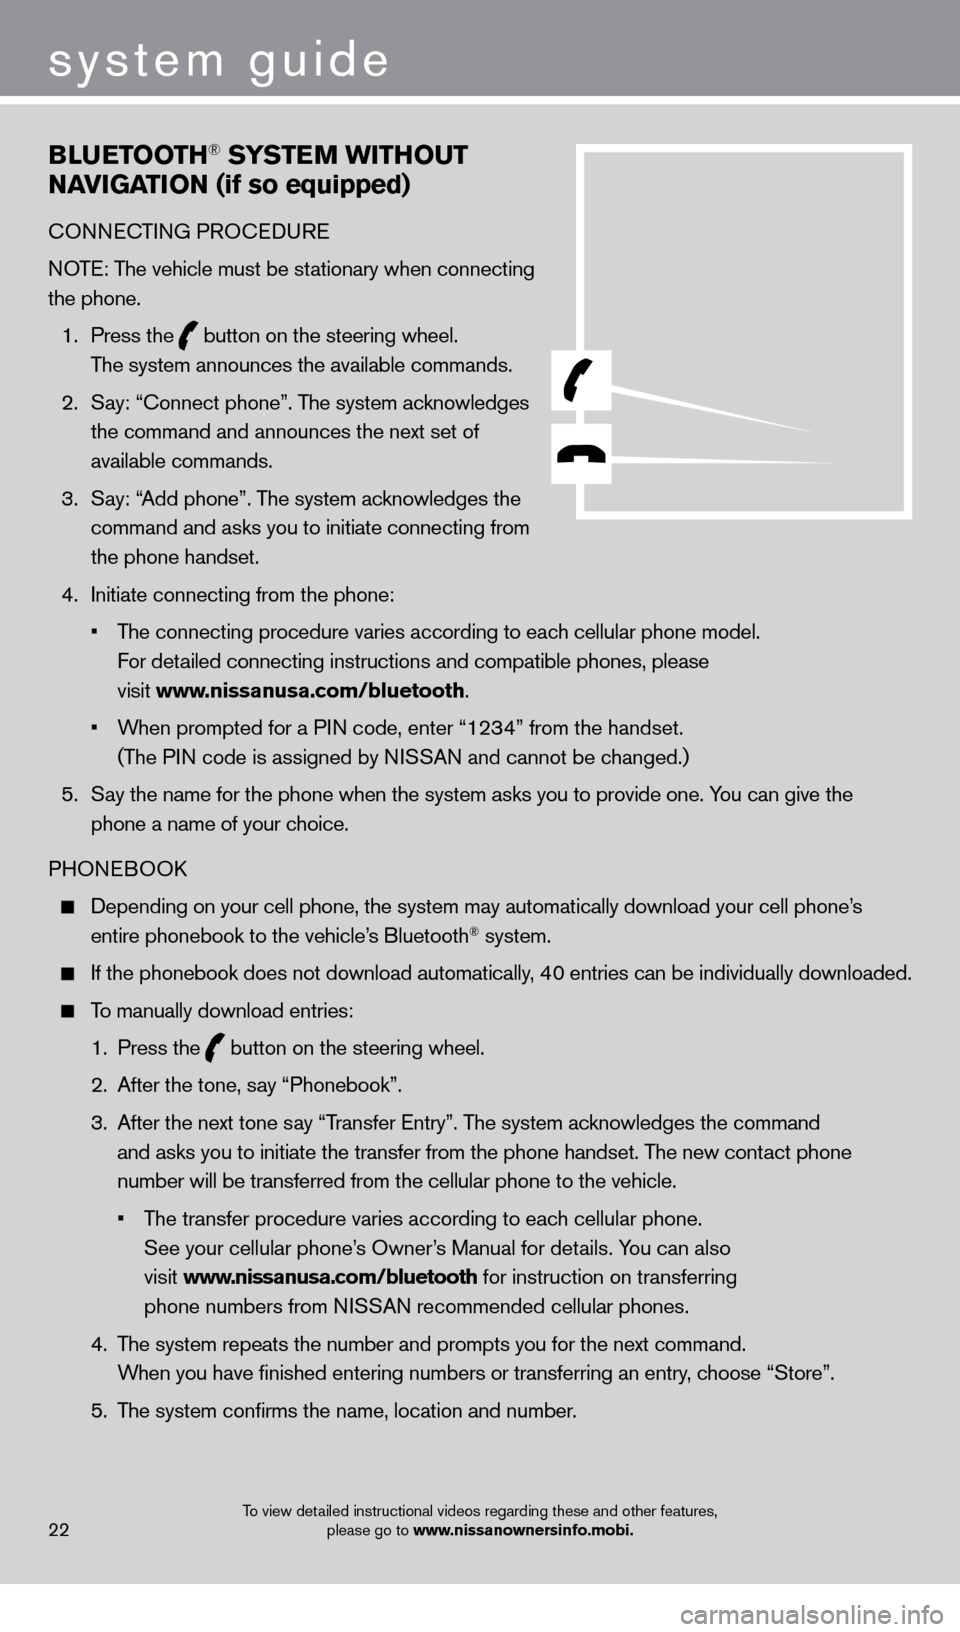
1.
Press the
button on the steering wheel.
The system announces the available commands.
2.
S
ay: “
c
onnect phone”. The system acknowledges
the command and announces the next set of
available commands.
3.
S
ay: “Add phone”. The system acknowledges the
command and asks you to initiate connecting from
the phone handset.
4.
Initiate connecting from the phone:
•
T
he connecting procedure varies according to each cellular phone model.
For detailed connecting instructions and compatible phones, please
visit www.nissanusa.com/bluetooth.
•
W
hen prompted for a PIN code, enter “1234” from the handset.
(The PIN code is assigned by NISSAN and cannot be changed.)
5.
S
ay the name for the phone when the system asks you to provide one. You can give the
phone a name of your choice.
PHONEBOO
k
Depending on your cell phone, the system may automatically download your\
cell phone’ s
entire phonebook to the vehicle’s Bluetooth® system.
If the phonebook does not download automatically, 40 entries can be individually downloaded.
To manually download entries:
1.
Press the button on the steering wheel.
2.
After the tone, s
ay “Phonebook”.
3.
After the next tone s
ay “Transfer Entry”. The system acknowledges the command
and asks you to initiate the transfer from the phone handset. The new contact phone
number will be transferred from the cellular phone to the vehicle.
•
T
he transfer procedure varies according to each cellular phone.
See your cellular phone’s Owner’s Manual for details. You can also
visit www.nissanusa.com/bluetooth for instruction on transferring
phone numbers from NISSAN recommended cellular phones.
4.
T
he system repeats the number and prompts you for the next command.
When you have finished entering numbers or transferring an entry, choose “Store”.
5.
T
he system confirms the name, location and number.
22
system guide
To view detailed instructional videos regarding these and other features, please go to www.nissanownersinfo.mobi.
1351506_13c_Pathfinder_QRG_013013.indd 221/31/13 9:11 AM