audio NISSAN PATHFINDER 2013 R52 / 4.G Quick Reference Guide
[x] Cancel search | Manufacturer: NISSAN, Model Year: 2013, Model line: PATHFINDER, Model: NISSAN PATHFINDER 2013 R52 / 4.GPages: 28, PDF Size: 2.77 MB
Page 2 of 28
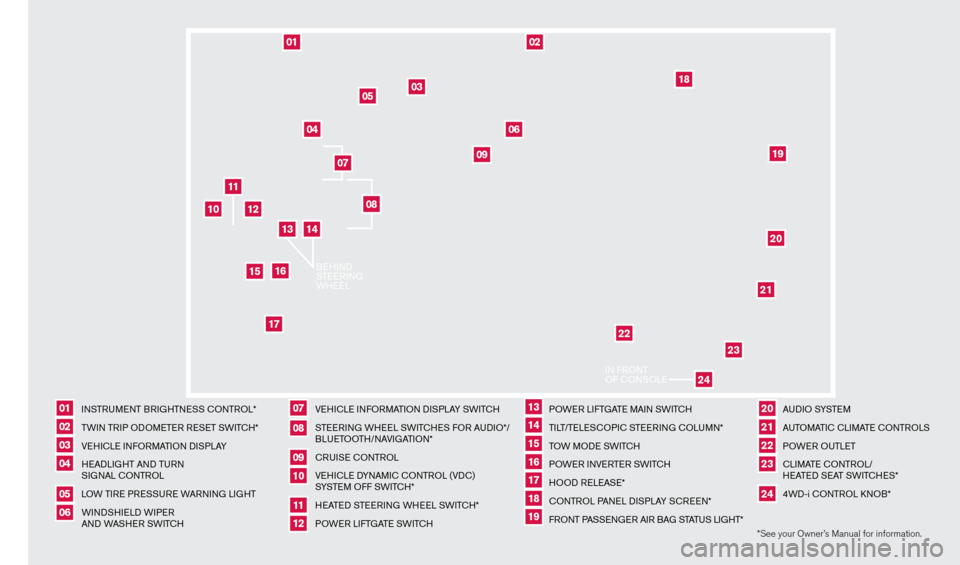
*See your Owner’s Manual for information.
I
NSTRUMENT BRIGHTNESS
c
O
NTROL*
TW
IN TRIP ODOMETER RESET SWIT
cH*
V
EHI
c
LE INFORMATION DISPLAY
H
EADLIGHT AND TURN
SIGNAL
c
ONTROL
L
OW TIRE PRESSURE WARNING LIGHT
WINDSHIELD WIPER
AND WASHER SWIT
cH
V
EHI
c
LE INFORMATION DISPLAY SWIT
c
H
S
TEERING WHEEL SWIT
cH
ES FOR AUDIO*/
BLUETOOTH/NAVIGATION*
c
RUISE
c
ONTROL
VE
HI
cLE D
YNAMI
c
c
O
NTROL (VD
c
)
SYSTEM OFF SWIT
cH*
H
EATED STEERING WHEEL SWIT
cH*
P
OWER LIFTGATE SWIT
cH
P
OWER LIFTGATE MAIN SWIT
cH
TI
LT/TELES
cO
PI
c
STEERING
c
O
LUMN*
T
OW MODE SWIT
c
H
P
OWER INVERTER SWIT
cH
H
OOD RELEASE*
c
ONTROL PANEL DISPLAY S
c
REEN*
F
RONT PASSENGER AIR BAG STATUS LIGHT*
A
U D I O SYSTE M
A
UTOMATI
c
c
LI
MATE c
O
NTROLS
POWER OUTLET
c
LI
MATE
cO
NTROL/
HEATED SEAT SWIT
cH
ES*
4WD-i
c
O
NTROL k
N
OB*
0106
11
16
02
0712
17
03
08
1318
04
09
1419
05
10
15
2021222324
11
02
12
202119
22
23
03
04
09
05
10
15
01
06
07
18
08
1617
24
IN F
RONT
OF
cONSOLE
BEHIND
S
T EERING
W
HEEL
13
14
1351506_13c_Pathfinder_QRG_013013.indd 41/31/13 9:10 AM
Page 3 of 28
TABLE OF
c
O
NTENTS
NEW SYSTEM FEATURES
Remote Engine St
art (if so equipped) .............................
2
Around V
iew
® Monitoring System with camera Aided Sonar
(parking sensor) (if so equipped)
.................................
2
E
S
SENT
i
A
l
iNF
o
RMAT io N
Loose Fuel
c
ap ...............................................
4
T
ire Pressure Monitoring System (TPMS) with Easy Fill Tire Alert
.......4
FiR
ST
DRiv
E
F
EATURES
N
ISSAN Intelligent k
ey® System (if so equipped)....................6
Po
wer Liftgate (if so equipped)
....................................7
Front P
ower Seat Adjustments (if so equipped)
...................... 8
2nd Row Seats
................................................
8
3rd Row Seats.................................................9
Automatic Drive P
ositioner (if so equipped) .........................
9
Outside Mirror
c
ontrol Switch ....................................
10
St
arting/Stopping the Engine
....................................10
Headlight
c
ontrol Switch
.......................................11
W
indshield Wiper and Washer Switch ............................
12
Automatic
c
limate
c
ontrols . . . . . . . . . . . . . . . . . . . . . . . . . . . . . . . . . . . .\
. 12
Rear
c
limate
c
ontrols
..........................................14
F
M/AM/SiriusXM Satellite Radio with c
D/
DVD Player
(if so equipped)
...............................................
14
USB/iPod
® Interface ...........................................15
c
ruise
c
ontrol . . . . . . . . . . . . . . . . . . . . . . . . . . . . . . . . . . . .\
. . . . . . . . . . . . 16
P
ower Outlets (if so equipped) ..................................
16
Fuel-filler Door................................................17
S
Y
STEM
G
U
i DE
V
ehicle Information Display
......................................18
Bluetooth
® Hands-free Phone System (if so equipped) ..............19
Bluetooth System with Navigation (if so equipped)
...............
20
Bluetooth System without Navigation (if so equipped).............22
Navigation System (if so equipped)...............................24
D
VD Player
...................................................25
HomeLink
® Universal Transceiver (if so equipped)...................25
• A cellular telephone should not be used for any purpose while
driving so full attention may be given to vehicle operation.
• Always wear your seat belt.
• Supplemental air bags do not replace proper seat belt usage.
• Children 12 and under should always ride in the rear seat
properly secured in child restraints or seat belts according to
their age and weight.
• Do not drink and drive.
For more information, refer to the “Safety –– Seats, seat belts and
supplemental restraint system (section 1)”, “Monitor, climate, audio,
phone and voice recognition systems (section 4)” and “Starting and
driving (section 5)” of your Owner’s Manual.
Additional information about your vehicle is also available in your Owner’s Manual, Navigation System Owner’s Manual and at www.nissanusa.com.
To view detailed
instructional videos, go to
www.nissanownersinfo.mobi/2013/pathfinder or snap this barcode with an appropriate barcode reader.
1351506_13c_Pathfinder_QRG_013013.indd 51/31/13 9:10 AM
Page 5 of 28
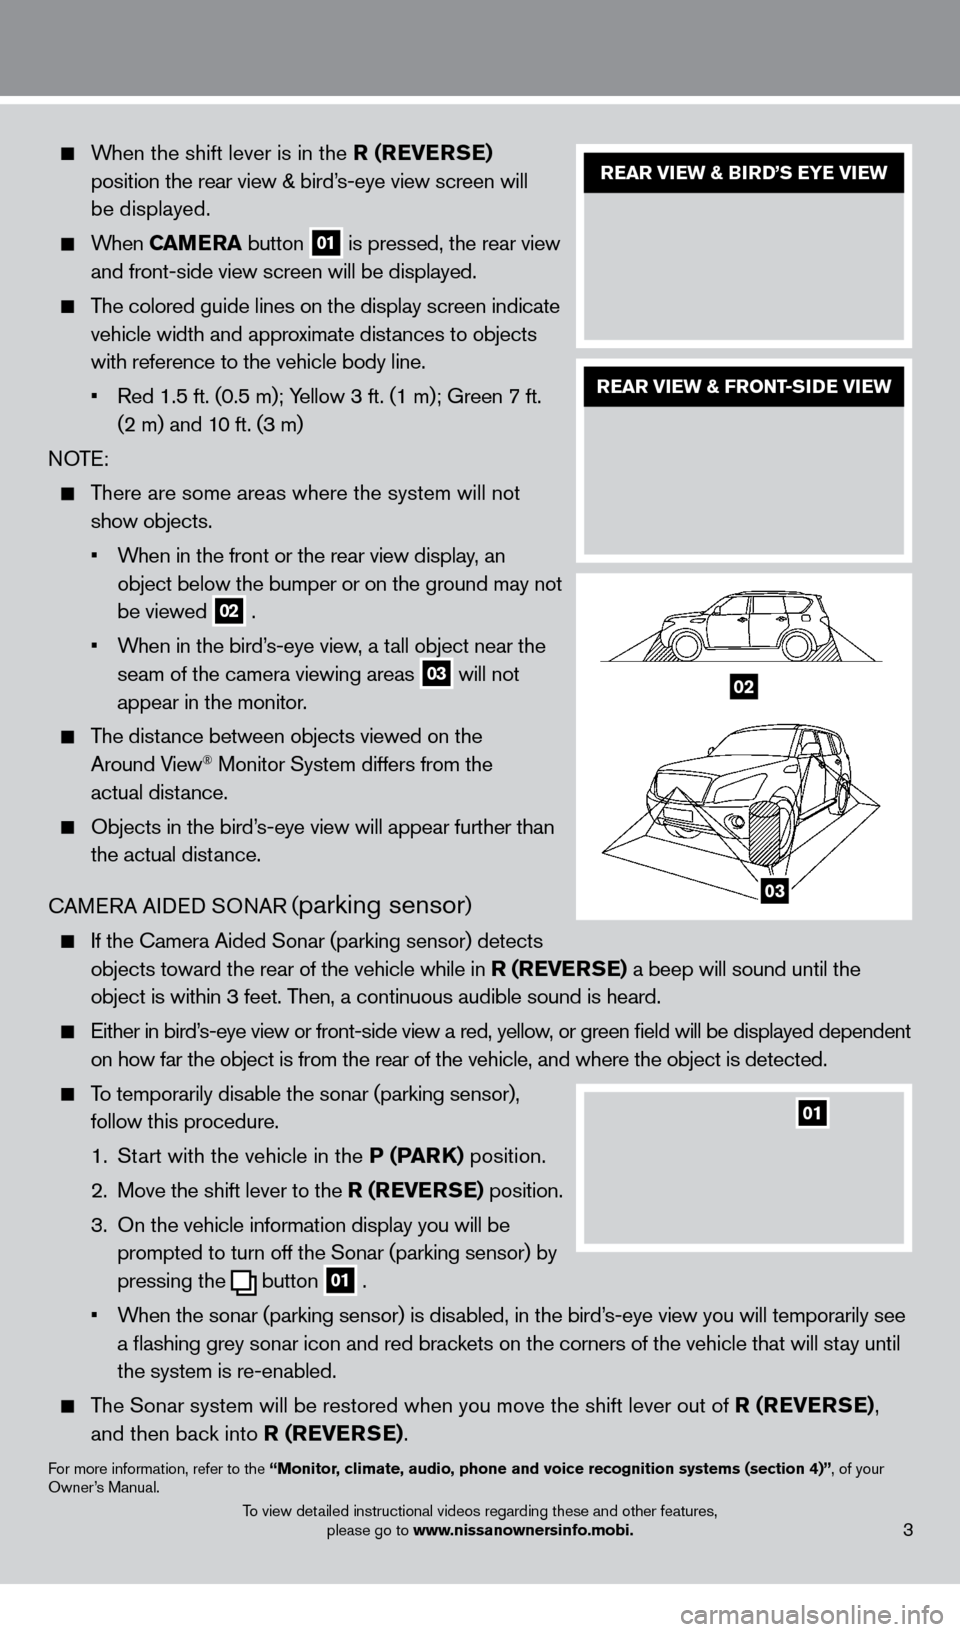
When the shift lever is in the R (REv ERSE)
position the rear view & bird’s-eye view screen will
be displayed.
When CAMERA button 01 is pressed, the rear view
and front-side view screen will be displayed.
The colored guide lines on the display screen indicate vehicle width and approximate distances to objects
with reference to the vehicle body line.
•
Red 1.5 ft. (0.5 m); Y
ellow 3 ft. (1 m); Green 7 ft.
(2 m) and 10 ft. (3 m)
NOTE:
There are some areas where the system will not show objects.
•
W
hen in the front or the rear view display, an
object below the bumper or on the ground may not
be viewed
02 .
•
W
hen in the bird’s-eye view, a tall object near the
seam of the camera viewing areas
03 will not
appear in the monitor.
The distance between objects viewed on the
Around View® Monitor System differs from the
actual distance.
Objects in the bird’ s-eye view will appear further than
the actual distance.
cAM
ERA AIDED SONAR (
parking sensor)
If the c amera Aided Sonar (parking sensor) detects
objects toward the rear of the vehicle while in R (RE v ERSE) a beep will sound until the
object is within 3 feet. Then, a continuous audible sound is heard.
Either in bird’ s-eye view or front-side view a red, yellow, or green field will be displayed dependent
on how far the object is from the rear of the vehicle, and where the obj\
ect is detected.
To temporarily disable the sonar (parking sensor), follow this procedure.
1.
St
art with the vehicle in the P (PARK) position.
2.
Move the shift lever to the
R (RE v ERSE) position.
3.
On the vehicle information display you will be
prompted to turn off the Sonar (parking sensor) by
pressing the
button 01 .
•
W
hen the sonar (parking sensor) is disabled, in the bird’s-eye view you will temporarily see
a flashing grey sonar icon and red brackets on the corners of the vehicle that will stay until
the system is re-enabled.
The Sonar system will be restored when you move the shift lever out of R (RE v ERSE),
and then back into R (RE v ERSE).
For more information, refer to the “Monitor, climate, audio, phone and voice recognition systems (section 4)”, of your
Owner’s Manual.
REAR viEW & BiRD’S EYE viEW
REAR viEW & FRoNT-SiD E viEW
To view detailed instructional videos regarding these and other features,
please go to www.nissanownersinfo.mobi.3
01
1
2
02
03
1351506_13c_Pathfinder_QRG_013013.indd 31/31/13 9:10 AM
Page 15 of 28
03 ON•OFF/FAN SPEED CONTROL DIAL
Turn the fan speed control dial left to decrease fan speed or right to in\
crease fan speed.
Press the button to turn the system on or off.
04 MoDE BUTTo N
Press the
Mo DE button to cycle through the following air flow outlets:
Air flows from the center and side vents.
Air flows from the center , side and foot vents.
Air flows mainly from the foot vents.
Air flows from the defroster and foot vents.
05 A iR R EC iR CUl AT io N BUTTo N
Press the air recirculation button to recirculate interior air inside the vehicle. The
indicator light on the button will come on. This system is used to avoid certain outside odors
and helps to adjust the inside vehicle temperature more effectively.
The air recirculation mode cannot be activated when the air conditioner i\
s in the front defrosting mode
or the front defrosting and foot vent mode .
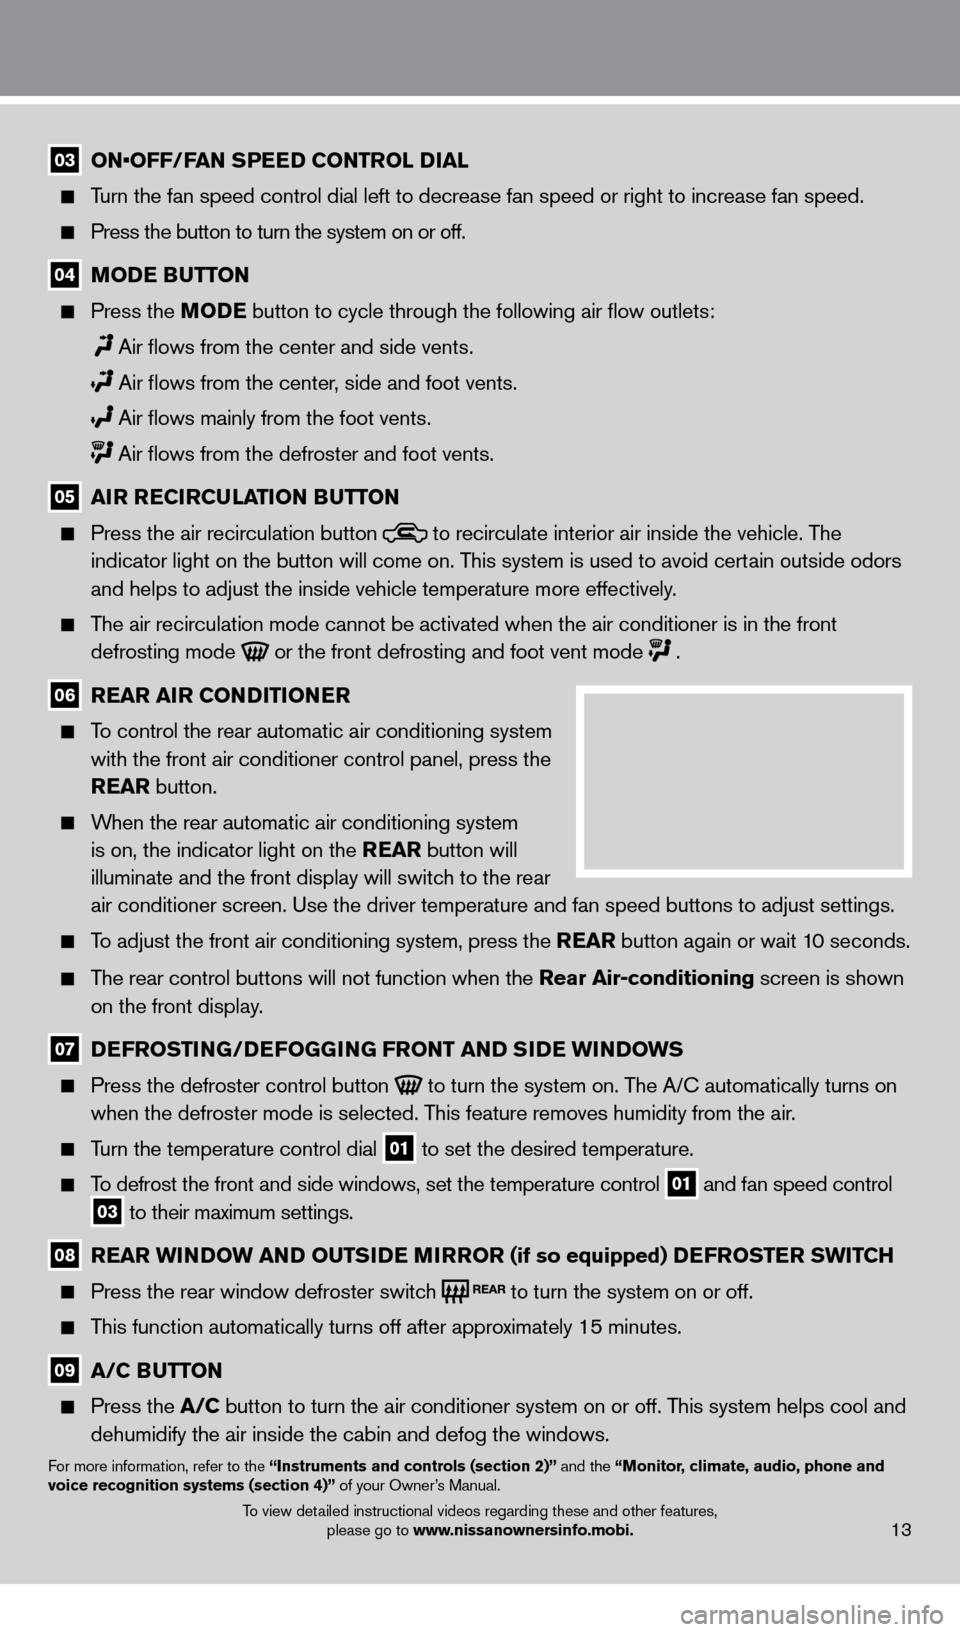
06 R EAR A iR C o NDi T io NER
To control the rear automatic air conditioning system
with the front air conditioner control panel, press the
REAR button.
When the rear automatic air conditioning system is on, the indicator light on the REAR button will
illuminate and the front display will switch to the rear
air conditioner screen. Use the driver temperature and fan speed buttons\
to adjust settings.
To adjust the front air conditioning system, press the REAR button again or wait 10 seconds.
The rear control buttons will not function when the Rear Air-conditioning screen is shown
on the front display.
07 D EFRo ST iN G/DEFo GGiN G FRo NT AND SiD E W iN DoWS
Press the defroster control button to turn the system on. The A/c automatically turns on
when the defroster mode is selected. T his feature removes humidity from the air.
Turn the temperature control dial 01 to set the desired temperature.
To defrost the front and side windows, set the temperature control 01 and fan speed control 03 to their maximum settings.
08 R EAR W iN DoW AN D o UTSiD E MiR Ro R (if so equipped) DEFRo STER SW i TCH
Press the rear window defroster switc
h to turn the system on or off.
This function automatically turns off after approximately 15 minutes.
09 A/C BUTTo N
Press the
A/C button to turn the air conditioner system on or off. This system helps cool and
dehumidify the air inside the cabin and defog the windows.
For more information, refer to the “instruments and controls (section 2)” and the “Monitor, climate, audio, phone and
voice recognition systems (section 4)” of your Owner’s Manual.
13To view detailed instructional videos regarding these and other features,
please go to www.nissanownersinfo.mobi.
1351506_13c_Pathfinder_QRG_013013.indd 131/31/13 9:10 AM
Page 16 of 28
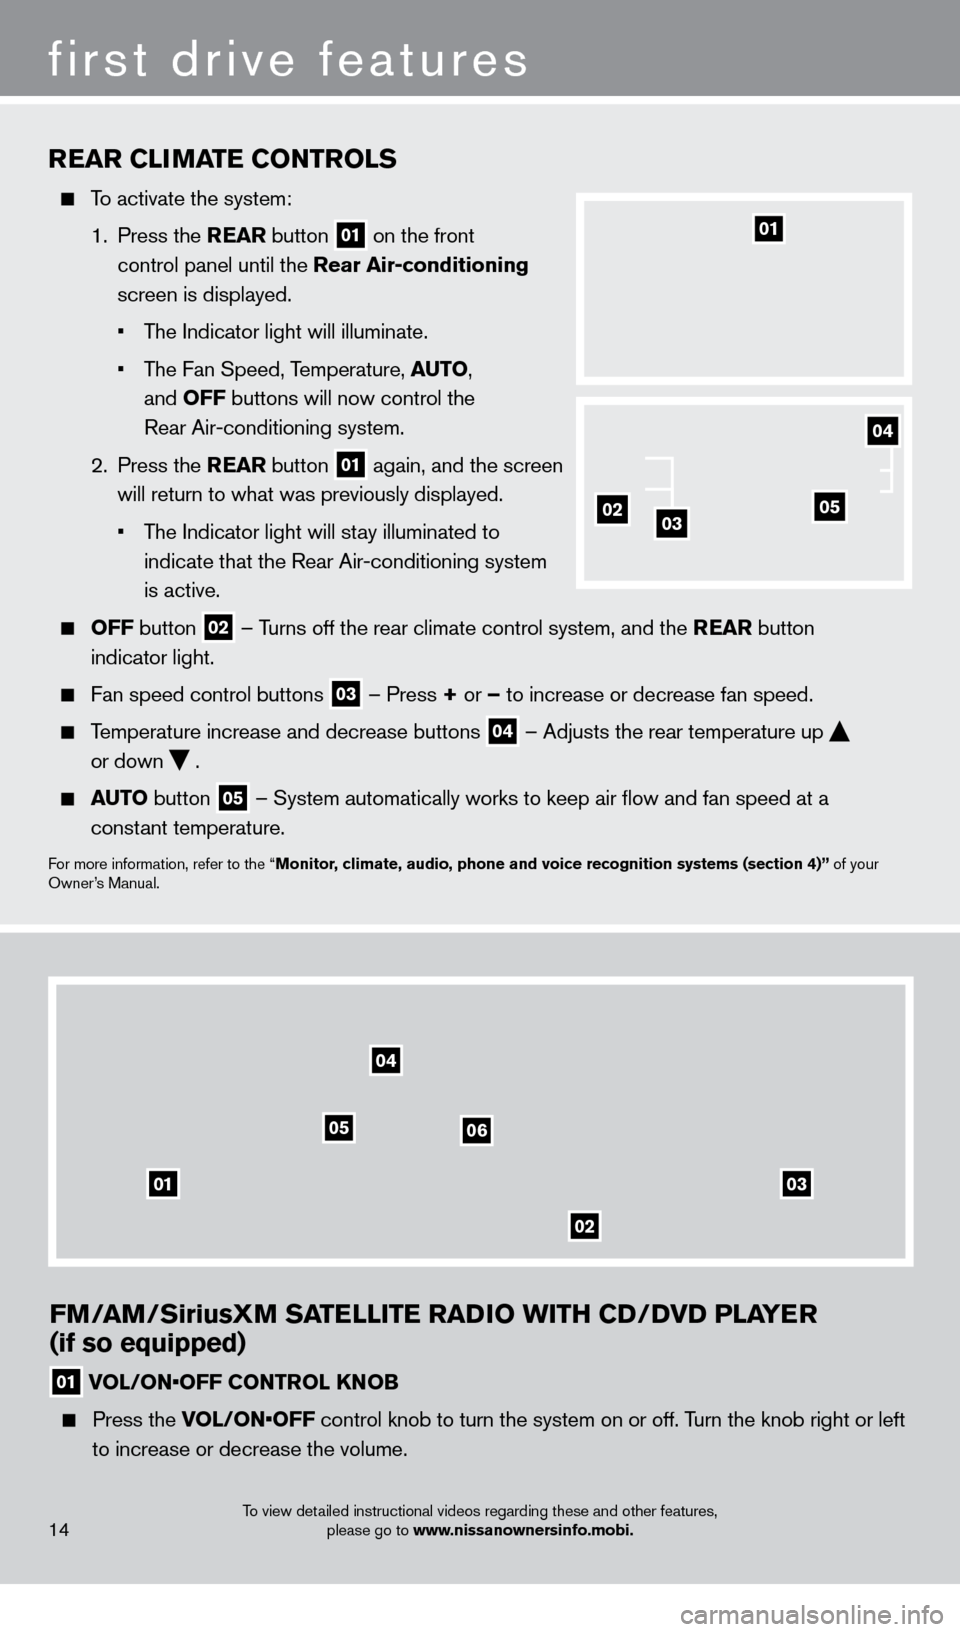
FM/AM/SiriusXM SATElliTE RADi o W i TH CD/D v D P l AYER
(if so equipped)
01 VOL/ON•OFF CONTROL KNOB
Press the V OL/ON•OFF control knob to turn the system on or off. Turn the knob right or left
to increase or decrease the volume.
0103
02
04
0506
REAR CliMA TE C o NTRol S
To activate the system:
1.
Press the REAR button
01 on the front
control panel until the Rear Air-conditioning
screen is displayed.
•
T
he Indicator light will illuminate.
•
T
he Fan Speed, Temperature, AUT
o,
and
o
FF buttons will now control the
Rear Air-conditioning system.
2.
Press the REAR button
01 again, and the screen
will return to what was previously displayed.
•
T
he Indicator light will stay illuminated to
indicate that the Rear Air-conditioning system
is active.
o FF button 02 –
Turns off the rear climate control system, and the REAR button
indicator light.
Fan speed control buttons 03 – Press + or – to increase or decrease fan speed.
Temperature increase and decrease buttons 04 – Adjusts the rear temperature up
or down
.
AUTo button 05 – System automatically works to keep air flow and fan speed at a
constant temperature.
For more information, refer to the “Monitor, climate, audio, phone and voice recognition systems (section 4)” of your
Owner’s Manual.
01
14
first drive features
020503
04
To view detailed instructional videos regarding these and other features, please go to www.nissanownersinfo.mobi.
1351506_13c_Pathfinder_QRG_013013.indd 141/31/13 9:10 AM
Page 17 of 28
15
02 SEEK/CAT AND TRACK BUTTo NS
To scan quickly and stop at the previous or next broadcast station, press the
SEEK•
CAT button or the TRACK
button.
For SiriusXM Satellite Radio, to switch to the previous or next category, press the
SEEK•CAT button or the TRACK
button.
To change tracks on a
cD, press the
SEEK•CAT
button or the TRACK
button.
To rewind or fast forward a track on a
cD, press and hold the
SEEK•CAT
button or the
TRACK
button.
03
TUNE/Fol DER/AUDi o C o NTRol KNo B
To manually tune the radio, turn the TUNE/Fo lDER/ AUD io knob left or right.
04 STATioN SElECT BUTTo NS
Twelve stations can be set for the FM band, six for the AM band and eighteen for the
SiriusXM Satellite Radio.
To store a station in a preset, you must first select a radio band by pressing the \
AM•FM 05
or S AT 06 button, then tune to the desired AM, FM or SiriusXM Satellite Radio station.
Then press and hold the desired station preset button (1-6) until the preset number is
updated on the display and the sound is briefly muted. The channel indicator will then display
and the sound will resume. Programming is now complete.
To retrieve a previously set station, select the radio band where the preset was stored then press the corresponding station select button (1-6).
For more information, refer to the “Monitor, climate, audio, phone and voice recognition systems (section 4)” of your
Owner’s Manual.
USB/ iPo D® iNTERFACE
The USB jack 01 is located in the center console
under the armrest.
When a compatible USB memory device or iPod®
is plugged into the USB jack
01, compatible audio
and video files stored on the device can be played
through the vehicle’s audio system and front display.
For more information, refer to the “Monitor, climate, audio, phone and voice recognition systems (section 4)” of your
Owner’s Manual.
01
To view detailed instructional videos regarding these and other features, please go to www.nissanownersinfo.mobi.
1351506_13c_Pathfinder_QRG_013013.indd 151/31/13 9:10 AM
Page 21 of 28
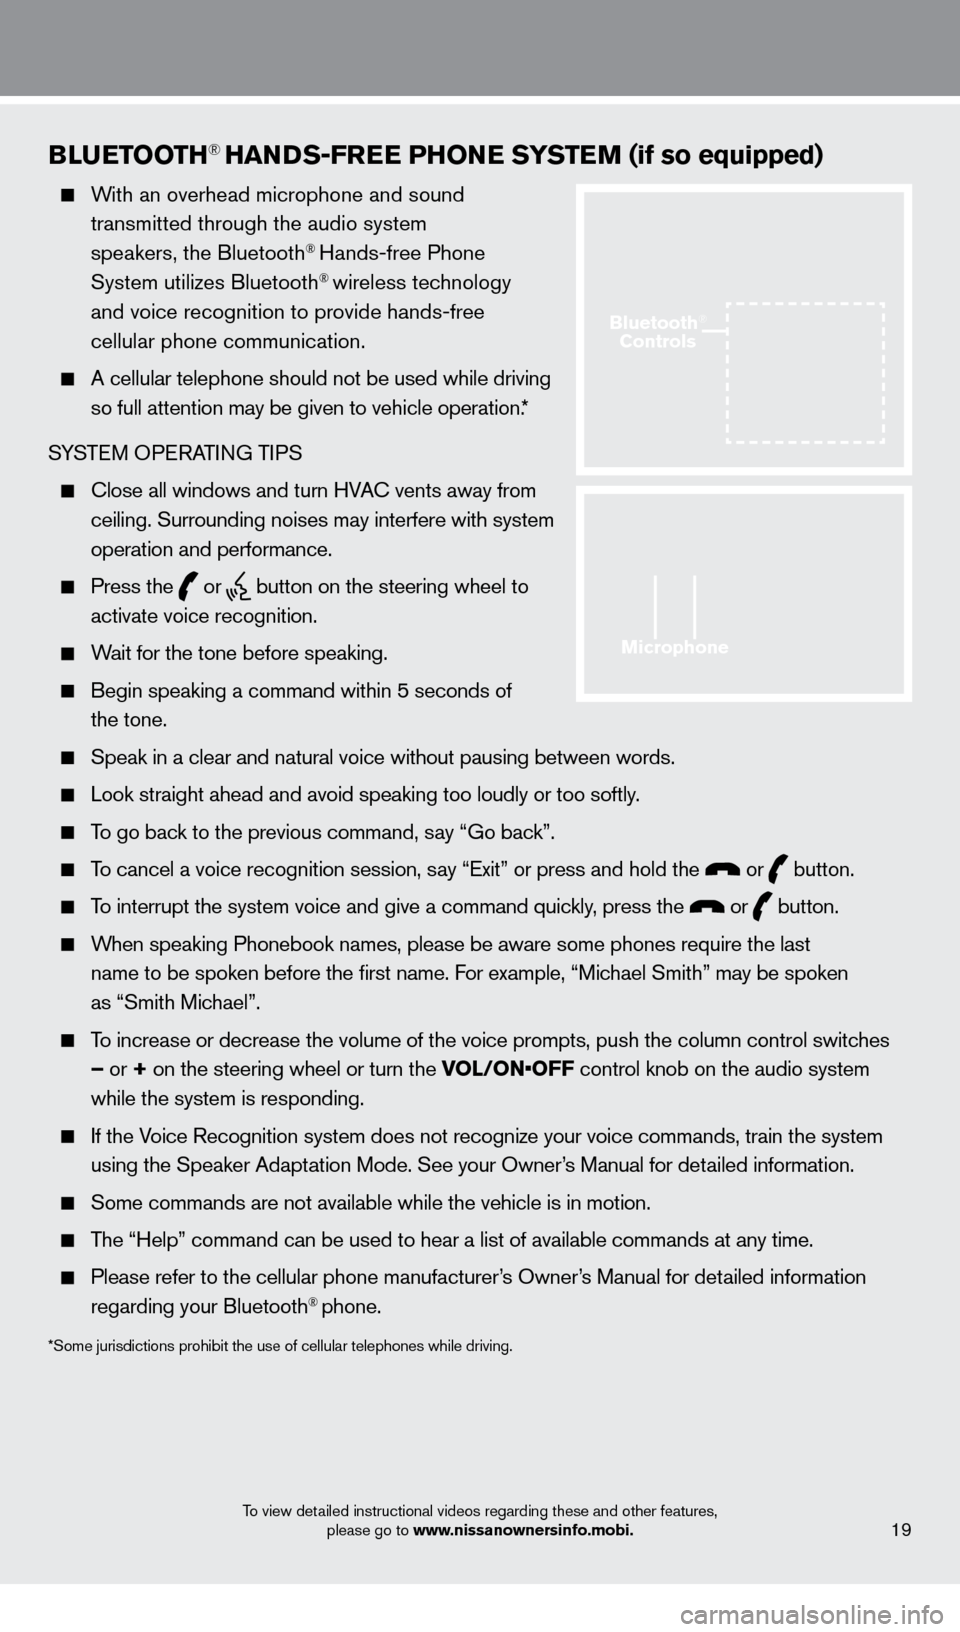
BlUETooTH® HANDS-FREE PHo NE SYSTEM (if so equipped)
With an overhead microphone and sound
transmitted through the audio system
speakers, the Bluetooth
® Hands-free Phone
System utilizes Bluetooth® wireless technology
and voice recognition to provide hands-free
cellular phone communication.
A cellular telephone should not be used while driving
so full attention may be given to vehicle operation.*
SYSTEM OPERATING TIPS
close all windows and turn HVAc vents away from
ceiling. Surrounding noises may interfere with system
operation and performance.
Press the or button on the steering wheel to
activate voice recognition.
Wait for the tone before speaking.
Begin speaking a command within 5 seconds of
the tone.
Speak in a clear and natural voice without pausing between words.
Look straight ahead and avoid speaking too loudly or too softly .
To go back to the previous command, say “Go back”.
To cancel a voice recognition session, say “Exit” or press and hold the or button.
To interrupt the system voice and give a command quickly, press the or button.
When speaking Phonebook names, please be aware some phones require the la\
st
name to be spoken before the first name. For example, “Michael Smith” may be spoken
as “Smith Michael”.
To increase or decrease the volume of the voice prompts, push the column \
control switches
– or + on the steering wheel or turn the VOL/ON•OFF control knob on the audio system
while the system is responding.
If the Voice Recognition system does not recognize your voice commands, train th\
e system using the Speaker Adaptation Mode. See your Owner’s Manual for detailed information.
Some commands are not available while the vehicle is in motion.
The “Help” command can be used to hear a list of available commands\
at any time.
Please refer to the cellular phone manufacturer ’s Owner’s Manual for detailed information
regarding your Bluetooth® phone.
*Some jurisdictions prohibit the use of cellular telephones while drivin\
g.
19
Microphone
Bluetooth®
Controls
To view detailed instructional videos regarding these and other features,
please go to www.nissanownersinfo.mobi.
1351506_13c_Pathfinder_QRG_013013.indd 191/31/13 9:10 AM
Page 25 of 28
MAkING A cALL F ROM THE PHONEBOOk
1.
Press the button on the steering wheel.
2.
After waiting for the tone, s
ay “ c all”.
3.
After the next tone, speak the name of a phonebook entry
. For example, “Michael Smith”.
4.
c
onfirm the correct name is recognized by saying “Dial” after the tone.
NOTE: In some cases, names stored in all UPPER
cA
SE letters may not be recognized by the
voice recognition system.
MA
k
I
NG A
c
ALL B
Y PHONE NUMBER
1.
Press the button on the steering wheel. A tone will sound.
2.
S
ay: “
c
all”. The system acknowledges the command and announces the next set of
available commands.
3.
S
ay: “Phone Number”. The system acknowledges the command and announces the next
set of available commands.
4.
S
ay the number you wish to call, starting with the area code in single digit format.
5.
W
hen you have finished speaking the phone number, the system repeats it back and
announces the available commands.
6.
S
ay: “Dial”. The system acknowledges the command and makes the call.
RE
cEI
VING/ENDING A c
A
LL
When you receive a phone call, a ring tone sounds through the audio syste\
m.
To accept the call, press the button on the steering wheel.
To reject the call, press the button on the steering wheel.
To hang up the phone at the end of a call or to disconnect during call pl\
acement, press the
button on the steering wheel.
For more information, refer to the “Monitor, climate, audio, phone and voice recognition systems (section 4)” of your
Owner’s Manual.
23To view detailed instructional videos regarding these and other features,
please go to www.nissanownersinfo.mobi.
1351506_13c_Pathfinder_QRG_013013.indd 231/31/13 9:11 AM
Page 26 of 28
24
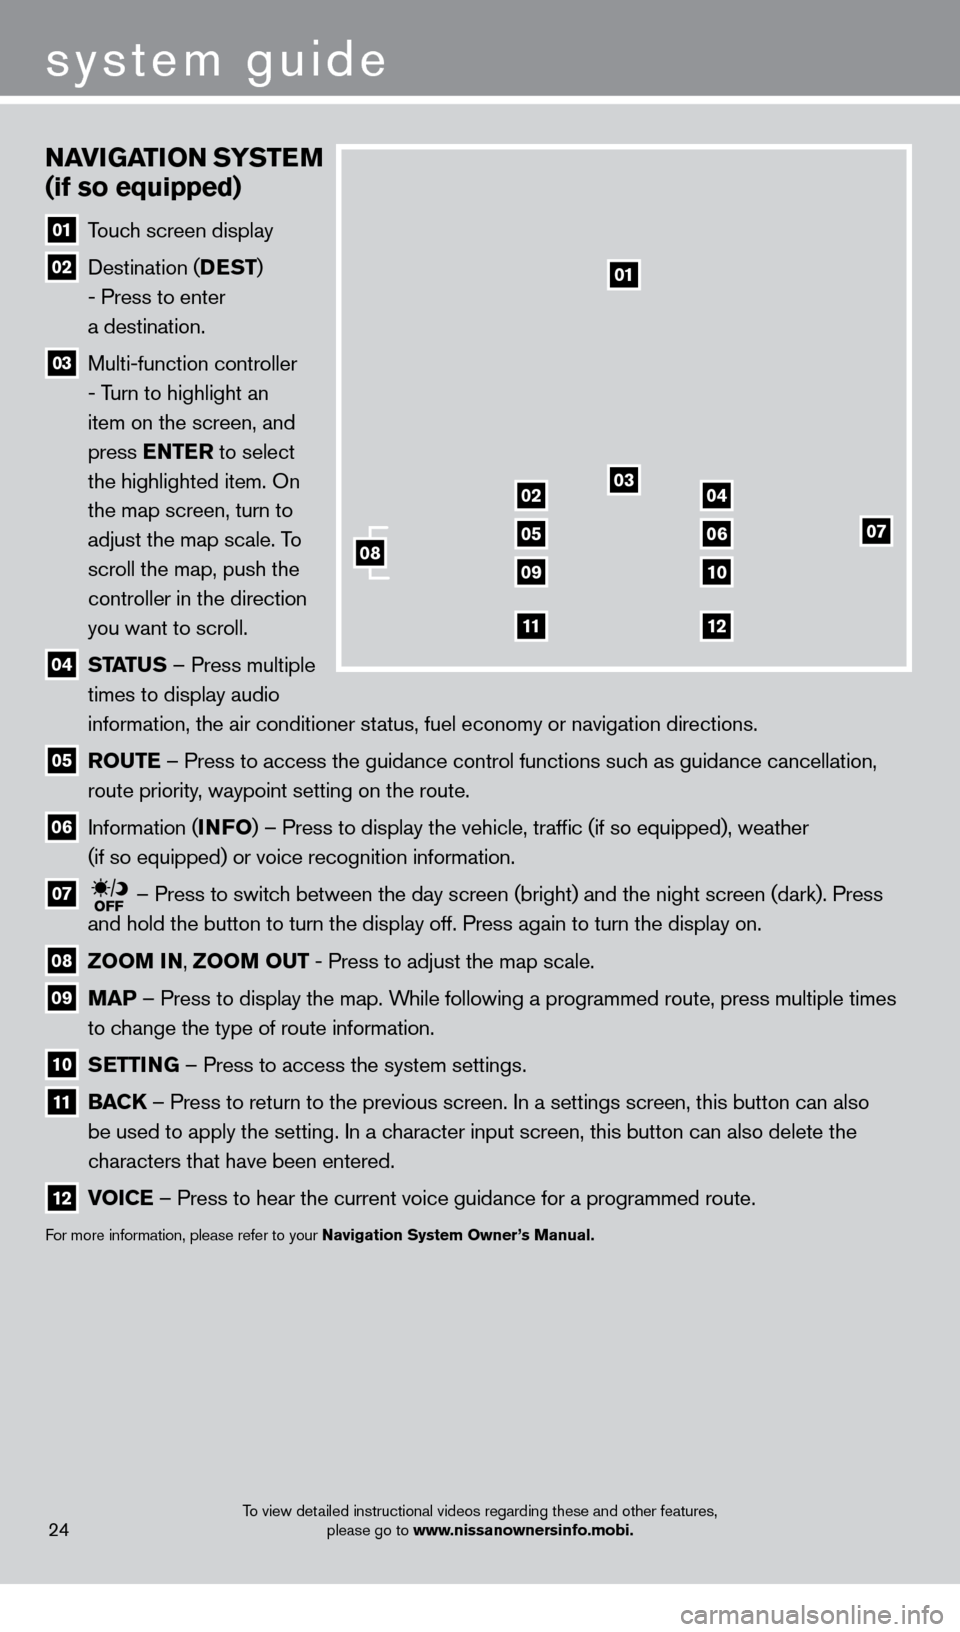
NAviGATio N SYSTEM
(if so equipped)
01 T ouch screen display
02 Destination ( DEST
)
- Press to enter
a destination.
03 Multi-function controller
- Turn to highlight an
item on the screen, and
press ENTER to select
the highlighted item. On
the map screen, turn to
adjust the map scale. To
scroll the map, push the
controller in the direction
you want to scroll.
04 ST ATUS –
Press multiple
times to display audio
information, the air conditioner status, fuel economy or navigation directions.
05 Ro UTE –
Press to access the guidance control functions such as guidance cancellation,
route priority, waypoint setting on the route.
06 Information ( i NFo)
– Press to display the vehicle, traffic (if so equipped), weather
(if so equipped) or voice recognition information.
07 – Press to switch between the day screen (bright) and the night screen (dark). Press\
and hold the button to turn the display off. Press again to turn the dis\
play on.
08 Zoo M iN ,
Zoo M o UT - Press to adjust the map scale.
09
MAP –
Press to display the map. While following a programmed route, press multiple times
to change the type of route information.
10 S ETT iN G –
Press to access the system settings.
11 BAC K
– Press to return to the previous screen. In a settings screen, this butt\
on can also
be used to apply the setting. In a character input screen, this button can also delete the
characters that have been entered.
12 v oiCE –
Press to hear the current voice guidance for a programmed route.
For more information, please refer to your Navigation System owner ’s Manual.
01
03
07
09
0204
0506
10
1112
08
system guide
To view detailed instructional videos regarding these and other features,
please go to www.nissanownersinfo.mobi.
1351506_13c_Pathfinder_QRG_013013.indd 241/31/13 9:11 AM
Page 27 of 28
HoMEli NK® UNivERSA l TRANSCEiv ER (if so equipped)
The HomeLink® system can learn and consolidate the functions of up to three different\
hand-held transmitters, operating items such as garage doors, property gates, outdoor and
indoor lights or alarm systems.
For more information, refer to the “instruments and controls (section 2)” of your Owner’s Manual, the HomeLink® website at
www.homelink.com or call 1-800-355-3515.
25
HoME li NK®
DvD PlAYER
With this DVD player, you can play video files via a
DVD or c
D, providing images and sound from the
front display.
You can also connect auxiliary devices such as video games, camcorders or portable video players to the
auxiliary jacks. (Your device will be controlled through
its own control panel.)
To view movies on the front display, stop the
vehicle in a safe location, move the shift selector to
the P (PARK) position and apply the parking brake.
To reduce driver distraction, movies will not be
shown on the front display while the vehicle is in
any drive position.
For more information, refer to the “Monitor, climate, audio, phone and voice recognition systems (section 4)” of your
Owner’s Manual.
system guide
To view detailed instructional videos regarding these and other features, please go to www.nissanownersinfo.mobi.
1351506_13c_Pathfinder_QRG_013013.indd 251/31/13 9:11 AM