display NISSAN PATHFINDER 2015 R52 / 4.G 08IT Navigation Manual
[x] Cancel search | Manufacturer: NISSAN, Model Year: 2015, Model line: PATHFINDER, Model: NISSAN PATHFINDER 2015 R52 / 4.GPages: 241, PDF Size: 4.22 MB
Page 117 of 241
![NISSAN PATHFINDER 2015 R52 / 4.G 08IT Navigation Manual 8. Adjust the location of the stored item andedit the contents of the stored item as
necessary. After finishing the setting, high-
light [OK] and push <ENTER>.
INFO:
. When the location is stored in t NISSAN PATHFINDER 2015 R52 / 4.G 08IT Navigation Manual 8. Adjust the location of the stored item andedit the contents of the stored item as
necessary. After finishing the setting, high-
light [OK] and push <ENTER>.
INFO:
. When the location is stored in t](/img/5/407/w960_407-116.png)
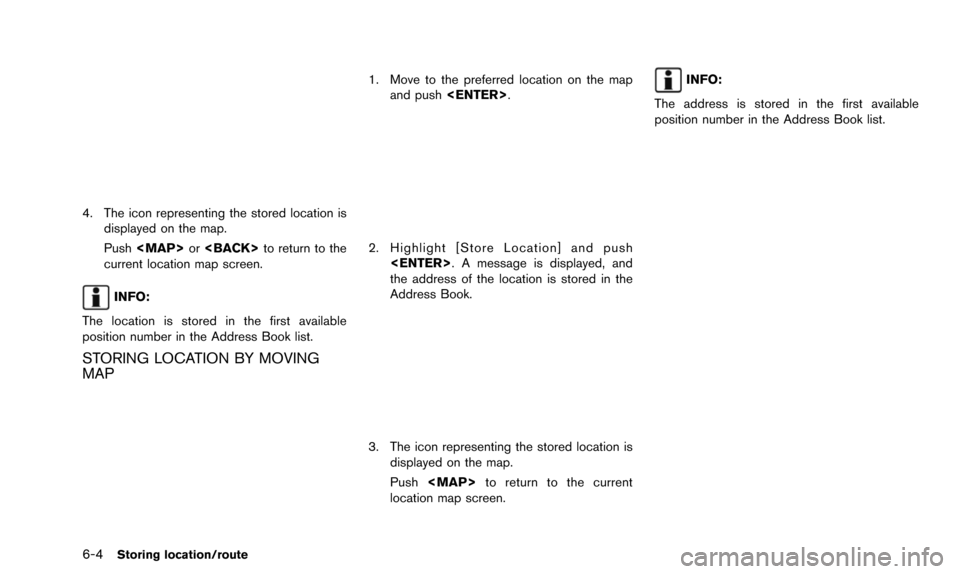
8. Adjust the location of the stored item andedit the contents of the stored item as
necessary. After finishing the setting, high-
light [OK] and push
INFO:
. When the location is stored in the Address
Book, [Address Book] can be used to
search for the location.
. A location can be adjusted by selecting
[Move Location] using the same method as
the one for a destination.
“Moving location of destination”
(page 5-4)
Other settings
An address can also be stored using the
following procedure.
1. Push
2. Highlight [Address Book] and push
3. Highlight [Store/Edit] and push
4. Highlight [Add New] and push
5. Highlight the appropriate method to search for a location and push
address of the searched location is stored.
“4. Setting destination”
STORING CURRENT VEHICLE LOCA-
TION
1. Push
Page 118 of 241

6-4Storing location/route
4. The icon representing the stored location isdisplayed on the map.
Push
Page 119 of 241

A maximum of 5 calculated routes can be
stored.
Stored routes can be easily retrieved and set as
the suggested route.
INFO:
Stored route includes only locations (destination
and waypoints) and route calculation conditions,
not the route itself.
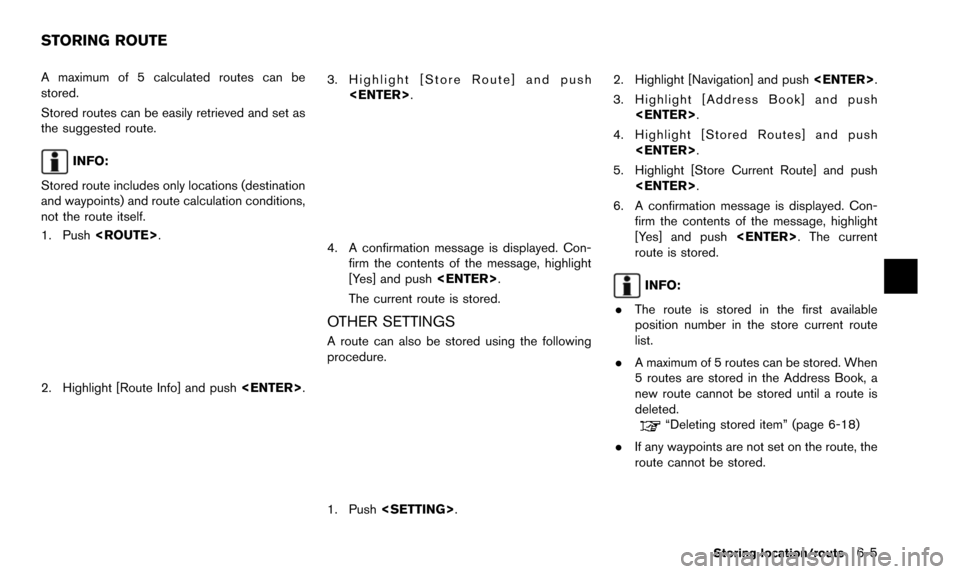
1. Push
2. Highlight [Route Info] and push
3. Highlight [Store Route] and push
4. A confirmation message is displayed. Con-firm the contents of the message, highlight
[Yes] and push
The current route is stored.
OTHER SETTINGS
A route can also be stored using the following
procedure.
1. Push
3. Highlight [Address Book] and push
4. Highlight [Stored Routes] and push
5. Highlight [Store Current Route] and push
6. A confirmation message is displayed. Con- firm the contents of the message, highlight
[Yes] and push
route is stored.
INFO:
. The route is stored in the first available
position number in the store current route
list.
. A maximum of 5 routes can be stored. When
5 routes are stored in the Address Book, a
new route cannot be stored until a route is
deleted.
“Deleting stored item” (page 6-18)
. If any waypoints are not set on the route, the
route cannot be stored.
Storing location/route6-5
STORING ROUTE
Page 120 of 241

6-6Storing location/route
A travelled route up to the current location can
be stored. A maximum of 5 tracked routes can
be stored.
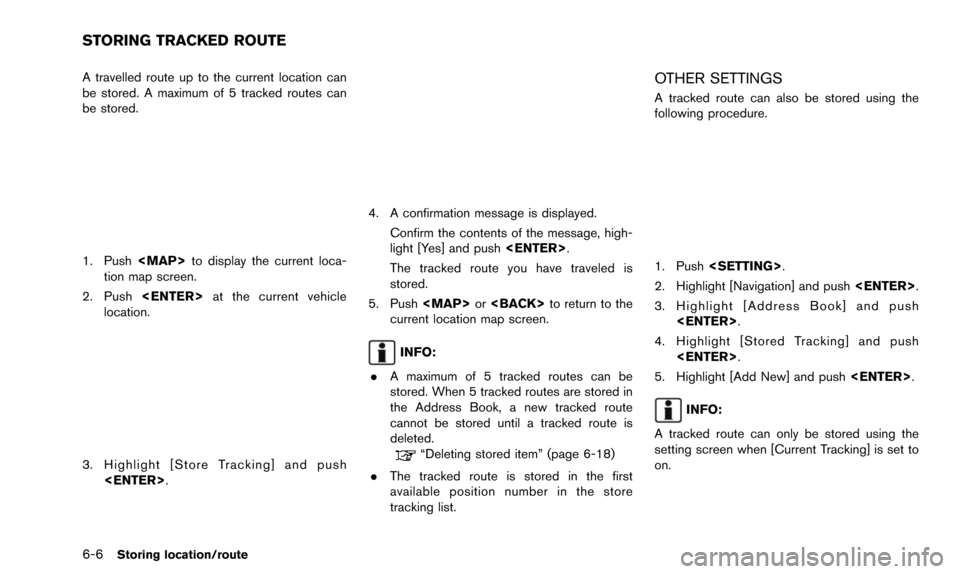
1. Push
tion map screen.
2. Push
location.
3. Highlight [Store Tracking] and push
4. A confirmation message is displayed.
Confirm the contents of the message, high-
light [Yes] and push
The tracked route you have traveled is
stored.
5. Push
current location map screen.
INFO:
. A maximum of 5 tracked routes can be
stored. When 5 tracked routes are stored in
the Address Book, a new tracked route
cannot be stored until a tracked route is
deleted.
“Deleting stored item” (page 6-18)
. The tracked route is stored in the first
available position number in the store
tracking list.
OTHER SETTINGS
A tracked route can also be stored using the
following procedure.
1. Push
2. Highlight [Navigation] and push
3. Highlight [Address Book] and push
4. Highlight [Stored Tracking] and push
5. Highlight [Add New] and push
INFO:
A tracked route can only be stored using the
setting screen when [Current Tracking] is set to
on.
STORING TRACKED ROUTE
Page 123 of 241
![NISSAN PATHFINDER 2015 R52 / 4.G 08IT Navigation Manual 2. Highlight the stored home location or pre-ferred stored address and push <ENTER>.
INFO:
Highlighting [Sort] displays a list of various
sort functions.
To use the sort functions, stored locations
mu NISSAN PATHFINDER 2015 R52 / 4.G 08IT Navigation Manual 2. Highlight the stored home location or pre-ferred stored address and push <ENTER>.
INFO:
Highlighting [Sort] displays a list of various
sort functions.
To use the sort functions, stored locations
mu](/img/5/407/w960_407-122.png)
2. Highlight the stored home location or pre-ferred stored address and push
INFO:
Highlighting [Sort] displays a list of various
sort functions.
To use the sort functions, stored locations
must be set in advance.
“Storing location” (page 6-2)
3. Highlight the preferred item and push
Available setting items
.[Edit]:
Edits the stored address information.
. [Move Location]:
Adjusts the location of the stored address.
. [Delete]:
Deletes the stored address. .
[OK]:
Applies the settings.
Other settings
A stored address can also be edited using the
following procedure.
1. Push
2. Highlight [Address Book] and push
3. Highlight [Store/Edit] and push
MINOR ADJUSTMENT OF HOME OR
STORED ADDRESS
When [Edit] is selected, you can edit the
following items of the home or stored location
can be edited.
. [Show Icon on Map]
. [Name] (only for stored locations) .
[Voicetag] (only for stored location)
. [Icon]
. [Sound]
. [Direction]
. [Distance]
. [Phone No.]
. [Group] (only for stored locations)
. [Entry Numbers] (only for stored locations)
Show icon on map
Displays the home icon or the stored address
icon on the map.
1. Highlight [Edit] and push
2. Highlight [Show Icon on Map] and push
3. The indicator illuminates when the item is set. Then the system displays the icon on
the map.
Storing location/route6-9
Page 124 of 241
![NISSAN PATHFINDER 2015 R52 / 4.G 08IT Navigation Manual 6-10Storing location/route
Name (only for stored locations)
Changes the name of a stored location.
1. Highlight [Edit] and push<ENTER>.
2. Highlight [Name] and push <ENTER>.
A character input screen i NISSAN PATHFINDER 2015 R52 / 4.G 08IT Navigation Manual 6-10Storing location/route
Name (only for stored locations)
Changes the name of a stored location.
1. Highlight [Edit] and push<ENTER>.
2. Highlight [Name] and push <ENTER>.
A character input screen i](/img/5/407/w960_407-123.png)
6-10Storing location/route
Name (only for stored locations)
Changes the name of a stored location.
1. Highlight [Edit] and push
2. Highlight [Name] and push
A character input screen is displayed.
3. Enter the preferred name for the stored location.
“How to input letters and numbers”
(page 2-14)
4. Highlight [OK] and push
The name is stored.
Voicetag (only for stored locations)
Stores the voicetag for the stored location. The
voicetag allows you to set the stored location as
a destination using Voice Recognition.
1. Highlight [Voicetag] and push
2. Highlight [Store] and push
3. A beep sounds, and the system enters the
voice command reception mode.
4. Speak the name/word to be used as Voicetag.
5. The Voicetag is stored, provided the system recognizes it.
INFO:
. A Voicetag cannot be stored, overwritten or
played while driving.
. The Address Book can store up to 100
Voicetags.
. Highlight [Play] to confirm the stored Voice-
tag.
. Highlight [Delete] to delete a stored Voice-
tag.
. If a Voicetag is already stored, select
[Restore] to re-record the Voicetag.
Page 125 of 241
![NISSAN PATHFINDER 2015 R52 / 4.G 08IT Navigation Manual Icon
Changes the icon of the home or stored address
to the preferred one. By changing the icons, the
usage of the [By Icon] option of the sort function
can be optimized more effectively ([Sort] menu
s NISSAN PATHFINDER 2015 R52 / 4.G 08IT Navigation Manual Icon
Changes the icon of the home or stored address
to the preferred one. By changing the icons, the
usage of the [By Icon] option of the sort function
can be optimized more effectively ([Sort] menu
s](/img/5/407/w960_407-124.png)
Icon
Changes the icon of the home or stored address
to the preferred one. By changing the icons, the
usage of the [By Icon] option of the sort function
can be optimized more effectively ([Sort] menu
situation) .
1. Highlight [Icon] and push
A list of icons is displayed.
2. Highlight the preferred icon and push
Sound
Sets the tone of the alarm that sounds when the
vehicle approaches the home or a stored
address.
1. Highlight [Sound] and push
A sound list is displayed.
2. Select the preferred alarm tone and push
The indicator of the selected alarm tone
illuminates. Sound list:
None
Chime
Melody
Sound
Dog
Cat
Wave
Church bell
Marimba
Trumpet
Horn
Scratch
Direction
Sets the alarm to sound when approaching from
a specific direction.
Storing location/route6-11
Page 126 of 241
![NISSAN PATHFINDER 2015 R52 / 4.G 08IT Navigation Manual 6-12Storing location/route
1. Highlight [Direction] and push<ENTER>.
A map screen with the home or stored
location located on the map center is
displayed.
2. Set the direction that sounds the alarm an NISSAN PATHFINDER 2015 R52 / 4.G 08IT Navigation Manual 6-12Storing location/route
1. Highlight [Direction] and push<ENTER>.
A map screen with the home or stored
location located on the map center is
displayed.
2. Set the direction that sounds the alarm an](/img/5/407/w960_407-125.png)
6-12Storing location/route
1. Highlight [Direction] and push
A map screen with the home or stored
location located on the map center is
displayed.
2. Set the direction that sounds the alarm and push
The selected direction is set.
INFO:
After the direction is set and [Direction] is
selected and set again, a confirmation
message is displayed. Confirm the contents
of the message, highlight [Yes] and push
Distance
Sets the alarm to sound when reaching a
specific distance to the home or stored address.
1. Highlight [Distance] and push
2. Highlight the preferred distance option and
push
selected distance illuminates.
Available distance options: . 150 feet (50 m)
. 300 feet (100 m) .
1000 feet (300 m)
. 1500 feet (500 m)
INFO:
Once the direction and the distance to sound an
alarm are set, the system will sound the alarm
when the vehicle enters the triggering zone.
Phone No.
Stores the telephone number of the home or a
stored location.
1. Highlight [Edit] and push
2. Highlight [Phone No.] and push
The telephone number entry screen is
displayed.
Page 127 of 241
![NISSAN PATHFINDER 2015 R52 / 4.G 08IT Navigation Manual 3. Enter the telephone number of the home orstored location.
“Number input screen” (page 2-15)
4. Highlight [OK] and push <ENTER>.
The telephone number is stored.
INFO:
If the phone number of the NISSAN PATHFINDER 2015 R52 / 4.G 08IT Navigation Manual 3. Enter the telephone number of the home orstored location.
“Number input screen” (page 2-15)
4. Highlight [OK] and push <ENTER>.
The telephone number is stored.
INFO:
If the phone number of the](/img/5/407/w960_407-126.png)
3. Enter the telephone number of the home orstored location.
“Number input screen” (page 2-15)
4. Highlight [OK] and push
The telephone number is stored.
INFO:
If the phone number of the home or a location is
stored, the phone number can be used to search
for the destination even if it is not included in the
map data.
Group (only for stored locations)
This groups the stored locations.
By grouping the stored locations, the [By Group]
option of the sort function can be used more
effectively in the [Sort Entries] mode.
1. Highlight [Group] and push
2. Highlight the preferred group and push
When the indicator of the selected group
illuminates, the stored location is classified
into the applicable group.
Entry Number (only for stored locations)
Index the position numbers of any two stored
locations in the list.
1. Highlight [Entry Number] and push
A list of stored locations is displayed.
2. Highlight the stored addresses that youwant to change and push
The position numbers of the selected stored
locations are changed.
Storing location/route6-13
Page 128 of 241
![NISSAN PATHFINDER 2015 R52 / 4.G 08IT Navigation Manual 6-14Storing location/route
EDITING STORED ROUTE
1. Highlight [Stored Routes] and push<ENTER>.
2. Highlight the preferred stored route and push <ENTER>.
3. Highlight the preferred item to edit from the NISSAN PATHFINDER 2015 R52 / 4.G 08IT Navigation Manual 6-14Storing location/route
EDITING STORED ROUTE
1. Highlight [Stored Routes] and push<ENTER>.
2. Highlight the preferred stored route and push <ENTER>.
3. Highlight the preferred item to edit from the](/img/5/407/w960_407-127.png)
6-14Storing location/route
EDITING STORED ROUTE
1. Highlight [Stored Routes] and push
2. Highlight the preferred stored route and push
3. Highlight the preferred item to edit from the
list on the right side of the screen and push
4. After finishing the editing, highlight [OK] and push
INFO:
If [Store Current Route] is selected, the system
stores the current route.
Available setting items: . [Rename]:
Changes the name.
“Character (letters and numbers) input
screen” (page 2-14)
. [Replace]:
Overwrites the stored route to the current
route.
. [Delete]:
Deletes the stored route.
. [OK]:
Applies the settings.
EDITING STORED TRACKING
1. Highlight [Stored Tracking] and push
2. Highlight a stored tracked route and push
illuminated, push
illuminates, and the Edit screen is displayed.
If
indicator is illuminated, the indicator turns
off.
3. Highlight the preferred item and push
Available setting items (Current tracking): . [View Track]:
Displays the tracked route up to the current
location.
. [Delete]:
Deletes the stored current tracking.
. [OK]:
Applies the settings.