center console NISSAN PATHFINDER 2015 R52 / 4.G Quick Reference Guide
[x] Cancel search | Manufacturer: NISSAN, Model Year: 2015, Model line: PATHFINDER, Model: NISSAN PATHFINDER 2015 R52 / 4.GPages: 32, PDF Size: 2.33 MB
Page 19 of 32

17
2 SEEK •CAT AND TRACK BUTTONS
To scan quickly and stop at the previous or next broadcast station, press the
SEEK•CAT
button or the TRACK
button.
For satellite radio to switch to the previous or next category, press the
SEEK•CAT
button or the TRACK
button.
To change tracks on a CD, press the
SEEK•CAT
button or the TRACK
button.
To rewind or fast forward a track on a CD, press and hold the
SEEK•CAT
button or
the TRACK
button.
3
AUDIO BUTTON/TUNE/FOLDER CONTROL KNOB
To manually tune the radio, turn the TUNE/FOLDER control knob left or right.
Press the AUDIO button to access the audio settings screen.
4 STATION SELECT BUTTONS
Twelve stations can be set for the FM band, 6 for the AM band and 18 for the
satellite radio.
To store a station in a preset, you must first select a radio band by pressing the
AM•FM
5 or
S AT
button 6 then tune to the desired AM, FM or satellite radio station.
Then press and hold the desired station preset button (1-6) until the preset number is
updated on the display and the sound is briefly muted. The channel indicator will then
display, and the sound will resume. Programing is now complete.
To retrieve a previously set station, select the radio band where the preset was stored
then press the corresponding station select button (1-6).
For more information, refer to the “Monitor, climate, audio, phone and voice recognition systems (section 4)” of
your Owner’s Manual.
USB ( Universal Serial Bus) CONNECTION PORT/ iPOD® INTERFACE
( if so equipped)
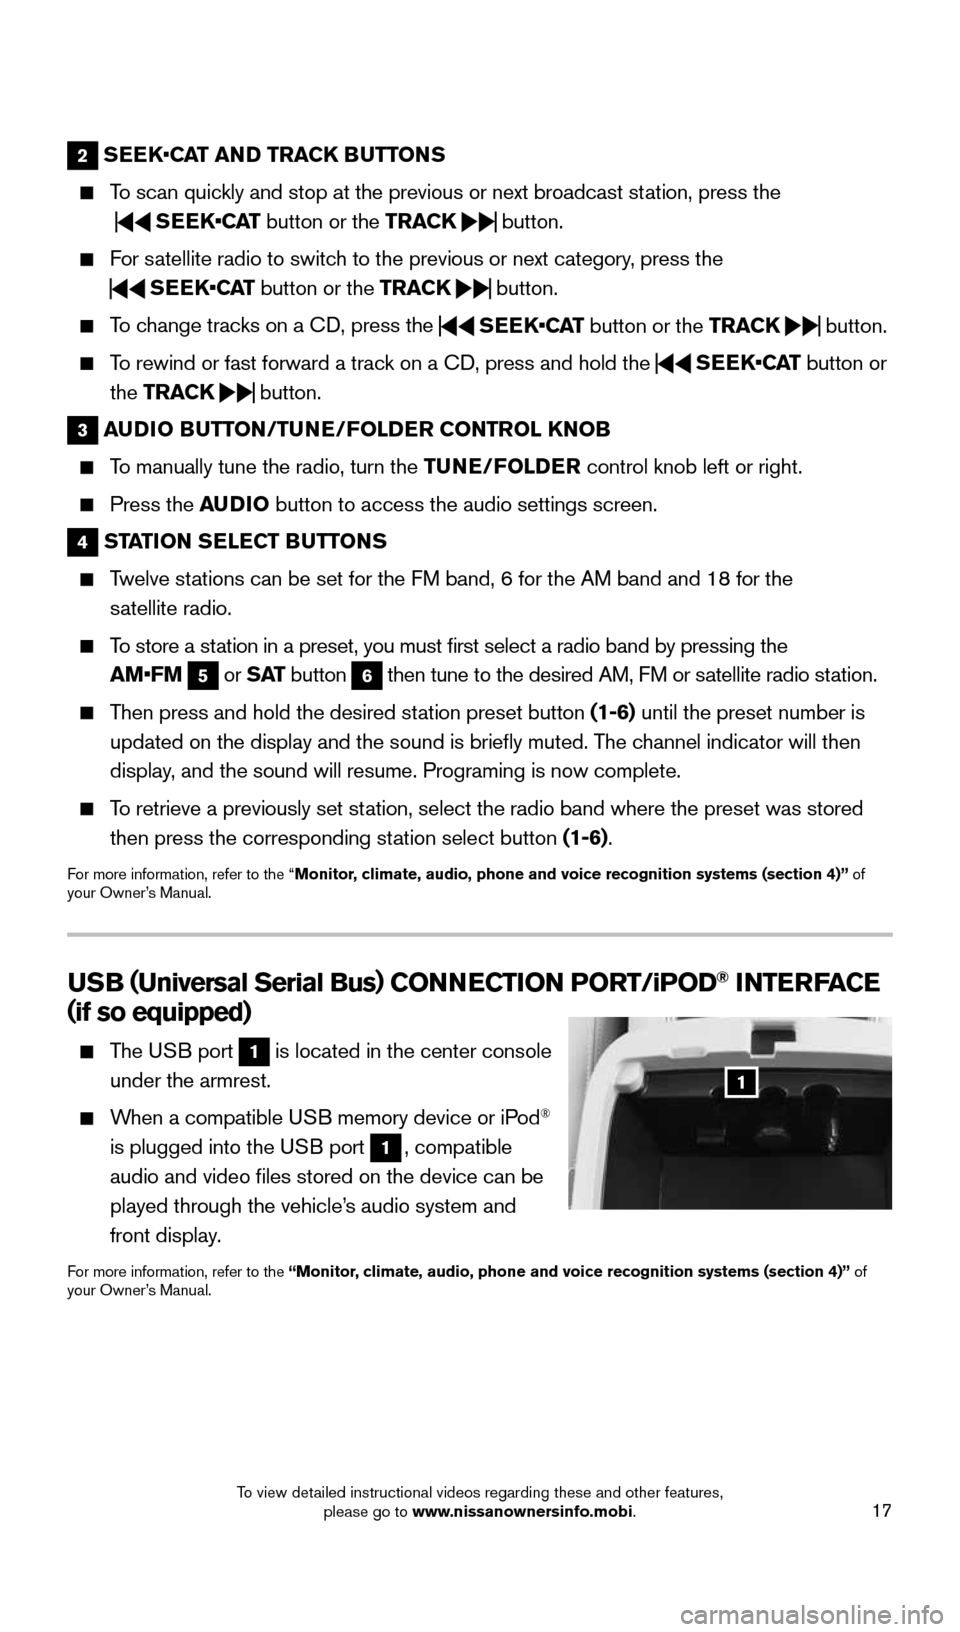
The USB port 1 is located in the center console
under the armrest.
When a compatible USB memory device or iPod®
is plugged into the USB port
1, compatible
audio and video files stored on the device can be
played through the vehicle’s audio system and
front display.
For more information, refer to the “Monitor, climate, audio, phone and voice recognition systems (section 4)” of
your Owner’s Manual.
1
1904703_15c_Pathfinder_QRG_031315.indd 173/13/15 12:52 PM
To view detailed instructional videos regarding these and other features, please go to www.nissanownersinfo.mobi.
Page 20 of 32

18
FIRST DRIVE FEATURES
CRUISE CONTROL
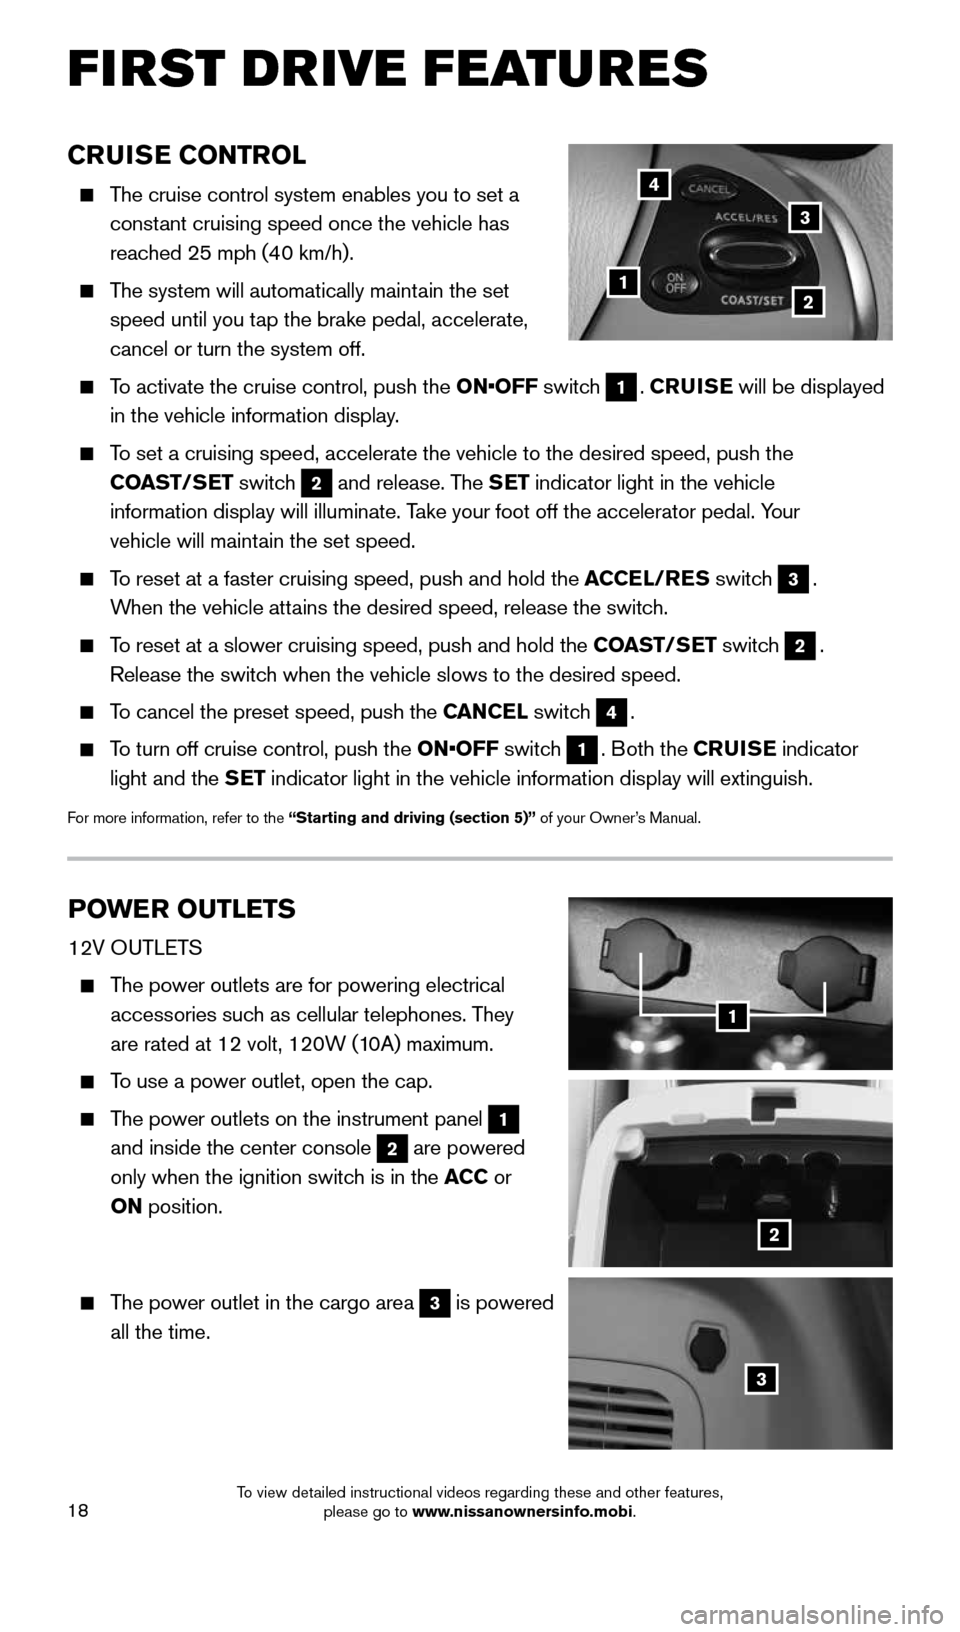
The cruise control system enables you to set a
constant cruising speed once the vehicle has
reached 25 mph (40 km/h).
The system will automatically maintain the set
speed until you tap the brake pedal, accelerate,
cancel or turn the system off.
To activate the cruise control, push the ON•OFF switch 1. CRUISE will be displayed
in the vehicle information display.
To set a cruising speed, accelerate the vehicle to the desired speed, pus\
h the
COAST/SET switch
2 and release. The SET indicator light in the vehicle
information display will illuminate. Take your foot off the accelerator pedal. Your
vehicle will maintain the set speed.
To reset at a faster cruising speed, push and hold the ACCEL/RES switch 3.
When the vehicle attains the desired speed, release the switch.
To reset at a slower cruising speed, push and hold the COAST/SET switch 2.
Release the switch when the vehicle slows to the desired speed.
To cancel the preset speed, push the CANCEL switch 4.
To turn off cruise control, push the ON•OFF switch 1. Both the CRUISE indicator
light and the SET indicator light in the vehicle information display will extinguish.
For more information, refer to the “Starting and driving (section 5)” of your Owner’s Manual.
POWER OUTLETS
12V OUTLETS
The power outlets are for powering electrical
accessories such as cellular telephones. They
are rated at 12 volt, 120W (10A) maximum.
To use a power outlet, open the cap.
The power outlets on the instrument panel 1
and inside the center console 2 are powered
only when the ignition switch is in the ACC or
ON position.
The power outlet in the cargo area 3 is powered
all the time.
12
3
4
1
2
3
1904703_15c_Pathfinder_QRG_031315.indd 183/13/15 12:52 PM
To view detailed instructional videos regarding these and other features, please go to www.nissanownersinfo.mobi.
Page 21 of 32

19
4
5
120V OUTLET (if so equipped)
The 120V outlet 4 is located on the back of the
center console.
To use the outlets for devices that require 120V
power, place the ignition in the ON position and
push the power inverter switch
5.
The switch will illuminate when enabled.
For more information, refer to the “Instruments and controls
(section 2)” of your Owner’s Manual.
1904703_15c_Pathfinder_QRG_031315.indd 193/13/15 12:52 PM
To view detailed instructional videos regarding these and other features, please go to www.nissanownersinfo.mobi.
Page 30 of 32

28
DUAL HEAD RESTRAINT DVD SYSTEM (if so equipped)
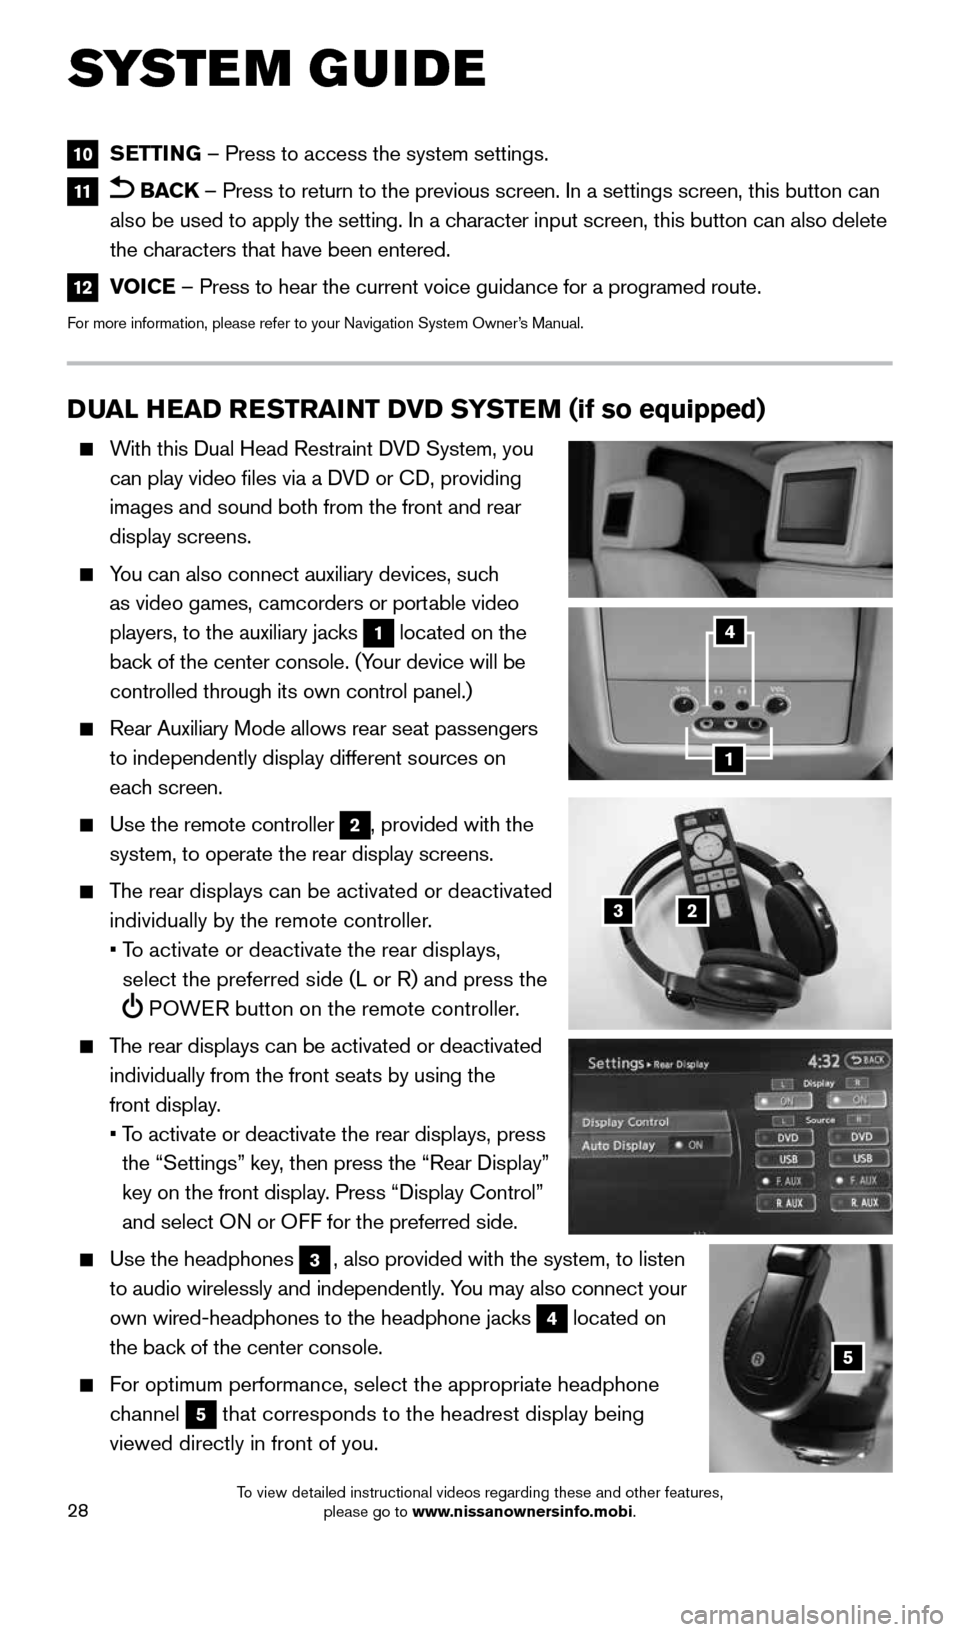
With this Dual Head Restraint DVD System, you
can play video files via a DVD or CD, providing
images and sound both from the front and rear
display screens.
You can also connect auxiliary devices, such
as video games, camcorders or portable video
players, to the auxiliary jacks
1 located on the
back of the center console. (Your device will be
controlled through its own control panel.)
Rear Auxiliary Mode allows rear seat passengers
to independently display different sources on
each screen.
Use the remote controller
2, provided with the
system, to operate the rear display screens.
The rear displays can be activated or deactivated
individually by the remote controller.
• To activate or deactivate the rear displays,
select the preferred side (L or R) and press the
POWER button on the remote controller.
The rear displays can be activated or deactivated
individually from the front seats by using the
front display.
• To activate or deactivate the rear displays, press
the “Settings” key, then press the “Rear Display”
key on the front display. Press “Display Control”
and select ON or OFF for the preferred side.
Use the headphones
3, also provided with the system, to listen
to audio wirelessly and independently. You may also connect your
own wired-headphones to the headphone jacks
4 located on
the back of the center console.
For optimum performance, select the appropriate headphone
channel
5 that corresponds to the headrest display being
viewed directly in front of you.
3
5
2
1
4
10 SETTING – Press to access the system settings.
11 BACK
– Press to return to the previous screen. In a settings screen, this\
button can
also be used to apply the setting. In a character input screen, this button can also delete
the characters that have been entered.
12 VOICE – Press to hear the current voice guidance for a programed route.
For more information, please refer to your Navigation System Owner’s Manual.
SYSTEM GUIDE
1904703_15c_Pathfinder_QRG_031315.indd 283/13/15 12:52 PM
To view detailed instructional videos regarding these and other features, please go to www.nissanownersinfo.mobi.