brake NISSAN PATHFINDER 2021 Owners Manual
[x] Cancel search | Manufacturer: NISSAN, Model Year: 2021, Model line: PATHFINDER, Model: NISSAN PATHFINDER 2021Pages: 482, PDF Size: 5.33 MB
Page 117 of 482
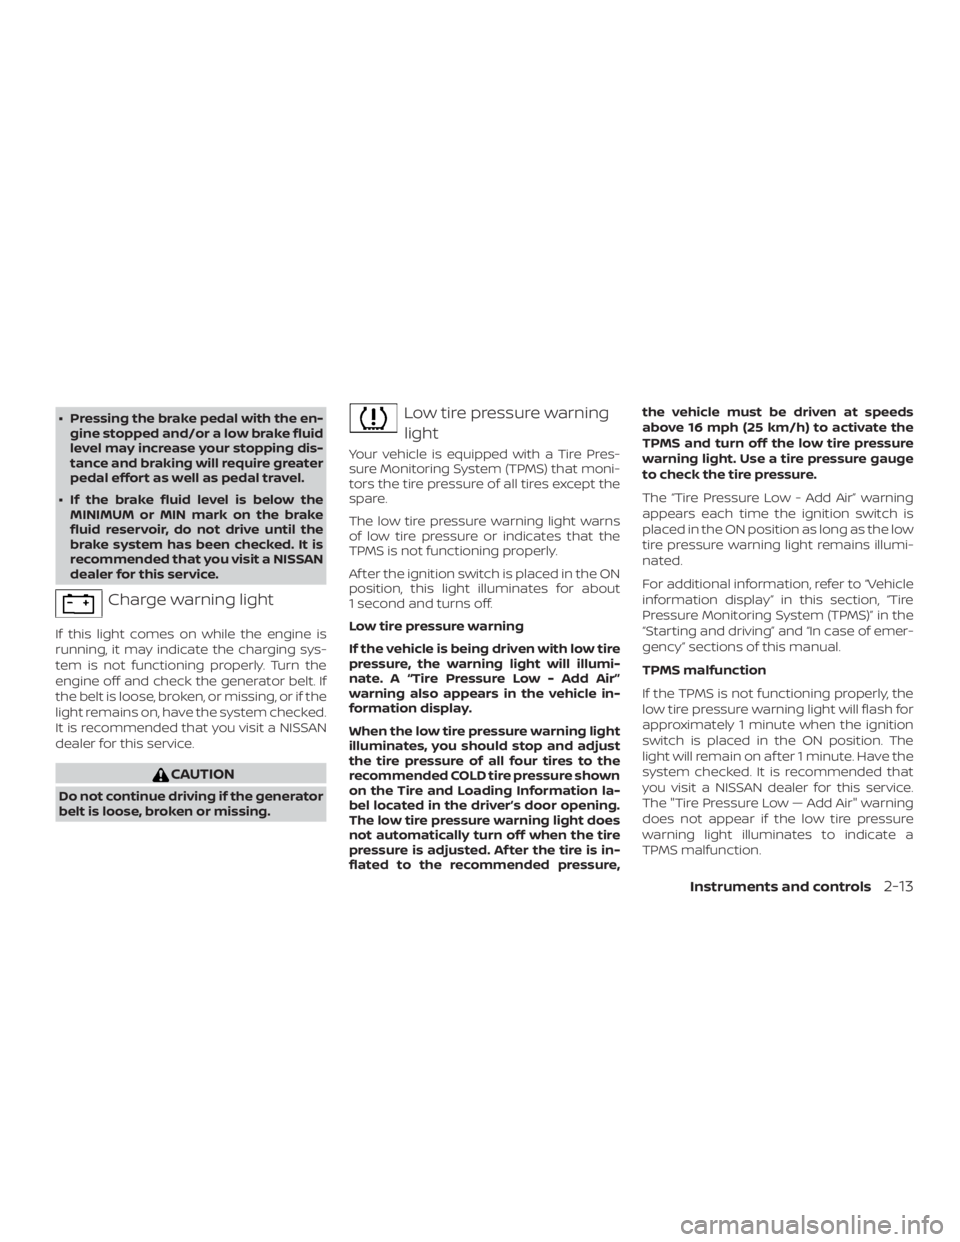
∙ Pressing the brake pedal with the en-gine stopped and/or a low brake fluid
level may increase your stopping dis-
tance and braking will require greater
pedal effort as well as pedal travel.
∙ If the brake fluid level is below the MINIMUM or MIN mark on the brake
fluid reservoir, do not drive until the
brake system has been checked. It is
recommended that you visit a NISSAN
dealer for this service.
Page 119 of 482
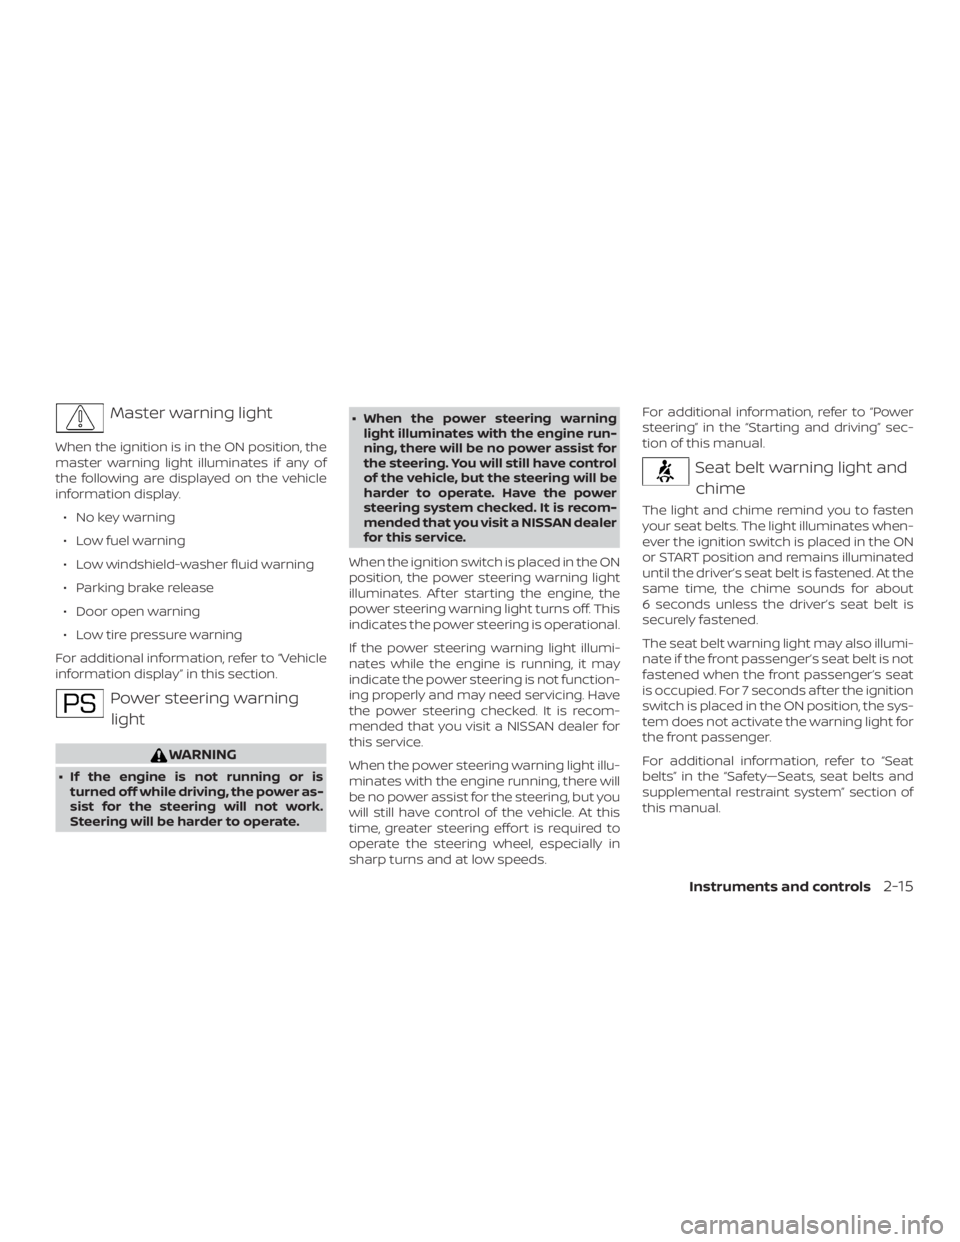
Master warning light
When the ignition is in the ON position, the
master warning light illuminates if any of
the following are displayed on the vehicle
information display.∙ No key warning
∙ Low fuel warning
∙ Low windshield-washer fluid warning
∙ Parking brake release
∙ Door open warning
∙ Low tire pressure warning
For additional information, refer to “Vehicle
information display” in this section.
Page 147 of 482
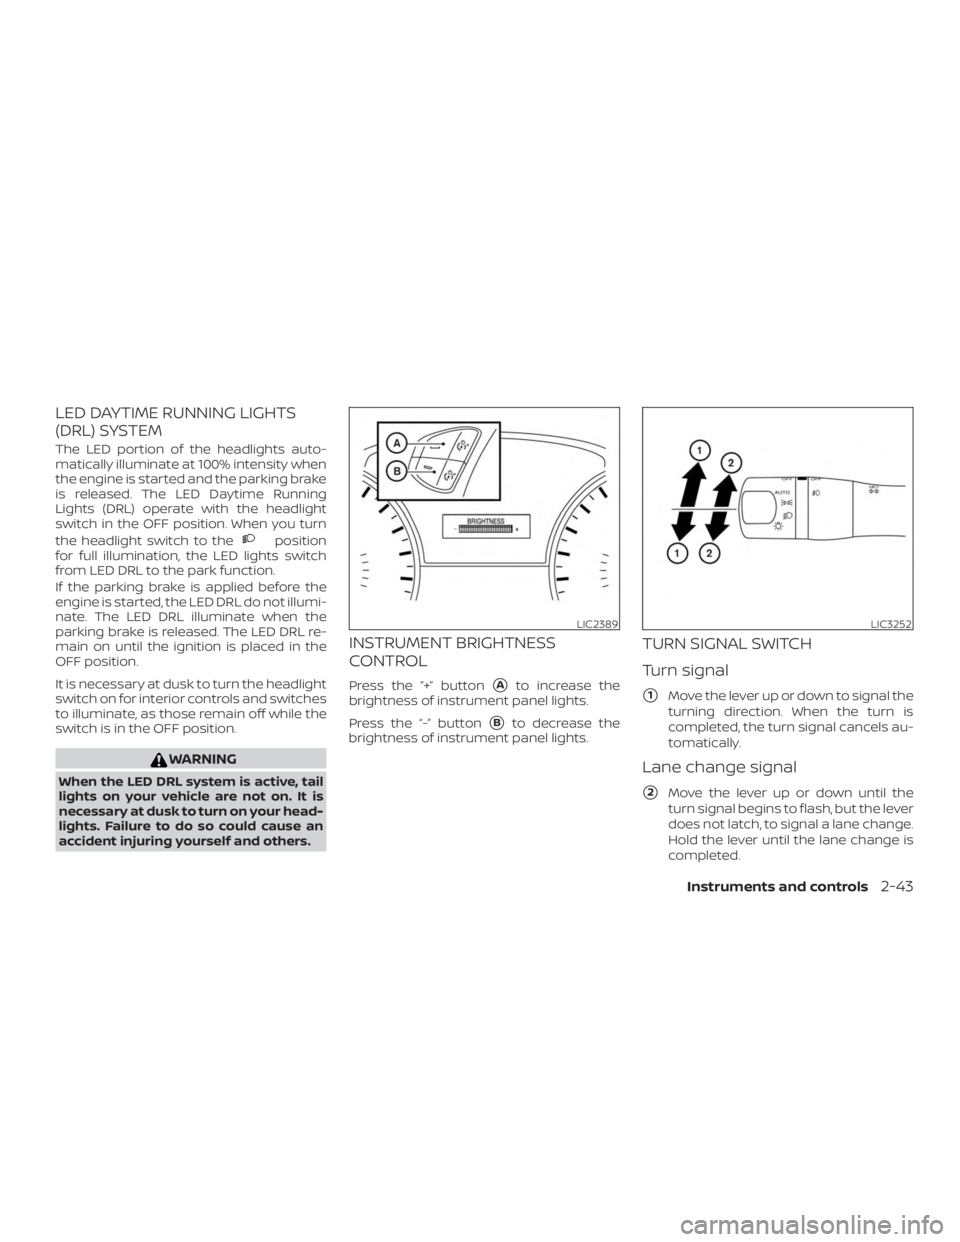
LED DAYTIME RUNNING LIGHTS
(DRL) SYSTEM
The LED portion of the headlights auto-
matically illuminate at 100% intensity when
the engine is started and the parking brake
is released. The LED Daytime Running
Lights (DRL) operate with the headlight
switch in the OFF position. When you turn
the headlight switch to the
Page 155 of 482
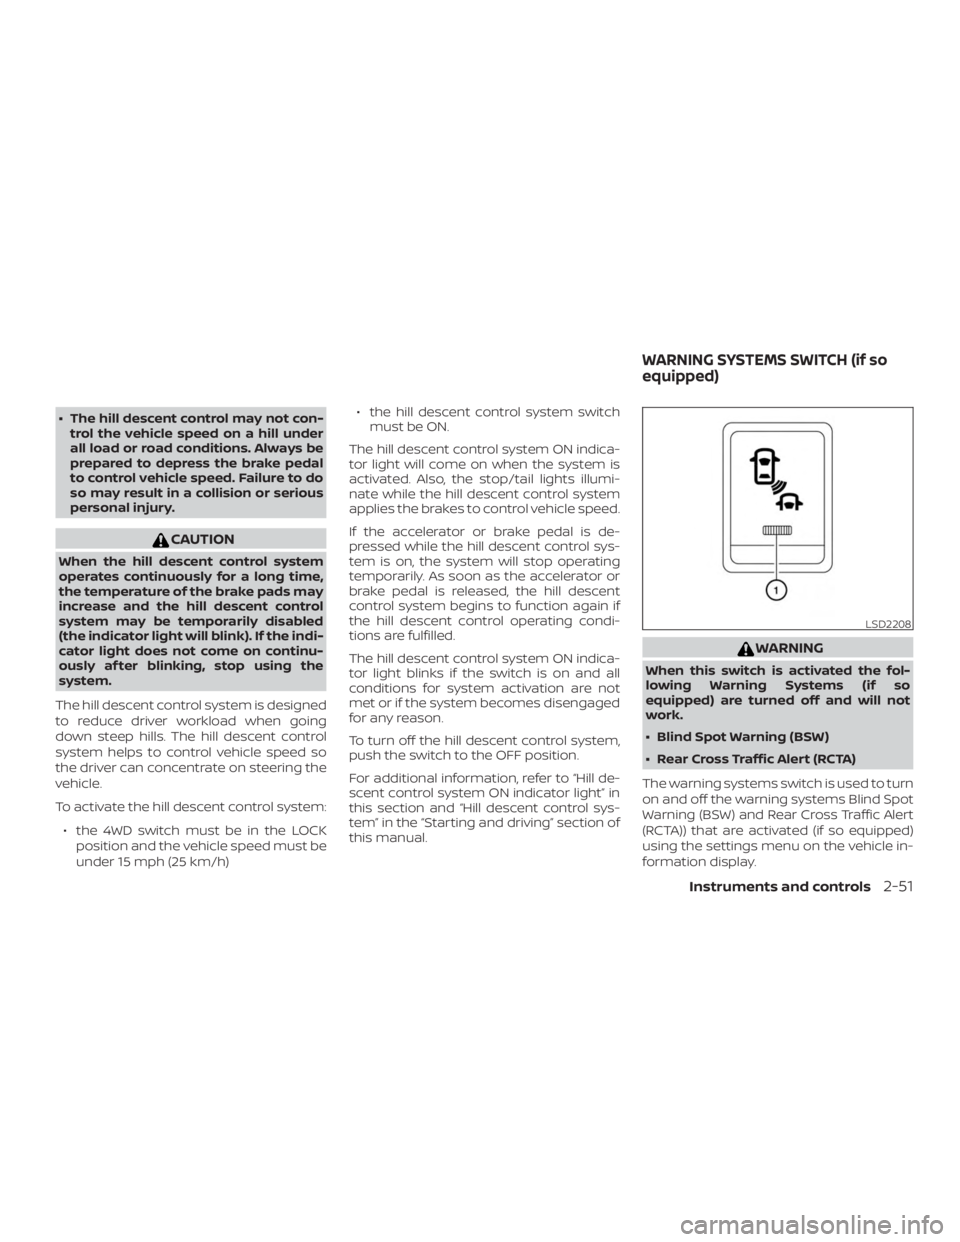
∙ The hill descent control may not con-trol the vehicle speed on a hill under
all load or road conditions. Always be
prepared to depress the brake pedal
to control vehicle speed. Failure to do
so may result in a collision or serious
personal injury.
Page 192 of 482
CAUTION
∙ Be sure to carry the Intelligent Keywith you when operating the vehicle.
∙ Never leave the Intelligent Key in the vehicle when you leave the vehicle.
The Intelligent Key is always communicat-
ing with the vehicle as it receives radio
waves. The Intelligent Key transmits weak
radio waves. Environmental conditions
may interfere with the operation of the In-
telligent Key under the following operating
conditions: ∙ When operating near a location where strong radio waves are transmitted,
such as a TV tower, power station and
broadcasting station.
∙ When in possession of wireless equip- ment, such as a cellular telephone,
transceiver, or a CB radio.
∙ When the Intelligent Key is in contact with or covered by metallic materials.
∙ When any type of radio wave remote control is used nearby.
∙ When the Intelligent Key is placed near an electric appliance such as a personal
computer. ∙ When the vehicle is parked near a park-
ing meter.
In such cases, correct the operating condi-
tions before using the Intelligent Key func-
tion or use the mechanical key.
Although the life of the battery varies de-
pending on the operating conditions, the
battery’s life is approximately two years. If
the battery is discharged, replace it with a
new one.
When the Intelligent Key battery is low, the
NISSAN Intelligent Key® warning light (if so
equipped) will blink green for about 30 sec-
onds af ter the ignition switch is placed in
the ON position.
Since the Intelligent Key is continuously re-
ceiving radio waves, if the key is lef t near
equipment which transmits strong radio
waves, such as signals from a TV and per-
sonal computer, the battery life may be-
come shorter.
When the battery is discharged, firmly ap-
ply the foot brake and touch the ignition
switch with the Intelligent Key. Then push
the ignition switch while depressing the
brake pedal within 10 seconds af ter the
chime sound. For additional information, refer to “Push-button ignition switch” in the
“Starting and driving” section of this
manual.
For additional information, refer to “Battery
replacement” in the “Do-it-yourself ” section
of this manual.
As many as four Intelligent Keys can be
registered and used with one vehicle. For
information about the purchase and use of
additional Intelligent Keys, it is recom-
mended that you visit a NISSAN dealer.
Page 235 of 482
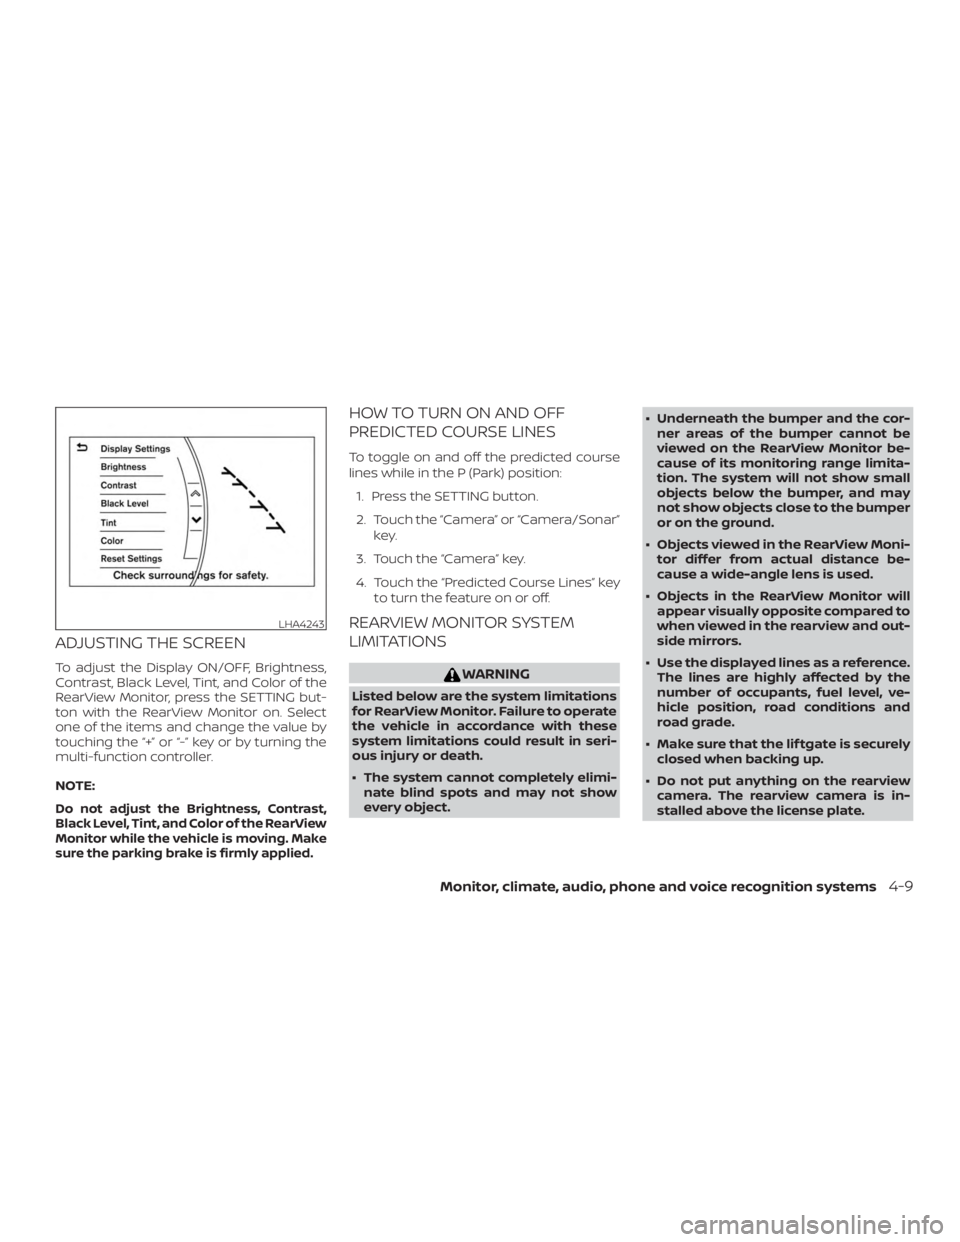
ADJUSTING THE SCREEN
To adjust the Display ON/OFF, Brightness,
Contrast, Black Level, Tint, and Color of the
RearView Monitor, press the SETTING but-
ton with the RearView Monitor on. Select
one of the items and change the value by
touching the “+” or “-” key or by turning the
multi-function controller.
NOTE:
Do not adjust the Brightness, Contrast,
Black Level, Tint, and Color of the RearView
Monitor while the vehicle is moving. Make
sure the parking brake is firmly applied.
HOW TO TURN ON AND OFF
PREDICTED COURSE LINES
To toggle on and off the predicted course
lines while in the P (Park) position:1. Press the SETTING button.
2. Touch the “Camera” or “Camera/Sonar” key.
3. Touch the “Camera” key.
4. Touch the “Predicted Course Lines” key to turn the feature on or off.
REARVIEW MONITOR SYSTEM
LIMITATIONS
Page 246 of 482
NOTE:
Do not adjust the Brightness, Contrast,
Black Level, Tint, and Color of the Intelli-
gent Around View Monitor while the ve-
hicle is moving. Make sure the parking
brake is firmly applied.INTELLIGENT AROUND VIEW
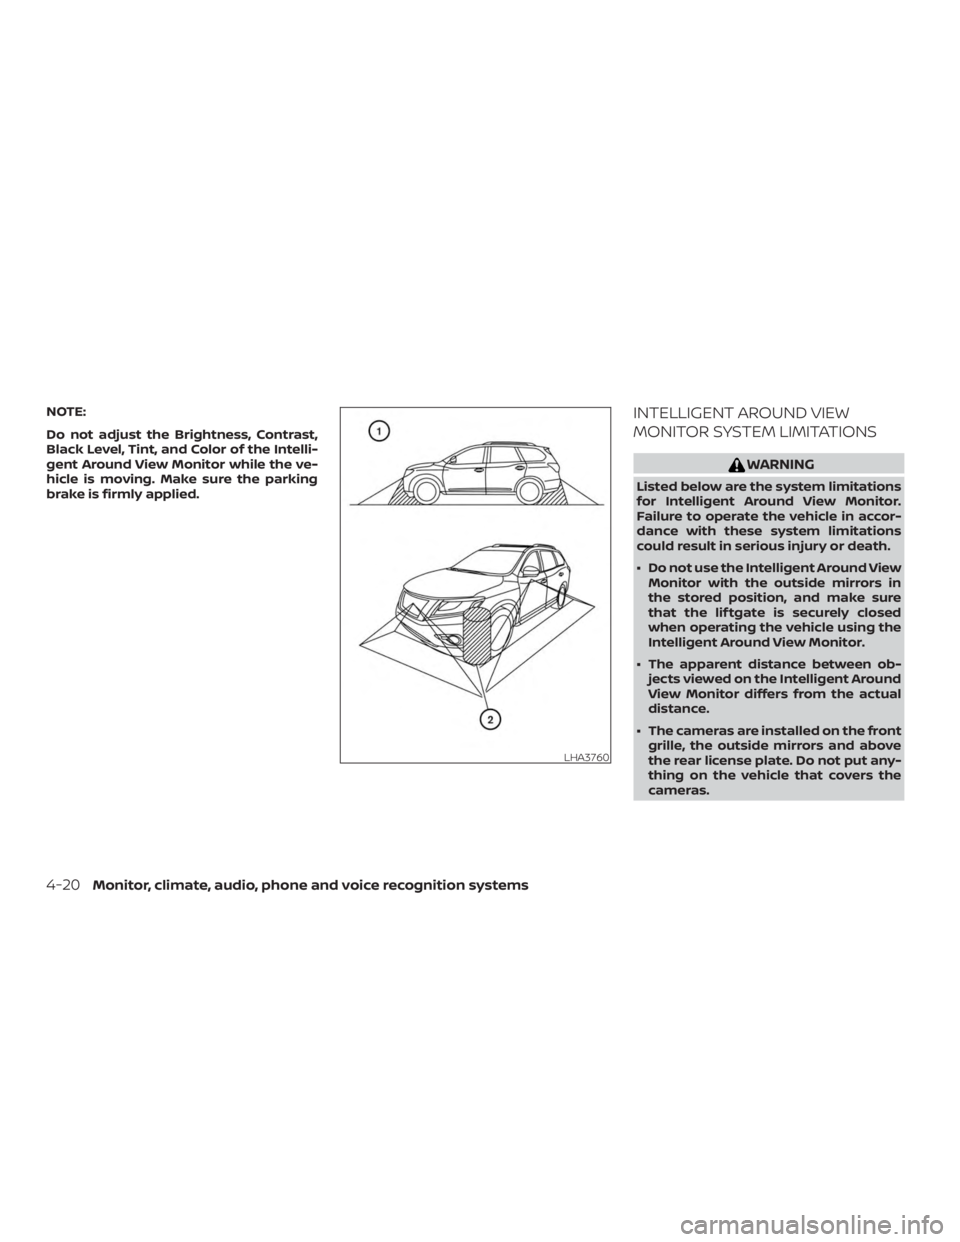
MONITOR SYSTEM LIMITATIONS
Page 280 of 482
∙ If your engine stalls or you cannotmake it to the top of a steep hill, never
attempt to turn around. Your vehicle
could tip or roll over. Always back
straight down in R (Reverse) gear and
apply brakes to control your speed.
∙ Heavy braking going down a hill could cause your brakes to overheat and
fade, resulting in loss of control and
an accident. Apply brakes lightly and
use a low gear to control your speed.
∙ Unsecured cargo can be thrown around when driving over rough ter-
rain. Properly secure all cargo so it will
not be thrown forward and cause in-
jury to you or your passengers.
∙ Secure heavy loads in the cargo area as far forward and as low as possible.
Do not equip the vehicle with tires
larger than specified in this manual.
This could cause your vehicle to roll
over.
∙ Do not grip the inside or spokes of the steering wheel when driving off-road.
The steering wheel could move sud-
denly and injure your hands. Instead
drive with your fingers and thumbs on
the outside of the rim. ∙ Before operating the vehicle, ensure
that the driver and all passengers
have their seat belts fastened.
∙ Always drive with the floor mats in place as the floor may become hot.
∙ Lower your speed when encountering strong crosswinds. With a higher cen-
ter of gravity, your NISSAN is more af-
fected by strong side winds. Slower
speeds ensure better vehicle control.
∙ Do not drive beyond the performance capability of the tires, even with 4WD
engaged.
∙ For 4WD equipped vehicles, do not at- tempt to raise two wheels off the
ground and shif t the transmission to
any drive or reverse position with the
engine running. Doing so may result
in drivetrain damage or unexpected
vehicle movement which could result
in serious vehicle damage or personal
injury. ∙ Do not attempt to test a 4WD
equipped vehicle on a 2-wheel dyna-
mometer (such as the dynamometers
used by some states for emissions
testing), or similar equipment even if
the other two wheels are raised off the
ground. Make sure you inform test fa-
cility personnel that your vehicle is
equipped with 4WD before it is placed
on a dynamometer. Using the wrong
test equipment may result in drive-
train damage or unexpected vehicle
movement which could result in seri-
ous vehicle damage or personal
injury.
∙ When a wheel is off the ground due to an unlevel surface, do not spin the
wheel excessively.
∙ Accelerating quickly, sharp steering maneuvers or sudden braking may
cause loss of control.
∙ If at all possible, avoid sharp turning maneuvers, particularly at high
speeds. Your NISSAN vehicle has a
higher center of gravity than a pas-
senger car. The vehicle is not de-
signed for cornering at the same
speeds as passenger cars.
5-10Starting and driving
Page 281 of 482
∙ Failure to operate this vehicle cor-rectly could result in loss of control
and/or a rollover accident.
∙ Always use tires of the same type, size, brand, construction (bias, bias-
belted, or radial), and tread pattern on
all four wheels. Install tire chains on
the front wheels when driving on slip-
pery roads and drive carefully.
∙ Be sure to check the brakes immedi- ately af ter driving in mud or water. For
additional information, refer to “Brake
system” in this section.
∙ Avoid parking your vehicle on steep hills. If you get out of the vehicle and it
rolls forward, backward or sideways,
you could be injured.
∙ Whenever you drive off-road through sand, mud or water as deep as the
wheel hub, more frequent mainte-
nance may be required. For additional
information, refer to “Severe driving
conditions” in the “Maintenance and
schedules” section of this manual.
Page 285 of 482
∙ Make sure the area around the vehicle isclear.
∙ Check fluid levels such as engine oil, coolant, brake fluid, and windshield-
washer fluid as frequently as possible,
or at least whenever you refuel.
∙ Check that all windows and lights are clean.
∙ Visually inspect tires for their appear- ance and condition. Also check tires for
proper inflation.
∙ Check that all doors are closed.
∙ Position seat and adjust head restraints/headrests.
∙ Adjust inside and outside mirrors.
∙ Fasten seat belts and ask all passen- gers to do likewise.
∙ Check the operation of warning lights when the ignition switch is placed in the
ON position. For additional information,
refer to “Warning lights, indicator lights
and audible reminders” in the “Instru-
ments and controls” section of this
manual. 1. Apply the parking brake.
2. Move the shif t lever to P (Park) or N
(Neutral). P (Park) is recommended.
The starter is designed not to oper-
ate if the shif t lever is in any of the
driving positions.
3. Push the ignition switch to the ON po- sition. Depress the brake pedal and
push the ignition switch to start the
engine.
To start the engine immediately, push
and release the ignition switch while
depressing the brake pedal with the
ignition switch in any position.
∙ If the engine is very hard to start in extremely cold weather or when re-
starting, depress the accelerator
pedal a little (approximately 1/3 to the
floor) and while holding, crank the en-
gine. Release the accelerator pedal
when the engine starts.
∙ If the engine is very hard to start be- cause it is flooded, depress the accel-
erator pedal all the way to the floor
and hold it. Push the ignition switch
to the ON position to start cranking
the engine. Af ter 5 or 6 seconds, stop
cranking by pushing the ignition switch to the LOCK position. Af ter
cranking the engine, release the ac-
celerator pedal. Crank the engine
with your foot off the accelerator
pedal by depressing the brake pedal
and pushing the ignition switch to
start the engine. If the engine starts,
but fails to run, repeat the above pro-
cedure.