NISSAN PATHFINDER HYBRID 2014 R52 / 4.G Quick Reference Guide
Manufacturer: NISSAN, Model Year: 2014, Model line: PATHFINDER HYBRID, Model: NISSAN PATHFINDER HYBRID 2014 R52 / 4.GPages: 32, PDF Size: 1.53 MB
Page 11 of 32
9
FRoNT PoWE R SEAT ADJUSTMENTS
(if so equipped)
To slide the seat forward or backward, push the
control switch
01 forward or backward.
To recline the seatback, push the switch 02 forward
or backward.
S
e
AT LIFT
e
R
To raise or lower the front portion or height of the seat, push the front\
or back end of the switch
01 up or down
POW
eR LU
MBAR SUPPORT (if so equipped for driver’s seat)
To adjust the seat lumbar support, push the front or back end of the switch 03.
For more information, refer to the “Safety—seats, seat belts and supplemental restraint system (sect\
ion 1)” of your
Owner’s Manual.
010203
2ND RoW SEATS
To slide the seat forward or backward, pull the center of the bar
01 up and hold it while you
slide the seat forward or backward to the desired
position. Release the bar to lock the seat in position.
To recline the seatback, pull up on the recline handle
02 and lean back. To bring the seatback
forward, pull the lever up and lean your body
forward. Release the lever to lock the seatback
in position.
c
HILD S
e
A
T A
cce
SS MOD e
This feature is not available on the driver’s side of the 2nd row seat.
If a child safety seat is installed on the passenger’s side of the 2nd row seat, the 3rd row can
be accessed without removing the child safety seat.
To access the 3rd row from outside the vehicle, lift up on the seatback release lever 03
and move the seat toward the front of the vehicle.
MULTI-MOD
e
To enter the 3rd row from outside the vehicle, lift up fully on the seatback release lever 03.
This will release the back of the seat and fold up the seat cushion.
For access to the rear seat, slide the entire seat forward by pushing on \
the upper seatback area.
To return the seat to a locked position, push the upper seatback rearward until the seatback and track are locked. Push the seat cushion down. Locking the seatback will also
lock the track.
For more information, refer to the “Safety—Seats, seat belts and supplemental restraint system (sect\
ion 1)” of your
Owner’s Manual.
02
03
01
1562941_14b_Pathfinder_HEV_QRG_091913.indd 99/19/13 11:11 AM
To view detailed instructional videos regarding these and other features, please go to www.nissanownersinfo.mobi.
Page 12 of 32

10
3RD RoW SEATS
To recline the seatback, pull up on the latch 01
located on the outside corner of each seatback. Lean
back until the desired angle is obtained.
To bring the seatback forward again, pull up on the latch
01 and move your body forward. The seatback
will move forward.
For more information, refer to the “Safety—seats, seat belts and supplemental restraint system (sect\
ion 1)” of your
Owner’s Manual.
01
AUTo MAT iC D Riv E Po Si T io NER
(if so equipped)
Two positions for the driver’s seat, steering column
and outside mirrors can be stored in the automatic
drive positioner
01 memory.
Follow these procedures to set the memory positions:
•
Confirm the shift lever is in the
P (PARK) position.
•
Push the ignition switc
h to the o N position.
•
Adjust the driver
’s seat, steering column and outside mirrors to the desired positions using
the adjusting switches for each feature.
•
Push the
SET switch and within 5 seconds, push the memory switch (1 or 2) for at
least 1 second.
•
T
he indicator light on the memory switch you select will illuminate for approximately
5 seconds, and a chime will sound (if so equipped) when memory is stored correctly.
•
T
he driver’s seat, steering column and outside mirror positions are now set to
your preference.
These memorized positions can also be linked to your NISSAN Intelligent key®.
For more information, refer to the “Pre-driving checks and adjustments (section 3)” of your Owner’s Manual.
01
first drive features
1562941_14b_Pathfinder_HEV_QRG_091913.indd 109/19/13 11:11 AM
To view detailed instructional videos regarding these and other features, please go to www.nissanownersinfo.mobi.
Page 13 of 32
11
oUTSiDE MiRRo R C o NTRol SW i TCH
To select the right or left side mirror, move the control
switch
01 right or left.
Adjust eac h mirror to the desired position using the
switch
02.
R
e
V
e
R
S
e
TILT-DOWN F
e
ATUR
e
(if so equipped)
The reverse tilt-down feature will turn the selected outside mirror surfa\
ce downward to provide better rear visibility close to the vehicle.
1.
Set the parking brake.
2.
Push the ignition switc
h to the o N position.
3.
Move the shift lever to the
R (RE v ERSE) position.
4.
c hoose the right or left outside mirror by operating the outside mirror c\
ontrol switch
01.
5.
T
he outside mirror surfaces move downward.
The outside mirror surfaces will return to their original positions when \
one of the following conditions has occurred:
•
T
he shift lever is moved to any position other than R (RE v ERSE).
•
T
he outside mirror control switch is set to the center (neutral) position.
•
T
he ignition switch is placed in the o FF position.
For more information, refer to the “Pre-driving checks and adjustments (section 3)” of your Owner’s Manual.
0102
STARTiNG/SToPP iN G THE HYBRiD S YSTEM
It is important to make sure the Intelligent key is with
you (that is, in your pocket or purse).
Depress the brake pedal.
Press the ignition switc h START/STo P button to
start the hybrid system.
The ready to drive indicator light 01 will illuminate in
the meter and you may begin driving the vehicle.
TURNING TH
e
HYBRID SYST
e
M O
FF
Move the shift lever to the P (PARK) position and apply the parking brake.
Press the ignition switch START/STo P button to turn the hybrid system off.
For more information, refer to the “Starting and driving (section 5)” of your Owner’s Manual.
ASSiST CHARGE GAUGE
This shows the power consumed 02, or generated
01 by the electric motor.
For more information, refer to the “Hybrid System overview” section and the
“i nstruments and controls (section 2)” of your Owner’s Manual.0102
01
1562941_14b_Pathfinder_HEV_QRG_091913.indd 119/19/13 11:11 AM
To view detailed instructional videos regarding these and other features, please go to www.nissanownersinfo.mobi.
Page 14 of 32
12
HEADliGHT Co NTRol SW i TCH
HeADLIGHT cO NTROL
Turn the headlight control switch to the position
01 to turn on the front parking, tail, license plate and
instrument panel lights. Turn the switch to the
position
02 to turn on the headlights.
AUTOLIGHT SYST e
M (if so equipped)
The autolight system will automatically turn the headlights on when it is dark and off when it is light.
The system will keep the headlights on for a period of
time after you turn the ignition off and all doors are closed.
To activate the autolight system, turn the headlight control switch to the AUTo position 03
then push the ignition switch to
o
N. To deactivate the autolight system, turn the headlight
control switch to the
o
FF,
position 01 or position 02.
HIGH B
e
AM S
eL
ec
T
Push the headlight control switc h forward 04 to select the high beam function. The blue
indicator light
illuminates in the instrument panel. Pull the headlight switch back to the
original position to select the low beam. The blue indicator light will extinguish.
Pull and release the headlight control switc h 05 to flash the headlight high beams on and off.
FOG LIGHT SWIT
cH
The headlights must be on and the low beams selected for the fog lights to operate.
Turn the switch (inside collar) to the position 06 to turn the fog lights on.
Turn the switch (inside collar) to the o FF position to turn the fog lights off.
LAN
e
c
HAN
G
e
SIGNAL
To signal a lane change, move the lever up or down to the point where the indicator light begins to flash, but the lever does not latch.
The turn signal will flash 3 times automatically.
For more information, refer to the “Pre-driving checks and adjustments (section 3)” of your Owner’s Manual.
03
01
02
04
0506
first drive features
1562941_14b_Pathfinder_HEV_QRG_091913.indd 129/19/13 11:11 AM
To view detailed instructional videos regarding these and other features, please go to www.nissanownersinfo.mobi.
Page 15 of 32
13
WiNDSHiElD W iPE R AND WASHER SW i TCH
Move the lever to the following positions to operate the windshield wipe\
rs:
01 Mist (MiST) – One sweep operation of the
front wipers.
02 Intermittent ( iNT) – Operates the speed-sensing
front wipers intermittently. The intermittent speed
can be adjusted by twisting the time control ring
03 to increase or decrease wiper speed.
04 Low ( lo ) – Front wipers operate at a continuous
low speed.
05 High (Hi ) – Front wipers operate at a continuous
high speed.
06 Pull the lever toward you to activate the front
washer. The front wipers will operate several times.
R
e
A
R WINDSHI e LD WIP
e
R AND WASH e R
07 Intermittent (iNT) – Rear wiper operates intermittently.
08 Low (oN) – rear wiper operates at a continuous low speed.
09 Push the lever forward to activate the rear washer. The rear wiper will operate several times.
For more information, refer to the “instruments and controls (section 2)” of your Owner’s Manual.
AUToMAT iC C liMA TE C o NTRol S
01 AUTo BUTTo N/DRiv ER’S SiD E TEMPERATURE C o NTRol Di A l
The auto mode may be used year-round. Push the AUTo button to turn the system on
and the system will automatically control the inside temperature (autom\
atic cooling and/or
dehumidified heating), air flow distribution and fan speed.
Turn the driver’s side temperature control dial to the left for cooler air or right for \
warmer air.
02 D UA l BUTTo N/PASSENGER’S SiD E TEMPERATURE C o NTRol Di A l
Push the D UAl button to turn the passenger ’s side temperature controls on or off. This will
allow the passenger’s side temperature to be adjusted independently from the driver’s side
by turning the passenger’s side temperature control dial.
Turn the passenger’s side temperature control dial left for cooler air or right for warmer \
air.
010203
05
07
09
06
08
04
01
02
04
05
MiST
o
FF
iNT
lo
H
i03
06
09
07
08
iNT
o
N
1562941_14b_Pathfinder_HEV_QRG_091913.indd 139/19/13 11:11 AM
To view detailed instructional videos regarding these and other features, please go to www.nissanownersinfo.mobi.
Page 16 of 32
14
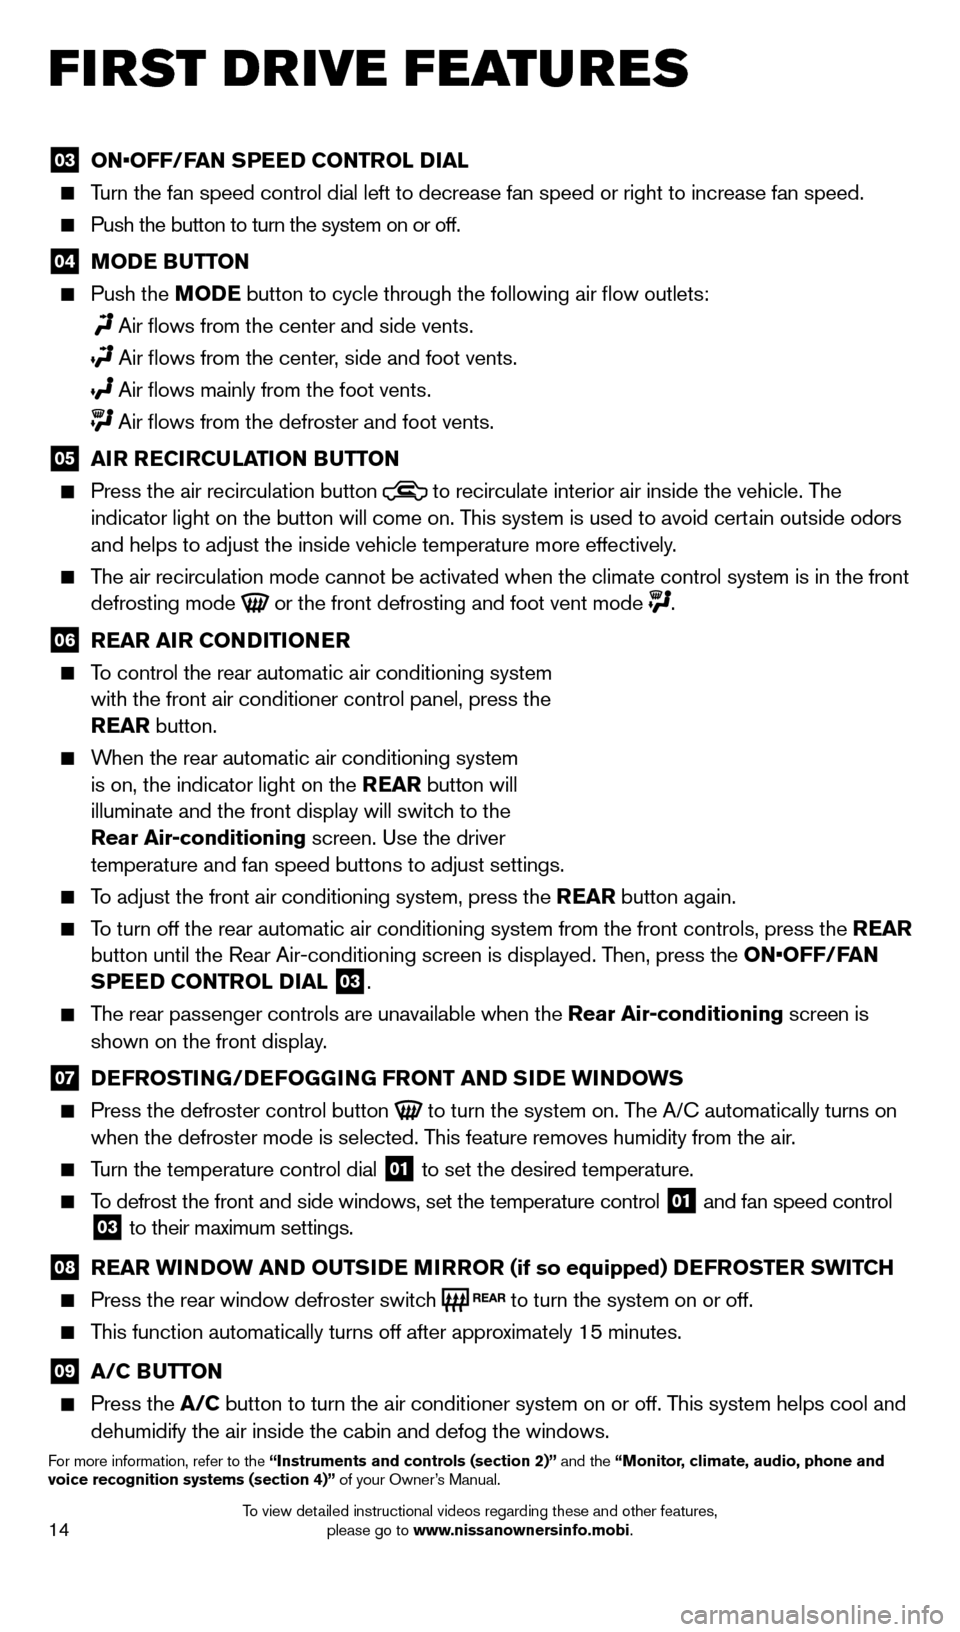
03 ON•OFF/FAN SPEED CONTROL DIAL Turn the fan speed control dial left to decrease fan speed or right to in\
crease fan speed.
Push the button to turn the system on or off.
04 MoDE BUTTo N Push the
Mo DE button to cycle through the following air flow outlets:
Air flows from the center and side vents.
Air flows from the center , side and foot vents.
Air flows mainly from the foot vents. Air flows from the defroster and foot vents.
05 A iR R EC iR CUl AT io N BUTTo N Press the air recirculation button to recirculate interior air inside the vehicle. The
indicator light on the button will come on. This system is used to avoid certain outside odors
and helps to adjust the inside vehicle temperature more effectively.
The air recirculation mode cannot be activated when the climate control s\
ystem is in the front defrosting mode or the front defrosting and foot vent mode .
06 R EAR A iR C o NDi T io NER To control the rear automatic air conditioning system
with the front air conditioner control panel, press the
REAR button.
When the rear automatic air conditioning system is on, the indicator light on the REAR button will
illuminate and the front display will switch to the
Rear Air-conditioning screen. Use the driver
temperature and fan speed buttons to adjust settings.
To adjust the front air conditioning system, press the REAR button again.
To turn off the rear automatic air conditioning system from the front con\
trols, press the REAR button until the Rear Air-conditioning screen is displayed. Then, press the ON•OFF/FAN
SPEED C
o NTR
ol
D
i
A l
03.
The rear passenger controls are unavailable when the Rear Air-conditioning screen is
shown on the front display .
07 DEFRo ST iN G/DEFo GGiN G FRo NT AND SiD E W iN DoWS
Press the defroster control button to turn the system on. The A/c automatically turns on
when the defroster mode is selected. T his feature removes humidity from the air.
Turn the temperature control dial 01 to set the desired temperature.
To defrost the front and side windows, set the temperature control 01 and fan speed control 03 to their maximum settings.
08 R EAR W iN DoW AN D o UTSiD E MiR Ro R (if so equipped) DEFRo STER SW i TCH Press the rear window defroster switc
h to turn the system on or off.
This function automatically turns off after approximately 15 minutes.
09 A/C BUTTo N Press the
A/C button to turn the air conditioner system on or off. This system helps cool and
dehumidify the air inside the cabin and defog the windows.
For more information, refer to the “instruments and controls (section 2)” and the “Monitor, climate, audio, phone and
voice recognition systems (section 4)” of your Owner’s Manual.
first drive features
1562941_14b_Pathfinder_HEV_QRG_091913.indd 149/19/13 11:11 AM
To view detailed instructional videos regarding these and other features, please go to www.nissanownersinfo.mobi.
Page 17 of 32
15
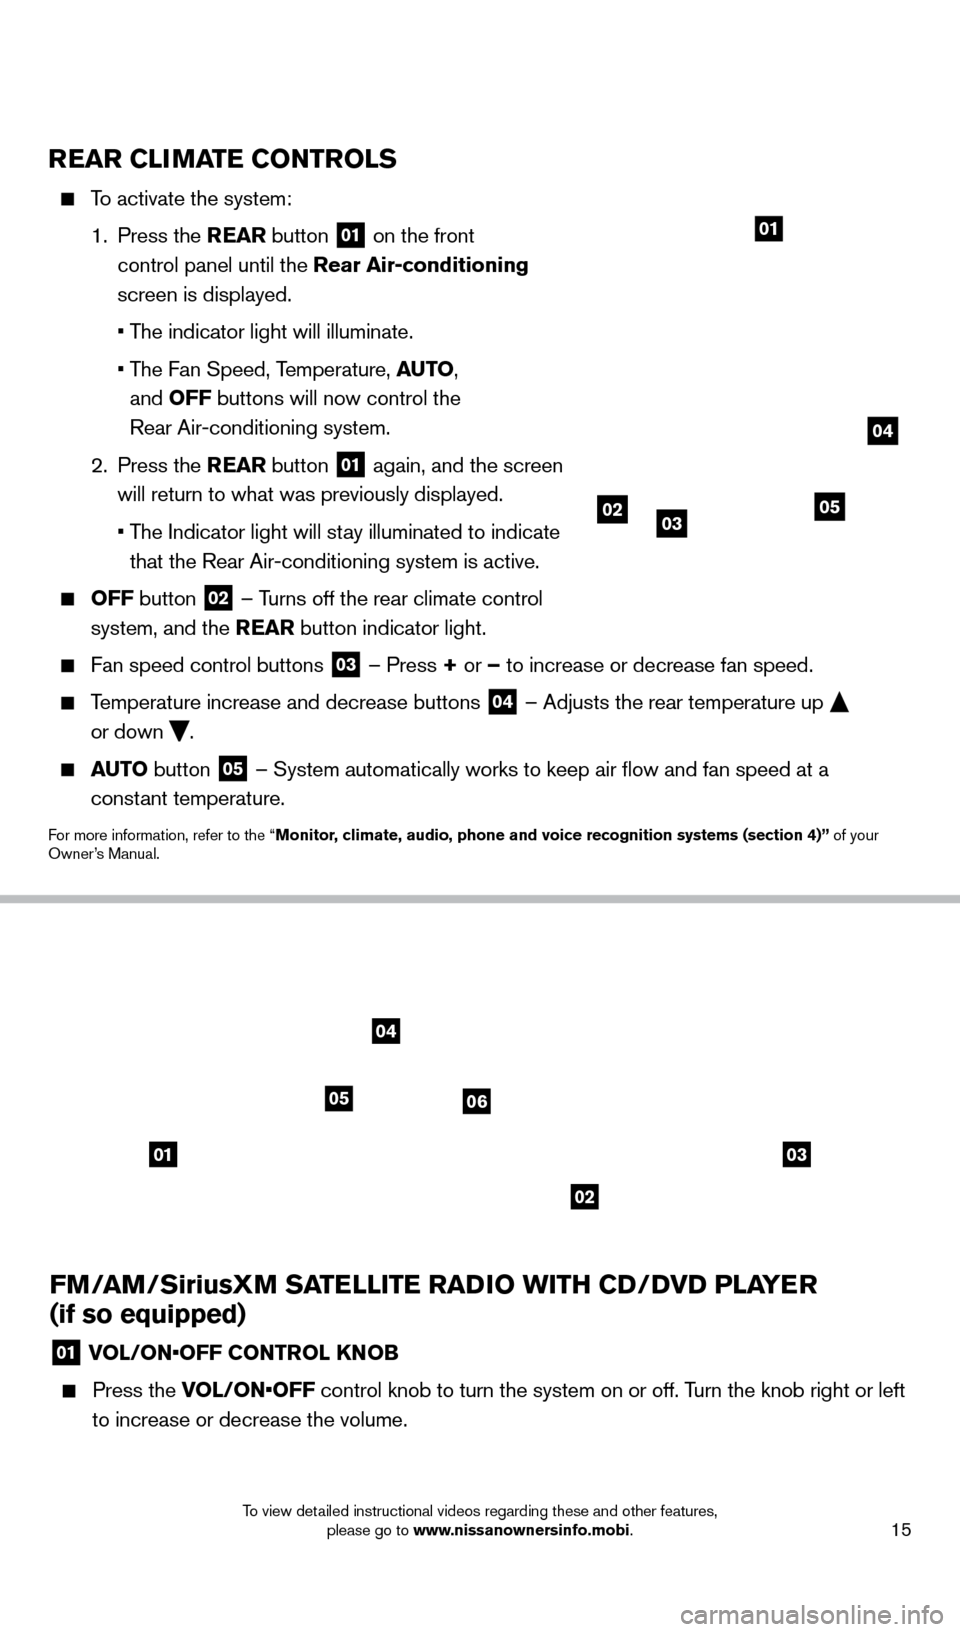
FM/AM/SiriusXM SATElliTE RADi o W i TH CD/D v D P l AYER
(if so equipped)
01 VOL/ON•OFF CONTROL KNOB
Press the V OL/ON•OFF control knob to turn the system on or off. Turn the knob right or left
to increase or decrease the volume.
0103
02
04
0506
REAR CliMA TE C o NTRol S
To activate the system:
1.
Press the REAR button
01 on the front
control panel until the Rear Air-conditioning
screen is displayed.
• T
he indicator light will illuminate.
•
T
he Fan Speed, Temperature, AUT
o,
and
o
FF buttons will now control the
Rear Air-conditioning system.
2.
Press the REAR button
01 again, and the screen
will return to what was previously displayed.
•
T
he Indicator light will stay illuminated to indicate
that the Rear Air-conditioning system is active.
o FF button 02 –
Turns off the rear climate control
system, and the REAR button indicator light.
Fan speed control buttons 03 – Press + or – to increase or decrease fan speed.
Temperature increase and decrease buttons 04 – Adjusts the rear temperature up
or down .
AUTo button 05 – System automatically works to keep air flow and fan speed at a
constant temperature.
For more information, refer to the “Monitor, climate, audio, phone and voice recognition systems (section 4)” of your
Owner’s Manual.
01
020503
04
1562941_14b_Pathfinder_HEV_QRG_091913.indd 159/19/13 11:11 AM
To view detailed instructional videos regarding these and other features, please go to www.nissanownersinfo.mobi.
Page 18 of 32
16
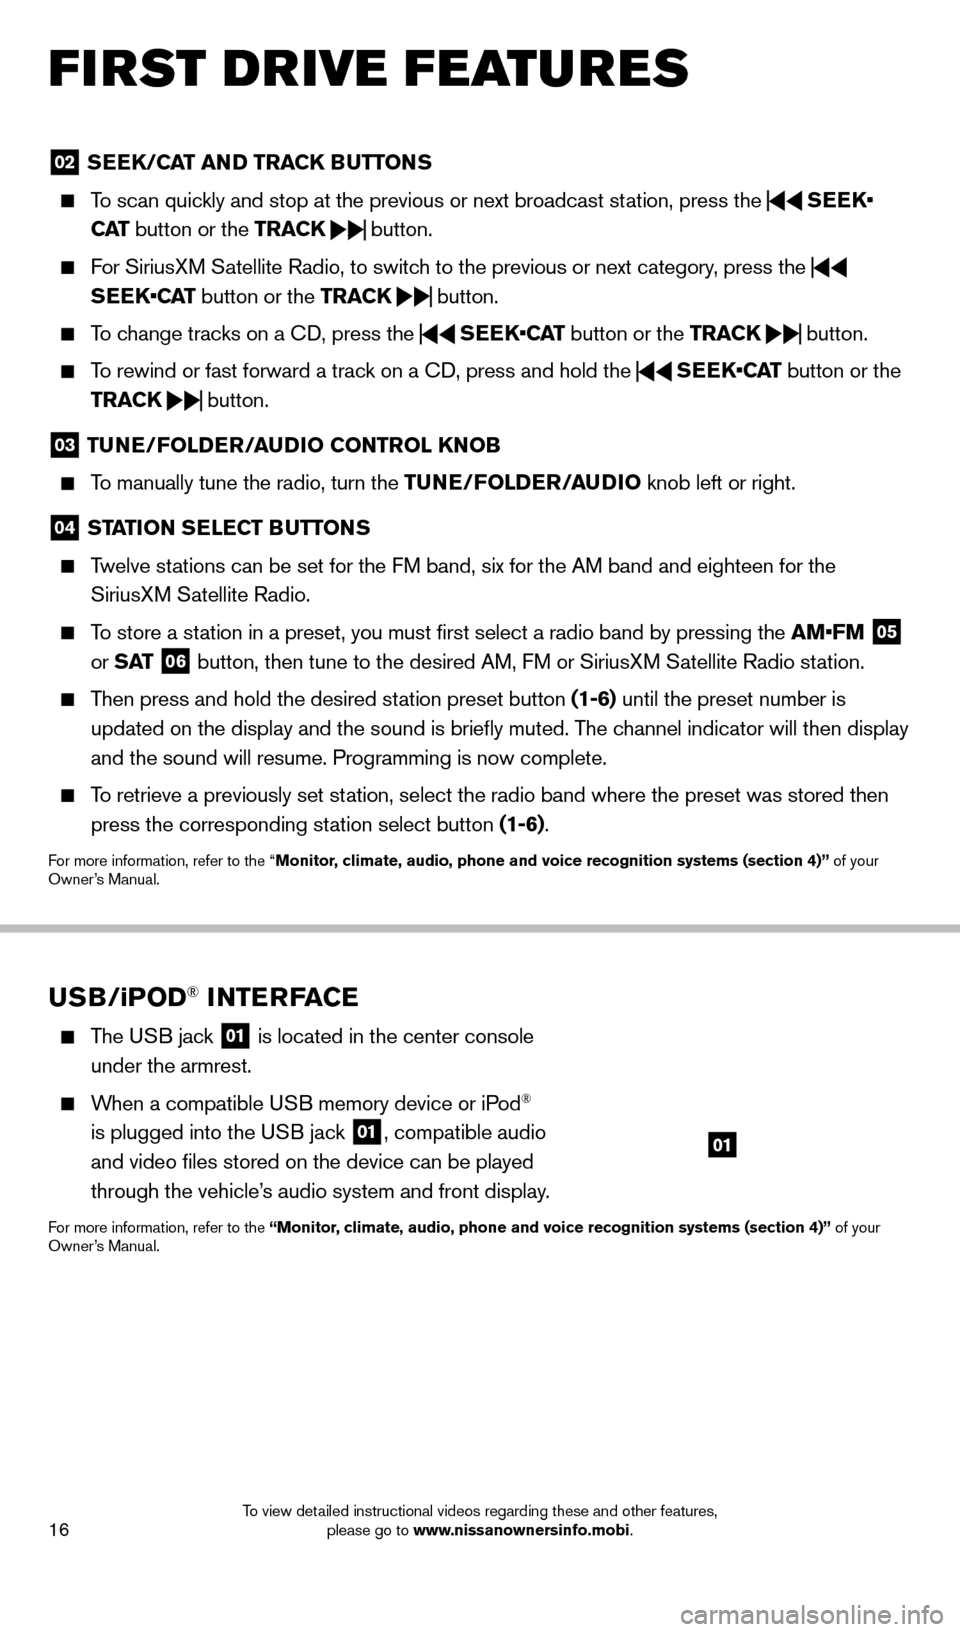
02 SEEK/CAT AND TRACK BUTTo NS
To scan quickly and stop at the previous or next broadcast station, press the
SEEK•
CAT button or the TRACK
button.
For SiriusXM Satellite Radio, to switch to the previous or next category, press the
SEEK•CAT button or the TRACK
button.
To change tracks on a
cD, press the
SEEK•CAT
button or the TRACK
button.
To rewind or fast forward a track on a
cD, press and hold the
SEEK•CAT
button or the
TRACK
button.
03
TUNE/Fol DER/AUDi o C o NTRol KNo B
To manually tune the radio, turn the TUNE/Fo lDER/ AUD io knob left or right.
04 STATioN SElECT BUTTo NS
Twelve stations can be set for the FM band, six for the AM band and eighteen for the
SiriusXM Satellite Radio.
To store a station in a preset, you must first select a radio band by pressing the \
AM•FM 05
or S AT 06 button, then tune to the desired AM, FM or SiriusXM Satellite Radio station.
Then press and hold the desired station preset button (1-6) until the preset number is
updated on the display and the sound is briefly muted. The channel indicator will then display
and the sound will resume. Programming is now complete.
To retrieve a previously set station, select the radio band where the preset was stored then press the corresponding station select button (1-6).
For more information, refer to the “Monitor, climate, audio, phone and voice recognition systems (section 4)” of your
Owner’s Manual.
USB/ iPo D® iNTERFACE
The USB jack 01 is located in the center console
under the armrest.
When a compatible USB memory device or iPod®
is plugged into the USB jack
01, compatible audio
and video files stored on the device can be played
through the vehicle’s audio system and front display.
For more information, refer to the “Monitor, climate, audio, phone and voice recognition systems (section 4)” of your
Owner’s Manual.
01
first drive features
1562941_14b_Pathfinder_HEV_QRG_091913.indd 169/19/13 11:12 AM
To view detailed instructional videos regarding these and other features, please go to www.nissanownersinfo.mobi.
Page 19 of 32
17
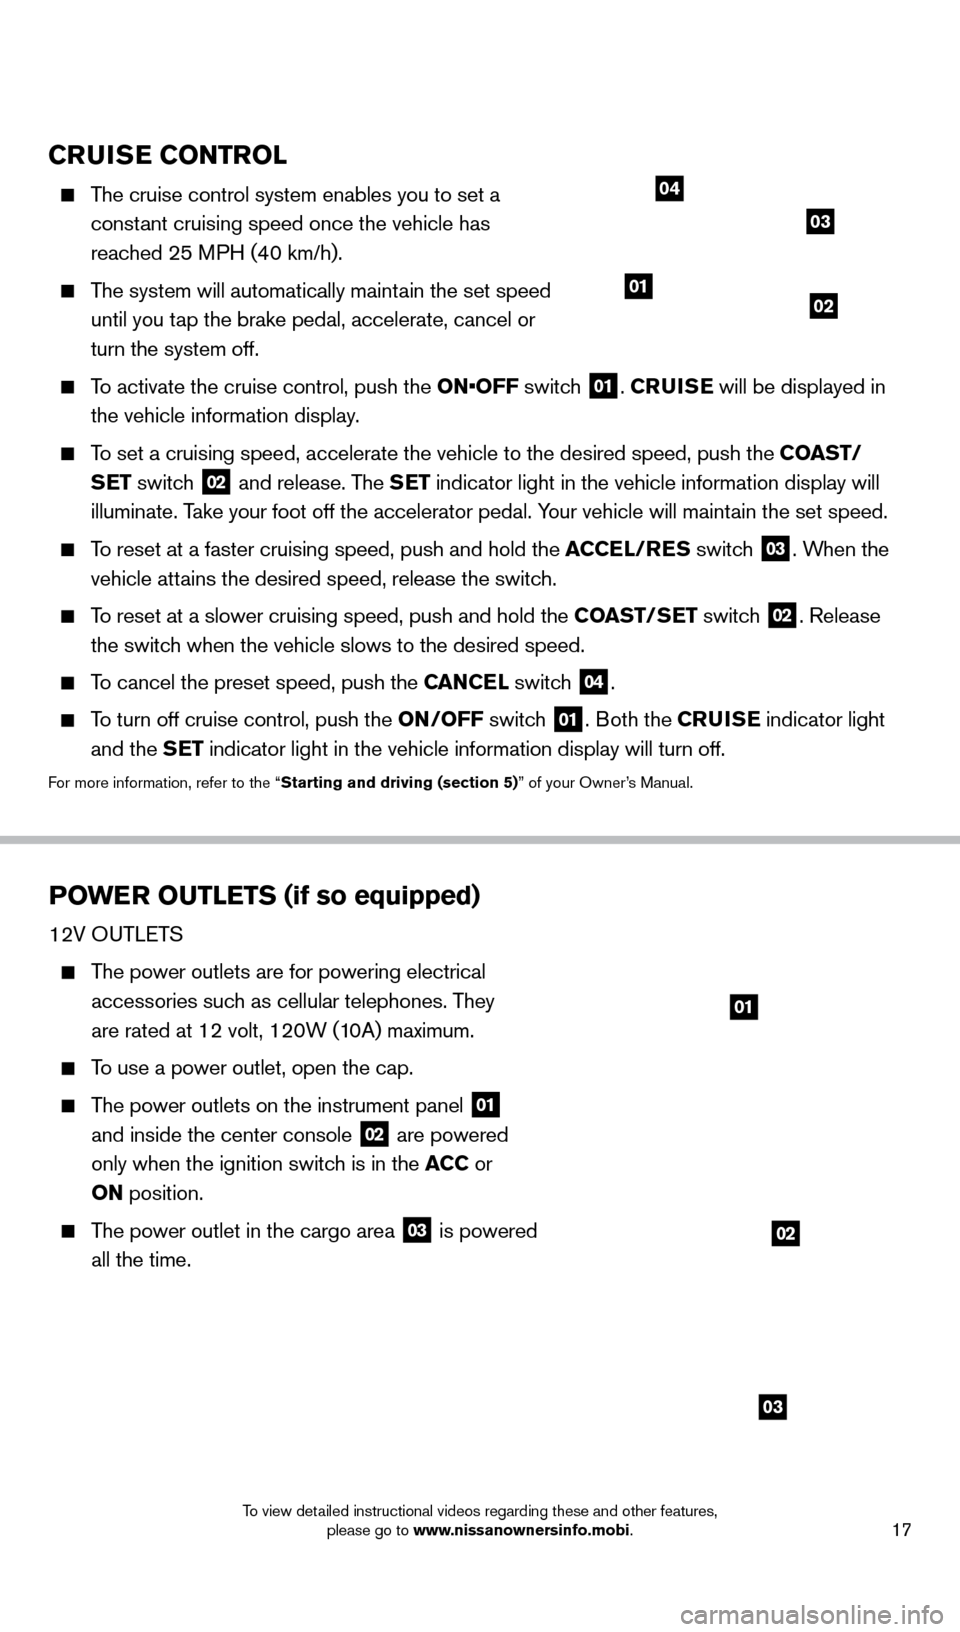
CRUiSE Co NTRol
The cruise control system enables you to set a
constant cruising speed once the vehicle has
reached 25 MPH (40 km/h).
The system will automatically maintain the set speed until you tap the brake pedal, accelerate, cancel or
turn the system off.
To activate the cruise control, push the ON•OFF switch 01. CRU i SE will be displayed in
the vehicle information display.
To set a cruising speed, accelerate the vehicle to the desired speed, pus\
h the C oAST/
S ET switch
02 and release. The SET indicator light in the vehicle information display will
illuminate. Take your foot off the accelerator pedal. Your vehicle will maintain the set speed.
To reset at a faster cruising speed, push and hold the ACCE l/RES switc h 03. When the
vehicle attains the desired speed, release the switch.
To reset at a slower cruising speed, push and hold the C oAST/ SET switch 02. Release
the switch when the vehicle slows to the desired speed.
To cancel the preset speed, push the CANCEl switch 04.
To turn off cruise control, push the o N/ o FF switch 01. Both the CRUiSE indicator light
and the SET indicator light in the vehicle information display will turn off.
For more information, refer to the “Starting and driving (section 5)” of your Owner’s Manual.
PoWER o UT l ETS (if so equipped)
12V OUTLeTS
The power outlets are for powering electrical
accessories such as cellular telephones. They
are rated at 12 volt, 120W (10A) maximum.
To use a power outlet, open the cap.
The power outlets on the instrument panel 01
and inside the center console 02 are powered
only when the ignition switch is in the ACC or
o
N position.
The power outlet in the cargo area 03 is powered
all the time.
0102
03
04
01
02
03
1562941_14b_Pathfinder_HEV_QRG_091913.indd 179/19/13 11:12 AM
To view detailed instructional videos regarding these and other features, please go to www.nissanownersinfo.mobi.
Page 20 of 32

18
04
05
120V OUTLeT (if so equipped)
The 120V outlet 04 is located on the back of the
center console.
To use the outlets for devices that require 120V
power, place the ignition in the o N position and push
the power inverter switch
05.
The switch will illuminate when enabled.
For more information, refer to the “instruments and controls (section 2)”
of your Owner ’s Manual.
first drive features
1562941_14b_Pathfinder_HEV_QRG_091913.indd 189/19/13 11:12 AM
To view detailed instructional videos regarding these and other features, please go to www.nissanownersinfo.mobi.