NISSAN QUEST 1997 V40 / 1.G Owner's Guide
Manufacturer: NISSAN, Model Year: 1997, Model line: QUEST, Model: NISSAN QUEST 1997 V40 / 1.GPages: 247, PDF Size: 2.01 MB
Page 31 of 247

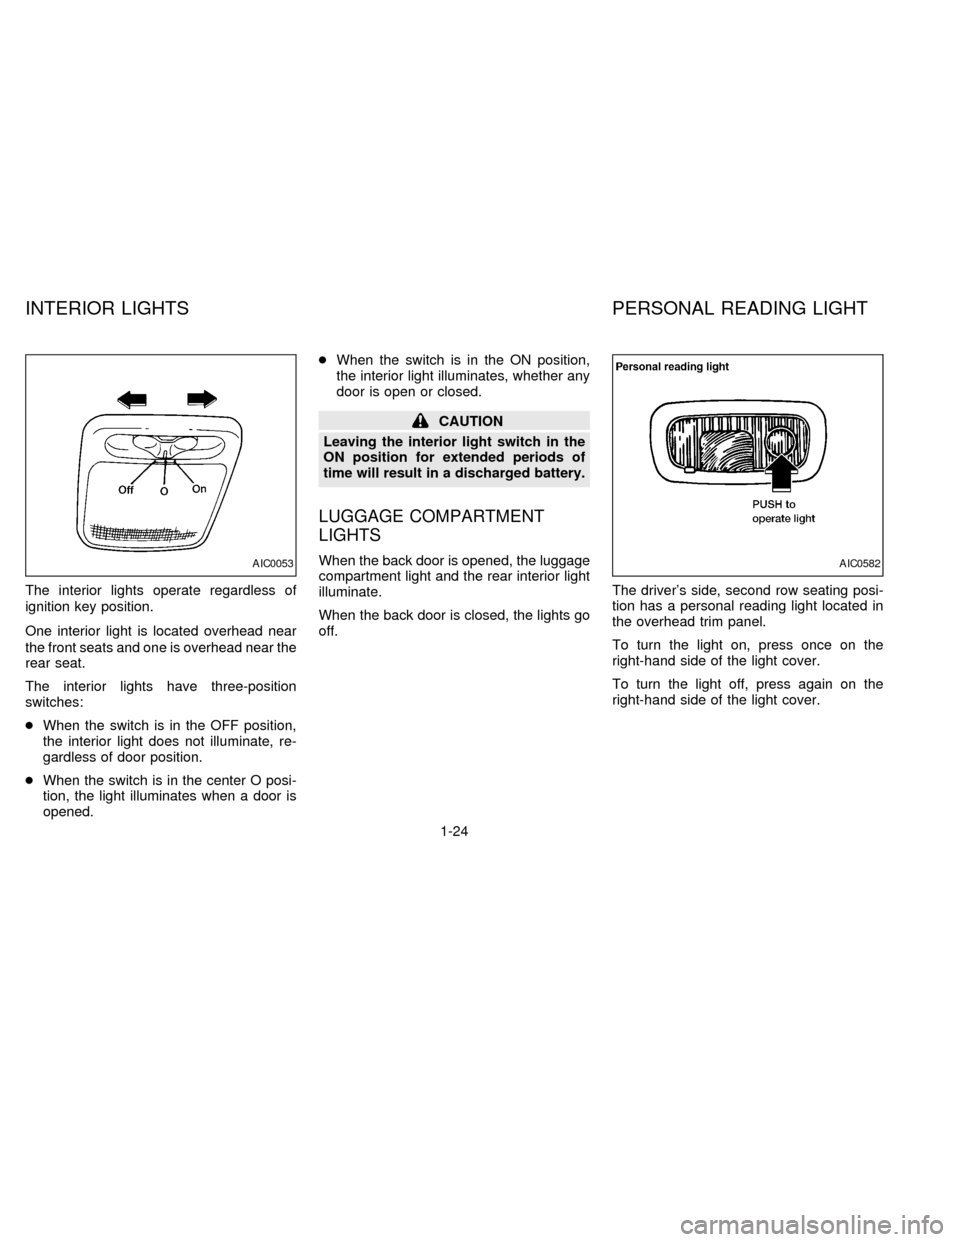
The interior lights operate regardless of
ignition key position.
One interior light is located overhead near
the front seats and one is overhead near the
rear seat.
The interior lights have three-position
switches:
cWhen the switch is in the OFF position,
the interior light does not illuminate, re-
gardless of door position.
cWhen the switch is in the center O posi-
tion, the light illuminates when a door is
opened.cWhen the switch is in the ON position,
the interior light illuminates, whether any
door is open or closed.
CAUTION
Leaving the interior light switch in the
ON position for extended periods of
time will result in a discharged battery.
LUGGAGE COMPARTMENT
LIGHTS
When the back door is opened, the luggage
compartment light and the rear interior light
illuminate.
When the back door is closed, the lights go
off.The driver's side, second row seating posi-
tion has a personal reading light located in
the overhead trim panel.
To turn the light on, press once on the
right-hand side of the light cover.
To turn the light off, press again on the
right-hand side of the light cover.AIC0053AIC0582
INTERIOR LIGHTS PERSONAL READING LIGHT
1-24
ZX
Page 32 of 247

To turn on the spotlights, press the switches
next to the lights. To turn them off, press the
switches again.
AIC0049
SPOTLIGHTS
1-25
ZX
Page 33 of 247

2Pre-driving checks and adjustments
Key .........................................................................2-2
Door locks ..............................................................2-2
Manual door lock ....................................................2-2
Child safety sliding door lock .................................2-4
Power door lock (if so equipped) ...........................2-5
Multi-remote control system (if so equipped).........2-7
Battery replacement ...............................................2-8
Illuminated entry system ........................................2-9
Hood release ........................................................2-10
Rear door lock ......................................................2-11
Cargo net (if so equipped) ...................................2-13
Luggage rack (if so equipped) .............................2-14
Fuel filler lid and cap ............................................2-15
Seats/floor mats ...................................................2-15
Seating arrangements ..........................................2-15
Floor mat positioning ............................................2-17
Seven passenger seating ....................................2-17Three-passenger bench seat in storage
position .................................................................2-17
Five passenger seating ........................................2-18
Five passenger seating with cargo room .............2-18
Three-passenger bench seat in fully forward
position .................................................................2-19
Floor mat positioning aid ......................................2-20
Seat positions .......................................................2-21
With second row bench seat................................2-21
With second row bucket seats .............................2-24
Seats ....................................................................2-26
Manual front seat adjustment...............................2-26
Power front seat adjustment
(if so equipped) ....................................................2-28
Head restraints .....................................................2-30
Armrests ...............................................................2-30
Underseat storage tray.........................................2-31
Tabletop seats ......................................................2-31
ZX
Page 34 of 247

Flexible seating .................................................2-32
Sliding three-passenger seat ...............................2-38
Supplemental restraint system (supplemental
air bag system).....................................................2-42
Supplemental air bag system...............................2-45
Warning labels......................................................2-47
Supplemental air bag warning light......................2-47
Seat belts .............................................................2-49
Precautions on seat belt usage ...........................2-49
Child safety...........................................................2-50
3-point type with retractor ....................................2-51
3-point type seat belt with retractor for second
row bucket seats ..................................................2-53
Three-passenger bench seat ...............................2-57
2-point type without retractor (center of
three-passenger bench seat) ...............................2-58
Seat belt extenders ..............................................2-60
Seat belt maintenance .........................................2-60Child restraints for infants and small children......2-60
Installation at three-passenger bench seat
center position ......................................................2-62
Installation at second and third row outboard
positions ...............................................................2-63
Child restraint with top tether strap ......................2-65
Installation on second row bench or bucket
seat .......................................................................2-66
Installation on three-passenger bench seat in
second row ...........................................................2-67
Installation on three-passenger bench seat in
third row................................................................2-68
Integrated child safety seats (if so equipped) ......2-71
Tilting steering wheel ...........................................2-78
Outside mirror control...........................................2-79
Outside mirrors .....................................................2-80
Inside mirror .........................................................2-80
Vanity mirror .........................................................2-80
ZX
Page 35 of 247

Record the key number on the key number
plate and keep it in a safe place (such as
your wallet), NOT IN THE CAR. A key
number plate is supplied with your key. Keep
the plate in a safe place. NISSAN does not
record key numbers so it is very important to
keep track of your key number plate.
A key number is necessary only when you
have lost all vehicle keys and do not have
one to duplicate. If you still have a key, this
key can be duplicated by your NISSAN
dealer or locksmith shop.
Two keys are supplied with your vehicle Ð
one has a plastic head and one is all metal.
Both keys perform the same functions.
MANUAL DOOR LOCK
To lock the front doors or sliding door from
the outside, turn the key toward the front of
the vehicle. To unlock, turn it toward the
rear.
APD0142APD0002
KEY DOOR LOCKS
2-2
ZX
Page 36 of 247

Locking the doors without the key
To lock the doors from the outside without a
key, move the inside lock knob so LOCKED
is visible, then close the door.
When locking the door this way, be certain
not to leave the key inside the vehicle.
Sliding door lock
To lock the sliding door from inside the
vehicle, press the door lock rocker switch on
the side marked L. To unlock, press the
rocker switch on the side marked U.
Only the sliding door locks and unlocks by
using the door lock rocker switch.
APD0840APD0810
2-3
ZX
Page 37 of 247

WARNING
c
Always have the doors locked while
driving. Along with the use of seat
belts, this provides greater safety in
the event of an accident by helping to
prevent persons from being thrown
from the vehicle. This also helps keep
children and others from unintention-
ally opening the doors, and will help
keep out intruders.
cBefore opening any door, always look
for and avoid oncoming traffic.
cDo not leave children unattended in-
side the vehicle. They could unknow-
ingly activate switches or controls. Un-
attended children could become
involved in serious accidents.
CAUTION
c
Always use the door handle to open or
close the sliding door. Do not attempt to
open or close the door by merely plac-
ing your hand on the door edge or door
slide roller, as this may cause injury.
cWhen opening the sliding door on a
slope, ensure that it is fully open and
that it does not close by itself.
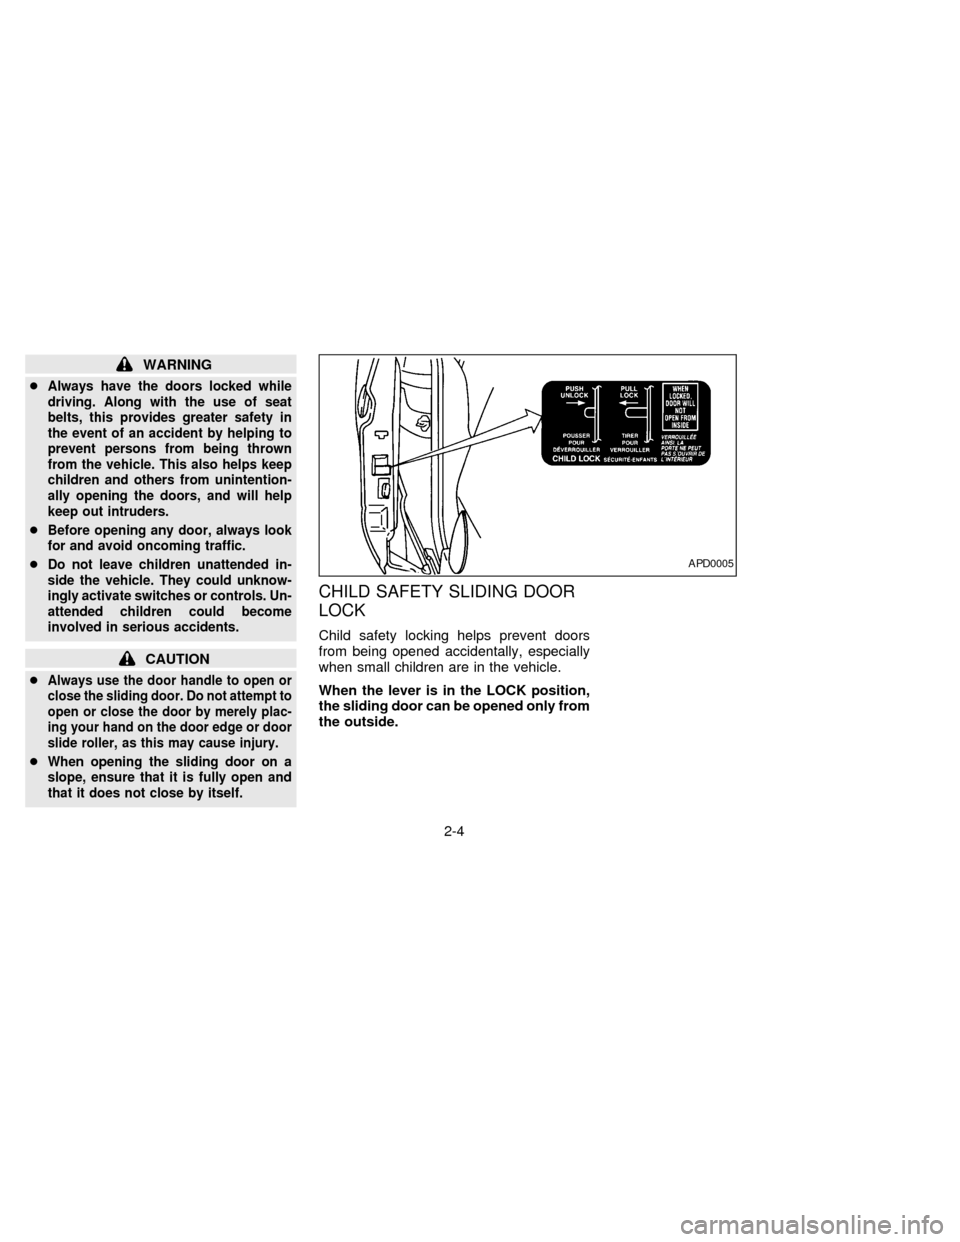
CHILD SAFETY SLIDING DOOR
LOCK
Child safety locking helps prevent doors
from being opened accidentally, especially
when small children are in the vehicle.
When the lever is in the LOCK position,
the sliding door can be opened only from
the outside.
APD0005
2-4
ZX
Page 38 of 247

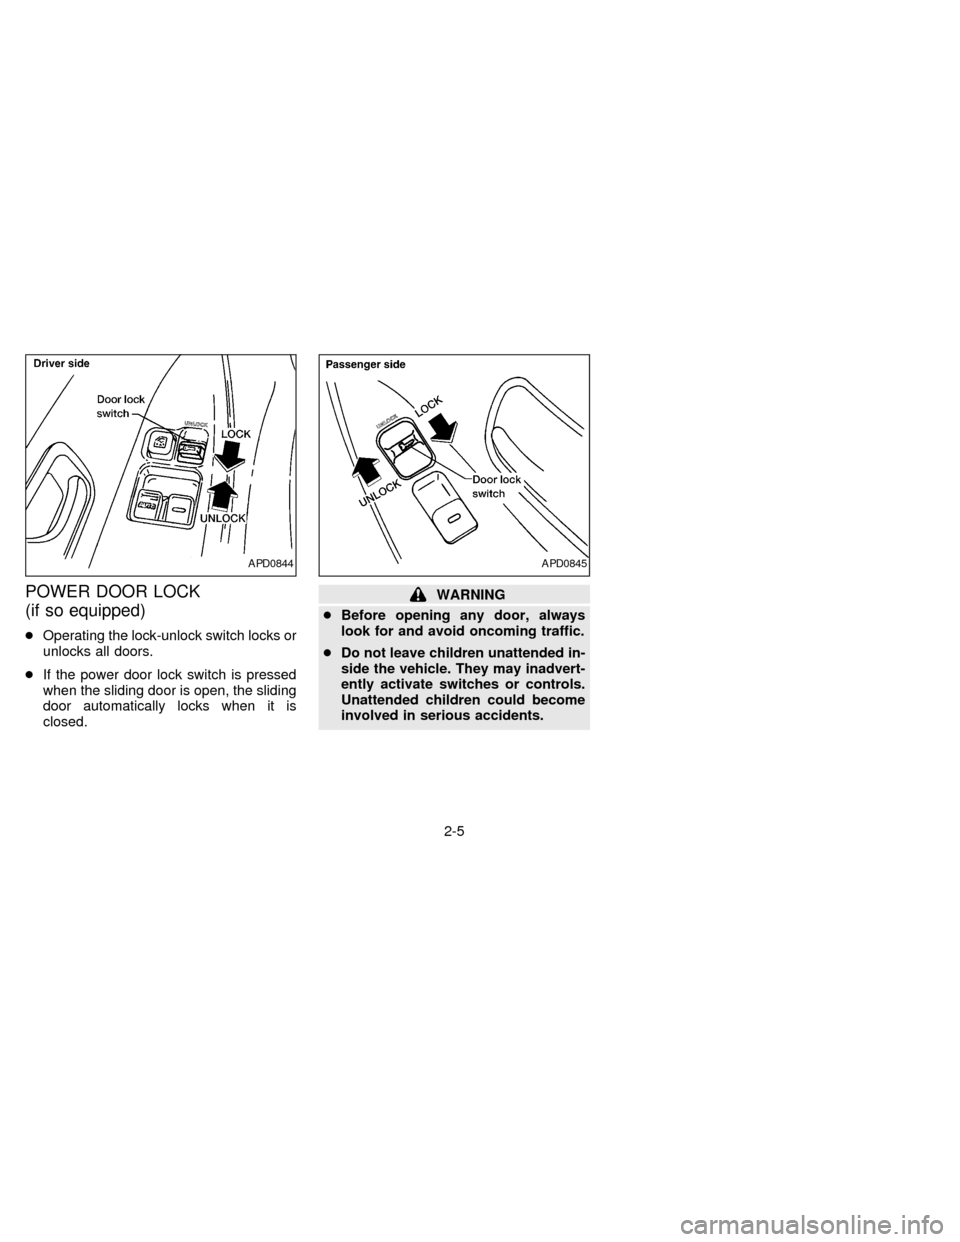
POWER DOOR LOCK
(if so equipped)
cOperating the lock-unlock switch locks or
unlocks all doors.
cIf the power door lock switch is pressed
when the sliding door is open, the sliding
door automatically locks when it is
closed.
WARNING
cBefore opening any door, always
look for and avoid oncoming traffic.
cDo not leave children unattended in-
side the vehicle. They may inadvert-
ently activate switches or controls.
Unattended children could become
involved in serious accidents.
APD0844APD0845
2-5
ZX
Page 39 of 247

cTurning a door key to the rear unlocks
that door.
cTurning a door key to the front locks all
doors. This function can be operated
from the driver or passenger doors.
cPushing a front door lock knob in locks all
doors. When locking the doors this way,
be certain not to leave the key inside the
vehicle. All doors automatically unlock
with the key in the ignition.Selective unlock
cIf the vehicle has the multi-remote control
system, turning the door key one time to
the rear of the vehicle unlocks the corre-
sponding door. From that position, re-
turning the key to Neutral (where the key
can only be removed and inserted) and
turning it to the rear again within 5 sec-
onds unlocks all doors. This function and
locking all doors can be operated from
the driver, passenger or sliding door.
APD0841APD0828
2-6
ZX
Page 40 of 247

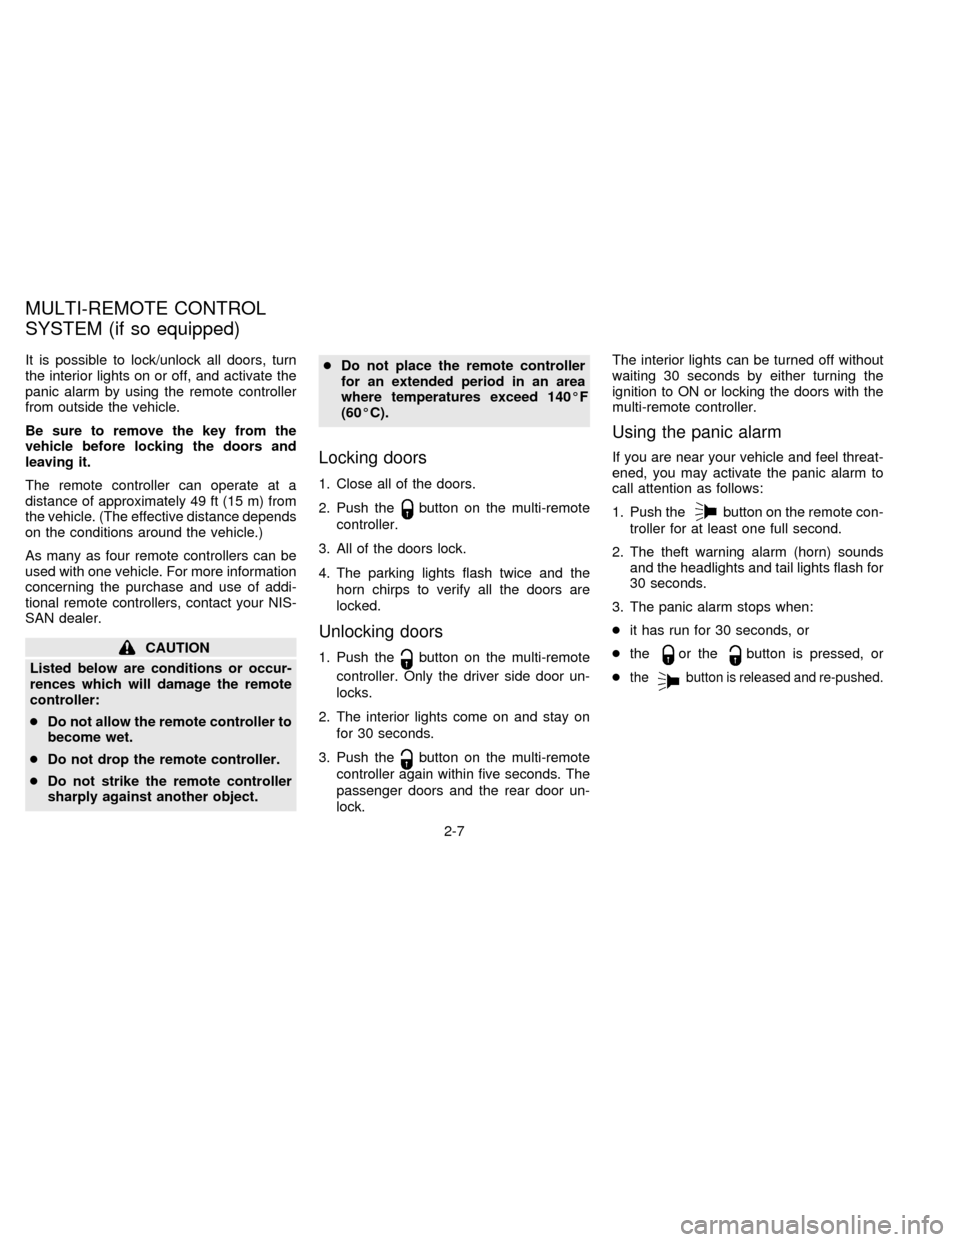
It is possible to lock/unlock all doors, turn
the interior lights on or off, and activate the
panic alarm by using the remote controller
from outside the vehicle.
Be sure to remove the key from the
vehicle before locking the doors and
leaving it.
The remote controller can operate at a
distance of approximately 49 ft (15 m) from
the vehicle. (The effective distance depends
on the conditions around the vehicle.)
As many as four remote controllers can be
used with one vehicle. For more information
concerning the purchase and use of addi-
tional remote controllers, contact your NIS-
SAN dealer.
CAUTION
Listed below are conditions or occur-
rences which will damage the remote
controller:
cDo not allow the remote controller to
become wet.
cDo not drop the remote controller.
cDo not strike the remote controller
sharply against another object.cDo not place the remote controller
for an extended period in an area
where temperatures exceed 140ÉF
(60ÉC).
Locking doors
1. Close all of the doors.
2. Push the
button on the multi-remote
controller.
3. All of the doors lock.
4. The parking lights flash twice and the
horn chirps to verify all the doors are
locked.
Unlocking doors
1. Push thebutton on the multi-remote
controller. Only the driver side door un-
locks.
2. The interior lights come on and stay on
for 30 seconds.
3. Push the
button on the multi-remote
controller again within five seconds. The
passenger doors and the rear door un-
lock.The interior lights can be turned off without
waiting 30 seconds by either turning the
ignition to ON or locking the doors with the
multi-remote controller.
Using the panic alarm
If you are near your vehicle and feel threat-
ened, you may activate the panic alarm to
call attention as follows:
1. Push the
button on the remote con-
troller for at least one full second.
2. The theft warning alarm (horn) sounds
and the headlights and tail lights flash for
30 seconds.
3. The panic alarm stops when:
cit has run for 30 seconds, or
cthe
or thebutton is pressed, or
c
thebutton is released and re-pushed.
MULTI-REMOTE CONTROL
SYSTEM (if so equipped)
2-7
ZX