battery NISSAN QUEST 2004 V42 / 3.G Owners Manual
[x] Cancel search | Manufacturer: NISSAN, Model Year: 2004, Model line: QUEST, Model: NISSAN QUEST 2004 V42 / 3.GPages: 320, PDF Size: 5.6 MB
Page 14 of 320

1. Power steering fluid reservoir (P. 8-13)
2. Engine oil filler cap (P. 8-8)
3. Brake fluid reservoir (P. 8-14)
4. Air cleaner (P. 8-18)
5. Battery (P. 8-15)
6. Fuse/fusible link box (P. 8-23)
7. Transmission dipstick (P. 8-11, P. 8-12)
8. Engine oil dipstick (P. 8-8)
9. Radiator cap (P. 8-7)
10. Fuse block (P. 8-23)
11. Windshield washer fluid reservoir
(P. 8-14)
12. Coolant reservoir (P. 8-7)
See the page number indicated in paren-
theses for operating details.
LII0017
ENGINE COMPARTMENT LOCATIONS
0-8Illustrated table of contents
ZREVIEW COPY:Ð2004 Quest(van)
Owners Manual(owners)ÐUSA English(nna)
10/08/03Ðtbrooks
X
Page 21 of 320
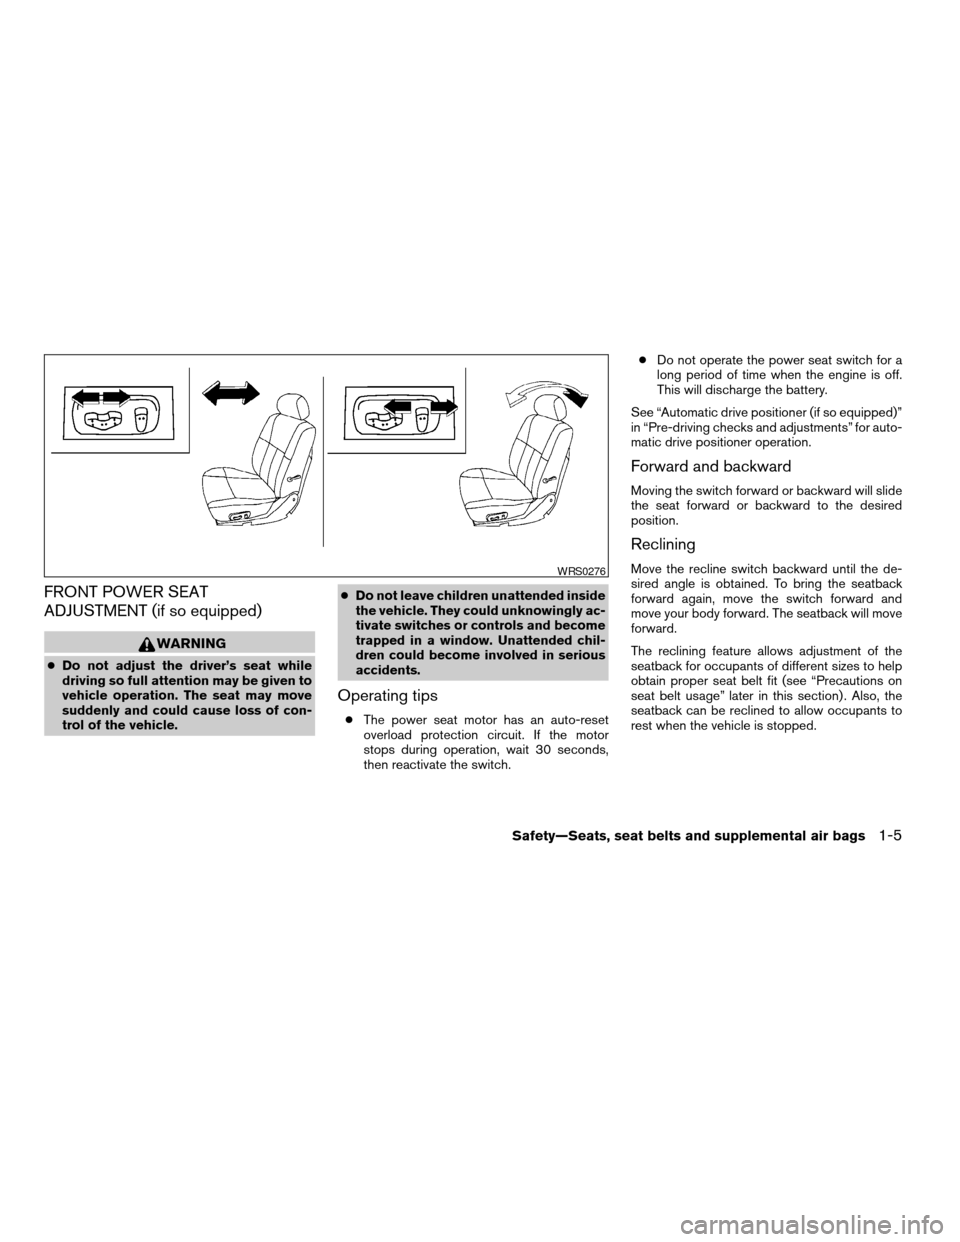
FRONT POWER SEAT
ADJUSTMENT (if so equipped)
WARNING
cDo not adjust the driver’s seat while
driving so full attention may be given to
vehicle operation. The seat may move
suddenly and could cause loss of con-
trol of the vehicle.cDo not leave children unattended inside
the vehicle. They could unknowingly ac-
tivate switches or controls and become
trapped in a window. Unattended chil-
dren could become involved in serious
accidents.
Operating tips
cThe power seat motor has an auto-reset
overload protection circuit. If the motor
stops during operation, wait 30 seconds,
then reactivate the switch.cDo not operate the power seat switch for a
long period of time when the engine is off.
This will discharge the battery.
See “Automatic drive positioner (if so equipped)”
in “Pre-driving checks and adjustments” for auto-
matic drive positioner operation.
Forward and backward
Moving the switch forward or backward will slide
the seat forward or backward to the desired
position.
Reclining
Move the recline switch backward until the de-
sired angle is obtained. To bring the seatback
forward again, move the switch forward and
move your body forward. The seatback will move
forward.
The reclining feature allows adjustment of the
seatback for occupants of different sizes to help
obtain proper seat belt fit (see “Precautions on
seat belt usage” later in this section) . Also, the
seatback can be reclined to allow occupants to
rest when the vehicle is stopped.WRS0276
Safety—Seats, seat belts and supplemental air bags1-5
ZREVIEW COPY:Ð2004 Quest(van)
Owners Manual(owners)ÐUSA English(nna)
10/08/03Ðtbrooks
X
Page 83 of 320
Turn off the engine, and start it again by
slowly turning the ignition key (quickly do-
ing so may cause the ABS light to stay on
when there is nothing wrong) . If the light
stays on, have the system checked by a
NISSAN dealer.
If an abnormality occurs in the system, the anti-
lock function ceases, but the regular braking
system continues to operate.
If the light comes on while you are driving,
contact a NISSAN dealer for repair.
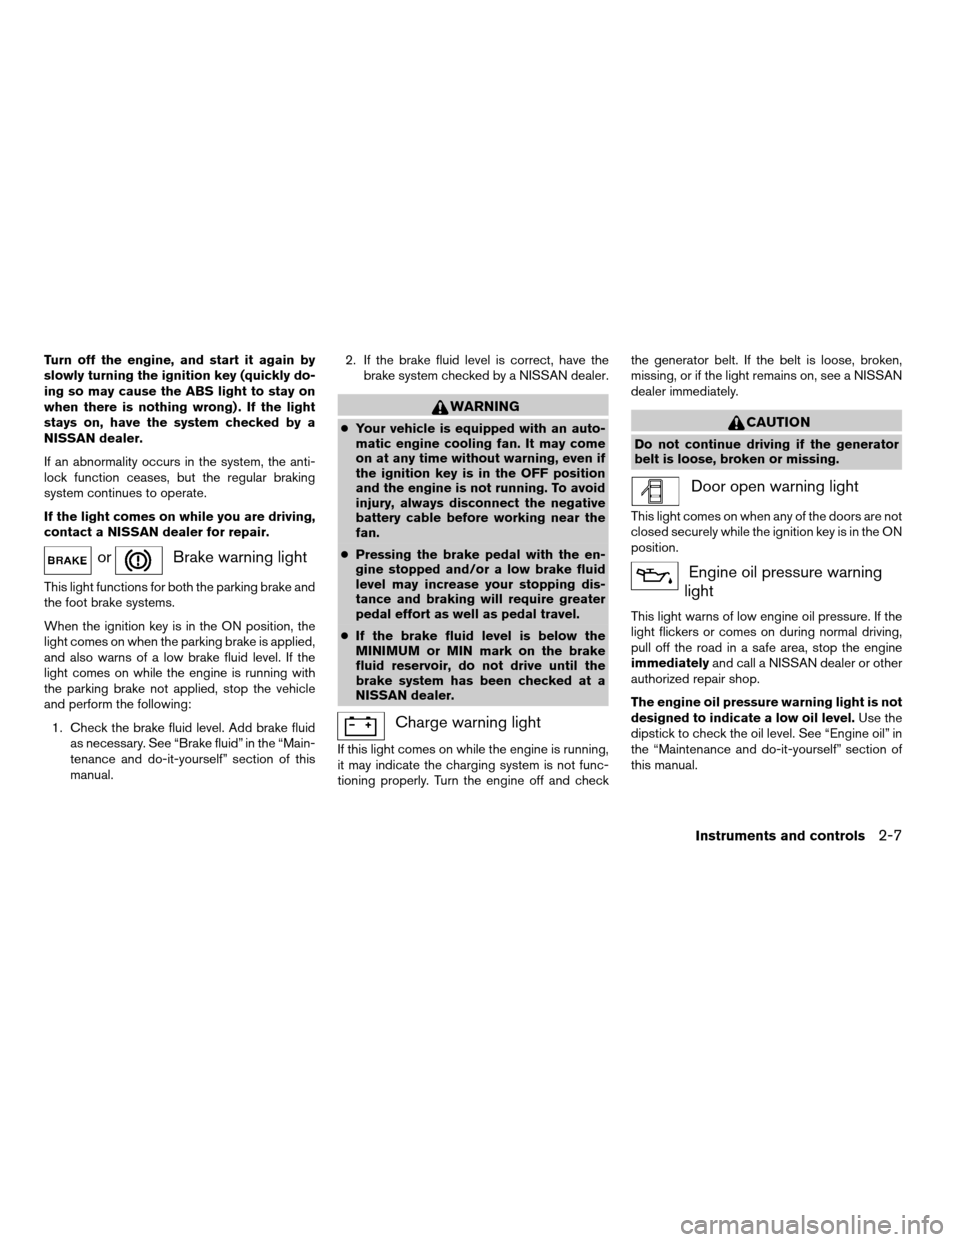
orBrake warning light
This light functions for both the parking brake and
the foot brake systems.
When the ignition key is in the ON position, the
light comes on when the parking brake is applied,
and also warns of a low brake fluid level. If the
light comes on while the engine is running with
the parking brake not applied, stop the vehicle
and perform the following:
1. Check the brake fluid level. Add brake fluid
as necessary. See “Brake fluid” in the “Main-
tenance and do-it-yourself” section of this
manual.2. If the brake fluid level is correct, have the
brake system checked by a NISSAN dealer.
WARNING
cYour vehicle is equipped with an auto-
matic engine cooling fan. It may come
on at any time without warning, even if
the ignition key is in the OFF position
and the engine is not running. To avoid
injury, always disconnect the negative
battery cable before working near the
fan.
cPressing the brake pedal with the en-
gine stopped and/or a low brake fluid
level may increase your stopping dis-
tance and braking will require greater
pedal effort as well as pedal travel.
cIf the brake fluid level is below the
MINIMUM or MIN mark on the brake
fluid reservoir, do not drive until the
brake system has been checked at a
NISSAN dealer.
Charge warning light
If this light comes on while the engine is running,
it may indicate the charging system is not func-
tioning properly. Turn the engine off and checkthe generator belt. If the belt is loose, broken,
missing, or if the light remains on, see a NISSAN
dealer immediately.
CAUTION
Do not continue driving if the generator
belt is loose, broken or missing.
Door open warning light
This light comes on when any of the doors are not
closed securely while the ignition key is in the ON
position.
Engine oil pressure warning
light
This light warns of low engine oil pressure. If the
light flickers or comes on during normal driving,
pull off the road in a safe area, stop the engine
immediatelyand call a NISSAN dealer or other
authorized repair shop.
The engine oil pressure warning light is not
designed to indicate a low oil level.Use the
dipstick to check the oil level. See “Engine oil” in
the “Maintenance and do-it-yourself” section of
this manual.
Instruments and controls2-7
ZREVIEW COPY:Ð2004 Quest(van)
Owners Manual(owners)ÐUSA English(nna)
10/08/03Ðtbrooks
X
Page 93 of 320

NOTE:
Autolight activation sensitivity and the
time delay for autolight shutoff can be ad-
justed. See “Personalized settings menu”
(vehicles without navigation system) or
“Vehicle electronic systems” (vehicles with
navigation system) in the “Display screen,
heater, air conditioner and audio systems”
section later in this manual.
To turn on the autolight system:
1. Make sure the headlight switch is in the
AUTO position.
2. Turn the ignition key to ON.
3. The autolight system automatically turns the
headlights on and off.
Initially, if the ignition switch is turned OFF and a
door is opened and left open, the headlights
remain on for 5 minutes. During that 5 minutes:
cif all doors are closed, the headlights remain
on for 45 seconds, then turn off.
cif another door is opened, then the 5 minute
timer is reset.
To turn the autolight system off, turn the switch to
the OFF,
,orposition.Be sure you do not put anything on top of
the autolight sensor located on top of the
instrument panel. The autolight sensor
controls the autolight; if it is covered, the
autolight sensor reacts as if it is dark out
and the headlights will illuminate. If this
occurs while parked with the engine off
and the key in the ON position, your vehi-
cle’s battery could become discharged.
Headlight beam select
s1To select the high beam function, push the
lever forward. The high beam lights come on
and the
light illuminates.
s2Pull the lever back to select the low beam.
s3Pulling and releasing the lever flashes the
headlight high beams on and off.
Battery saver system
If the ignition switch is turned OFF while the
headlight switch is in theorposi-
tion, the headlights will turn off after 5 minutes.
LIC0390
Instruments and controls2-17
ZREVIEW COPY:Ð2004 Quest(van)
Owners Manual(owners)ÐUSA English(nna)
10/08/03Ðtbrooks
X
Page 94 of 320
After the headlights automatically turn off with the
headlight switch in theorposition,
the headlights will illuminate again for 5 minutes if
the headlight switch is moved to the OFF position
and then turned to the
orposition.
CAUTION
cBe sure to turn the light switch to the
OFF position when you leave the ve-
hicle for extended periods of time, oth-
erwise the battery will go dead.
cNever leave the light switch on when
the engine is not running for extended
periods of time even if the headlights
turn off automatically.
DAYTIME RUNNING LIGHT SYSTEM
(Canada only)
The headlights automatically illuminate at a re-
duced intensity when the engine is started with
the parking brake released. The daytime running
lights operate with the headlight switch in the
OFF position or in the
position. Turn the
headlight switch to theposition for full
illumination when driving at night.
If the parking brake is applied before the engine is
started, the daytime running lights do not illumi-
nate. The daytime running lights illuminate whenthe parking brake is released. The daytime run-
ning lights will remain on until the ignition switch
is turned off.
WARNING
When the daytime running light system is
active, tail lights on your vehicle are not
on. It is necessary at dusk to turn on your
headlights. Failure to do so could cause
an accident injuring yourself and others.
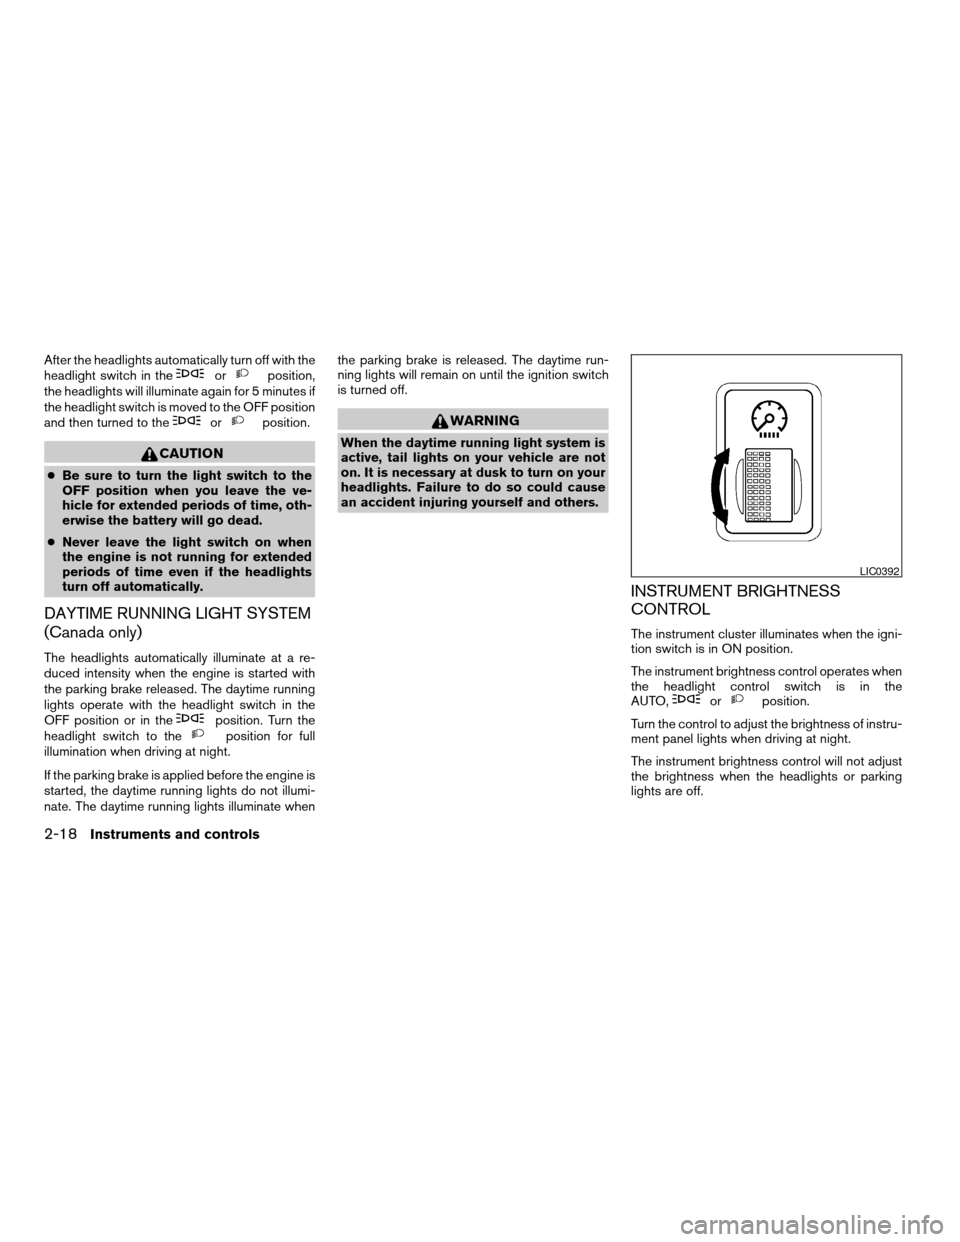
INSTRUMENT BRIGHTNESS
CONTROL
The instrument cluster illuminates when the igni-
tion switch is in ON position.
The instrument brightness control operates when
the headlight control switch is in the
AUTO,
orposition.
Turn the control to adjust the brightness of instru-
ment panel lights when driving at night.
The instrument brightness control will not adjust
the brightness when the headlights or parking
lights are off.
LIC0392
2-18Instruments and controls
ZREVIEW COPY:Ð2004 Quest(van)
Owners Manual(owners)ÐUSA English(nna)
10/08/03Ðtbrooks
X
Page 97 of 320
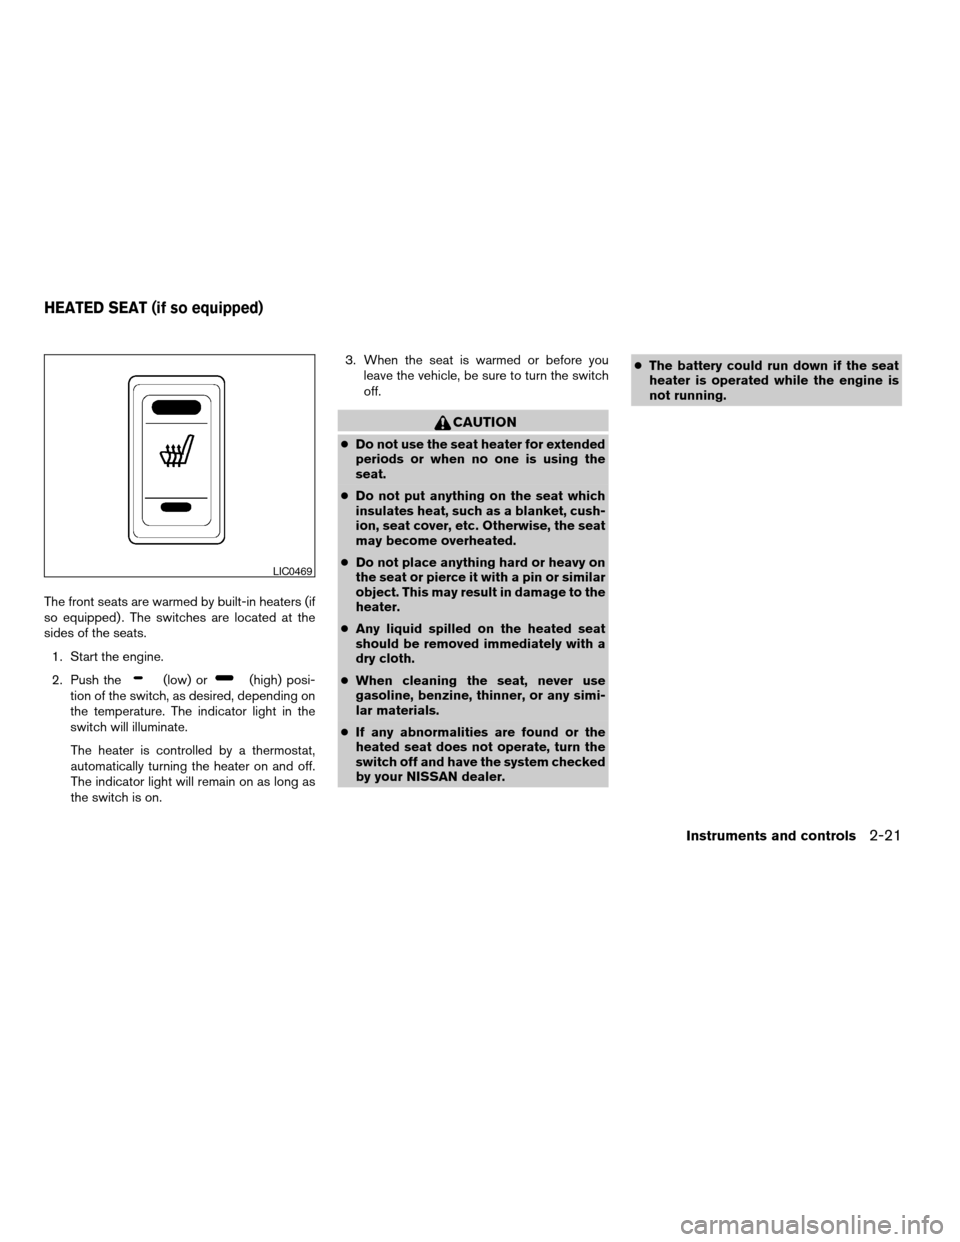
The front seats are warmed by built-in heaters (if
so equipped) . The switches are located at the
sides of the seats.
1. Start the engine.
2. Push the
(low) or(high) posi-
tion of the switch, as desired, depending on
the temperature. The indicator light in the
switch will illuminate.
The heater is controlled by a thermostat,
automatically turning the heater on and off.
The indicator light will remain on as long as
the switch is on.3. When the seat is warmed or before you
leave the vehicle, be sure to turn the switch
off.
CAUTION
cDo not use the seat heater for extended
periods or when no one is using the
seat.
cDo not put anything on the seat which
insulates heat, such as a blanket, cush-
ion, seat cover, etc. Otherwise, the seat
may become overheated.
cDo not place anything hard or heavy on
the seat or pierce it with a pin or similar
object. This may result in damage to the
heater.
cAny liquid spilled on the heated seat
should be removed immediately with a
dry cloth.
cWhen cleaning the seat, never use
gasoline, benzine, thinner, or any simi-
lar materials.
cIf any abnormalities are found or the
heated seat does not operate, turn the
switch off and have the system checked
by your NISSAN dealer.cThe battery could run down if the seat
heater is operated while the engine is
not running.
LIC0469
HEATED SEAT (if so equipped)
Instruments and controls2-21
ZREVIEW COPY:Ð2004 Quest(van)
Owners Manual(owners)ÐUSA English(nna)
10/08/03Ðtbrooks
X
Page 99 of 320
The rear sonar system can be disabled by push-
ing the OFF switch. When the system is disabled,
the indicator light on the switch will illuminate.
The system will automatically reset the next time
the ignition switch is turned on.
See “Rear sonar system” in the “Starting and
driving” section.
The power outlets are for powering electrical
accessories such as cellular telephones.
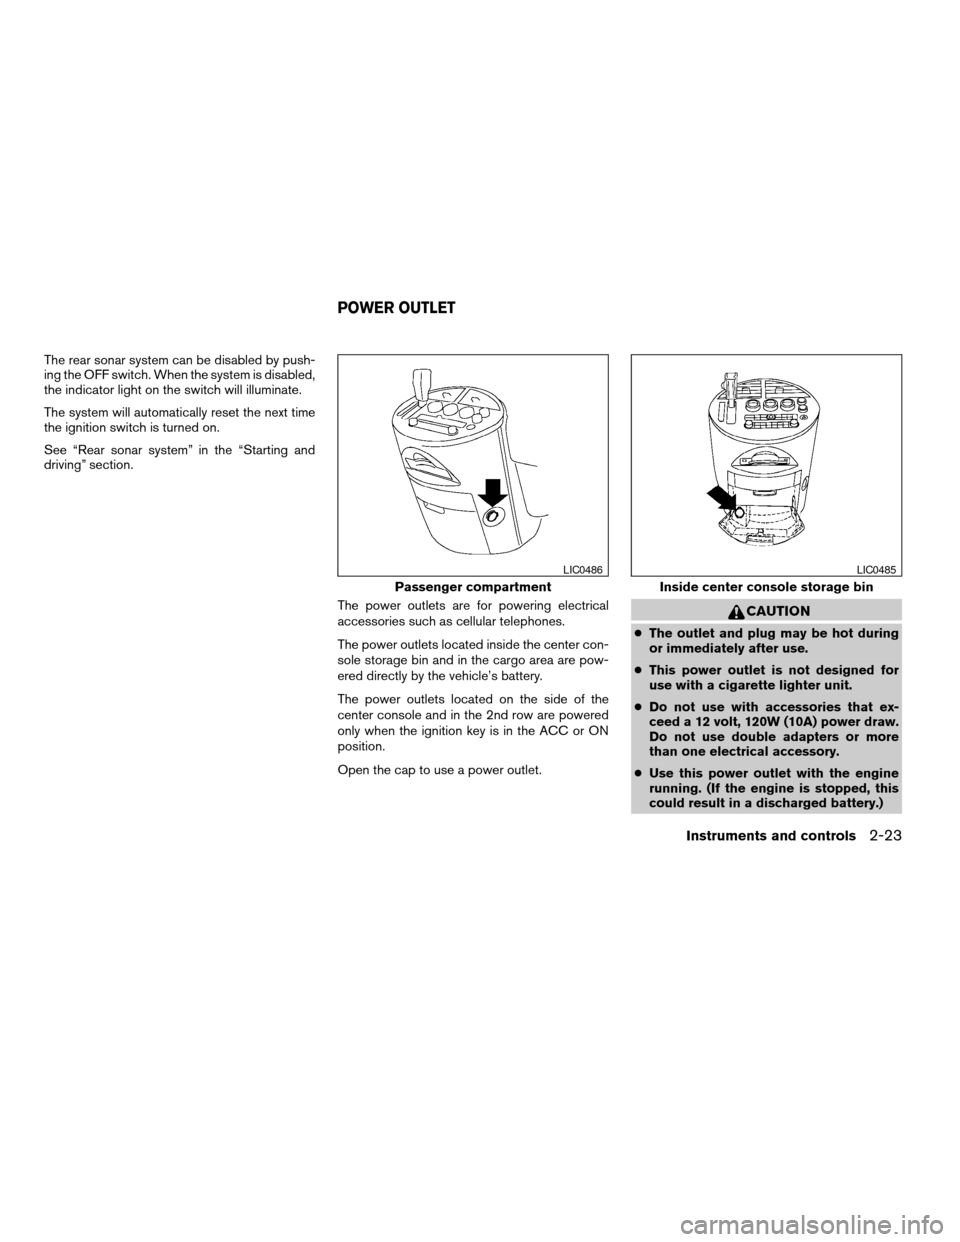
The power outlets located inside the center con-
sole storage bin and in the cargo area are pow-
ered directly by the vehicle’s battery.
The power outlets located on the side of the
center console and in the 2nd row are powered
only when the ignition key is in the ACC or ON
position.
Open the cap to use a power outlet.
CAUTION
cThe outlet and plug may be hot during
or immediately after use.
cThis power outlet is not designed for
use with a cigarette lighter unit.
cDo not use with accessories that ex-
ceed a 12 volt, 120W (10A) power draw.
Do not use double adapters or more
than one electrical accessory.
cUse this power outlet with the engine
running. (If the engine is stopped, this
could result in a discharged battery.)
Passenger compartment
LIC0486
Inside center console storage bin
LIC0485
POWER OUTLET
Instruments and controls2-23
ZREVIEW COPY:Ð2004 Quest(van)
Owners Manual(owners)ÐUSA English(nna)
10/08/03Ðtbrooks
X
Page 115 of 320
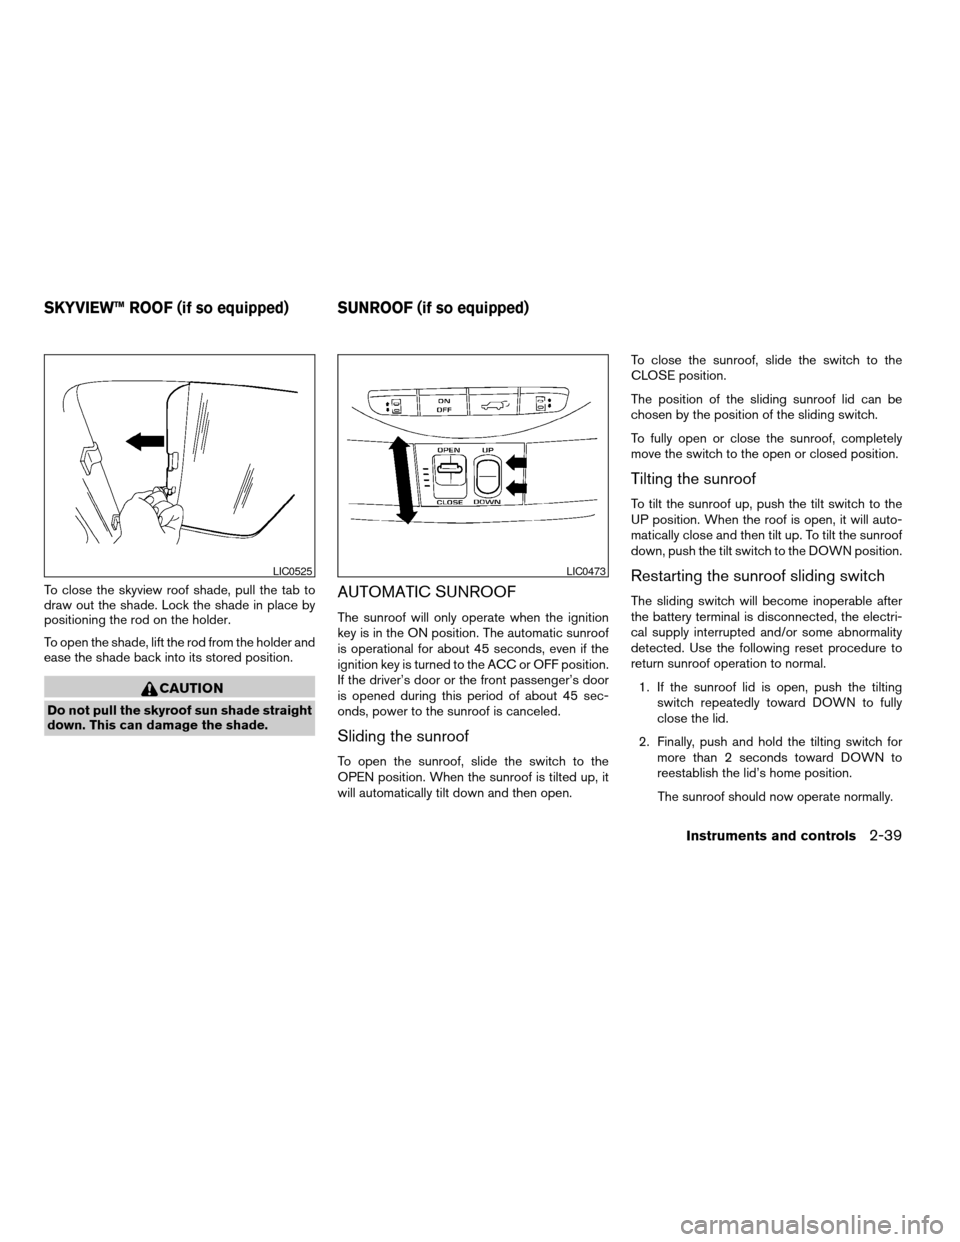
To close the skyview roof shade, pull the tab to
draw out the shade. Lock the shade in place by
positioning the rod on the holder.
To open the shade, lift the rod from the holder and
ease the shade back into its stored position.
CAUTION
Do not pull the skyroof sun shade straight
down. This can damage the shade.
AUTOMATIC SUNROOF
The sunroof will only operate when the ignition
key is in the ON position. The automatic sunroof
is operational for about 45 seconds, even if the
ignition key is turned to the ACC or OFF position.
If the driver’s door or the front passenger’s door
is opened during this period of about 45 sec-
onds, power to the sunroof is canceled.
Sliding the sunroof
To open the sunroof, slide the switch to the
OPEN position. When the sunroof is tilted up, it
will automatically tilt down and then open.To close the sunroof, slide the switch to the
CLOSE position.
The position of the sliding sunroof lid can be
chosen by the position of the sliding switch.
To fully open or close the sunroof, completely
move the switch to the open or closed position.
Tilting the sunroof
To tilt the sunroof up, push the tilt switch to the
UP position. When the roof is open, it will auto-
matically close and then tilt up. To tilt the sunroof
down, push the tilt switch to the DOWN position.
Restarting the sunroof sliding switch
The sliding switch will become inoperable after
the battery terminal is disconnected, the electri-
cal supply interrupted and/or some abnormality
detected. Use the following reset procedure to
return sunroof operation to normal.
1. If the sunroof lid is open, push the tilting
switch repeatedly toward DOWN to fully
close the lid.
2. Finally, push and hold the tilting switch for
more than 2 seconds toward DOWN to
reestablish the lid’s home position.
The sunroof should now operate normally.
LIC0525LIC0473
SKYVIEW™ ROOF (if so equipped) SUNROOF (if so equipped)
Instruments and controls2-39
ZREVIEW COPY:Ð2004 Quest(van)
Owners Manual(owners)ÐUSA English(nna)
10/08/03Ðtbrooks
X
Page 117 of 320

The lights on demand switch allows the driver to
select one of three lighting modes for the room
lights. The room lights are the map lights, per-
sonal lights and puddle lamps (if so equipped) .
The lights on demand switch operates regardless
of ignition switch position.
: The room lights illuminate. The lights will
turn off automatically after 30 minutes to prevent
the battery from becoming discharged.
OFF: The room lights do not illuminate.
: The room lights illuminate when a door is
opened.If the lights on demand switch is in the
position, the lights will stay on for about 30 sec-
onds when:
cThe doors are unlocked by the keyfob, a key
or the power door lock switch while all doors
are closed and the ignition switch is in the
OFF position.
cThe driver’s door is opened and then closed
while the key is removed from the ignition
switch.
cThe key is removed from the ignition switch
while all doors are closed.
The room lights will turn off while the 30 second
timer is activated when:
cThe driver’s door is locked by the keyfob, a
key, or the power door lock switch.
cThe ignition switch is turned ON.
The lights will turn off automatically after 30 min-
utes while doors are open to prevent the battery
from becoming discharged.NOTE:
The foot well and door step lights illumi-
nate when the driver and passenger doors
are open regardless of the lights on de-
mand switch position. These lights will turn
off automatically after 30 minutes while
doors are open to prevent the battery from
becoming discharged.
LIC0472
LIGHTS ON DEMAND SWITCH
Instruments and controls2-41
ZREVIEW COPY:Ð2004 Quest(van)
Owners Manual(owners)ÐUSA English(nna)
10/08/03Ðtbrooks
X
Page 119 of 320
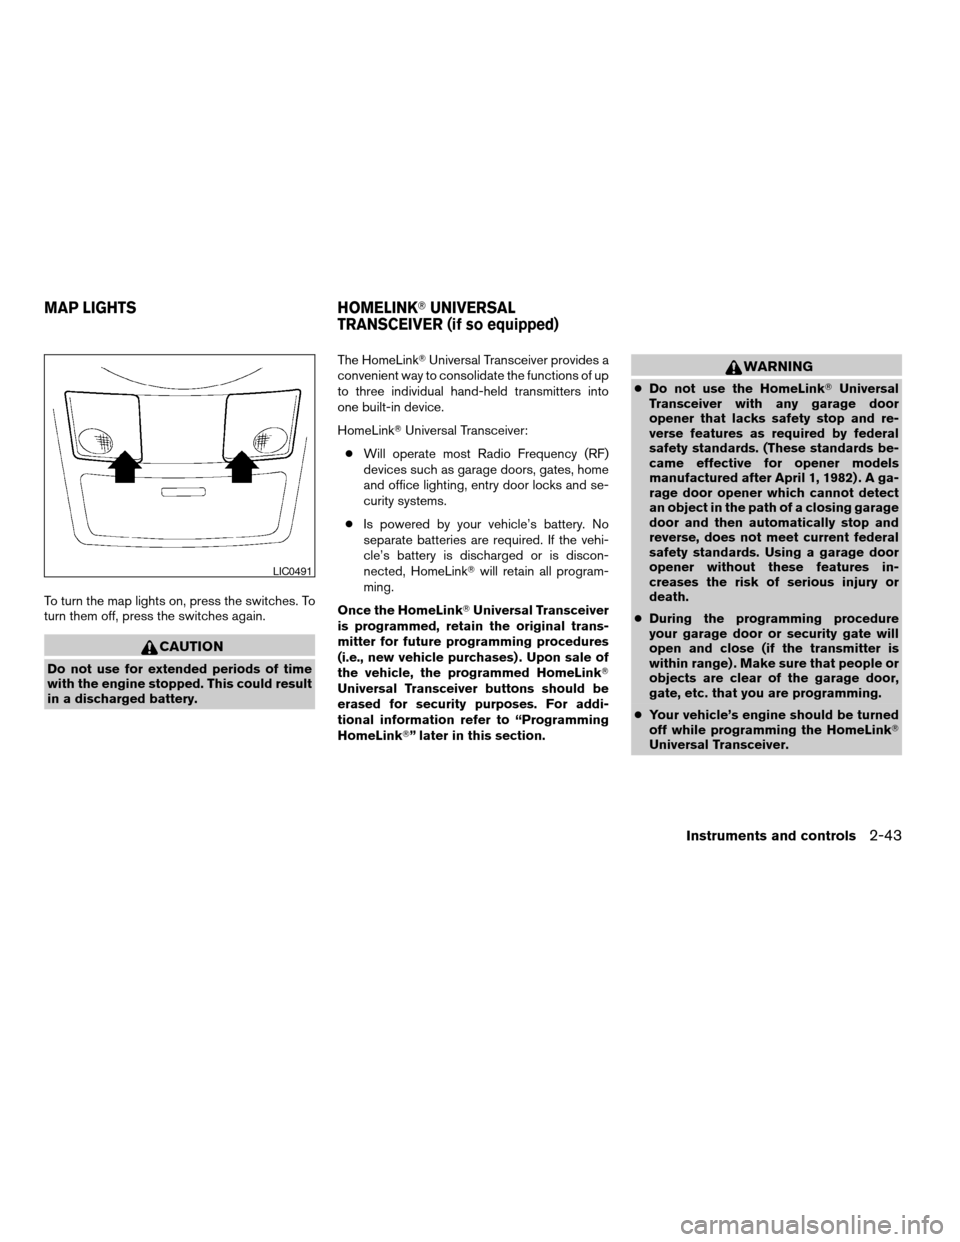
To turn the map lights on, press the switches. To
turn them off, press the switches again.
CAUTION
Do not use for extended periods of time
with the engine stopped. This could result
in a discharged battery.The HomeLinkTUniversal Transceiver provides a
convenient way to consolidate the functions of up
to three individual hand-held transmitters into
one built-in device.
HomeLinkTUniversal Transceiver:
cWill operate most Radio Frequency (RF)
devices such as garage doors, gates, home
and office lighting, entry door locks and se-
curity systems.
cIs powered by your vehicle’s battery. No
separate batteries are required. If the vehi-
cle’s battery is discharged or is discon-
nected, HomeLinkTwill retain all program-
ming.
Once the HomeLinkTUniversal Transceiver
is programmed, retain the original trans-
mitter for future programming procedures
(i.e., new vehicle purchases) . Upon sale of
the vehicle, the programmed HomeLinkT
Universal Transceiver buttons should be
erased for security purposes. For addi-
tional information refer to “Programming
HomeLinkT” later in this section.
WARNING
cDo not use the HomeLinkTUniversal
Transceiver with any garage door
opener that lacks safety stop and re-
verse features as required by federal
safety standards. (These standards be-
came effective for opener models
manufactured after April 1, 1982) . A ga-
rage door opener which cannot detect
an object in the path of a closing garage
door and then automatically stop and
reverse, does not meet current federal
safety standards. Using a garage door
opener without these features in-
creases the risk of serious injury or
death.
cDuring the programming procedure
your garage door or security gate will
open and close (if the transmitter is
within range) . Make sure that people or
objects are clear of the garage door,
gate, etc. that you are programming.
cYour vehicle’s engine should be turned
off while programming the HomeLinkT
Universal Transceiver.
LIC0491
MAP LIGHTS HOMELINKTUNIVERSAL
TRANSCEIVER (if so equipped)
Instruments and controls2-43
ZREVIEW COPY:Ð2004 Quest(van)
Owners Manual(owners)ÐUSA English(nna)
10/08/03Ðtbrooks
X