air condition NISSAN QUEST 2015 RE52 / 4.G Quick Reference Guide
[x] Cancel search | Manufacturer: NISSAN, Model Year: 2015, Model line: QUEST, Model: NISSAN QUEST 2015 RE52 / 4.GPages: 32, PDF Size: 1.97 MB
Page 3 of 32
NEW SYSTEM FEATURES
Around View® Monitor with Moving Object Detection (MOD) (if so equipped) .............................2
Blind Spot W
arning (BSW) System (if so equipped) ........................................................................\
... 4
Advanced Climate Control System (if so equipped)
........................................................................\
..... 4
NavTraffic and NavWeather (if so equipped)........................................................................\
................... 5
ESSENTIAL INFORMATION
Tire Pressure Monitoring System (TPMS) with Easy Fill Tire Alert ................................................... 6
Loose Fuel Cap ........................................................................\
...................................................................... 7
Fuel-filler Door
........................................................................\
....................................................................... 7
Clock Set/Adjustment
........................................................................\
........................................................... 7
FIRST DRIVE FEATURES
NISSAN Intelligent Key® System ........................................................................\
......................................8
P
ower Sliding Door Release (if so equipped) ........................................................................\
................ 9
Power Liftgate Release (if so equipped)
........................................................................\
........................ 10
Front Power Seat Adjustments (if so equipped)
........................................................................\
.......... 10
2
nd Row Seat Adjustments ........................................................................\
................................................ 11
F
olding the 2nd Row Seats ........................................................................\
................................................. 11
Enter/
Exit the 3rd Row Seats ........................................................................\
............................................. 11
3rd Row Seat Adjustments ........................................................................\
................................................ 12
Automatic Drive P ositioner (if so equipped) ........................................................................\
.................. 12
Outside Mirror Control Switch
........................................................................\
.......................................... 13
St
arting/Stopping the Engine
........................................................................\
........................................... 13
Headlight Control Switc
h
........................................................................\
................................................... 14
Windshield Wiper and Washer Switch
........................................................................\
......................... 15
Automatic Climate Controls (if so equipped)
........................................................................\
................ 16
FM/AM/SiriusXM
® Satellite Radio with CD/DVD Player (if so equipped) ..................................... 18
USB (Universal Serial Bus) Connection Port/iPod® Interface (if so equipped) ............................ 19
Cruise Control
........................................................................\
..................................................................... 19
Power Outlets
........................................................................\
....................................................................... 20
SYSTEM GUIDE
Trip Computer ........................................................................\
.......................................................................21
Bluetooth® Hands-free Phone System (if so equipped) ..................................................................... 21
•
System Operating T
ips
........................................................................\
.................................................. 21
Bluetooth® System without Navigation (if so equipped) .................................................................... 22
Bluetooth® System with Navigation (if so equipped) ........................................................................\
.. 23
Navigation System (if so equipped) ........................................................................\
................................. 25
NISSAN Mobile Entertainment System (MES) (if so equipped)
.....................................................27
HomeLink
® Universal Transceiver (if so equipped) ........................................................................\
..... 28
Please see your Owner’s Manual for important safety information and system operation limitations.
•
A cellular telephone should not be used for any purpose while driving so\
full
attention may be given to vehicle operation.
•
Always wear your seat belt.
•
Supplement
al air bags do not replace proper seat belt usage.
•
Children 12 and under should always ride in the rear seat properly secur\
ed in
child restraints or seat belts according to their age and weight.
•
Do not drink and drive.
F
or more information, refer to the “Safety –– Seats, seat belts and supplemental restraint system (section
1)”, the “Monitor, heater, air conditioner, audio, phone and voice recognition systems (section 4)” and the
“Starting and driving (section 5)” of your Owner’s Manual.
Additional information about your vehicle is also available in your Owne\
r’s Manual, Navigation System
Owner’s Manual and at www.nissanusa.com.
TAB LE OF CONTE NTS
1705378_15a_Quest_QRG_082514.indd 58/25/14 11:56 AM
Page 5 of 32
3
The colored guide lines on the display screen indicate vehicle width and \
approximate distances to objects with reference to the vehicle body line.
•
Red 1.5 ft (0.5 m); Y
ellow 3 ft (1 m);
Green 7 ft (2 m) and 10 ft (3 m).
Predictive course lines
2 indicate the
predictive course when operating the vehicle.
The lines will be displayed when the steering
wheel is turned.
The course lines will move depending on how
much the steering wheel is turned and will not
be displayed while the steering wheel is in the
neutral position.
There are some areas where the system will not
show objects.
• W
hen in the front or the rear view display, an
object below the bumper or on the ground may
not be viewed
3.
• W
hen in the bird’s-eye view, a tall object near the
seam of the camera viewing areas
4 will not
appear in the monitor.
The distance between objects viewed on the
Around View® Monitor differs from the actual distance.
Objects in the bird’ s-eye view will appear further
than the actual distance.
MOVING OBJECT DETECTION (MOD)
If the MOD system detects moving objects
surrounding the vehicle, a yellow frame
4 will
be displayed on the camera image and a chime
will sound.
In the bird’ s-eye view, a yellow frame is displayed
on those camera images (front, rear, right, left)
where moving objects are detected.
When the following are displayed:
•
Blue M
OD icon
5; the system is operative in this view.
•
Gray M
OD icon
6; the system is not operative in this view.
•
No M
OD icon; the system is off.
To temporarily turn the system on or off, touch the Sonar-MOD key 7.
For more information, refer to the “Monitor, heater, air conditioner, audio, phone and voice recognition systems
(section 4)” of your Owner’s Manual.
3
4
2
4
7
56
1705378_15a_Quest_QRG_082514.indd 38/25/14 11:56 AM
To view detailed instructional videos regarding these and other features, please go to www.nissanownersinfo.mobi.
Page 6 of 32

4
NEW SYSTEM FEATURES
BLIND SPOT WARNING (BSW) SYSTEM (if so equipped)
The control switch
1 is located on the left side
of the instrument panel.
The system automatically turns on when the engine is started and the BSW ON indicator light
on the switch illuminates.
The indicator light 2, located in the outside
mirror, will activate when the BSW system detects
a vehicle in the detection zone.
If a turn signal is activated in the direction of a
detected vehicle, a chime sounds twice and the
BSW indicator light will flash.
To cancel the system, push the control switch and the BSW ON indicator light will extinguish.
For more information, refer to the “Starting and driving (section 5)”
of your Owner’s Manual.
1
2
ADVANCED CLIMATE CONTROL SYSTEM (if so equipped)
The advanced climate control system keeps the air inside the vehicle clea\
n, using ion
control and automatic air intake control with an exhaust gas detecting sensor.
When ion control is activated, this unit generates highly concentrated Pl\
asmacluster®
ions into the air blown from the vents, reducing the odor absorbed insid\
e the vehicle.
When the automatic air intake control is activated, the exhaust gas detection sensor can detect odors, such as pulp or chemicals, and exhaust gas, such as gasoline or
diesel. When such odors or gases are detected, the system automatically changes
from the outside air circulation mode to the recirculation mode.
For more information, refer to the “Monitor, heater, air conditioner, audio, phone and voice recognition systems
(section 4)” of your Owner’s Manual.
1705378_15a_Quest_QRG_082514.indd 48/25/14 11:57 AM
To view detailed instructional videos regarding these and other features, please go to www.nissanownersinfo.mobi.
Page 9 of 32
7
LOOSE FUEL CAP
A LOOSE FUEL CAP warning message will
appear in the vehicle information display
1
when the fuel-filler cap is not tightened correctly.
To tighten, turn the cap clockwise until a single
click is heard.
The warning message will extinguish when the vehicle detects the fuel-filler cap is properly
tightened and the reset button
2 is pressed
for about 1 second.
If the cap is not properly tightened, the
Malfunction Indicator Light
may illuminate.
For more information, refer to the “Instruments and controls (section 2)” and the “Pre-driving checks and
adjustments (section 3)” of your Owner’s Manual.
1
2
FUEL-FILLER DOOR
To open the fuel-filler door, pull the release 1
located on the lower instrument panel to the left of
the steering wheel.
The fuel-filler door is located on the driver’s side of the vehicle.
For more information, refer to the “Pre-driving checks and adjustments (section 3)” of your Owner’s Manual.
1
CLOCK SET/ADJUSTMENT
To adjust the time and the appearance of the clock on the display:
1.
Press the
SETTING button on the control panel.
2. T
ouch the Others key.
3. T
ouch the Clock key.
The following settings can be adjusted:
•
On-screen Clock: The clock in the upper
right corner of the display can be turned
ON or OFF.
•
Clock Format (24h): The clock can be set to 12 hours or 24 hours.
•
Offset (hour): The time can be adjusted by increasing or decreasing per hour.
•
Offset (min): The time can be adjusted by increasing or decreasing per minute.
•
Daylight Savings Time: The application of daylight savings time can be turned
ON or OFF.
•
Time Zone: Adjust the time zone. Choose a time zone from the available list.
Press the BACK button to return to the previous screen.
For more information, refer to the “Monitor, heater, air conditioner, audio, phone and voice recognition
systems (section 4)” of your Owner’s Manual.
1705378_15a_Quest_QRG_082514.indd 78/25/14 11:57 AM
To view detailed instructional videos regarding these and other features, please go to www.nissanownersinfo.mobi.
Page 19 of 32
17
7 AIR RECIRCULATION BUTTON
Press the air recirculation button to recirculate interior air inside the vehicle.
The indicator light on the button will illuminate. This system is used to avoid certain
outside odors and to help adjust the inside vehicle temperature more eff\
ectively.
The air recirculation mode cannot be activated when the climate control s\
ystem is in the front defroster mode
FRONT or in the front defroster and foot vent mode .
8 A UTO-RECIRCULATION BUTTON
Press the auto-recirculation button
AUTO
to switch to the automatic air intake
control mode. The indicator light on the button will illuminate.
In this mode, the sensor detects cert ain odors and gases to automatically switch
between the air recirculation mode and the outside air circulation mode.\
The auto-recirculation mode cannot be activated when the air flow contr\
ol mode is in
the front defroster mode
FRONT or in the front defroster and foot outlet mode .
9 D EFROSTING/DEFOGGING FRONT AND SIDE WINDOWS
Press the front defroster control button
FRONT to turn the system on. The A/C
automatically turns on when the defroster mode is selected. This feature removes
humidity from the air.
Press the temperature control buttons or
to set the desired temperature.
To defrost the front and side windows quickly, set the temperature controls and fan
speed controls to their maximum settings.
10 D EFROSTING REAR WINDOW AND OUTSIDE MIRRORS (if so equipped)
Push the rear window defroster button
REAR
to turn the system on or off. This function automatically turns off after approximately 15 minutes.
11 A/C BUTTON
Press the
A/C button to turn the air conditioner system on or off. This system helps
cool and dehumidify the air inside the cabin and defog the windows.
12 R EAR CONTROL BUTTON
To control the rear automatic air conditioning system with the front air \
conditioner
control panel, press the REAR button.
When the rear automatic air conditioning system is on, the indicator light on the REAR button will
illuminate and the front display will switch to the
rear air conditioner screen.
To adjust the front air conditioning system, press the REAR button again or wait 10 seconds.
The rear passenger controls are unavailable when REAR is shown on the front display.
13 ON•OFF B UTTON
Press the
ON•OFF button to turn the climate control system on or off.
For more information, refer to the “Instruments and controls (section 2)” and the“Monitor, heater, air conditioner,
audio, phone and voice recognition systems (section 4)” of your Owner’s Manual.
1705378_15a_Quest_QRG_082514.indd 178/25/14 11:57 AM
To view detailed instructional videos regarding these and other features, please go to www.nissanownersinfo.mobi.
Page 20 of 32
18
1
65
3
2
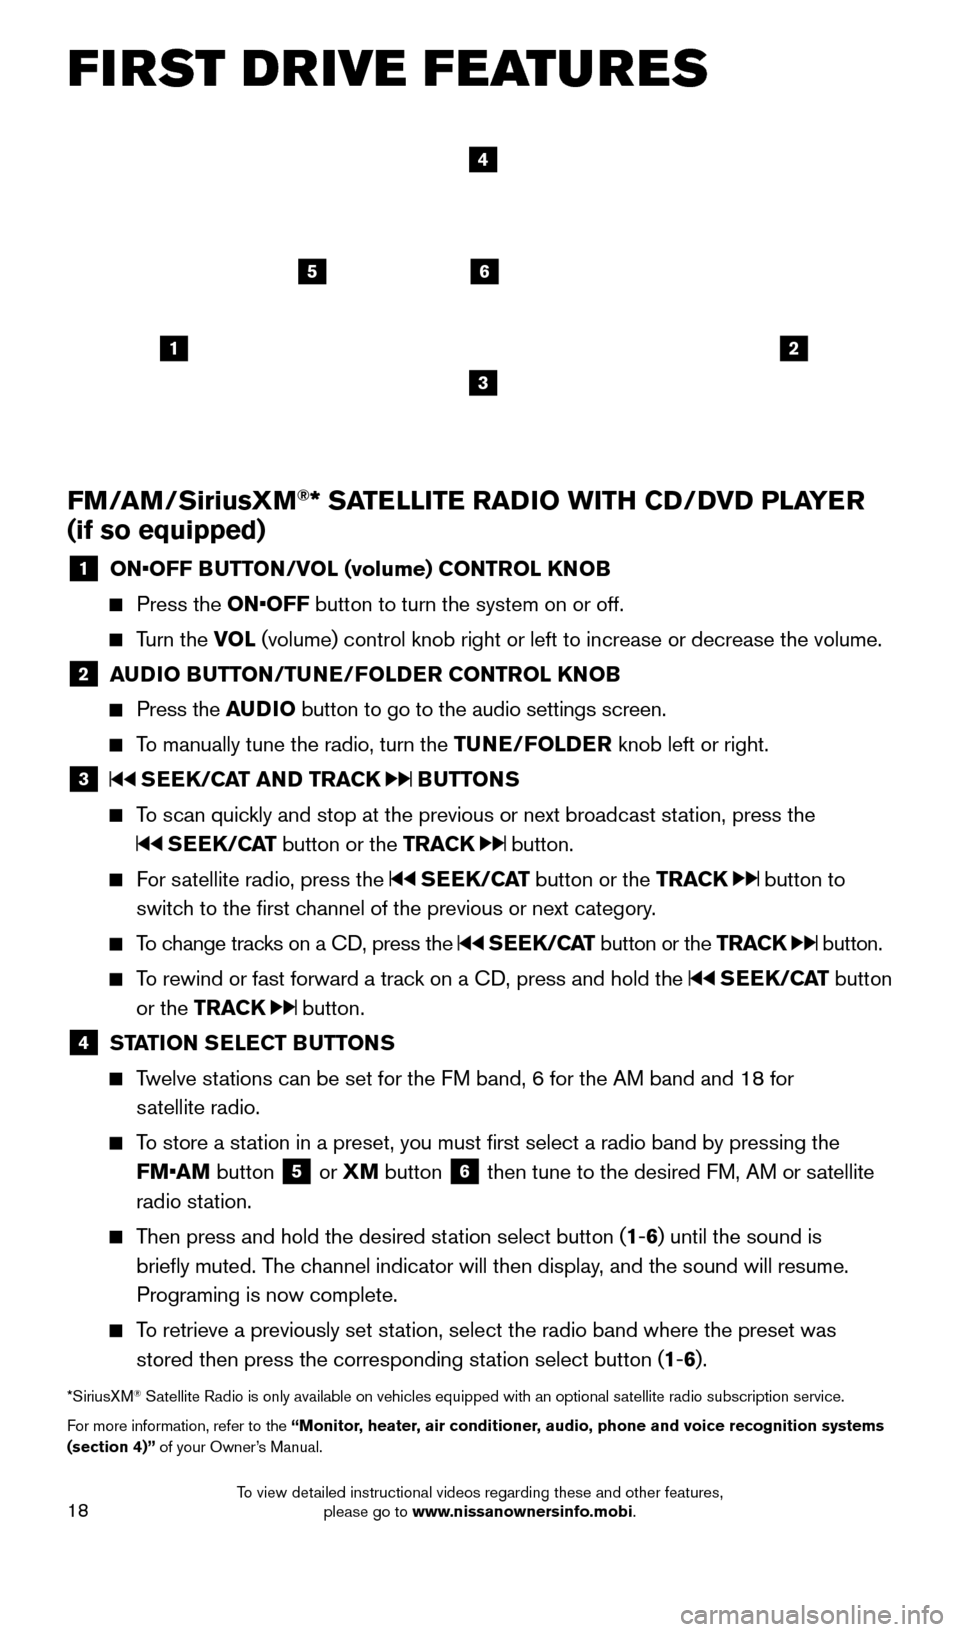
FM/AM/SiriusXM®* SATELLITE RADIO WITH CD/DVD PLAYER
(if so equipped)
1 ON•OFF B UTTON/VOL (volume) CONTROL KNOB
Press the
ON•OFF button to turn the system on or off.
Turn the VOL (volume) control knob right or left to increase or decrease the volum\
e.
2 AUDIO BUTTON/TUNE/FOLDER CONTROL KNOB
Press the
AUDIO button to go to the audio settings screen.
To manually tune the radio, turn the TUNE/FOLDER knob left or right.
3 SEEK/CAT AND TRACK BUTTONS
To scan quickly and stop at the previous or next broadcast station, press the
SEEK/CAT button or the TRACK button.
For satellite radio, press the SEEK/CAT button or the TRACK button to
switch to the first channel of the previous or next category.
To change tracks on a CD, press the SEEK/CAT button or the TRACK button.
To rewind or fast forward a track on a CD, press and hold the SEEK/CAT button
or the TRACK
button.
4 ST ATION SELECT BUTTONS
Twelve stations can be set for the FM band, 6 for the AM band and 18 for
satellite radio.
To store a station in a preset, you must first select a radio band by pressing the FM•AM button
5 or
XM button 6 then tune to the desired FM, AM or satellite
radio station.
Then press and hold the desired station select button (1 -6 ) until the sound is
briefly muted. The channel indicator will then display, and the sound will resume.
Programing is now complete.
To retrieve a previously set station, select the radio band where the preset was stored then press the corresponding station select button (1 -6 ).
*SiriusXM® Satellite Radio is only available on vehicles equipped with an optional s\
atellite radio subscription service.
For more information, refer to the “ Monitor, heater, air conditioner, audio, phone and voice recognition systems
(section 4)” of your Owner’s Manual.
4
FIRST DRIVE FEATURES
1705378_15a_Quest_QRG_082514.indd 188/25/14 11:57 AM
To view detailed instructional videos regarding these and other features, please go to www.nissanownersinfo.mobi.
Page 21 of 32
19
CRUISE CONTROL
The cruise control system enables you to set a constant cruising speed once the vehicle has
reached 25 mph (40 km/h).
The system will automatically maintain the set speed until you tap the brake pedal, accelerate,
cancel or turn the system off.
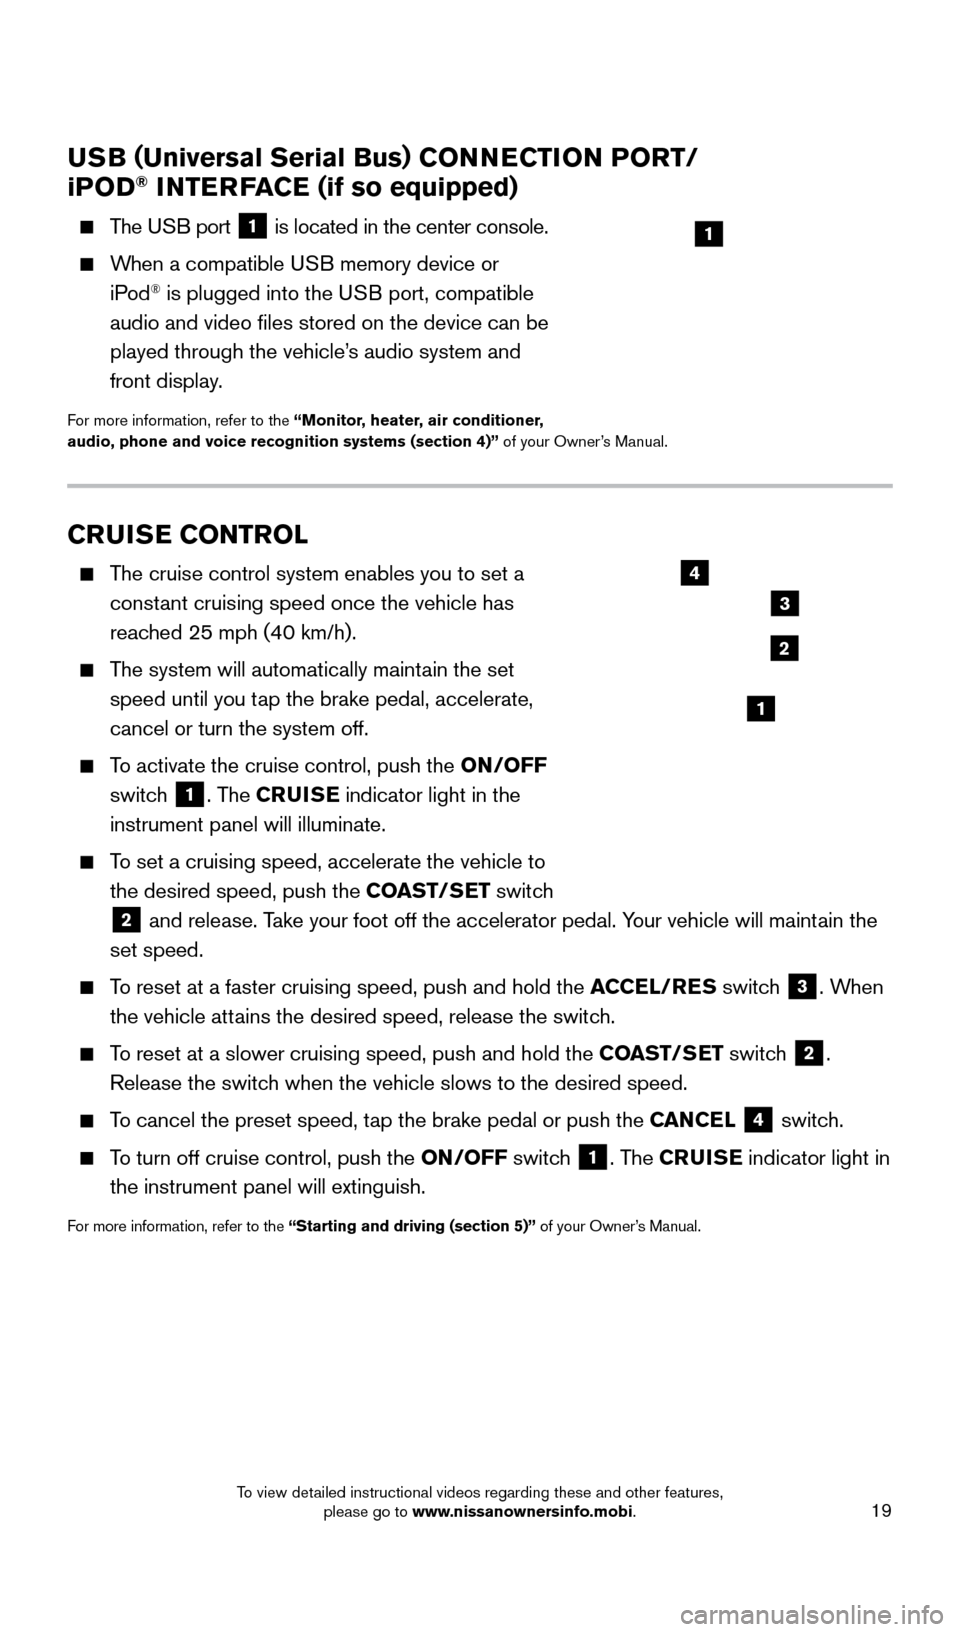
To activate the cruise control, push the ON/OFF
switch
1. The CRUISE indicator light in the
instrument panel will illuminate.
To set a cruising speed, accelerate the vehicle to the desired speed, push the COAST/SET switch
2 and release. Take your foot off the accelerator pedal. Your vehicle will maintain the
set speed.
To reset at a faster cruising speed, push and hold the ACCEL/RES switch 3. When
the vehicle attains the desired speed, release the switch.
To reset at a slower cruising speed, push and hold the COAST/SET switch 2.
Release the switch when the vehicle slows to the desired speed.
To cancel the preset speed, tap the brake pedal or push the CANCEL 4 switch.
To turn off cruise control, push the ON/OFF switch 1. The CRUISE indicator light
in
the instrument panel will extinguish.
For more information, refer to the “Starting and driving (section 5)” of your Owner’s Manual.
USB ( Universal Serial Bus) CONNECTION PORT/
i POD® INTERFACE (if so equipped)
The USB port 1 is located in the center console.
When a compatible USB memory device or
iPod® is plugged into the USB port, compatible
audio and video files stored on the device can be
played through the vehicle’s audio system and
front display.
For more information, refer to the “Monitor, heater, air conditioner,
audio, phone and voice recognition systems (section 4)” of your Owner’s Manual.
1
2
3
4
1
1705378_15a_Quest_QRG_082514.indd 198/25/14 11:57 AM
To view detailed instructional videos regarding these and other features, please go to www.nissanownersinfo.mobi.
Page 27 of 32
25
NAVIGATION SYSTEM (if so equipped)
Your Navigation System can calculate a route from your current location t\
o a preferred destination. The real-time map display and turn-by-turn voice guidance will lead you
along the route.
The Navigation System will continually update your vehicle’s position. If you have deviated from the original route, it will recalculate the route from you\
r current location.
1
2
78
11
910
435
6
12
RECEIVING/ENDING A CALL
To accept the call, press the button on the
steering wheel or touch the “Answer” key.
To reject the call, touch the “Reject Call” key.
To hang-up, press the button or touch the “Hang up” key
.
For more information, refer to the “ Monitor, heater, air conditioner,
audio, phone and voice recognition systems (section 4)” of your
Owner’s Manual.
1705378_15a_Quest_QRG_082514.indd 258/25/14 11:57 AM
To view detailed instructional videos regarding these and other features, please go to www.nissanownersinfo.mobi.
Page 28 of 32

26
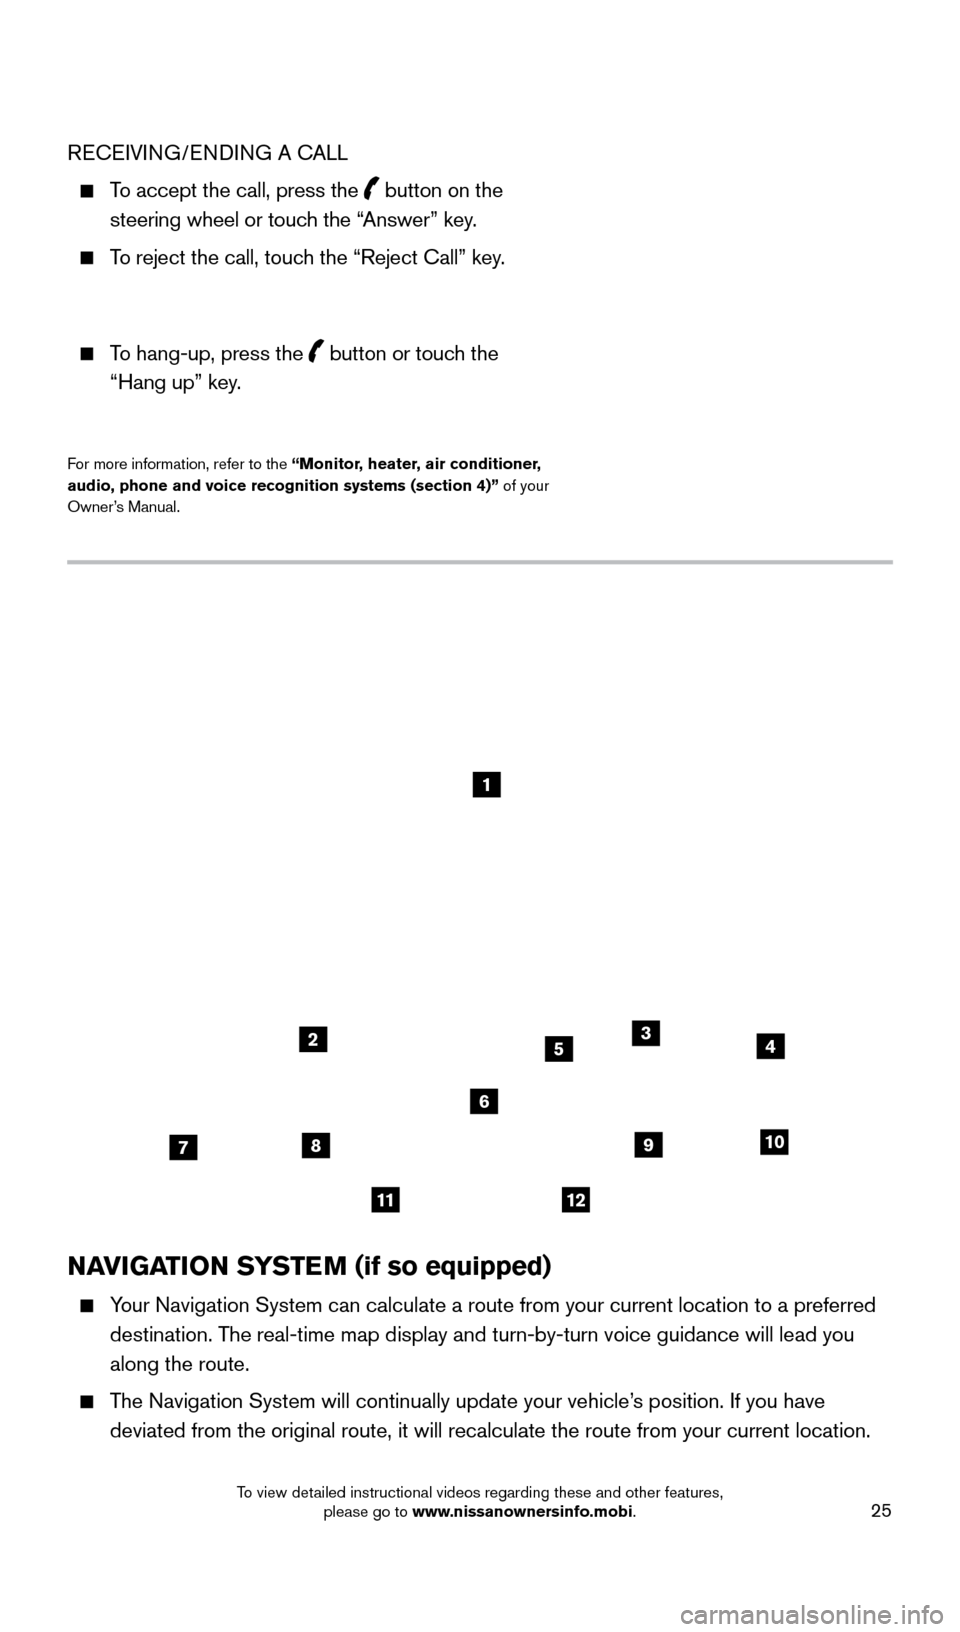
1 Touch-screen display.
2 Destination
(DEST ) – Press to enter a destination.
3 Information (INFO) – Press to display the vehicle, traffic (if so equipped), weathe\
r (if
so equipped) or Voice Recognition information.
4 SETTING – Press to access the system settings.
5 Multi-function controller – T urn to highlight an item on the screen, press to select the
highlighted item or scroll the map.
6 – Press to switch to the zoom mode to change the map scale. Use the center dial
to adjust the map scale. Turn clockwise to zoom in. Turn counterclockwise to zoom out.
7 R OUTE – Press to access guidance control functions (guidance cancellation\
, route
priority, waypoint setting on the route, etc.).
8 MAP – Press to display the map. While following a programed route, press multiple
times to change the type of route information.
9 ST ATUS – Press multiple times to display audio information with either the \
air
conditioner status, fuel economy or navigation directions.
10 OFF – Press to switch between the day screen (bright) and the night screen
(dark). Press and hold to turn off the display. Press again to turn on the display.
11 BACK – Press to return to the previous screen. In a settings screen, this\
button
can also be used to apply the setting. In a character input screen, this button can also
delete the characters that have been entered.
12 V OICE – Press to hear the current guidance for a programed route.
For more information, refer to the Navigation System Owner’s Manual.
SYSTEM GUIDE
1705378_15a_Quest_QRG_082514.indd 268/25/14 11:57 AM
To view detailed instructional videos regarding these and other features, please go to www.nissanownersinfo.mobi.
Page 29 of 32

27
NISSAN MOBILE ENTERTAINMENT SYSTEM (MES)
(if so equipped)
With this Entertainment System, you can play
video files via a DVD or compatible USB device,
providing images and sound operated through
both the front and rear display screens.
You can also connect auxiliary devices, such
as video games, camcorders or portable video
players, to the auxiliary jacks. (Your device will be
controlled through its own control panel.)
Use the remote controller , provided with the
system, to operate the rear display screen.
Use the headphones, also provided with the
system, to listen to audio wirelessly
and independently.
To watch or control videos on the front display,
make sure the vehicle is in the P (PARK) position
and the parking brake is applied.
To reduce driver distraction, movies will not be
shown on the front display while the vehicle is in
any drive position.
For more information, refer to the “ Monitor, heater, air conditioner, audio, phone and voice recognition systems
(section 4)” of your Owner’s Manual.
1705378_15a_Quest_QRG_082514.indd 278/25/14 11:57 AM
To view detailed instructional videos regarding these and other features, please go to www.nissanownersinfo.mobi.