clock setting NISSAN ROGUE 2017 2.G Quick Reference Guide
[x] Cancel search | Manufacturer: NISSAN, Model Year: 2017, Model line: ROGUE, Model: NISSAN ROGUE 2017 2.GPages: 36, PDF Size: 2.6 MB
Page 12 of 36

10
TOWING YOUR VEHICLE
ALL-WHEEL DRIVE (AWD) VEHICLE (if so equipped)
An all-wheel drive vehicle must be towed with all wheels off the ground.
For proper towing and to avoid accidental damage to your vehicle, Nissan
recommends that a service operator tow your vehicle af ter carefully reading the
Owner’s Manual precautions.
Please see your Owner’s Manual for important safety information, system limitations, and additional
operating and feature information.
For more information, refer to the “In case of emergency (section 6)” and the “ Technical and consumer
information (section 10)” of your Owner’s Manual.
OUTSIDE TEMPERATURE DISPLAY
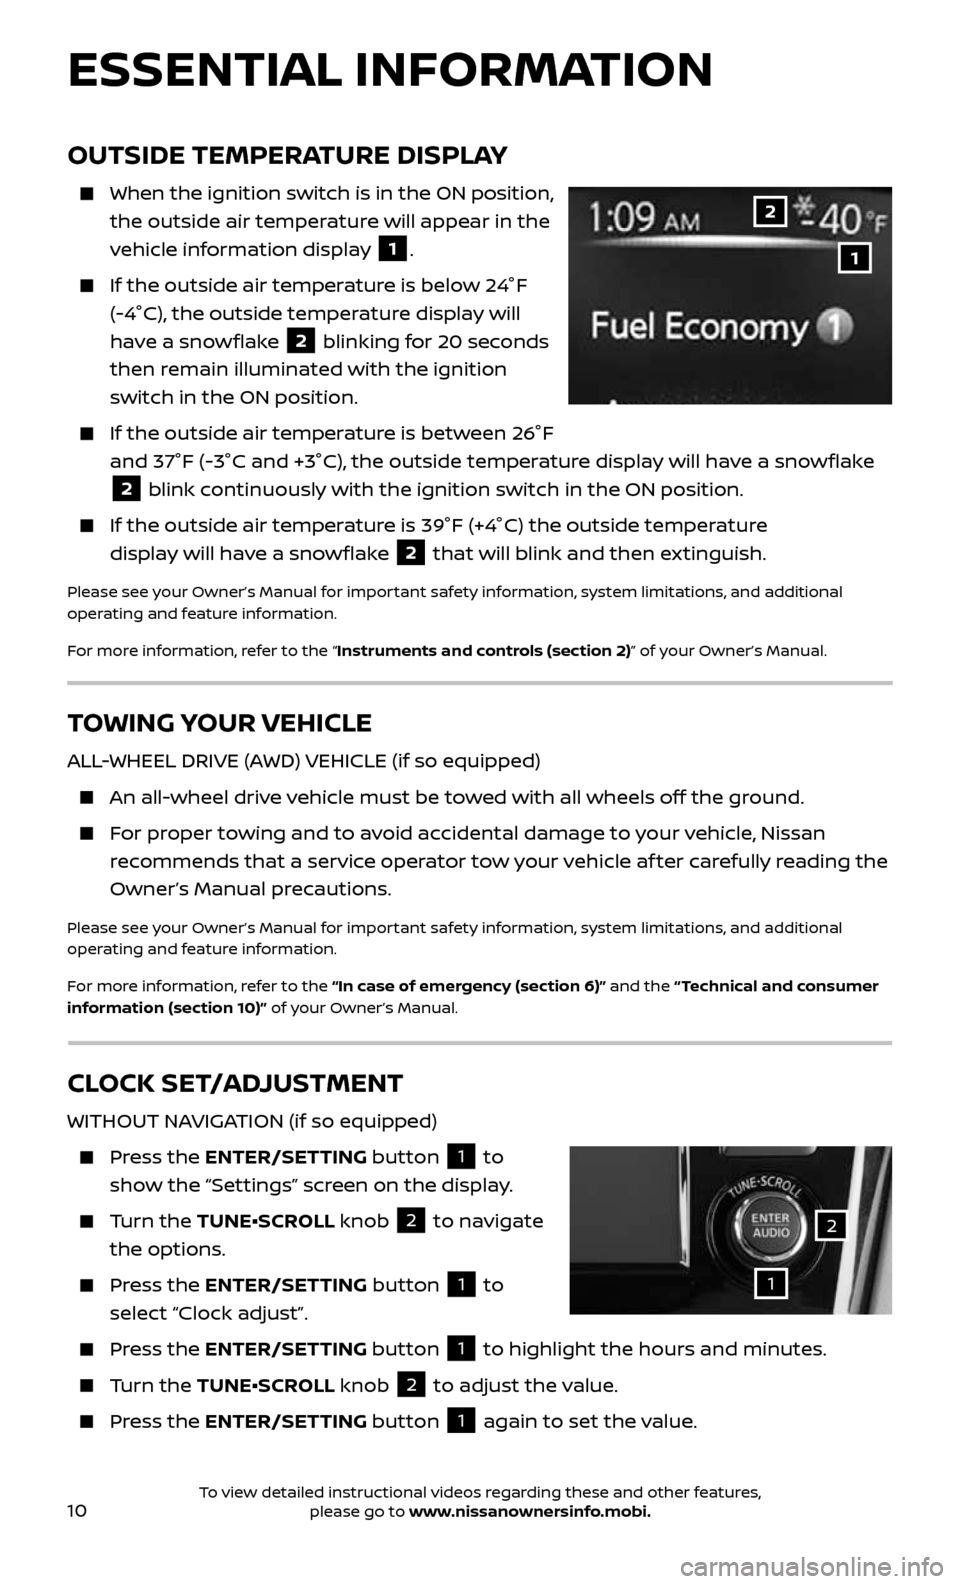
When the ignition switch is in the ON position,
the outside air temperature will appear in the
vehicle information display
1.
If the outside air temper ature is below 24°F
(-4°C), the outside temperature display will
have a snowflake
2 blinking for 20 seconds
then remain illuminated with the ignition
switch in the ON position.
If the outside air temper ature is between 26°F
and 37°F (-3°C and +3°C), the outside temperature display will have a snowflake
2 blink continuously with the ignition switch in the ON position.
If the outside air temperature is 39°F (+4°C) the outside temperature
display will have a snowflake 2 that will blink and then extinguish.
Please see your Owner’s Manual for important safety information, system limitations, and additional
operating and feature information.
For more information, refer to the “Instruments and controls (section 2)” of your Owner’s Manual.
1
2
CLOCK SET/ADJUSTMENT
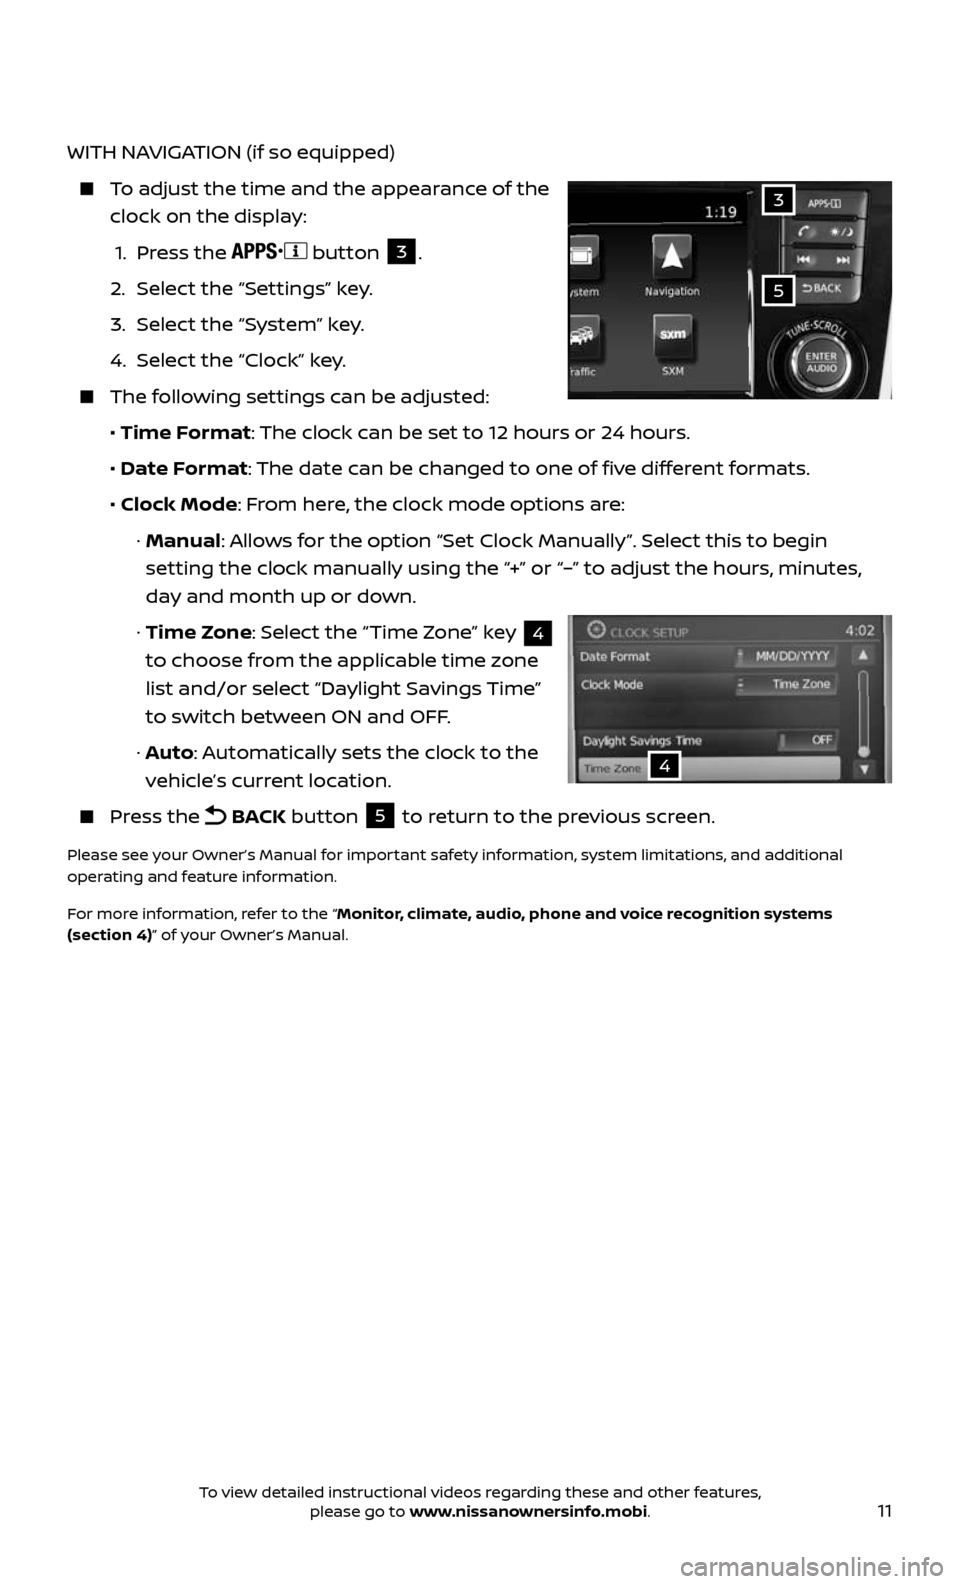
WITHOUT NAVIGATION (if so equipped)
Press the ENTER/SETTING button 1 to
show the “Settings” screen on the display.
Turn the TUNE•SCROLL knob 2 to navigate
the options.
Press the ENTER/SETTING button 1 to
select “Clock adjust”.
Press the ENTER/SETTING button 1 to highlight the hours and minutes.
Turn the TUNE•SCROLL knob 2 to adjust the value.
Press the ENTER/SETTING button 1 again to set the value.
ESSENTIAL INFORMATION
1
2
To view detailed instructional videos regarding these and other features, please go to www.nissanownersinfo.mobi.
Page 13 of 36

11
WITH NAVIGATION (if so equipped)
To adjust the time and the appearance of the
clock on the display:
1. Press the button 3.
2. Select the “Settings” key.
3. Select the “System” key.
4. Select the “Clock” key.
The following settings can be adjusted:
• Time Format: The clock can be set to 12 hours or 24 hours.
• Date Format: The date can be changed to one of five different formats.
• Clock Mode: From here, the clock mode options are:
· Manual: Allows for the option “Set Clock Manually”. Select this to begin
setting the clock manually using the “+” or “–” to adjust the hours, minutes,
day and month up or down.
· Time Zone: Select the “Time Zone” key 4
to choose from the applicable time zone
list and/or select “Daylight Savings Time”
to switch between ON and OFF.
· Auto: Automatically sets the clock to the
vehicle’s current location.
Press the BACK button 5 to return to the previous screen.
Please see your Owner’s Manual for important safety information, system limitations, and additional
operating and feature information.
For more information, refer to the “Monitor, climate, audio, phone and voice recognition systems
(section 4)” of your Owner’s Manual.
5
3
4
To view detailed instructional videos regarding these and other features, please go to www.nissanownersinfo.mobi.