lock NISSAN ROGUE SELECT 2014 2.G Quick Reference Guide
[x] Cancel search | Manufacturer: NISSAN, Model Year: 2014, Model line: ROGUE SELECT, Model: NISSAN ROGUE SELECT 2014 2.GPages: 20, PDF Size: 1.1 MB
Page 5 of 20
3
esse ntial i n for mation
Tire PreSSu re Mo Ni Tor iN G SYST eM (TPM S)
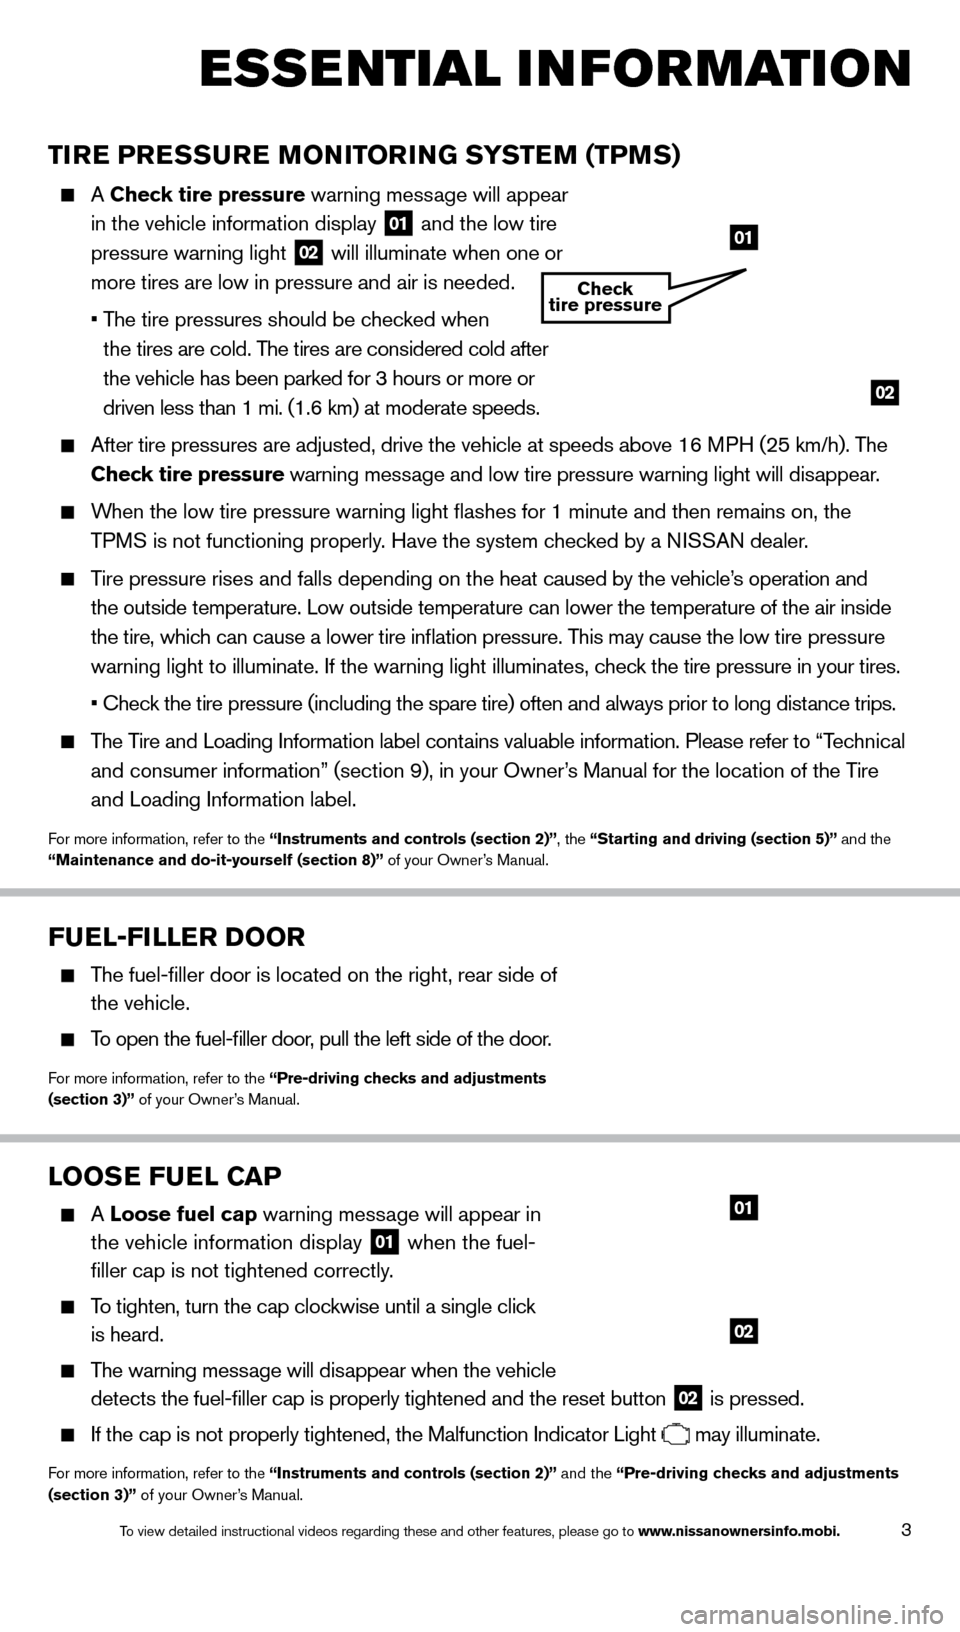
A Check tire pressure warning message will
appear
in the vehicle information display
01 and the low tire
pressure warning light 02 will illuminate when one or
more tires are low in pressure and air is needed.
•
T
he
tire
pressures
should be checked when
t
he tires are cold. The tires are considered cold after
the vehicle has been parked for 3 hours or more or
driven less than 1 mi. (1.6 km) at moderate speeds.
After tire pressures are adjusted, drive the vehicle at speeds above 16 \
M PH (25 km/h). The
C heck tire pressure warning message and low tire pressure warning light will disappear.
When the low tire pressure warning light flashes for 1 minute and then \
remains on, the
TPMS is not functioning properly. Have the system checked by a NISSAN dealer.
Tire pressure rises and falls depending on the heat caused by the vehicle’s operation and the outside temperature. Low outside temperature can lower the temperatu\
re of the air inside
the tire, which can cause a lower tire inflation pressure. This may cause the low tire pressure
warning light to illuminate. If the warning light illuminates, check the tire pressure in your tires.
•
Check the tire pressure (including the spare tire) often and always prior to long distance trips.
The Tire and Loading Information label contains valuable information. Please refer to “Technical and consumer information” (section 9), in your Owner’s Manual for the location of the Tire
and Loading Information label.
For more information, refer to the “instruments and controls (section 2)”, the “Starting and driving (section 5)” and the
“Maintenance and do-it-yourself (section 8)” of your Owner’s Manual.
looSe F uel Ca P
A loose fuel cap warning message will appear in
the vehicle information display
01 when the fuel-
filler cap is not tightened correctly.
To tighten, turn the cap clockwise until a single click
is heard.
The warning message will disappear when the vehicle detects the fuel-filler cap is properly tightened and the reset button\
02 is pressed.
If the cap is not properly tightened, the Malfunction Indicator Light may illuminate.
For more information, refer to the “instruments and controls (section 2)” and the “Pre-driving checks and adjustments
(section 3)” of your Owner’s Manual.
02
01
02
01
Check
tire pressure
Fuel-Filler Door
The fuel-filler door is located on the right, rear side of
the vehicle.
To open the fuel-filler door, pull the left side of the door.
For more information, refer to the “Pre-driving checks and adjustments
(section 3)” of your Owner’s Manual.
1512586_14_RogueSelect_QRG_111313.indd 311/13/13 9:04 AM
To view detailed instructional videos regarding these and other features, please go\
to www.nissanownersinfo.mobi.
Page 7 of 20
5
CloCk SeT/a Dj uSTMeNT
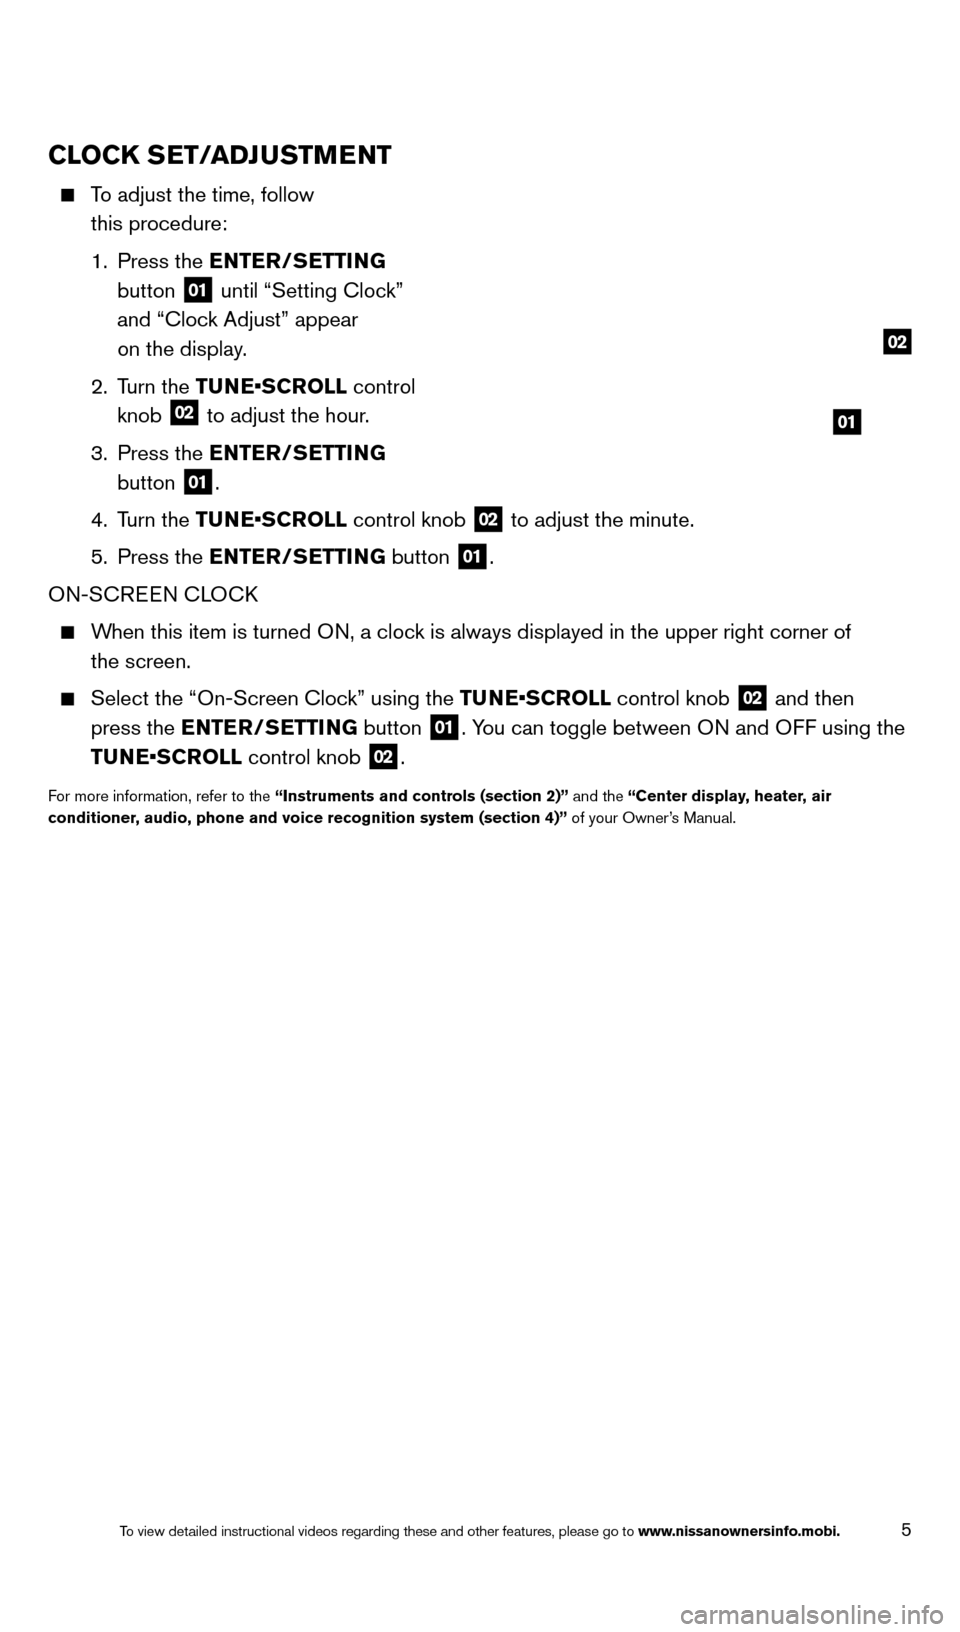
To adjust the time, follow
this procedure:
1.
Press the
e
NT
er
/S e
T
T
i
NG
button
01 until “Setting Clock”
and “Clock Adjust” appear
on the display.
2.
Turn the TUNE•SCROLL control
knob
02 to adjust the hour.
3.
Press the
e
NT
er
/S e
T
T
i
NG
button
01.
4.
Turn the TUNE•SCROLL control knob
02 to adjust the minute.
5.
Press the
e
NT
er
/S
e
T
T
i
NG button
01.
ON-SCREEN CLOC
k
When this item is turned ON, a clock is always displayed in the upper right corner of the screen.
Select the “On-Screen Cloc k” using the TUNE•SCROLL control knob 02 and then
press the
e
NT
er
/S
e
T
T
i
NG button
01. You can toggle between ON and OFF using the
TUNE•SCROLL control knob
02.
For more information, refer to the “instruments and controls (section 2)” and the “Center display, heater, air
conditioner , audio, phone and voice recognition system (section 4)” of your Owner’s Manual.
01
02
1512586_14_RogueSelect_QRG_111313.indd 511/13/13 9:04 AM
To view detailed instructional videos regarding these and other features, please go\
to www.nissanownersinfo.mobi.
Page 8 of 20
6
liFTGaT e relea Se
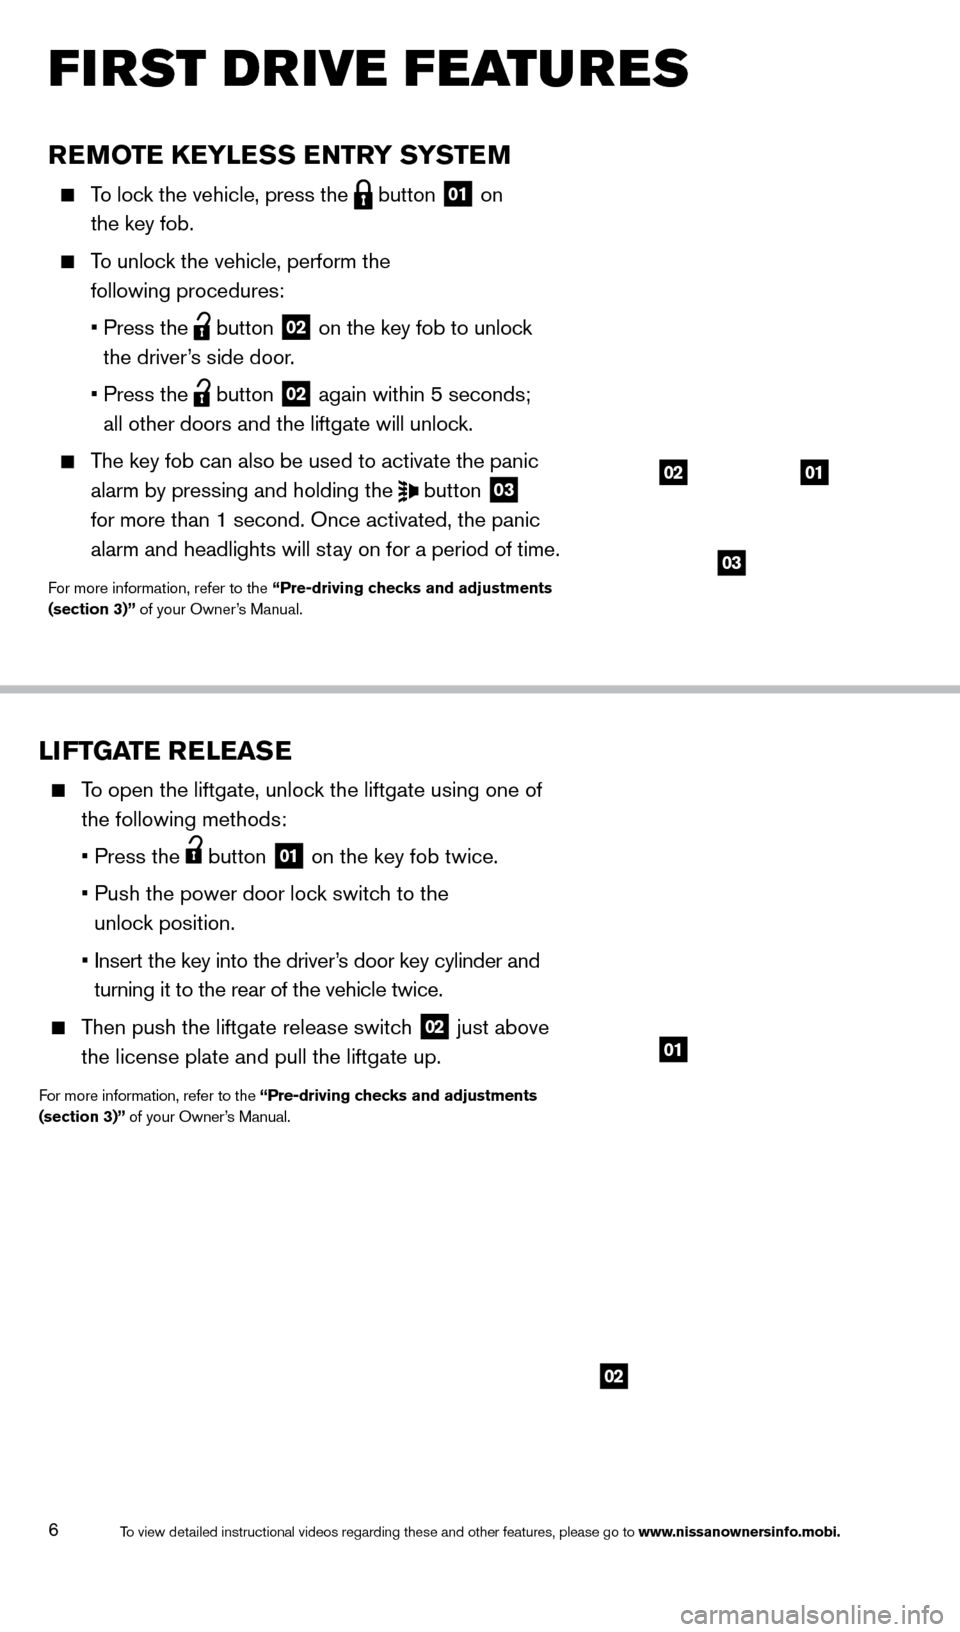
To open the liftgate, unlock the liftgate using one of
the following methods:
•
Press
the
button 01 on the key fob twice.
•
Push
the
power
door
lock switch to the
unlock position.
•
Insert
the
key
into
the
driver’s door key cylinder and
turning it to the rear of the vehicle twice.
Then push the liftgate release switch 02 just above
the license plate and pull the liftgate up.
For more information, refer to the “Pre-driving checks and adjustments
(section 3)” of your Owner’s Manual.
01
reMoT e ke Y leS S eNT rY S YST eM
To lock the vehicle, press the button 01 on
the key fob.
To unlock the vehicle, perform the
following procedures:
•
Press
the
button 02 on the key fob to unlock
the driver’s side door.
•
Press
the
button 02 again within 5 seconds;
all other doors and the liftgate will unloc k.
The key fob can also be used to activate the panic
alarm by pressing and holding the
button 03
for more than 1 second. Once activated, the panic
alarm and headlights will stay on for a period of time.
For more information, refer to the “Pre-driving checks and adjustments
(section 3)” of your Owner’s Manual.
01
03
02
first drive features
02
1512586_14_RogueSelect_QRG_111313.indd 611/13/13 9:04 AM
To view detailed instructional videos regarding these and other features, please go\
to www.nissanownersinfo.mobi.
Page 9 of 20
7
FolDiNG THe rear SeaTBaC kS Do w N
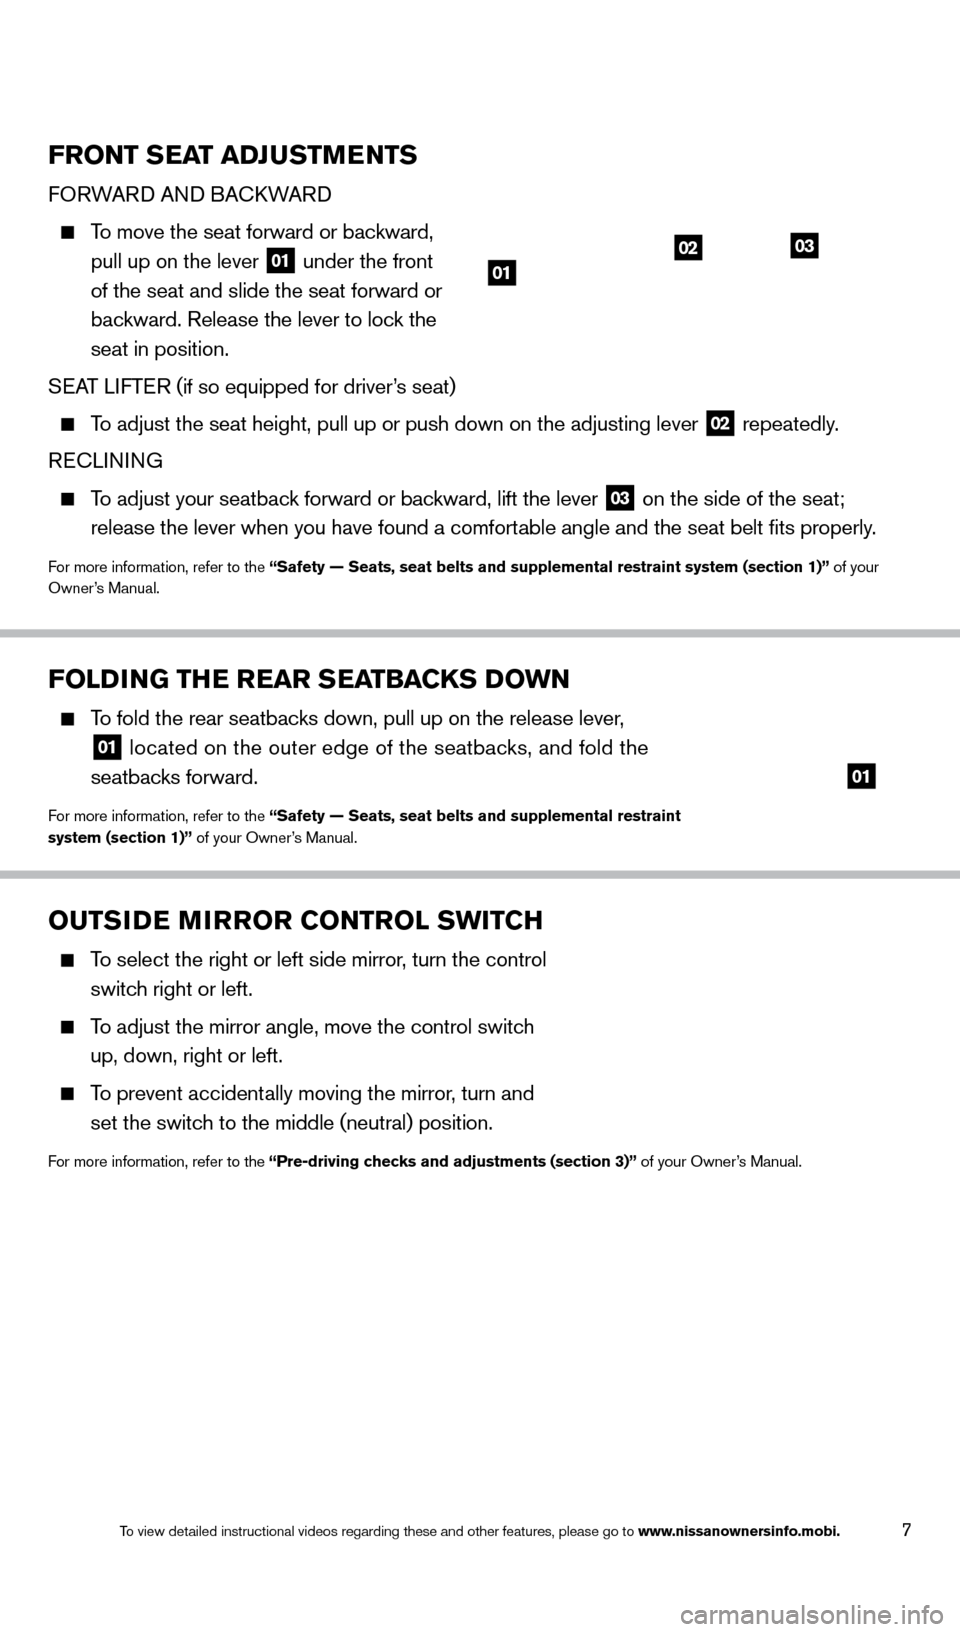
To fold the rear seatbacks down, pull up on the release lever,
01 located on the outer edge of the seatbacks, and fold the
seatbacks forward.
For more information, refer to the “Safety — Seats, seat belts and supplemental restraint
system (section 1)” of your Owner’s Manual.
FroNT SeaT a Dj uSTMeNTS
FORWARd ANd BACk WARd
To move the seat forward or backward,
pull up on the lever
01 under the front
of the seat and slide the seat forward or
backward. Release the lever to lock the
seat in position.
SEAT LIFTER (if so equipped for driver’s seat)
To adjust the seat height, pull up or push down on the adjusting lever 02 repeatedly.
RECLINING
To adjust your seatback forward or backward, lift the lever 03 on the side of the seat;
release the lever when you have found a comfort
able angle and the seat belt fits properly.
For more information, refer to the “Safety — Seats, seat belts and supplemental restraint system (se\
ction 1)” of your
Owner’s Manual.
0203
01
ouTSiDe Mi rror C o NT rol S wi TCH
To select the right or left side mirror, turn the control
switch right or left.
To adjust the mirror angle, move the control switch
up, down, right or left.
To prevent accidentally moving the mirror, turn and
set the switch to the middle (neutral) position.
For more information, refer to the “Pre-driving checks and adjustments (section 3)” of your Owner’s Manual.
01
1512586_14_RogueSelect_QRG_111313.indd 711/13/13 9:04 AM
To view detailed instructional videos regarding these and other features, please go\
to www.nissanownersinfo.mobi.
Page 15 of 20
13
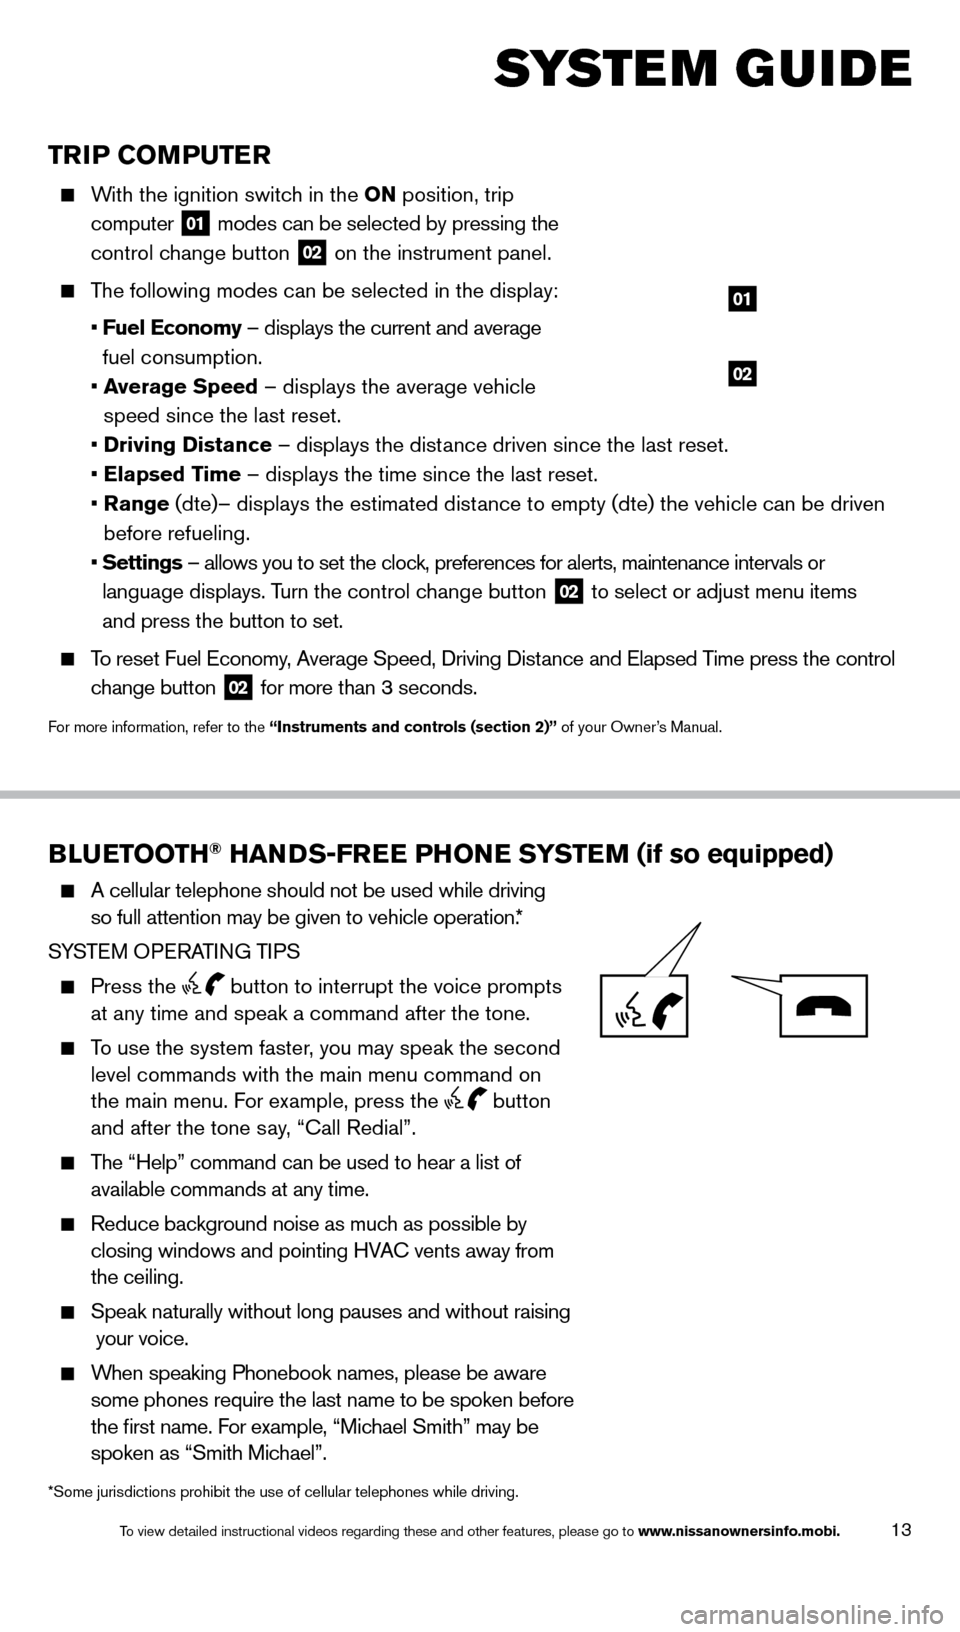
TriP Co MP u T er
With the ignition switch in the o N position, trip
computer
01 modes can be selected by pressing the
control change button
02 on the instrument panel.
The following modes can be selected in the display:
•
F
uel e conomy – displays the current and average
fuel consumption.
•
a
verage Speed
– displays the average vehicle
speed since the last reset.
•
Driving Distance
– displays the distance driven since the last reset.
•
e
lapsed Time – displays the time since the last reset.
•
r
ange (dte)– displays the estimated distance to empty (dte) the vehicle can be driven
before refueling.
•
Settings
– allows you to set the clock, preferences for alerts, maintenance intervals or
language displays. Turn the control change button
02 to select or adjust menu items
and press the button to set.
To reset Fuel Economy, Average Speed, d riving d istance and Elapsed Time press the control
change button
02 for more than 3 seconds.
For more information, refer to the “instruments and controls (section 2)” of your Owner’s Manual.
02
01
Blue TooTH® HaNDS-Free PHo Ne SYST eM (if so equipped)
A cellular telephone should not be used while driving
so full attention may be given to vehicle operation. *
SYSTEM OPERATING TIPS
Press the button to interrupt the voice prompts
at any time and speak a command after the tone.
To use the system faster, you may speak the second level commands with the main menu command on
the main menu. For example, press the
button
and after the tone say, “Call Redial”.
The “Help” command can be used to hear a list of
available commands at any time.
Reduce bac kground noise as much as possible by
closing windows and pointing HVAC vents away from
the ceiling.
Speak naturally without long pauses and without raising
your voice.
When speaking Phonebook names, please be aware
some phones require the last name to be spoken before
the first name. For example, “Michael Smith” may be
spoken as “Smith Michael”.
system guide
*Some jurisdictions prohibit the use of cellular telephones while drivin\
g.
1512586_14_RogueSelect_QRG_111313.indd 1311/13/13 9:04 AM
To view detailed instructional videos regarding these and other features, please go\
to www.nissanownersinfo.mobi.