set clock NISSAN SENTRA 1997 B14 / 4.G Owners Manual
[x] Cancel search | Manufacturer: NISSAN, Model Year: 1997, Model line: SENTRA, Model: NISSAN SENTRA 1997 B14 / 4.GPages: 194, PDF Size: 1.62 MB
Page 69 of 194

3Heater, air conditioner and audio system
Ventilators ..............................................................3-2
Heater and air conditioner......................................3-3
Controls ..................................................................3-3
Heater operation ....................................................3-4
Air conditioner operation (if so equipped) ..............3-5
Air flow charts.........................................................3-6Audio system ........................................................3-10
Clock-radio (if so equipped) .................................3-10
AM-FM radio with cassette player (if so
equipped) .............................................................3-11
Cassette tape operation .......................................3-13
CB radio or car phone..........................................3-15
ZX
Page 78 of 194

To turn the radio on, turn the ignition key to
ACC or ON. If you listen to the radio with the
engine not running, turn the key to the ACC
position.
Radio reception is affected by station signal
strength, distance from radio transmitter,
buildings, bridges, mountains and other ex-
ternal influences. Intermittent changes in
reception quality normally are caused by
these external influences.
CLOCK-RADIO (if so equipped)
On vehicles equipped with an AM-FM radio
and cassette player, a clock is integrated
into the audio system. For further details,
refer to Clock Operation later in this section.
AHA0626
AUDIO SYSTEM
3-10
ZX
Page 79 of 194

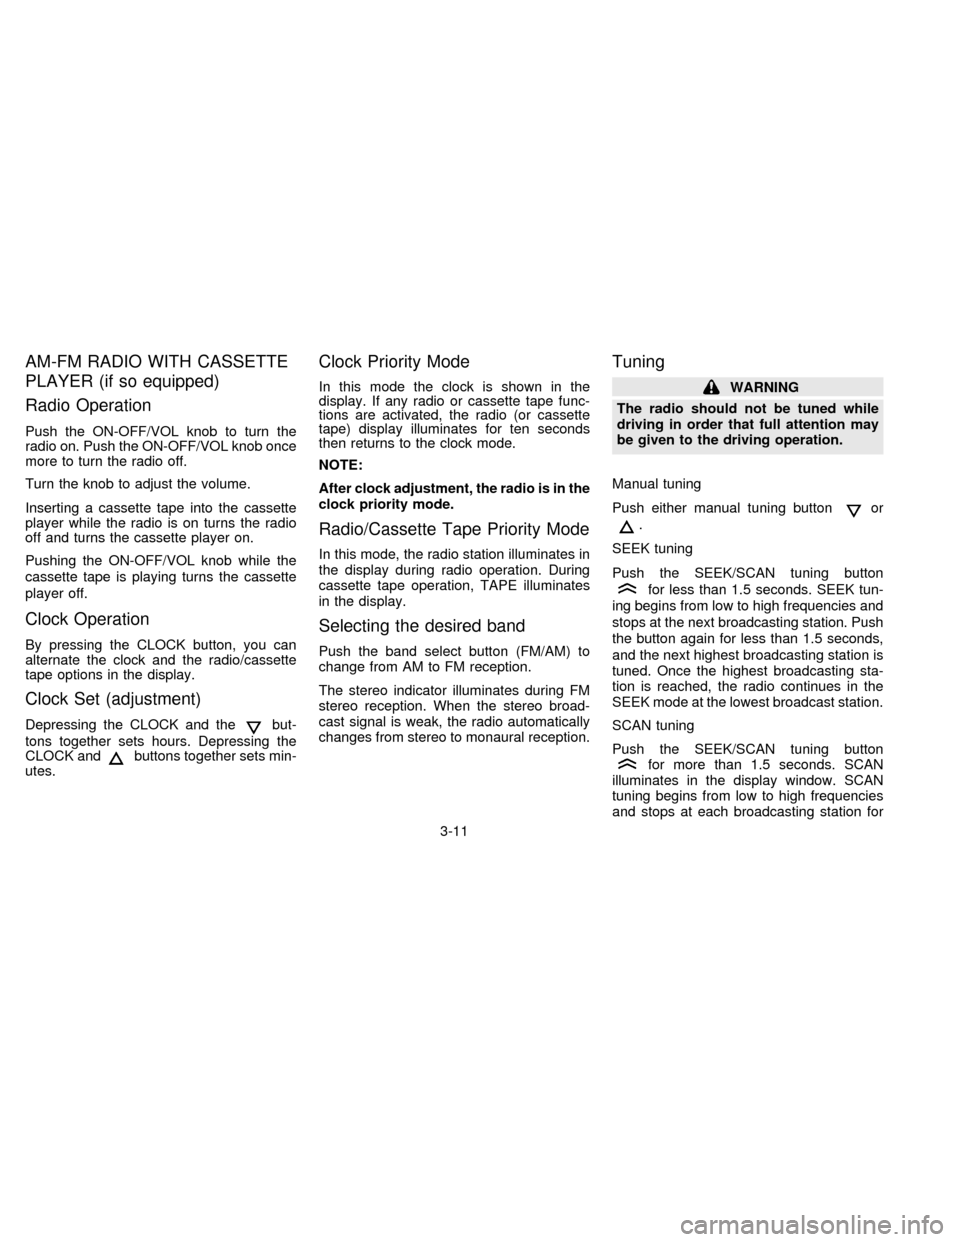
AM-FM RADIO WITH CASSETTE
PLAYER (if so equipped)
Radio Operation
Push the ON-OFF/VOL knob to turn the
radio on. Push the ON-OFF/VOL knob once
more to turn the radio off.
Turn the knob to adjust the volume.
Inserting a cassette tape into the cassette
player while the radio is on turns the radio
off and turns the cassette player on.
Pushing the ON-OFF/VOL knob while the
cassette tape is playing turns the cassette
player off.
Clock Operation
By pressing the CLOCK button, you can
alternate the clock and the radio/cassette
tape options in the display.
Clock Set (adjustment)
Depressing the CLOCK and thebut-
tons together sets hours. Depressing the
CLOCK and
buttons together sets min-
utes.
Clock Priority Mode
In this mode the clock is shown in the
display. If any radio or cassette tape func-
tions are activated, the radio (or cassette
tape) display illuminates for ten seconds
then returns to the clock mode.
NOTE:
After clock adjustment, the radio is in the
clock priority mode.
Radio/Cassette Tape Priority Mode
In this mode, the radio station illuminates in
the display during radio operation. During
cassette tape operation, TAPE illuminates
in the display.
Selecting the desired band
Push the band select button (FM/AM) to
change from AM to FM reception.
The stereo indicator illuminates during FM
stereo reception. When the stereo broad-
cast signal is weak, the radio automatically
changes from stereo to monaural reception.
Tuning
WARNING
The radio should not be tuned while
driving in order that full attention may
be given to the driving operation.
Manual tuning
Push either manual tuning button
or
.
SEEK tuning
Push the SEEK/SCAN tuning button
for less than 1.5 seconds. SEEK tun-
ing begins from low to high frequencies and
stops at the next broadcasting station. Push
the button again for less than 1.5 seconds,
and the next highest broadcasting station is
tuned. Once the highest broadcasting sta-
tion is reached, the radio continues in the
SEEK mode at the lowest broadcast station.
SCAN tuning
Push the SEEK/SCAN tuning button
for more than 1.5 seconds. SCAN
illuminates in the display window. SCAN
tuning begins from low to high frequencies
and stops at each broadcasting station for
3-11
ZX
Page 82 of 194

hubs and rewind the tape firmly
around the hubs. Loose tape may
cause tape jamming and wavering
sound quality.
cOver a period of time, the playback
head, capstan and pinch roller may
collect a tape coating residue as the
tape passes over the head. This resi-
due accumulation can cause weak or
wavering sound, and should be re-
moved periodically with a head clean-
ing tape. If the residue is not removed
periodically, the player may need to
be disassembled for cleaning.
Fast forwarding or rewinding the
tape
Push either the FF (fast forward) or REW
(rewind) button for the desired direction.
The
orsymbol illuminates in the
display. To stop the FF or REW function,
press the PLAY/STOP button.
Automatic Program Search (APS)
fast forwarding or APS rewinding
the tape
Push either the APS FF or APS REW button
while the tape is playing. The tape runs
quickly, stops, then plays the next selection.
The indicator flashes on and off while
searching for the selection. The
orsymbol illuminates in the display.
This system searches at the blank intervals
between selections. If there is a blank inter-
val within one selection or there is no inter-
val between selections, the system may not
search correctly.
Changing the direction of tape play
Push the PROG (program) select button.
Theorsymbol illuminates in
the display to indicate side of program play.
Dolby NR (noise reduction)
Push theDOLBY NR button for
Dolby NR encoded tapes to reduce high
frequency tape noise. The indicator light
comes on.
Dolby NR is manufactured under license
from Dolby Laboratories Licensing Corpora-tion. DOLBY NR and the double-D symbol
are trademarks of Dolby Laboratories Li-
censing Corporation.
If in the clock priority mode when the
button is pressed,and TAPE
illuminate in the display window for about
ten seconds. The clock mode then returns
to the display window.
Metal or chrome tape usage
The cassette player is automatically set to
high performance play when playing a metal
or chrome cassette tape. The indicator
METAL comes on when playing a metal or
chrome cassette tape.
Stopping and ejecting the cassette
tape
Push the EJECT button.
The cassette tape automatically comes out.
Manual antenna
The antenna cannot be shortened but it can
be removed. When you need to remove the
antenna, turn its base counterclockwise.
3-14
ZX
Page 189 of 194

10 Index
A
Air bag (See supplemental restraint
system) ...................................................... 2-16
Air bag warning light .......................... 1-6, 2-22
Air cleaner housing filter ............................ 7-19
Air conditioner
Air conditioner operation ........................ 3-5
Air conditioner specification label ......... 9-12
Air conditioner system refrigerant and
lubrication recommendations.................. 9-7
Heater and air conditioner controls ........ 3-3
Servicing air conditioner ......................... 3-9
Air flow charts .............................................. 3-6
Alarm system (See theft warning) ............... 1-9
Anchor point locations ............................... 2-35
Antenna (manual) ...................................... 3-14
Anti-lock brake system (ABS).................... 4-17
Anti-lock brake warning light ....................... 1-7
Ashtray (See cigarette lighter and
ashtray) ...................................................... 1-14
Audio system
AM-FM radio with cassette
player........................................... 3-11, 3-13
Automatic
Automatic power window switch .......... 1-17
Automatic transmission fluid (ATF) ...... 7-11
Driving with automatic transmission ....... 4-6B
Battery........................................................ 7-15
Before starting the engine ........................... 4-5
Belts (See drive belts) ............................... 7-17
Brake
Anti-lock brake system (ABS) .............. 4-17
Brake booster ....................................... 7-22
Brake fluid............................................. 7-14
Brake light (See stop light) ................... 7-26
Brake pedal .......................................... 7-21
Brake system ........................................ 4-17
Brake warning light ................................. 1-7
Brake wear indicators ................... 1-8, 7-22
Parking brake check ............................. 7-21
Parking brake operation ....................... 4-11
Break-in schedule ...................................... 4-14
Bulb check/instrument panel ....................... 1-5
C
Capacities and recommended fuel/
lubricants...................................................... 9-2
Cargo (See vehicle loading
information) ................................................ 9-13
Cassette player (See audio
system) ............................................. 3-11, 3-13
CB radio or car phone ............................... 3-15Check engine indicator light (See
malfunction indicator light) ........................... 1-8
Child restraints for infants and small
children ...................................................... 2-31
Child safety rear door lock .......................... 2-6
Cigarette lighter (accessory)
and ashtray ................................................ 1-14
Cleaning exterior and interior ...................... 6-2
Clock-radio ................................................. 3-11
Clutch
Clutch pedal.......................................... 7-23
Cold weather driving .................................. 4-19
Controls
Audio controls ....................................... 3-11
Heater and air conditioner controls ........ 3-3
Coolant
Capacities and recommended fuel/
lubricants ................................................ 9-2
Changing engine coolant........................ 7-6
Checking engine coolant level ............... 7-5
Engine coolant temperature gauge ........ 1-3
Corrosion protection .................................... 6-5
Cruise control............................................. 4-12
Cup holder ................................................. 1-15
ZX