steering NISSAN SENTRA 2016 B17 / 7.G Quick Reference Guide
[x] Cancel search | Manufacturer: NISSAN, Model Year: 2016, Model line: SENTRA, Model: NISSAN SENTRA 2016 B17 / 7.GPages: 32, PDF Size: 2.35 MB
Page 2 of 32
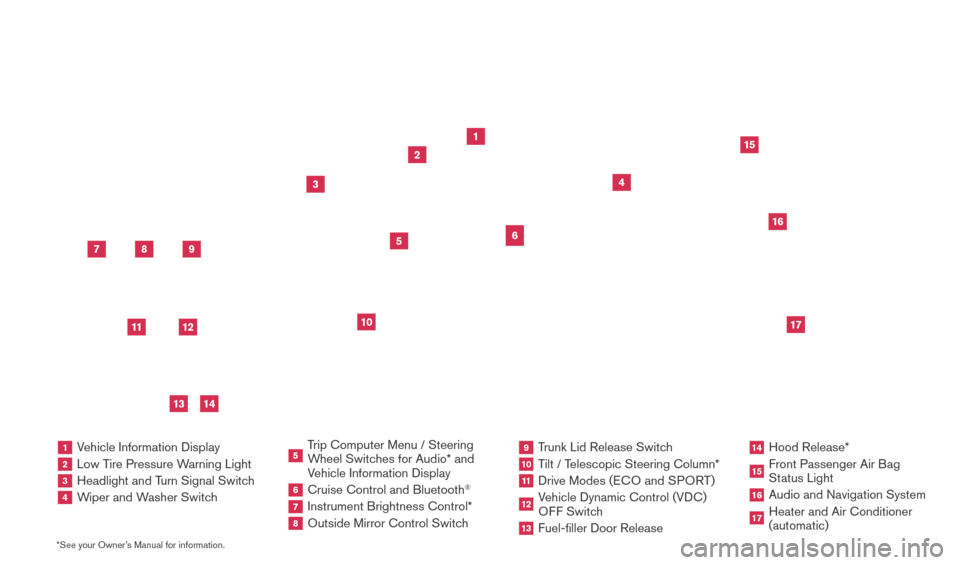
*See your Owner’s Manual for information.
2
1
3
10
15
1 Vehicle Information Display2 Low Tire Pressure Warning Light3 Headlight and Turn Signal Switch4 Wiper and Washer Switch
5 Trip Computer Menu / Steering
Wheel Switches for Audio* and
Vehicle Information Display 6 Cruise Control and Bluetooth
®
7 Instrument Brightness Control*8 Outside Mirror Control Switc h
9 Trunk Lid Release Switch10 Tilt / Telescopic Steering Column*11 Drive Modes (ECO and SPOR T)12 Vehicle Dynamic Control (VDC)
OFF Switch13 Fuel-filler Door Release
14 Hood Release*
15 Front Passenger Air B ag
Status Light16 Audio and Navigation System
17 Heater and Air Conditioner
(automatic)
6
5
16
17
4Behind
steering wheel
8
7
9
11
12
14
13
1938277_16c_Sentra_US_pQRG_050516.indd 35/6/16 10:26 AM
Page 8 of 32
6
NEW SYSTEM FEATURES
SiriusXM TRAVEL LINK* AND SiriusXM TRAFFIC*
(if so equipped)
Your vehicle’s Navigation System is equipped with SiriusXM Travel Link and SiriusXM
Traffic capabilities.
SiriusXM Travel Link provides access to real- time weather information and forecasts, nearby
fuel prices, movie listings, sports scores and
stock quotes.
SiriusXM Traffic provides information that may help to avoid delays due to traffic incidents.
Traffic jams, roadwork, road closures around the
current location, etc., are represented graphically
on the map by icons depicting the nature of the
event. Incidents on the route are automatically
displayed as they are approached.
*These features, SiriusXM® Satellite Radio, Travel Link and Traffic, require an active subscription. Multiple subscriptions
may be necessary to activate the various features.
For more information, refer to the “Navigation (section 4)” and the “General system information (section 6)” of
your Navigation System Owner’s Manual.
SIRI® EYES FREE1 (if so equipped)
If you have a compatible iPhone®,2 with Siri®,
you can link your iPhone® to the Siri® Eyes Free
function in your vehicle’s Bluetooth®,3 system.
If you have a compatible iPhone® connected
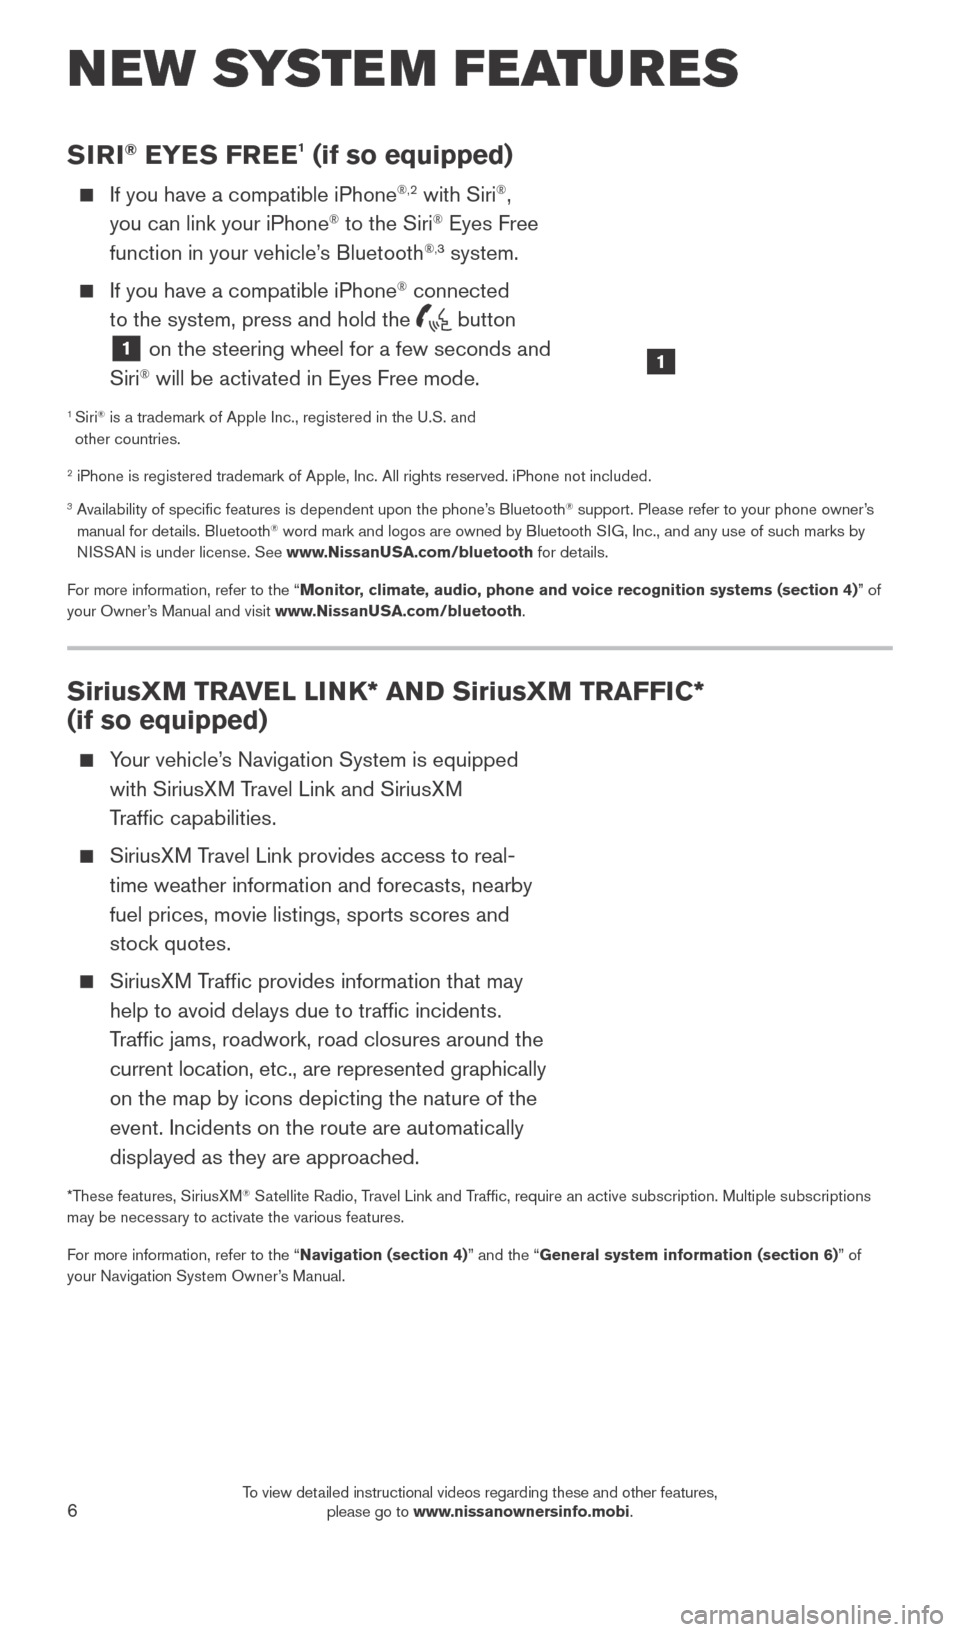
to the system, press and hold the
button
1 on the steering wheel for a few seconds and
Siri® will be activated in Eyes Free mode.
1 Siri® is a trademark of Apple Inc., registered in the U.S. and
other countries.
2 iPhone is registered trademark of Apple, Inc. All rights reserved. iPhon\
e not included.
3 Availability of specific features is dependent upon the phone’s Bluetooth® support. Please refer to your phone owner’s
manual for details. Bluetooth® word mark and logos are owned by Bluetooth SIG, Inc., and any use of such marks by
NISSAN is under license. See www.NissanUSA.com/bluetooth for details.
For more information, refer to the “Monitor, climate, audio, phone and voice recognition systems (section 4) ” of
your Owner’s Manual and visit www.NissanUSA.com/bluetooth.
1
1938277_16c_Sentra_US_pQRG_050516.indd 65/6/16 10:27 AM
To view detailed instructional videos regarding these and other features, please go to www.nissanownersinfo.mobi.
Page 10 of 32
8
LOOSE FUEL CAP
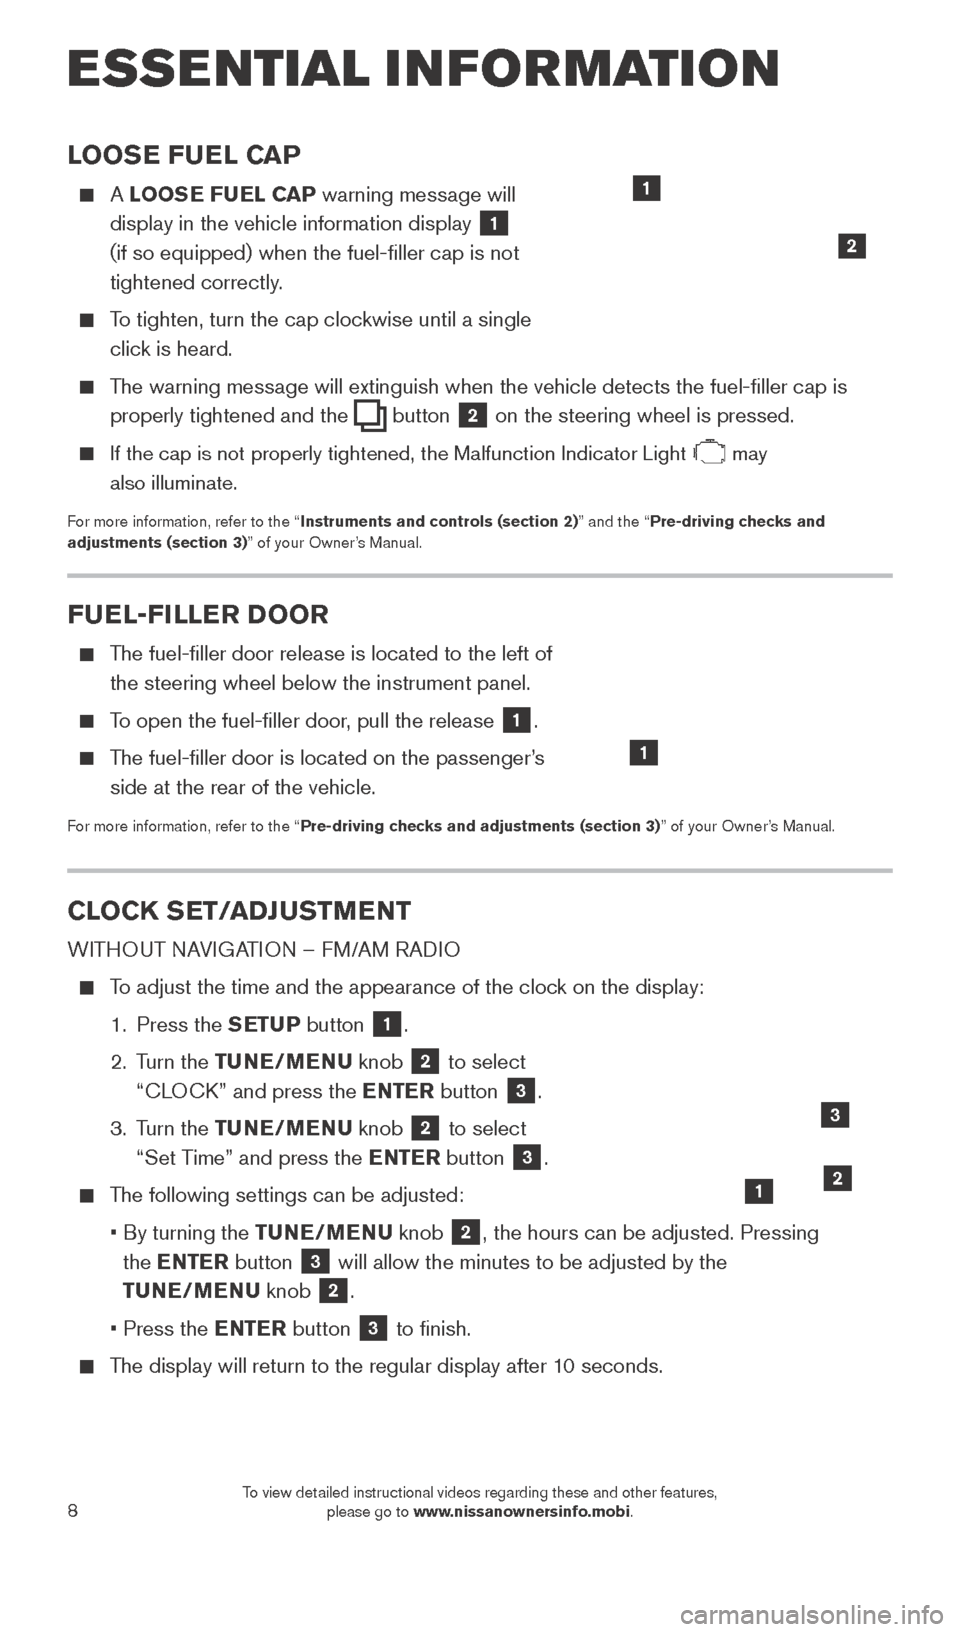
A LOOSE FUEL CAP warning message will
display in the vehicle information display
1
(if so equipped) when the fuel-filler cap is not
tightened correctly.
To tighten, turn the cap clockwise until a single click is heard.
The warning message will extinguish when the vehicle detects the fuel-filler cap is properly tightened and the
button 2 on the steering wheel is pressed.
If the cap is not properly tightened, the Malfunction Indicator Light may
also illuminate.
For more information, refer to the “Instruments and controls (section 2)” and the “Pre-driving checks and
adjustments (section 3)” of your Owner’s Manual.
1
2
FUEL-FILLER DOOR
The fuel-filler door release is located to the left of the steering wheel below the instrument panel.
To open the fuel-filler door, pull the release 1.
The fuel-filler door is located on the passenger’s side at the rear of the vehicle.
For more information, refer to the “Pre-driving checks and adjustments (section 3)” of your Owner’s Manual.
1
CLOCK SET/ADJUSTMENT
WITHOUT NAVIGATION – FM/AM RADIO
To adjust the time and the appearance of the clock on the display:
1.
Press the
SETUP button
1.
2.
Turn the TUNE/MENU knob
2 to select
“CLOCK” and press the ENTER button
3.
3.
Turn the TUNE/MENU knob
2 to select
“Set Time” and press the ENTER button 3.
The following settings can be adjusted:
•
By turning the
TUNE/MENU knob
2, the hours can be adjusted. Pressing
the ENTER button
3 will allow the minutes to be adjusted by the
TUNE/MENU knob
2.
• Press the
ENTER button
3 to finish.
The display will return to the regular display after 10 seconds.
ESSE NTIAL I N FOR MATION
12
3
1938277_16c_Sentra_US_pQRG_050516.indd 85/6/16 10:27 AM
To view detailed instructional videos regarding these and other features, please go to www.nissanownersinfo.mobi.
Page 12 of 32
10
TRUNK LID RELEASE SWITCH
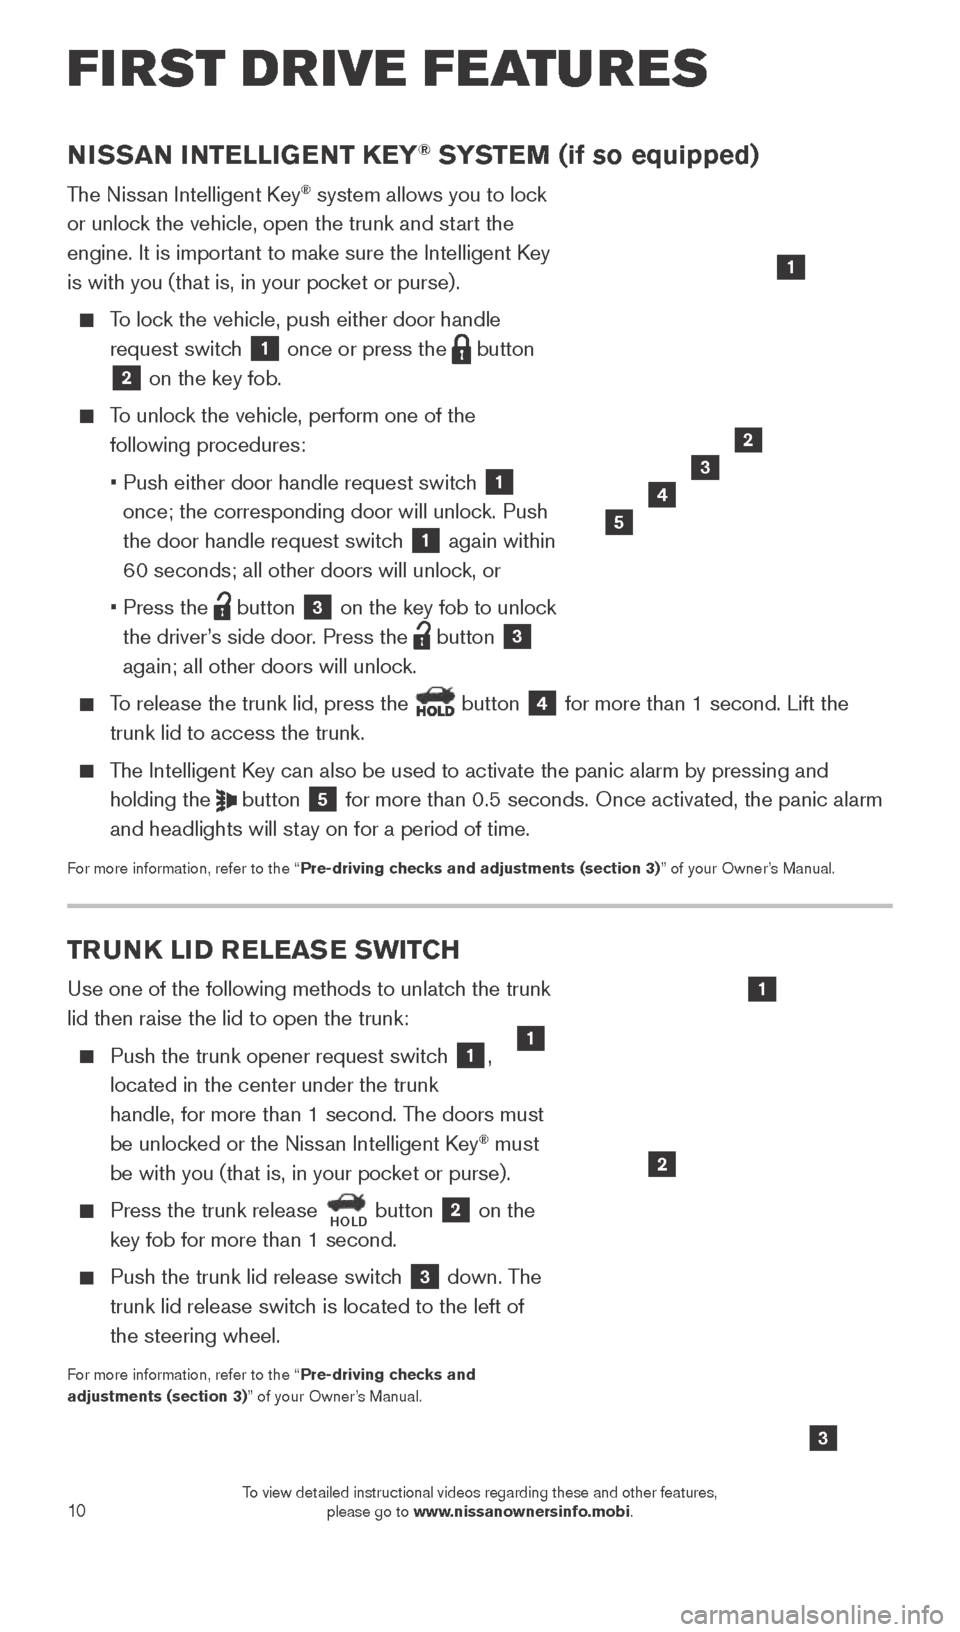
Use one of the following methods to unlatch the trunk
lid then raise the lid to open the trunk:
Push the trunk opener request switch 1,
located in the center under the trunk
handle, for more than 1 second. The doors must
be unlocked or the Nissan Intelligent Key
® must
be with you (that is, in your pocket or purse).
Press the trunk release HOLD button 2 on the
key fob for more than 1 second.
Push the trunk lid release switc h 3 down. The
trunk lid release switch is located to the left of
the steering wheel.
For more information, refer to the “Pre-driving checks and
adjustments (section 3)” of your Owner’s Manual.
3
NISSAN INTELLIGENT KEY® SYSTEM (if so equipped)
The Nissan Intelligent Key® system allows you to lock
or unlock the vehicle, open the trunk and start the
engine. It is important to make sure the Intelligent Key
is with you (that is, in your pocket or purse).
To lock the vehicle, push either door handle request switch
1 once or press the button
2 on the key fob.
To unlock the vehicle, perform one of the following procedures:
•
Push either door handle request switc
h
1
once; the corresponding door will unlock. Push
the door handle request switch
1 again within
60 seconds; all other doors will unlock, or
•
Press the button 3 on the key fob to unlock
the driver’s side door. Press the
button 3
again; all other doors will unlock.
To release the trunk lid, press the button 4 for more than 1 second. Lift the
trunk lid to access the trunk.
The Intelligent Key can also be used to activate the panic alarm by pressing and holding the
button 5 for more than 0.5 seconds. Once activated, the panic alarm
and headlights will stay on for a period of time.
For more information, refer to the “Pre-driving checks and adjustments (section 3)” of your Owner’s Manual.
1
2
3
4
2
5
1
FIRST DRIVE FEATURES
1
1938277_16c_Sentra_US_pQRG_050516.indd 105/6/16 10:28 AM
To view detailed instructional videos regarding these and other features, please go to www.nissanownersinfo.mobi.
Page 19 of 32
17
CRUISE CONTROL
The cruise control system enables you to set a constant cruising speed once the vehicle has
reached 25 mph (40 km/h).
The system will automatically maintain the set speed until you tap the brake pedal, accelerate,
cancel or turn the system off.
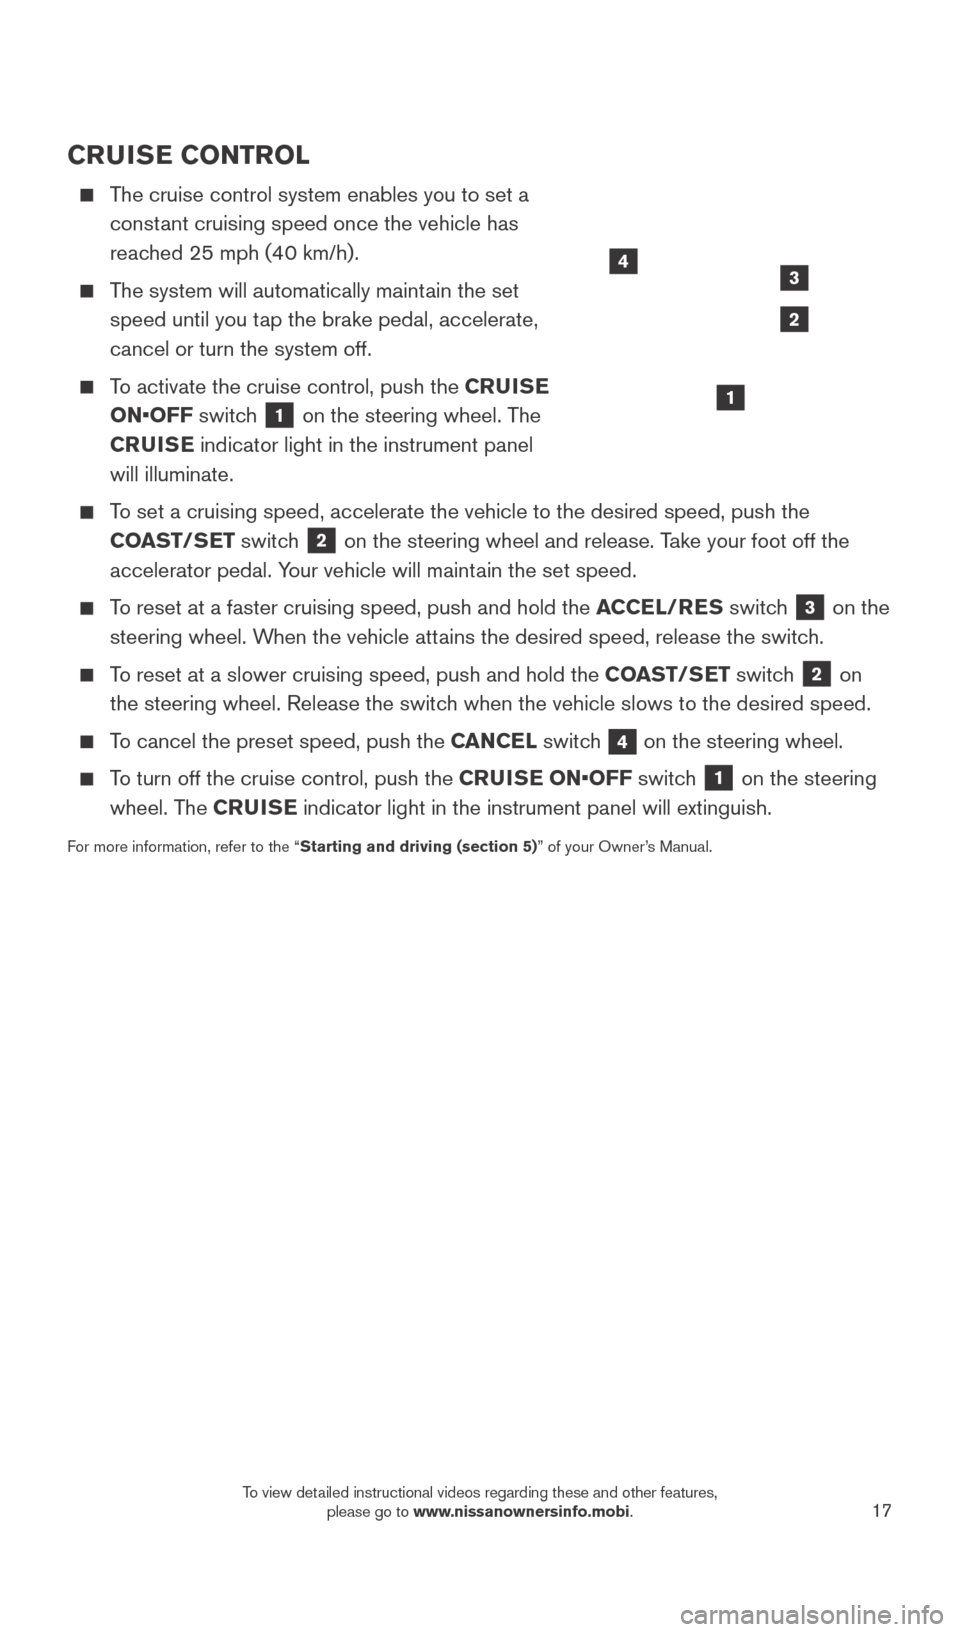
To activate the cruise control, push the CRUISE
ON•OFF switch
1 on the steering wheel. The
CRUISE indicator light in the instrument panel
will illuminate.
To set a cruising speed, accelerate the vehicle to the desired speed, pus\
h the COAST/SET switch
2 on the steering wheel and release. Take your foot off the
accelerator pedal. Your vehicle will maintain the set speed.
To reset at a faster cruising speed, push and hold the ACCEL/RES switch 3 on the
steering wheel. When the vehicle attains the desired speed, release the switch.
To reset at a slower cruising speed, push and hold the COAST/SET switch 2 on
the steering wheel. Release the switch when the vehicle slows to the desired speed.
To cancel the preset speed, push the CANCEL switch 4 on the steering wheel.
To turn off the cruise control, push the CRUISE ON•OFF switch 1 on the steering
wheel. The CRUISE indicator light in the instrument panel will extinguish.
For more information, refer to the “Starting and driving (section 5)” of your Owner’s Manual.
1
4
2
3
1938277_16c_Sentra_US_pQRG_050516.indd 175/6/16 10:29 AM
To view detailed instructional videos regarding these and other features, please go to www.nissanownersinfo.mobi.
Page 20 of 32
18
FIRST DRIVE FEATURES
INTELLIGENT CRUISE CONTROL (ICC) (if so equipped)
VEHICLE-TO-VEHICLE DISTANCE CONTROL MODE
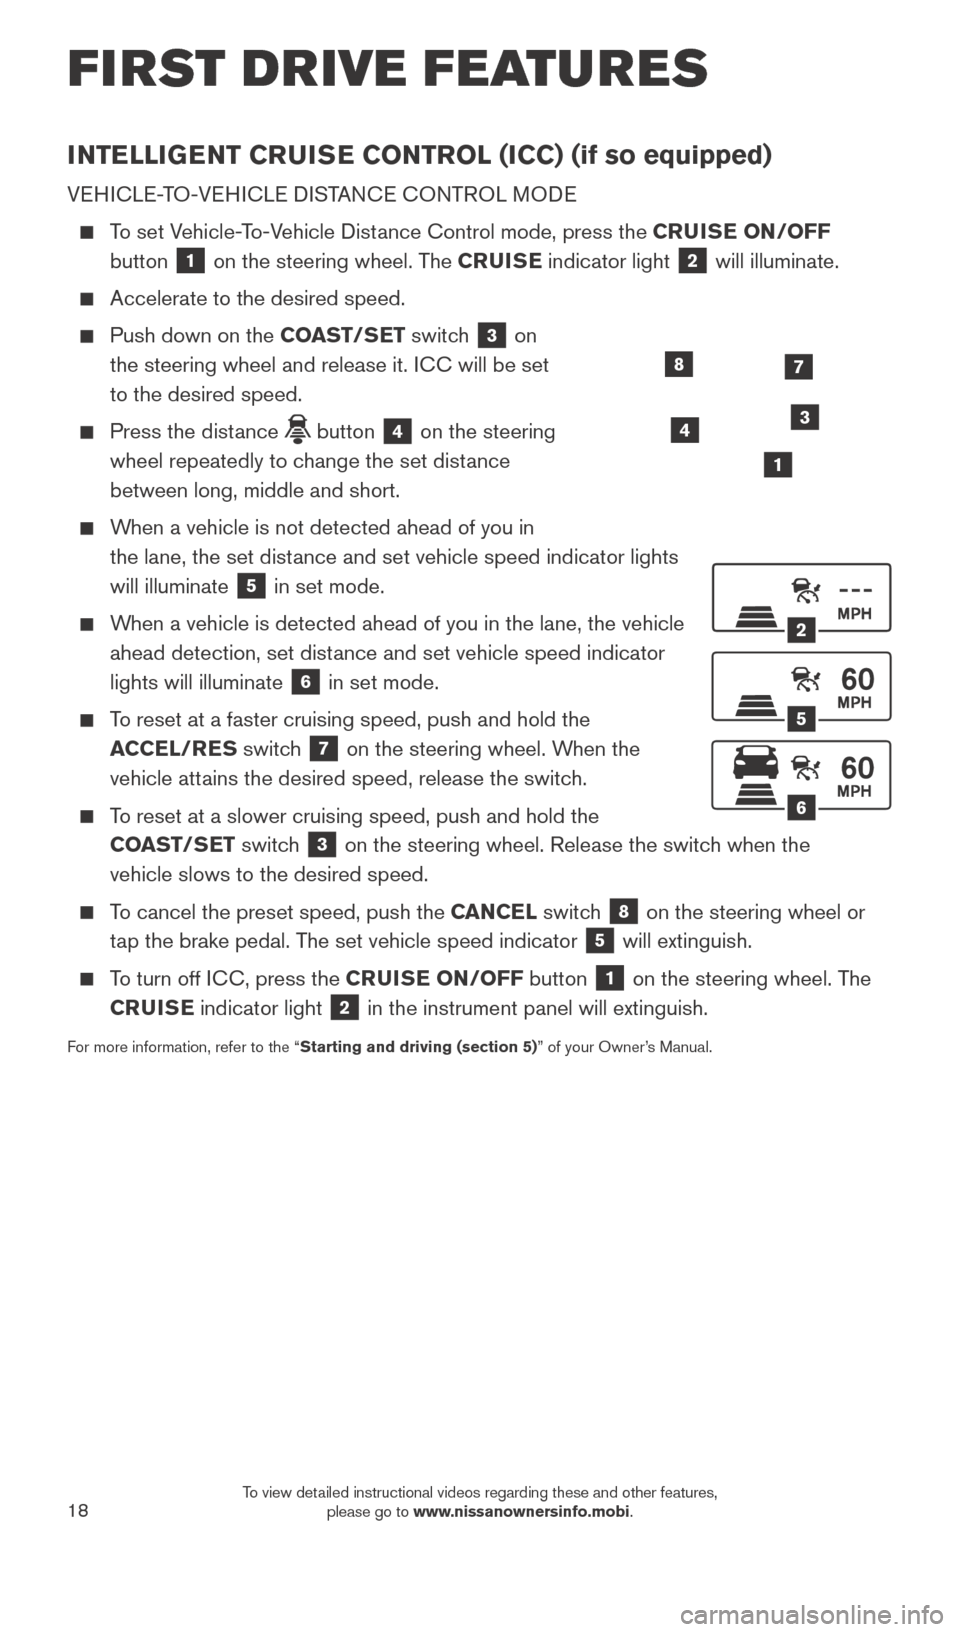
To set Vehicle-To-Vehicle Distance Control mode, press the CRUISE ON/OFF button
1 on the steering wheel. The CRUISE indicator light 2 will illuminate.
Accelerate to the desired speed.
Push down on the COAST/SET switch 3 on
the steering wheel and release it. ICC will be set
to the desired speed.
Press the dist ance button 4 on the steering
wheel repeatedly to change the set distance
between long, middle and short.
When a vehicle is not detected ahead of you in the lane, the set distance and set vehicle speed indicator lights
will illuminate
5 in set mode.
When a vehicle is detected ahead of you in the lane, the vehicle ahead detection, set distance and set vehicle speed indicator
lights will illuminate
6 in set mode.
To reset at a faster cruising speed, push and hold the ACCEL/RES switch
7 on the steering wheel. When the
vehicle attains the desired speed, release the switch.
To reset at a slower cruising speed, push and hold the COAST/SET switch
3 on the steering wheel. Release the switch when the
vehicle slows to the desired speed.
To cancel the preset speed, push the CANCEL switch 8 on the steering wheel or
tap the brake pedal. The set vehicle speed indicator
5 will extinguish.
To turn off ICC, press the CRUISE ON/OFF button 1 on the steering wheel. The
CRUISE indicator light
2 in the instrument panel will extinguish.
For more information, refer to the “Starting and driving (section 5)” of your Owner’s Manual.
2
5
6
1
4
87
3
1938277_16c_Sentra_US_pQRG_050516.indd 185/6/16 10:29 AM
To view detailed instructional videos regarding these and other features, please go to www.nissanownersinfo.mobi.
Page 21 of 32
19
SYSTEM GUIDE
VEHICLE INFORMATION DISPLAY (if so equipped)
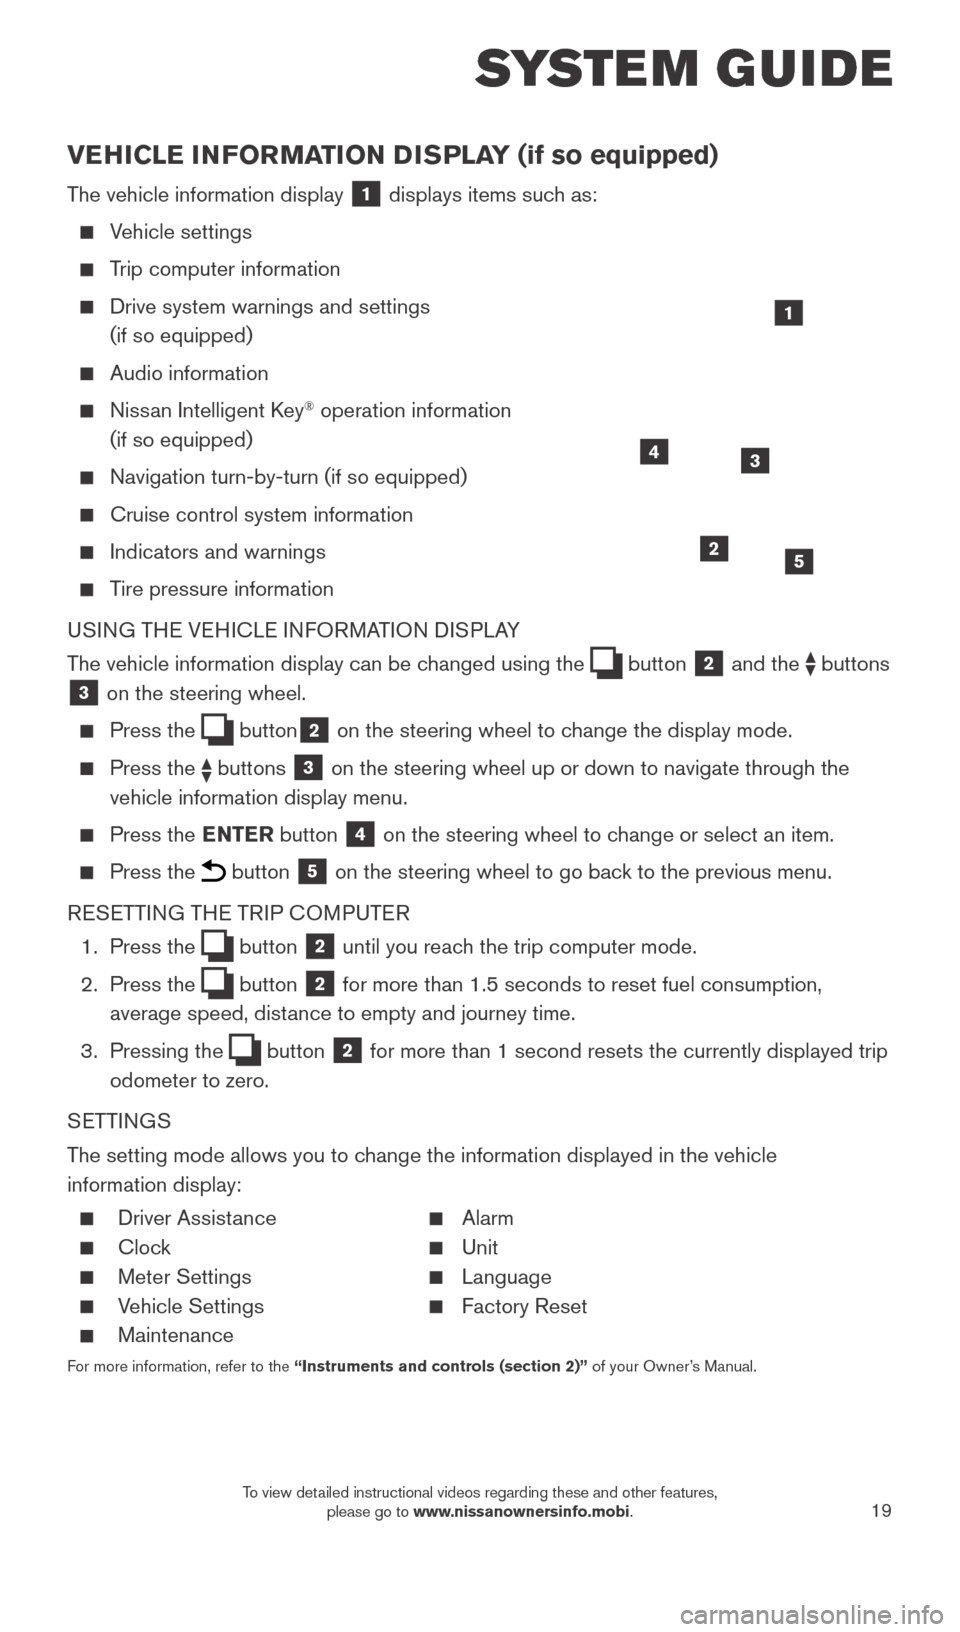
The vehicle information display 1 displays items such as:
Vehicle settings
Trip computer information
Drive system warnings and settings
(if so equipped)
Audio information
Nissan Intelligent Key® operation information
(if so equipped)
Navigation turn-by-turn (if so equipped)
Cruise control system information
Indicators and warnings
Tire pressure information
USING THE VEHICLE INFORMATION DISPLAY
The vehicle information display can be changed using the
button 2 and the buttons 3 on the steering wheel.
Press the button2 on the steering wheel to change the display mode.
Press the buttons 3 on the steering wheel up or down to navigate through the
vehicle information display menu.
Press the ENTER button 4 on the steering wheel to change or select an item.
Press the button 5 on the steering wheel to go back to the previous menu.
RESETTING THE TRIP COMPUTER
1.
Press the
button 2 until you reach the trip computer mode.
2.
Press the
button 2 for more than 1.5 seconds to reset fuel consumption,
average speed, distance to empty and journey time.
3.
Pressing the
button 2 for more than 1 second resets the currently displayed trip
odometer to zero.
SETTINGS
The setting mode allows you to change the information displayed in the vehicle
information display:
Driver Assist ance Alarm
Clock Unit
Meter Settings Language
Vehicle Settings Factory Reset
Maintenance
For more information, refer to the “Instruments and controls (section 2)” of your Owner’s Manual.
2
1
34
5
1938277_16c_Sentra_US_pQRG_050516.indd 195/6/16 10:29 AM
To view detailed instructional videos regarding these and other features, please go to www.nissanownersinfo.mobi.
Page 24 of 32
22
BLUETOOTH® HANDS-FREE PHONE SYSTEM1
A cellular telephone should not be used while
driving so full attention may be given to
vehicle operation
2.
SYSTEM OPERATING TIPS
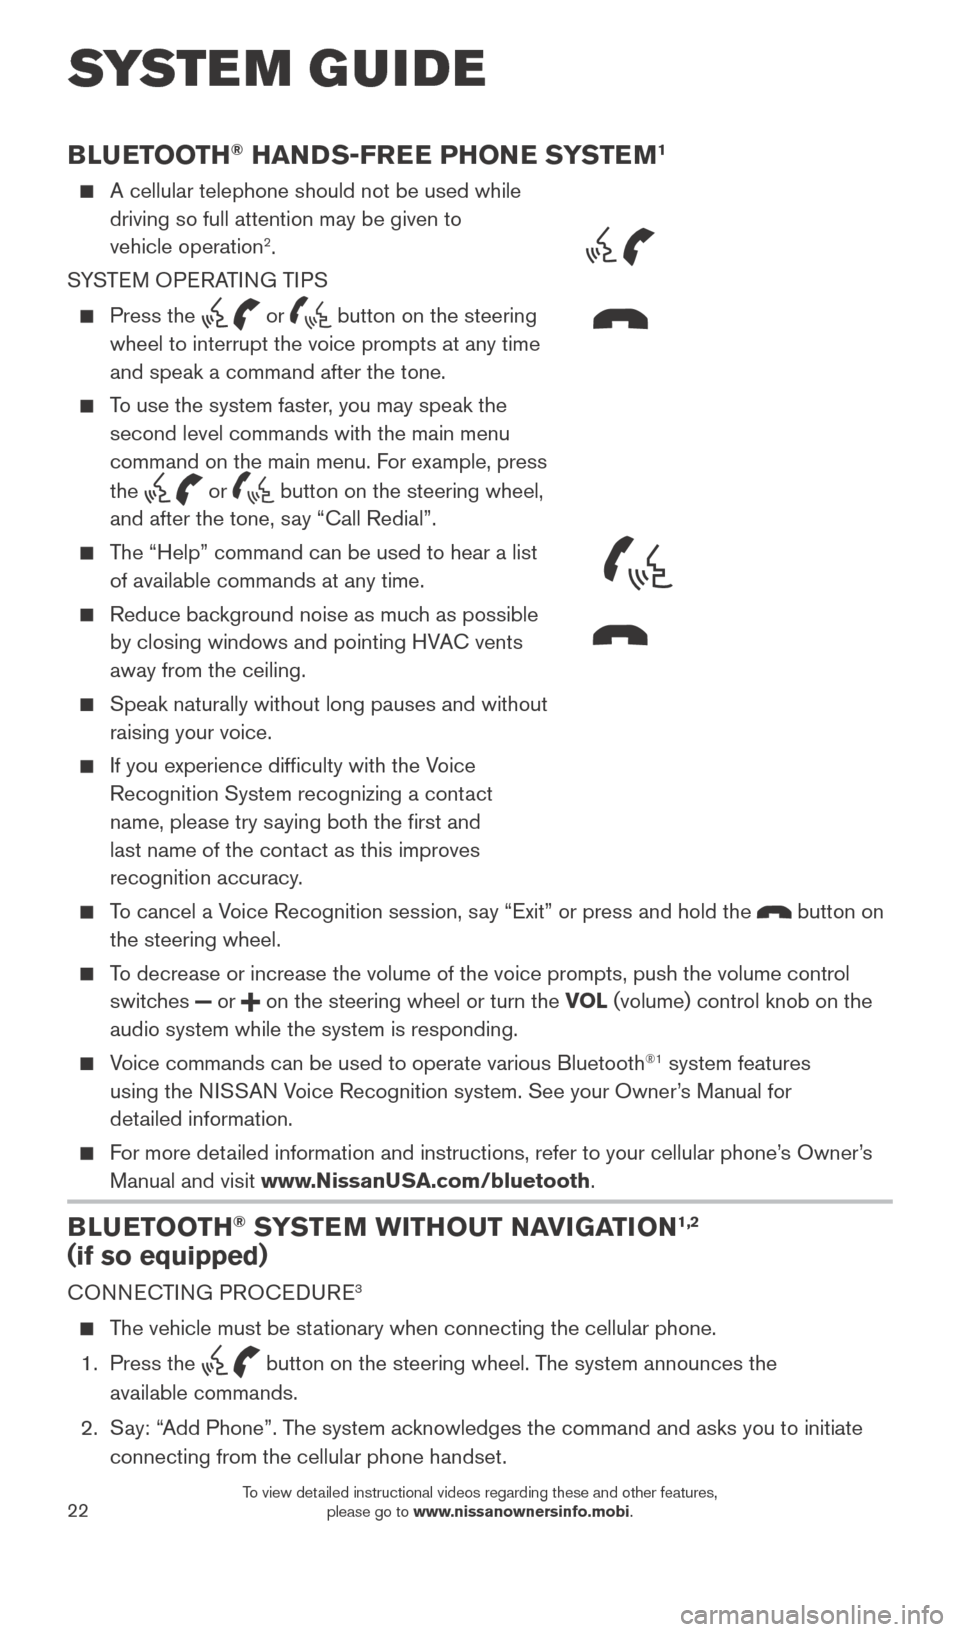
Press the or button on the steering
wheel to interrupt the voice prompts at any time
and speak a command after the tone.
To use the system faster, you may speak the second level commands with the main menu
command on the main menu. For example, press
the
or button on the steering wheel,
and after the tone, say “Call Redial”.
The “Help” command can be used to hear a list of available commands at any time.
Reduce bac kground noise as much as possible
by closing windows and pointing HVAC vents
away from the ceiling.
Speak naturally without long pauses and without
raising your voice.
If you experience difficulty with the V oice
Recognition System recognizing a contact
name, please try saying both the first and
last name of the contact as this improves
recognition accuracy.
To cancel a Voice Recognition session, say “Exit” or press and hold the button on
the steering wheel.
To decrease or increase the volume of the voice prompts, push the volume \
control switches
or on the steering wheel or turn the VOL (volume) control knob on the
audio system while the system is responding.
Voice commands can be used to operate various Bluetooth®1 system features
using the NISSAN Voice Recognition system. See your Owner’s Manual for
detailed information.
For more detailed information and instructions, refer to your cellular phone’s Owner’s Manual and visit www.NissanUSA.com/bluetooth.
BLUETOOTH® SYSTEM WITHOUT NAVIGATION1,2
(if so equipped)
CONNECTING PROCEDURE3
The vehicle must be stationary when connecting the cellular phone.
1.
Press the
button on the steering wheel. The system announces the
available commands.
2.
S
ay: “Add Phone”. The system acknowledges the command and asks you to initiate
connecting from the cellular phone handset.
SYSTEM GUIDE
Type B (if so equipped)
Type A (if so equipped)
MICROPHONES
1938277_16c_Sentra_US_pQRG_050516.indd 225/6/16 10:29 AM
To view detailed instructional videos regarding these and other features, please go to www.nissanownersinfo.mobi.
Page 25 of 32
23
1 Some jurisdictions prohibit the use of cellular telephones while driving\
. 2 Availability of specific features is dependent upon the phone’s Bluetooth® support. Please refer to your phone owner’s
manual for details. Bluetooth® word mark and logos are owned by Bluetooth SIG, Inc., and any use of such marks by
NISSAN is under license. See www.NissanUSA.com/bluetooth for details.
3 Laws in some jurisdictions may restrict the use of “T ext-to-Speech”. Some of the applications and features, such
as social networking and texting, may also be restricted. Check local regulations for any requirements before using
these features.
Compatible smartphone required. Text rates and/or data usage may apply.
To view detailed instructional videos regarding these and other features, please go\
to www.nissanownersinfo.mobi.
For more information, refer to the “Monitor, climate, audio, phone and voice recognition systems (section 4) ” of
your Owner’s Manual.
3. Initiate connecting from the cellular phone:
•
T
he connecting procedure varies according to each cellular phone model.
For detailed connecting instructions and a list of compatible cellular phones, \
please visit www.NissanUSA.com/bluetooth.
• When prompted, confirm that the PIN on the display matches the PIN shown on your
device. If you are requested to manually input a PIN, please enter “1234” from your handset.
PHONEBOOK SETUP
The phonebook stores up to 1,000 entries for each cellular phone paired with the system.
Depending on your cellular phone, the system may automatically download \
your
cellular phone’ s entire phonebook to the vehicle’s Bluetooth®,2 system.
MAKING A CALL FROM THE PHONEBOOK
1.
Press the button on the steering wheel. 2.
After waiting for the tone, s ay “Call”.
3.
After the next tone, speak the name of a phonebook entry
. For example,
“Michael Smith”.
4.
Confirm that the correct name is recognized by s
aying “Dial” after the tone.
MAKING A CALL BY PHONE NUMBER
1.
Press the button on the steering wheel. A tone will sound.
2.
S
ay: “Call”. The system acknowledges the command and announces the next set of
available commands.
3.
S
ay: “Phone Number”. The system acknowledges the command and announces the
next set of available commands.
4.
S
ay the number you wish to call starting with the area code in single digit format.
5.
W
hen you have finished speaking the phone number, the system repeats it back and
announces the available commands.
6.
S
ay: “Dial”. The system acknowledges the command and makes the call.
RECEIVING/ENDING A CALL
When you receive a phone call, a ring tone sounds through the audio syste\
m.
To accept the call, press the button on the steering wheel.
To reject the call, press the button on the steering wheel.
To hang-up the phone at the end of a call or to disconnect while making a\
call, press the button on the steering wheel.
1938277_16c_Sentra_US_pQRG_050516.indd 235/6/16 10:29 AM
To view detailed instructional videos regarding these and other features, please go to www.nissanownersinfo.mobi.
Page 27 of 32

25
MAKING A CALL
1.
Press the
button on the control panel. The “Phone” menu 5 will appear on
the display.
2.
Select one of the following options to make a call:
•
“Phonebook”: Select the name from an entry stored in the vehicle p\
honebook.
•
“Call Lists”: Select the name from the incoming, outgoing or misse\
d call history
.
• “Redial”: Dial the last outgoing call from the vehicle.
• : Input the phone number manually using the keypad displayed on the scr\
een.
RECEIVING A CALL
To accept the incoming call, either:
•
Press the button on the steering wheel, or
• Select the icon on the screen.
To reject the incoming call, either:
•
Press the button on the steering wheel, or
• Select the icon on the screen.
To end a phone call, either:
•
Press the button on the steering wheel, or
• Select the icon on the screen.
1 Some jurisdictions prohibit the use of cellular telephones while driving\
. 2 Availability of specific features is dependent upon the phone’s Bluetooth® support. Please refer to your phone owner’s
manual for details. Bluetooth® word mark and logos are owned by Bluetooth SIG, Inc., and any use of such marks by
NISSAN is under license. See www.NissanUSA.com/bluetooth for details.
3 Laws in some jurisdictions may restrict the use of “T ext-to-Speech”. Some of the applications and features, such
as social networking and texting, may also be restricted. Check local regulations for any requirements before using these features.
Compatible smartphone required. Text rates and/or data usage may apply.
To view detailed instructional videos regarding these and other features, please go\
to www.nissanownersinfo.mobi.
For more information, refer to the “Monitor, climate, audio, phone and voice recognition systems (section 4) ” of
your Owner’s Manual.
1938277_16c_Sentra_US_pQRG_050516.indd 255/6/16 10:30 AM
To view detailed instructional videos regarding these and other features, please go to www.nissanownersinfo.mobi.