oil filter NISSAN TIIDA 2010 Service Service Manual
[x] Cancel search | Manufacturer: NISSAN, Model Year: 2010, Model line: TIIDA, Model: NISSAN TIIDA 2010Pages: 3745, PDF Size: 73.67 MB
Page 2507 of 3745

EM-148
< SERVICE INFORMATION >[MR18DE]
OIL PAN
9. Apply the sealant without breaks to the specified location using
Tool.
Use Genuine Silicone RTV Sealant or equivalent. Refer to
GI-42, "
Recommended Chemical Product and Sealant".
10. Tighten bolts in numerical order as shown.
11. Install oil filter with the following procedure:
a. Remove foreign materials adhering to the oil filter installation surface.
b. Apply new engine oil to the oil seal contact surface of new oil fil- ter.
c. Screw oil filter manually until it touches the installation surface, then tighten it by 2/3 turn. Or tighten to specification.
12. Installation of the remaining components is in the reverse order of removal. Tool number WS39930000 ( – )
1 : Oil pan (lower)
A : Liquid gasket
: Engine outside
PBIC4590E
: Engine front
PBIC3146J
Oil filter: : 17.7 N·m (1.8 kg-m, 13 ft-lb)
SMA229B
Revision: January 20102010 Versa
Page 2533 of 3745

EM-174
< SERVICE INFORMATION >[MR18DE]
CAMSHAFT
4. Clean the mating area of intake valve timing control solenoid
valve. Insert a clean shop cloth (with no oil adhesion) into the oil
hole (A) of the cylinder head.
5. Install engine mounting bracket (RH), engine mounting insulator, and torque rod (RH) under the Step 4 condition. (With intake
valve timing control solenoid valve removed, and a shop cloth
inserted into the oil hole.) Refer to EM-191, "
Component".
6. Crank engine, and then make sure that engine oil comes out from intake valve timing control solenoid valve hole (A). End cranking after checking.
• Check engine oil leakage by oil amount adhered to the shop cloth inserted into the oil hole.
WARNING:
• Be careful not to touch rotating parts (drive be lts, idler pulley, and crankshaft pulley, etc.).
• Prevent splashing by using a shop cloth so as to prevent the worker from injury from engine oil
and so as to prevent engi ne oil contamination.
CAUTION:
• Do not perform cranking without installing right engine mount bracket, right engine mount insu-
lator, and right torque rod.
• Prevent splashing by using a shop cloth so as to prevent engine oil from being splashed to
engine and vehicle. Especially, be careful not to apply engine oil to rubber parts of drive belts,
engine mounting insulator, etc. Wipe engi ne oil off immediately if it is splashed.
7. Perform the following inspection if engine oil does not come out from intake valve timing control solenoid valve oil hole of the cylinder head.
• Remove oil filter (for intake valve timing control), and then clean it. Refer to EM-195, "
Component".
• Clean oil groove between oil strainer and intake valve timing control solenoid valve. Refer to LU-16
.
8. Remove components between intake valve timing c ontrol solenoid valve and camshaft sprocket (INT),
and then check each oil groove for clogging.
• Clean oil groove if necessary. Refer to LU-16
.
9. Installation of the remaining components is in the reverse order of removal
Valve ClearanceINFOID:0000000005398133
INSPECTION
Perform inspection as follows after removal, installation or replacement of camshaft or valve-related parts, or if
there is unusual engine conditions regarding valve clearance.
1. Remove rocker cover. Refer to EM-149
.
2. Measure the valve clearance with the following procedure:
a. Set No. 1 cylinder at TDC of its compression stroke. • Rotate crankshaft pulley (1) clockwise and align TDC mark (no paint) (B) to timing indicator (A) on front
cover.
1 : Front cover
:Vehicle front
WBIA0781E
C : White paint mark (Not use for service)
PBIC3960E
Revision: January 20102010 Versa
Page 2554 of 3745

CYLINDER BLOCKEM-195
< SERVICE INFORMATION > [MR18DE]
C
D
E
F
G H
I
J
K L
M A
EM
NP
O
CYLINDER BLOCK
ComponentINFOID:0000000005398145
1. Cylinder block
2. O-ring 3. Crankshaft position sensor (POS)
4. Crankshaft position sensor (POS)
cover
5.Oil filter (for intake valve timing con-
trol)
6. Knock sensor
AWBIA0749GB
Revision: January 20102010 Versa
Page 2556 of 3745

CYLINDER BLOCKEM-197
< SERVICE INFORMATION > [MR18DE]
C
D
E
F
G H
I
J
K L
M A
EM
NP
O
CAUTION:
• Avoid impacts such as a dropping.
• Never disassemble.
• Keep it away from metal particles.
• Never place sensor in a location wher
e it is exposed to magnetism.
8. Remove oil filter (for intake valve timing control).
9. Remove pilot converter (1) using Tool (A). (A/T or CVT models)
NOTE:
M/T models have no pilot converter.
10. Position crankshaft pin corresponding to connecting rod to be removed onto the bottom dead center. NOTE:
Before removing piston and connecting rod assembly, check the connecting rod side clearance. Refer to
EM-212, "
Inspection After Disassembly".
11. Remove connecting rod cap.
12. Using a suitable tool, push piston and connecting rod assembly out to the cylinder head side.
CAUTION:
• Be careful not to damage matching surface with connect-ing rod cap.
• Be careful not to damage the cylinder wall and crankshaft pin, resulting from an inte rference of the connecting rod
big end.
13. Remove connecting rod bearings. CAUTION:
When removing them, note the installation position. Keep them in the correct order.
14. Remove piston rings from piston. • Before removing piston rings, check the piston ring side clearance. Refer to EM-212, "
Inspection After
Disassembly".
15. Using a suitable tool (A) remove piston rings. CAUTION:
• When removing piston rings, be careful not to damage thepiston.
• Be careful not to damage piston rings by expanding them excessively.Tool number :ST16610001 (J-23907)
PBIC3229J
PBIC0259E
PBIC3233J
Revision: January 20102010 Versa
Page 2563 of 3745

EM-204
< SERVICE INFORMATION >[MR18DE]
CYLINDER BLOCK
26. Install flywheel (M/T models) or drive plate (1) (A/T or CVT mod-
els).
• Secure crankshaft using Tool (A), and tighten bolts crosswiseover several times.
NOTE:
A/T model shown CVT and M/T similar.
• Install pilot converter (3), drive plate (1) and reinforcement plate (2) as shown (A/T or CVT models).
• Using a suitable tool of 33 mm (1.30 in) in diameter, press-fit pilot converter into the end of crankshaft until it stops (A/T or
CVT models).
NOTE:
M/T models have no pilot converter and reinforcement plate.
27. Install knock sensor (1) with connector facing toward the rear of engine.
CAUTION:
• Never tighten bolts while holding the connector.
• If any impact by dropping is applied to knock sensor,replace it with a new one.
NOTE:
• Make sure that there is no foreign material on the cylinder
block mating surface and the back surface of knock sensor.
• Make sure that knock sensor does not interfere with other parts.
28. Install crankshaft position sensor (POS) and crankshaft position sensor (POS) cover. CAUTION:
• Avoid impacts such as a dropping.
• Keep it away from metal particles.
• Never place sensor in a location where it is exposed to magnetism.
29. Install oil filter (for intake valv e timing control) (1) in the direction
shown.
• Make sure that the oil filter does not protrude from the upper surface of cylinder block (2) after installation.
30. Assembly is in the reverse order of disassembly. Tool number : KV11105210 (J-44716)
PBIC3998E
A : Crankshaft rear end
B : Rounded
C : Chamfered
PBIC3259J
A : Cylinder block left side
: Engine front
PBIC3246J
PBIC3260J
Revision: January 20102010 Versa
Page 2580 of 3745

CYLINDER BLOCKEM-221
< SERVICE INFORMATION > [MR18DE]
C
D
E
F
G H
I
J
K L
M A
EM
NP
O
• Measure the outer diameters [(d1), (d2)] at two positions as shown.
• If reduction appears in places other than (B) range, regard it as (d
2).
• If it exceeds the limit (a large difference in dimensions), replace main bearing cap bolt with a new one.
CONNECTING ROD BOLT OUTER DIAMETER
• Measure the outer diameter (d) at position as shown.
• If reduction appears in a position other than (d), regard it as (d).
• When (d) exceeds the limit (when it becomes thinner), replace
connecting rod bolt with a new one.
CLOGGED OR DAMAGED OIL FILTER (FOR INTAKE VALVE TIMING CONTROL)
• Make sure that there is no foreign material on the oil filter and
check it for clogging.
- Clean it if necessary.
• Check the oil filter for damage.
- Replace it if necessary.
FLYWHEEL DEFLECTION (M/T MODELS)
• Measure the deflection of flywheel contact surface to clutch with a
dial indicator (A).
• Measure the deflection at 210 mm (8.27 in) diameter.
• If measured value is out of the standard, replace flywheel.
• If a trace of burn or discolorati on is found on the surface, repair it
with sandpaper.
CAUTION:
When measuring, keep magnetic fields (such as dial indicator
stand) away from signal plate of the rear end of crankshaft.
MOVEMENT AMOUNT OF FLYWHEEL (M/T MODELS)
CAUTION:
Never disassemble double mass flywheel.
Movement Amount of Thrust (Fore-and-Aft) Direction
• Measure the movement amount of thrust (fore-and-af t) direction when 100 N (10.2 kg, 22 lb) force is added
at the portion of 125 mm (4.92 in) radi us from the center of flywheel.
A : (d1) measuring position
B : (d2) measuring position
Limit [(d1) – (d2)]: 0.15 mm (0.0059 in)
PBIC4015E
Limit: 7.75 mm (0.3051 in)
PBIC4016E
PBIC3273J
Limit : 0.45 mm (0.0177 in) or less.
PBIC4006E
Standard : 1.8 mm (0.071 in) or less
Revision: January 20102010 Versa
Page 3113 of 3745
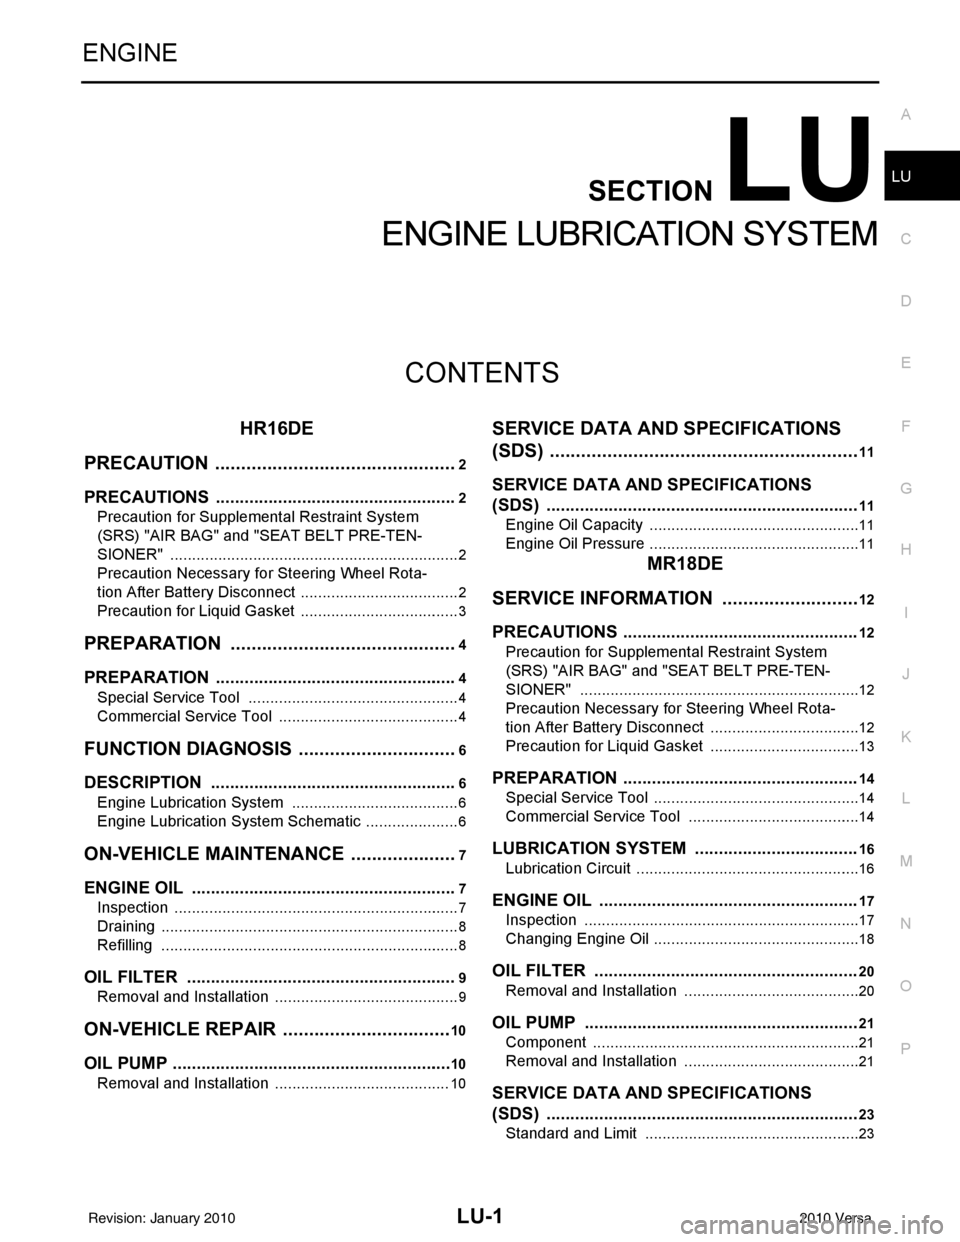
LU-1
ENGINE
C
DE
F
G H
I
J
K L
M
SECTION LU
A
LU
N
O P
CONTENTS
ENGINE LUBRICATION SYSTEM
HR16DE
PRECAUTION ....... ........................................
2
PRECAUTIONS .............................................. .....2
Precaution for Supplemental Restraint System
(SRS) "AIR BAG" and "SEAT BELT PRE-TEN-
SIONER" ............................................................. ......
2
Precaution Necessary for Steering Wheel Rota-
tion After Battery Disconnect ............................... ......
2
Precaution for Liquid Gasket .....................................3
PREPARATION ............................................4
PREPARATION .............................................. .....4
Special Service Tool ........................................... ......4
Commercial Service Tool ..........................................4
FUNCTION DIAGNOSIS ...............................6
DESCRIPTION ............................................... .....6
Engine Lubrication System ................................. ......6
Engine Lubrication System Schematic ......................6
ON-VEHICLE MAINTENANCE .....................7
ENGINE OIL ................................................... .....7
Inspection ............................................................ ......7
Draining .....................................................................8
Refilling .....................................................................8
OIL FILTER .........................................................9
Removal and Installation ...........................................9
ON-VEHICLE REPAIR .... .............................10
OIL PUMP ....................................................... ....10
Removal and Installation .........................................10
SERVICE DATA AND SPECIFICATIONS
(SDS) ............... .......................................... ...
11
SERVICE DATA AND SPECIFICATIONS
(SDS) .................................................................
11
Engine Oil Capacity ............................................. ....11
Engine Oil Pressure .................................................11
MR18DE
SERVICE INFORMATION .. .........................
12
PRECAUTIONS .................................................12
Precaution for Supplemental Restraint System
(SRS) "AIR BAG" and "SEAT BELT PRE-TEN-
SIONER" ............................................................. ....
12
Precaution Necessary for Steering Wheel Rota-
tion After Battery Disconnect ...................................
12
Precaution for Liquid Gasket ...................................13
PREPARATION .................................................14
Special Service Tool ................................................14
Commercial Service Tool ........................................14
LUBRICATION SYSTEM ..................................16
Lubrication Circuit ....................................................16
ENGINE OIL ......................................................17
Inspection ................................................................17
Changing Engine Oil ................................................18
OIL FILTER .......................................................20
Removal and Installation .........................................20
OIL PUMP .........................................................21
Component ..............................................................21
Removal and Installation .........................................21
SERVICE DATA AND SPECIFICATIONS
(SDS) .................................................................
23
Standard and Limit ..................................................23
Revision: January 20102010 Versa
Page 3116 of 3745

LU-4
< PREPARATION >[HR16DE]
PREPARATION
PREPARATION
PREPARATION
Special Service ToolINFOID:0000000005398153
The actual shapes of Kent-Moore tool
s may differ from those of special service tools illustrated here.
Commercial Service ToolINFOID:0000000005398154
Tool number
(Kent-Moore No.)
Tool name Description
ST25051001
(J-25695-1)
Oil pressure gauge Measuring oil pressure
Maximum measuring range: 2,452 kPa (25
kg/cm
2, 356 psi)
ST25052000
(J-25695-2)
Hose Adapting oil pressure gauge to cylinder block
KV10115801
(J-38956)
Oil filter wrench Removing oil filter
a: 64.3 mm (2.531 in)
WS39930000
(—)
Tube presser Pressing the tube of liquid gasket
NT050
S-NT559
S-NT375
NT052
Revision: January 20102010 Versa
Page 3119 of 3745

ENGINE OILLU-7
< ON-VEHICLE MAINTENANCE > [HR16DE]
C
D
E
F
G H
I
J
K L
M A
LU
NP
O
ON-VEHICLE MAINTENANCE
ENGINE OIL
InspectionINFOID:0000000005398157
ENGINE OIL LEVEL
NOTE:
Park vehicle on a level surface, wait 10 minutes and check the engine oil level.
1. Pull out oil level gauge and wipe it clean.
2. Insert oil level gauge and make sure the engine oil level is within
the range (A) as shown.
3. If it is out of range, adjust it.
ENGINE OIL APPEARANCE
• Check engine oil for white milky appearance or excessive contamination.
• If engine oil becomes white, it is highly probable t hat it is contaminated with engine coolant. Repair or
replace damaged parts.
ENGINE OIL LEAKAGE
Check for engine oil leakage around the following areas:
• Oil pan (upper and lower)
• Oil pan drain plug
• Oil pressure switch
• Oil filter
• Intake valve timing control solenoid valve
• Front cover
• Mating surface between cylinder head and camshaft bracket
• Mating surface between cylinder block and cylinder head
• Mating surface between cylinder head and rocker cover
• Crankshaft oil seals (front and rear)
• Oil filter (for intake valve timing control)
OIL PRESSURE CHECK
WARNING:
• Be careful not to burn yoursel f, as engine oil may be hot.
• For engine oil pressure check the transaxle should be in “Park position” (A/T models) or “Neutral
position” (M/T models), and apply the parking brake securely.
1. Check engine oil level.
2. Remove engine under cover. Refer to EI-15, "
Removal and Installation".
3. Disconnect harness connector at oil pressure switch (2), and remove oil pressure switch (2) from the cylinder block (1) using
suitable tool.
CAUTION:
Never drop or shock oil pressure switch.
JPBIA0554ZZ
PBIC3817E
Revision: January 20102010 Versa
Page 3120 of 3745

LU-8
< ON-VEHICLE MAINTENANCE >[HR16DE]
ENGINE OIL
4. Install oil pressure gauge and hose.
5. Start engine and warm it up to normal operating temperature.
6. Check oil pressure with engine running under no-load. Refer to LU-11, "
Engine Oil Pressure".
If difference is extreme, check oil passage and oil pump for oil leaks.
NOTE:
When engine oil temperature is low, engine oil pressure becomes high.
7. After the inspections, install oil pressure switch as follows:
a. Remove old liquid gasket adhering to oil pressure switch and engine.
b. Apply liquid gasket and tighten oil pressure switch to specification. Use Genuine Silicone RTV Sealant or equivalent. Refer to GI-42, "
Recommended Chemical Product
and Sealant".
c. Check engine oil level.
d. After warming up engine, make sure there are no leaks of engine oil with running engine.
8. Install engine under cover. Refer to EI-15, "
Removal and Installation".
DrainingINFOID:0000000005398158
WARNING:
• Be careful not to burn yourself, as engine oil may be hot.
• Prolonged and repeated contact with used engine oil may cause ski n cancer. Try to avoid direct skin
contact with used engine oil. If skin contact is made, wash thoroughly with soap or hand cleaner as
soon as possible.
1. Warm up the engine, park vehicle on a level surface and check for engine oil leakage from engine compo- nents. Refer to LU-7, "
Inspection".
2. Stop the engine and wait for 10 minutes.
3. Loosen oil filler cap.
4. Remove drain plug and then drain engine oil.
RefillingINFOID:0000000005398159
1. Install drain plug with new washer. Refer to EM-39, "Exploded View".
CAUTION:
Be sure to clean drain plug and install with new washer.
2. Refill with new engine oil. Engine oil specification and viscosity: Refer to MA-14, "
Fluids and Lubricants".
CAUTION:
• The refill capacity depends on the engine oi l temperature and drain time. Use these specifica-
tions for reference only.
• Always use oil level gauge to determine the pr oper amount of engine oil in the engine.
3. Warm up engine and check area around drain plug and oil filter for engine oil leakage.
4. Stop engine and wait for 10 minutes.
5. Check the engine oil level. Refer to LU-7, "
Inspection".
Tool number : ST25051001 (J-25695-1)
: ST25052000 (J-25695-2)
WBIA0571E
Oil pressure switch : Refer to EM-89, "Exploded View".
Revision: January 20102010 Versa