change time NISSAN TITAN 2007 1.G Owners Manual
[x] Cancel search | Manufacturer: NISSAN, Model Year: 2007, Model line: TITAN, Model: NISSAN TITAN 2007 1.GPages: 368, PDF Size: 5.91 MB
Page 2 of 368

MODIFICATION OF YOUR VEHICLE
This vehicle should not be modified.
Modification could affect its
performance, safety or durability, and
may even violate governmental
regulations. In addition, damage or per-
formance problems resulting from
modifications may not be covered under
NISSAN warranties.This manual includes information for all options
available on this model. Therefore, you may find
some information that does not apply to your
vehicle.
All information, specifications and illustrations in
this manual are those in effect at the time of
printing. NISSAN reserves the right to change
specifications or design without notice and with-
out obligation.
IMPORTANT INFORMATION ABOUT
THIS MANUAL
You will see various symbols in this manual. They
are used in the following ways:
WARNING
This is used to indicate the presence of a
hazard that could cause death or serious
personal injury. To avoid or reduce the
risk, the procedures must be followed
precisely.
CAUTION
This is used to indicate the presence of a
hazard that could cause minor or moder-
ate personal injury or damage to your ve-
hicle. To avoid or reduce the risk, the pro-
cedures must be followed carefully.If you see this symbol, it means“Do not do this”
or“Do not let this happen.”
If you see a symbol similar to these in an illustra-
tion, it means the arrow points to the front of the
vehicle.
Arrows in an illustration that are similar to these
indicate movement or action.
Arrows in an illustration that are similar to these
call attention to an item in the illustration.
APD1005
WHEN READING THE MANUAL
ZREVIEW COPYÐ2007 Titan(tzw)
Owners ManualÐUSA_English(nna)
07/09/06Ðtbrooks
X
Page 85 of 368

The odometer records the total distance the ve-
hicle has been driven.
The twin trip odometer records the distance of
individual trips.
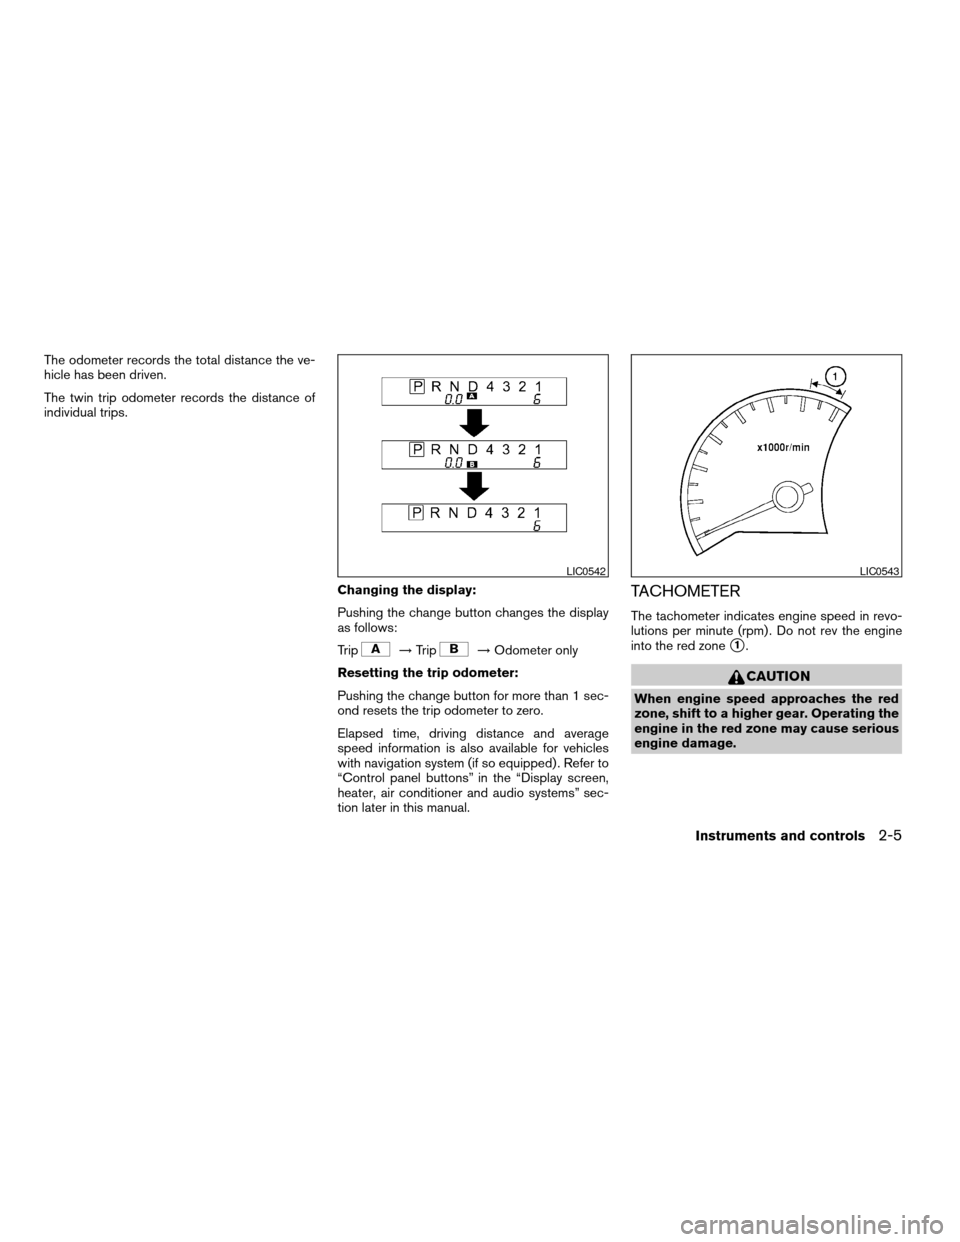
Changing the display:
Pushing the change button changes the display
as follows:
Trip
!Trip!Odometer only
Resetting the trip odometer:
Pushing the change button for more than 1 sec-
ond resets the trip odometer to zero.
Elapsed time, driving distance and average
speed information is also available for vehicles
with navigation system (if so equipped) . Refer to
“Control panel buttons” in the “Display screen,
heater, air conditioner and audio systems” sec-
tion later in this manual.
TACHOMETER
The tachometer indicates engine speed in revo-
lutions per minute (rpm) . Do not rev the engine
into the red zone
s1.
CAUTION
When engine speed approaches the red
zone, shift to a higher gear. Operating the
engine in the red zone may cause serious
engine damage.
LIC0542LIC0543
Instruments and controls2-5
ZREVIEW COPYÐ2007 Titan(tzw)
Owners ManualÐUSA_English(nna)
07/09/06Ðtbrooks
X
Page 91 of 368

Zone variation change procedure
The difference between magnetic north and geo-
graphical north is known as variance. In some
areas, this difference can sometimes be great
enough to cause false compass readings. Follow
these instructions to set the variance for your
particular location if this happens:
1. With the display turned on, press and hold
the mode button for about 5 seconds. The
current zone number will appear in the dis-
play. Release the button.
2. Find your current location on the zone map.
Refer to the illustration.
3. Press the mode button repeatedly to toggle
through the zone numbers until the desired
number shows in the display. The display
should return to the normal compass mode
within a few seconds of no button activity.
4. If the vehicle changes zones, repeat steps 1
through 3.
Inaccurate compass direction
The compass display is equipped with automatic
correction function. If the correct direction is not
shown, follow this procedure.
1. With the display turned on, press and hold
the mode button for about 10 seconds. The
compass display will begin to flash.2. Calibrate the compass by driving the vehicle
one and a half circles at a maximum speed of
6 MPH (10 km/h) .
3. After completing the circles, the display
should return to normal.
cIf the compass deviates from the correct
indication soon after repeated adjustment,
have the compass checked at an authorized
dealer.
cThe compass may not indicate the correct
compass point in tunnels or while driving up
or down a steep hill. (The compass returns
to the correct compass point when the ve-
hicle moves to an area where the geomag-
netism is stabilized.)
cIf a magnet is located in or near the overhead
console in the front of the vehicle or the
vehicle is driven where the terrestrial mag-
netism is disturbed, the compass display
may not indicate the correct direction.
CAUTION
Do not install a ski rack, antenna, etc.,
which are attached to the vehicle by
means of a magnet. They affect the opera-
tion of the compass.
Instruments and controls2-11
ZREVIEW COPYÐ2007 Titan(tzw)
Owners ManualÐUSA_English(nna)
07/09/06Ðtbrooks
X
Page 134 of 368

PROGRAMMING TROUBLE-
DIAGNOSIS
If the HomeLinkTdoes not quickly learn the hand-
held transmitter information:
creplace the hand-held transmitter batteries
with new batteries.
cposition the hand-held transmitter with its
battery area facing away from the
HomeLinkTsurface.
cpress and hold both the HomeLinkTand
hand-held transmitter buttons without inter-
ruption.
cposition the hand-held transmitter1-3
inches (26 - 76 mm) away from the
HomeLinkTsurface. Hold the transmitter in
that position for up to 15 seconds. If
HomeLinkTis not programmed within that
time, try holding the transmitter in another
position – keeping the indicator light in view
at all times.
If you continue to have programming difficulties,
please contact the NISSAN Consumer Affairs
Department. The phone numbers are located in
the Foreword of this manual.
CLEARING THE PROGRAMMED
INFORMATION
Individual buttons cannot be cleared. However,
to clear all programming, press and hold the two
outside buttons and release when the indicator
light begins to flash (approximately 20 seconds) .
REPROGRAMMING A SINGLE
HOMELINKTBUTTON
To reprogram a HomeLinkTUniversal Transceiver
button, complete the following.
1. Press and hold the desired HomeLinkTbut-
ton.Do notrelease the button until step 4
has been completed.
2. When the indicator light begins to flash
slowly (after 20 seconds) , position the
hand-held transmitter1-3inches (26 - 76
mm) away from the HomeLinkTsurface.
3. Press and hold the hand-held transmitter
button.
4.
The HomeLinkTindicator light will flash, first
slowly and then rapidly. When the indicator light
begins to flash rapidly, release both buttons.
The HomeLinkTUniversal Transceiver button has
now been reprogrammed. The new device can be
activated by pushing the HomeLinkTbutton that
was just programmed. This procedure will not af-
fect any other programmed HomeLinkTbuttons.
IF YOUR VEHICLE IS STOLEN
If your vehicle is stolen, you should change the
codes of any non-rolling code device that has
been programmed into HomeLinkT. Consult the
Owner’s Manual of each device or call the manu-
facturer or dealer of those devices for additional
information.
When your vehicle is recovered, you will
need to reprogram the HomeLinkTUniver-
sal Transceiver with your new transmitter
information.
FCC Notice:
This device complies with FCC rules part
15. Operation is subject to the following
two conditions: (1) This device may not
cause harmful interference and (2) This de-
vice must accept any interference that may
be received, including interference that
may cause undesired operation.
This transmitter has been tested and com-
plies with FCC and DOC/MDC rules.
Changes or modifications not expressly ap-
proved by the party responsible for compli-
ance could void the user’s authority to op-
erate the equipment.
DOC: ISTC 1763K1313
FCC I.D. CV2V67690
2-54Instruments and controls
ZREVIEW COPYÐ2007 Titan(tzw)
Owners ManualÐUSA_English(nna)
07/09/06Ðtbrooks
X
Page 161 of 368

9. GUIDE VOICE button*
10.
zoom out button*
11.
zoom in button*
*For Navigation system control buttons, refer to
the separate Navigation System Owner’s
Manual.
When you use this system, make sure the engine
is running.
If you use the system with the engine not
running (ignition ON or ACC) for a long
time, it will use up all the battery power,
and the engine will not start.
Reference symbols:
ENTER button — This is a button on the control
panel.
Display key — This is a select key on the screen.
By selecting this key you can proceed to the next
function.
HOW TO USE THE JOYSTICK AND
ENTER BUTTON
Use the joystick to choose an item on the display
screen. Move the joystick up, down, left or right to
highlight an item. Then press the ENTER button
to select the item or perform the action.
HOW TO USE THE BACK BUTTON
This button has two functions.
cGo back to the previous display (cancel) .
If you press the BACK button during setup, the
setup will be canceled and/or the display will
return to the previous screen.
cFinish setup.
In some screens pressing the BACK button ac-
cepts the changes made during setup.
SETTING UP THE START-UP
SCREEN
When you turn the ignition key to ACC or ON, the
system start-up warning is displayed on the
screen. Read the warning and select the “OK”
key by pressing the ENTER button.
If you do not press the ENTER button, the Navi-
gation system will not proceed to the next step in
the Navigation display.
If you do not touch a button or screen key for
more than 1 minute on the system start-up warn-
ing screen, the screen will change to the audio
screen automatically.
To proceed to the next step, refer to the separate
Navigation System Owner’s Manual.HOW TO USE THE TRIP BUTTON
When the TRIP button is pressed, the following
modes will display on the screen.
Warning message (if any)!TRIP 1!TRIP 2!
FUEL ECONOMY!MAINTENANCE!Audio
or OFF!TRIP 1
Each trip display tracks an independent trip and
displays the following:
cElapsed Time - Journey time since the last
reset up to a maximum of 99 hours and 59
minutes.
cDriving Distance - Distance driven (mile or
km) since the last reset.
LHA0572
Display screen, heater, air conditioner and audio systems4-3
ZREVIEW COPYÐ2007 Titan(tzw)
Owners ManualÐUSA_English(nna)
07/09/06Ðtbrooks
X
Page 168 of 368

Indicator light is not illuminated — OFF
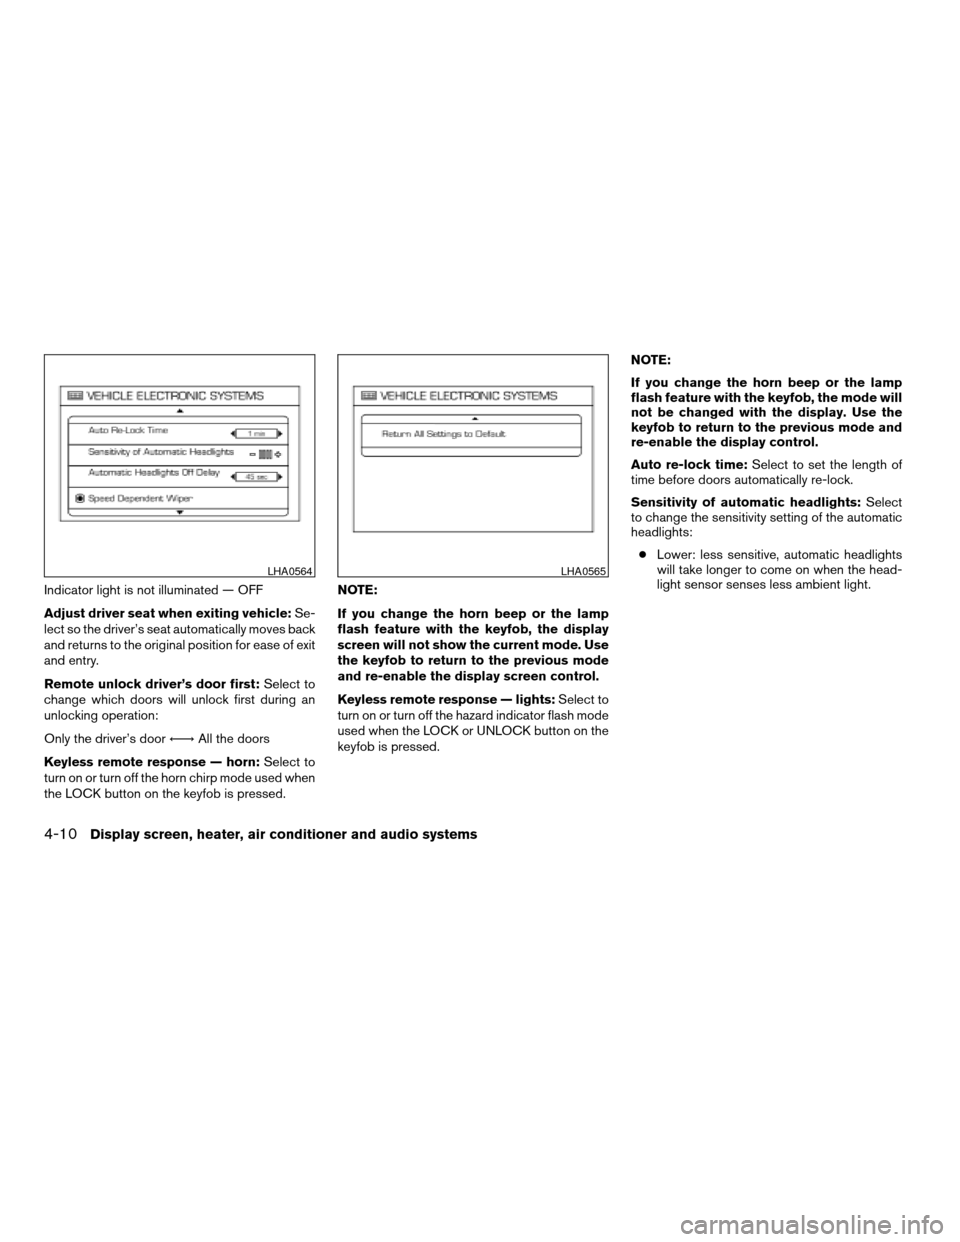
Adjust driver seat when exiting vehicle:Se-
lect so the driver’s seat automatically moves back
and returns to the original position for ease of exit
and entry.
Remote unlock driver’s door first:Select to
change which doors will unlock first during an
unlocking operation:
Only the driver’s doorÃ!All the doors
Keyless remote response — horn:Select to
turn on or turn off the horn chirp mode used when
the LOCK button on the keyfob is pressed.NOTE:
If you change the horn beep or the lamp
flash feature with the keyfob, the display
screen will not show the current mode. Use
the keyfob to return to the previous mode
and re-enable the display screen control.
Keyless remote response — lights:Select to
turn on or turn off the hazard indicator flash mode
used when the LOCK or UNLOCK button on the
keyfob is pressed.NOTE:
If you change the horn beep or the lamp
flash feature with the keyfob, the mode will
not be changed with the display. Use the
keyfob to return to the previous mode and
re-enable the display control.
Auto re-lock time:Select to set the length of
time before doors automatically re-lock.
Sensitivity of automatic headlights:Select
to change the sensitivity setting of the automatic
headlights:
cLower: less sensitive, automatic headlights
will take longer to come on when the head-
light sensor senses less ambient light.
LHA0564LHA0565
4-10Display screen, heater, air conditioner and audio systems
ZREVIEW COPYÐ2007 Titan(tzw)
Owners ManualÐUSA_English(nna)
07/09/06Ðtbrooks
X
Page 169 of 368

cHigher: more sensitive, automatic headlights
will come on quicker when the headlight
sensor senses less ambient light.
Automatic headlights off delay:Select to
change the setting for the length of time the
automatic headlights remain on after exiting the
vehicle.
Speed dependent wiper:Select to turn on or
turn off the driving speed dependent intermittent
wiper function.
Return all settings to default:Select to
change all VEHICLE ELECTRONICS SYSTEMS
to their default settings.
System settings
Select the “System Settings” key by using the
joystick and pressing the ENTER button. The
SYSTEM SETTINGS screen will be displayed.
Language/unit
The LANGUAGE/UNIT screen will appear when
selecting the “Language/Unit” key and pressing
the ENTER button.
Language: English or French
Unit: US — mile, °F, MPG
Metric — km, °C, L/100 kmYou can select the language and unit using the
joystick or pressing the ENTER button.
The settings are automatically saved when you
exit the menu by pressing the BACK button or
any other mode button.
LHA0561
Display screen, heater, air conditioner and audio systems4-11
ZREVIEW COPYÐ2007 Titan(tzw)
Owners ManualÐUSA_English(nna)
07/09/06Ðtbrooks
X
Page 170 of 368

Clock
Adjusting the time:
Select the “Hours” or “Minutes” key and move the
joystick to the right or left to adjust the time.
The time will change step by step.
The new settings are automatically saved when
you exit the setting screen by pressing the BACK
button or any other mode button.Setting daylight savings time:
Use the “Daylight Saving Time” key to adjust the
clock to daylight savings time.
ON: The displayed time advances by 1 hour.
OFF: The current time is displayed.Adjusting the time to the GPS:
Select the “Auto Adjust” key.
The time will be reset to the GPS time.
LHA0562LHA0566LHA0567
4-12Display screen, heater, air conditioner and audio systems
ZREVIEW COPYÐ2007 Titan(tzw)
Owners ManualÐUSA_English(nna)
07/09/06Ðtbrooks
X
Page 171 of 368

Selecting the time zone:
1. Select the “Select Time Zone” key.
The TIME ZONE screen will appear.2. Select one of the following zones, depend-
ing on the current location.
cPacific zone
cMountain zone
cCentral zone
cEastern zone
cAtlantic zone
cNewfoundland zone
After selection, the CLOCK SETTINGS screen
will appear.The GPS time (manual time) corresponding to
the selected zone will be displayed. Pacific zone
has been set as the initial (default) setting.
Beep setting
With this option ON, a beep will sound if any
audio button is pressed.
Navigation settings
Refer to the separate Navigation System Own-
er’s Manual for information regarding these set-
tings.
Guidance voice settings
Refer to the separate Navigation System Own-
er’s Manual for information regarding these set-
tings.
BUTTON
To change the display brightness, press
thebutton. Pressing the button again will
change the display to “DAY” or “NIGHT” display.
Then, adjust the brightness by moving the joy-
stick right or left.
If no operation is done within 10 seconds, or if the
BACK button is pressed, the display will return to
the previous display.
LHA0568LHA0563
Display screen, heater, air conditioner and audio systems4-13
ZREVIEW COPYÐ2007 Titan(tzw)
Owners ManualÐUSA_English(nna)
07/09/06Ðtbrooks
X
Page 183 of 368

Reception conditions will constantly change be-
cause of vehicle movement. Buildings, terrain,
signal distance and interference from other ve-
hicles can work against ideal reception. De-
scribed below are some of the factors that can
affect your radio reception.
FM RADIO RECEPTION
Range: FM range is normally limited to 25 – 30
miles (40 – 48 km) , with monaural (single chan-
nel) FM having slightly more range than stereo
FM. External influences may sometimes interfere
with FM station reception even if the FM station is
within 25 miles (40 km) . The strength of the FM
signal is directly related to the distance between
the transmitter and receiver. FM signals follow a
line-of-sight path, exhibiting many of the same
characteristics as light. For example, they will
reflect off objects.
Fade and drift: As your vehicle moves away from
a station transmitter, the signals will tend to fade
and/or drift.
Static and flutter: During signal interference from
buildings, large hills or due to antenna position
(usually in conjunction with increased distance
from the station transmitter) static or flutter can
be heard. This can be reduced by adjusting the
treble control to reduce treble response.Multipath reception: Because of the reflective
characteristics of FM signals, direct and reflected
signals reach the receiver at the same time. The
signals may cancel each other, resulting in mo-
mentary flutter or loss of sound.
AM RADIO RECEPTION
AM signals, because of their low frequency, can
bend around objects and skip along the ground.
In addition, the signals can be bounced off the
ionosphere and bent back to earth. Because of
these characteristics, AM signals are also sub-
ject to interference as they travel from transmitter
to receiver.
Fading: Occurs while the vehicle is passing
through freeway underpasses or in areas with
many tall buildings. It can also occur for several
seconds during ionospheric turbulence even in
areas where no obstacles exist.
Static: Caused by thunderstorms, electrical
power lines, electric signs and even traffic lights.
SATELLITE RADIO RECEPTION (if so
equipped)
When the satellite radio is first installed or the
battery has been replaced, the satellite radio may
not work properly. This is not a malfunction. Wait
more than 10 minutes with satellite radio ON andthe vehicle outside of any metal or large building
for satellite radio to receive all of the necessary
data.
No satellite radio reception is available and “NO
SAT” is displayed when the SAT band option is
selected unless optional satellite receiver and
antenna are installed and an XMTor SIRIUS™
satellite radio service subscription is active. Sat-
ellite radio is not available in Alaska, Hawaii and
Guam.
Satellite radio performance may be affected if
cargo carried on the roof blocks the satellite radio
signal.
If possible, do not put cargo over the satellite
antenna.
Display screen, heater, air conditioner and audio systems4-25
ZREVIEW COPYÐ2007 Titan(tzw)
Owners ManualÐUSA_English(nna)
07/09/06Ðtbrooks
X