key NISSAN TITAN 2015 1.G Quick Reference Guide
[x] Cancel search | Manufacturer: NISSAN, Model Year: 2015, Model line: TITAN, Model: NISSAN TITAN 2015 1.GPages: 24, PDF Size: 1.53 MB
Page 3 of 24
NEW SYSTEM FEATURES
SiriusXM Travel Link and SiriusXM Traffic (if so equipped) ..................................................................2
Niss anConnectsm Mobile Apps (if so equipped) ........................................................................\
.............. 2
USB (Universal Serial Bus) Connection Port/iPod® Interface (if so equipped) ............................... 3
ESSENTIAL INFORMATION
Tire Pressure Monitoring System (TPMS) ........................................................................\
........................ 4
Loose Fuel Cap ........................................................................\
.......................................................................4
Fuel-filler Door
........................................................................\
.........................................................................5
Wide Open Door (King Cab models only)
........................................................................\
........................ 5
Clock Set/Adjustment
........................................................................\
............................................................5
FIRST DRIVE FEATURES
Remote Keyless Entry System (if so equipped) ........................................................................\
............... 6
Opening the T ailgate ........................................................................\
..............................................................6
Power Seat Adjustments (if so equipped)
........................................................................\
........................ 6
Automatic Drive Positioner (if so equipped)
........................................................................\
..................... 7
Outside Mirror Control Switch (if so equipped)
........................................................................\
..............7
Starting/Stopping the Engine
........................................................................\
.............................................. 7
Headlight Control Switc
h
........................................................................\
...................................................... 8
W
indshield Wiper and Washer Switch ........................................................................\
.............................. 9
Automatic Climate Controls (if so equipped)
........................................................................\
................... 9
FM/AM/SiriusXM
® Satellite Radio with CD Player (if so equipped) ............................................... 11
Cruise Control (if so equipped)
........................................................................\
........................................ 12
P
ower Outlets
........................................................................\
....................................................................... 12
SYSTEM GUIDE
Vehicle Information Display (if so equipped) ........................................................................\
.................14
T ext Messaging (if so equipped)
........................................................................\
...................................... 14
Bluetooth® Hands-free Phone System (if so equipped) ..................................................................... 15
• System Operating T
ips
........................................................................\
............................................... 15
Bluetooth® System without Navigation (if so equipped) .................................................................... 16
Bluetooth® System with Navigation (if so equipped) ........................................................................\
.. 17
Navigation System (if so equipped) ........................................................................\
................................. 19
HomeLink
® Universal Transceiver (if so equipped) ........................................................................\
...... 20
TAB LE OF CONTE NTS
Please see your Owner’s Manual for important safety information and system operation limitations.
•
A cellular telephone should not be used for any purpose while driving
so full attention may be given to vehicle operation.
• Always wear your seat belt.
• Supplement
al air bags do not replace proper seat belt usage.
•
Children
12 and under should always ride in the rear seat properly secured
in child restraints or seat belts according to their age and weight.
• Do not drink and drive.
For more information, refer to the “Safety –– Seats, seat belts and supplemental restraint system (section 1)”\
,
the “Monitor, climate, audio, phone and voice recognition systems (section 4)” and the “Starting and driving
(section 5)” of your Owner’s Manual.
Additional information about your vehicle is also available in your Owne\
r’s Manual, Navigation System
Owner’s Manual and at www.nissanusa.com.
1925624_15b_Titan_QRG_041415.indd 54/14/15 2:33 PM
Page 7 of 24
5
WIDE OPEN DOOR (King Cab models only)
Do not open the driver’s side Wide Open Door to the full open position while the
fuel-filler door is open; only open it as far as the first detent.
Opening the door to the full open position may damage the fuel-filler \
door and W ide
Open Door.
For more information, refer to the “Pre-driving checks and adjustments (section 3)” of your Owner’s Manual.
FUEL-FILLER DOOR
The fuel-filler door is located on the driver’s side
of the vehicle.
To open the fuel-filler door, pull the lid open.
For more information, refer to the “Pre-driving checks and
adjustments (section 3)” of your Owner’s Manual.
CLOCK SET/ADJUSTMENT
To adjust the time and the appearance of the
clock on the display:
1. Press the button 1.
2. Touch the “Settings” key.
3. T
ouch the “System” key.
4. T
ouch the “Clock” key.
The following settings can be adjusted:
•
Time Format: The clock can be set to 12 hours
or 24 hours.
•
Date Format: The date can be changed to one of five different formats.
• Cloc
k Mode: From here, the clock mode options are:
·
Manual
: Allows for the option “Set Clock Manually”. Touch this to begin setting
the clock manually using the “+” or “–” to adjust the hours, minu\
tes, day, and month
up or down.
·
Time Zone: Touch the “Time Zone” key
2
to choose from the applicable time zone list
and/or touch the “Daylight Savings Time” key
to switch between ON and OFF.
·
A
uto: Automatically sets the clock to the
vehicle’s current location.
Press the BAC K button 3 to return to the previous screen.
For more information, refer to the “Monitor, climate, audio, phone and voice recognition systems (section 4)” of your
Owner’s Manual.
3
1
2
1925624_15b_Titan_QRG_041415.indd 54/14/15 2:33 PM
To view detailed instructional videos regarding these and other features, please go to www.nissanownersinfo.mobi.
Page 8 of 24
6
FIRST DRIVE FEATURES
REMOTE KEYLESS ENTRY SYSTEM (if so equipped)
The Remote Keyless Entry System allows you to lock or
unlock your vehicle and turn on the interior lights.
To lock the vehicle, press the button on your
key fob.
To unlock the driver’s door, press the button on
your key fob.
Press the button again within 5 seconds and
all doors will unlock.
For more information, refer to the “Pre-driving checks and
adjustments (section 3)” of your Owner’s Manual.
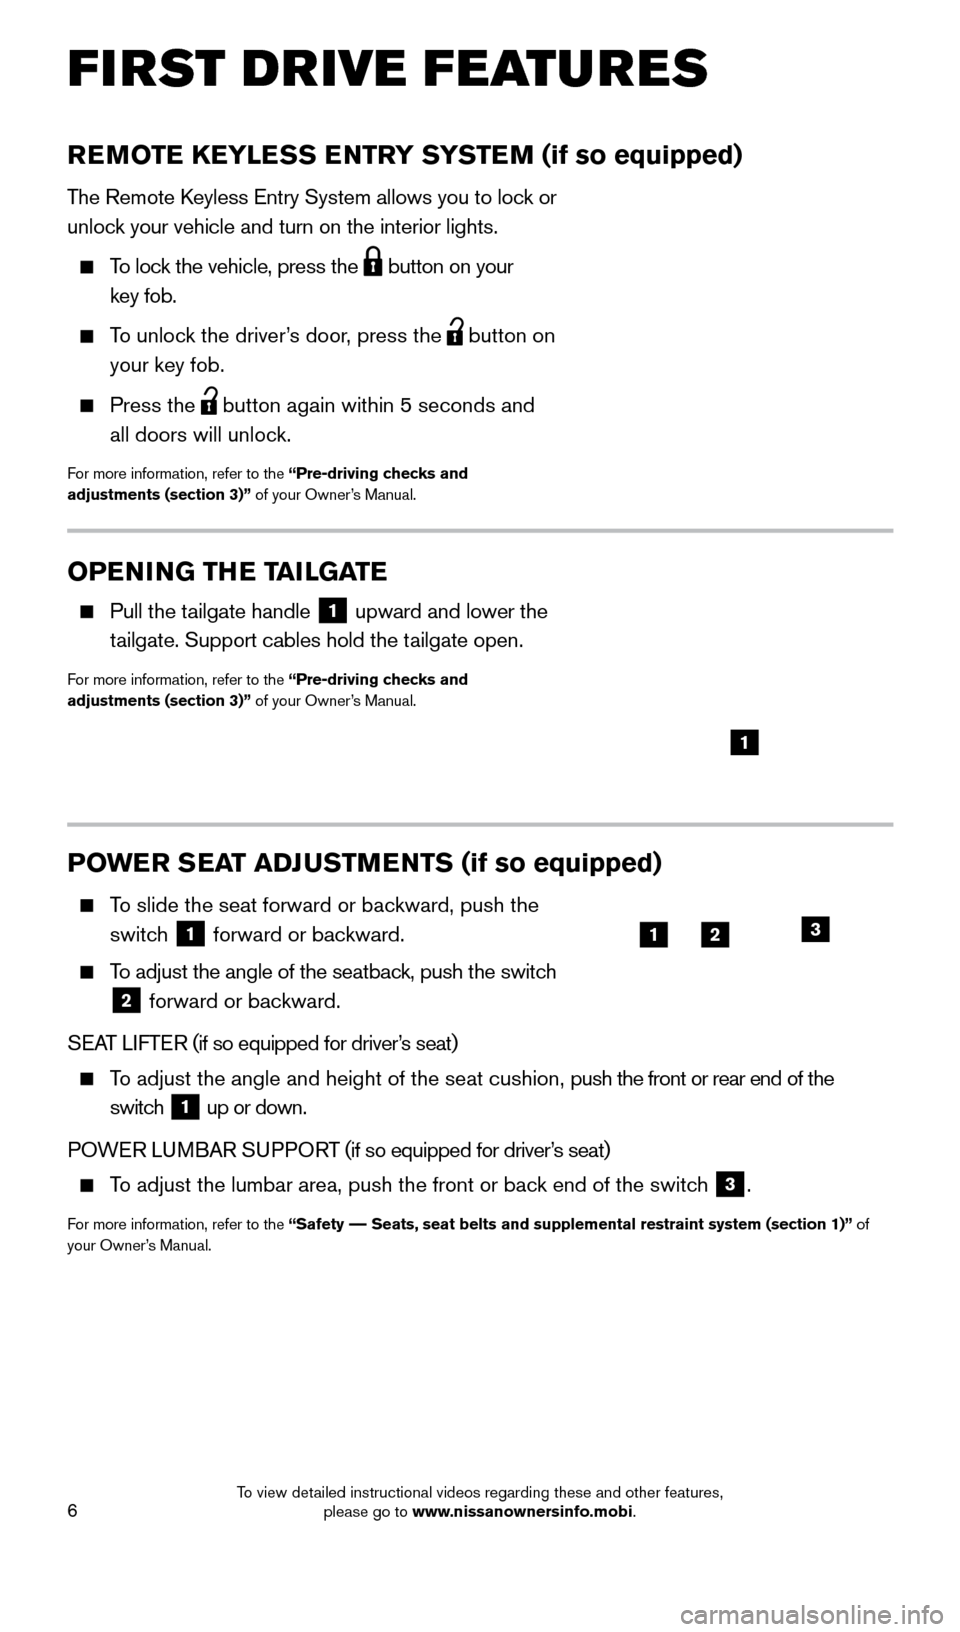
POWER SEAT ADJUSTMENTS (if so equipped)
To slide the seat forward or bac kward, push the
switch
1 forward or backward.
To adjust the angle of the seatback, push the switch
2 forward or backward.
SEAT LIFTER (if so equipped for driver’s seat)
To adjust the angle and height of the seat cushion, push the front or rear end of the
switch
1 up or down.
POWER LUMBAR SUPPORT (if so equipped for driver’s seat)
To adjust the lumbar area, push the front or back end of the switch
3.
For more information, refer to the “Safety –– Seats, seat belts and supplemental restraint system (section 1)”\
of
your Owner’s Manual.
1
123
OPENING THE TAILGATE
Pull the tailgate handle 1 upward and lower the
tailgate. Support cables hold the tailgate open.
For more information, refer to the “Pre-driving checks and
adjustments (section 3)” of your Owner’s Manual.
1925624_15b_Titan_QRG_041415.indd 64/14/15 2:33 PM
To view detailed instructional videos regarding these and other features, please go to www.nissanownersinfo.mobi.
Page 9 of 24
7
STARTING/STOPPING THE ENGINE
Depress the brake pedal.
Move the shift lever to the P (PARK) position.
Turn the ignition switch to the START position.
TURNING THE ENGINE OFF
Move the shift lever to the P (PARK) position,
apply the parking brake and turn the ignition switch to the LOCK position.
For more information, refer to the “Starting and driving (section 5)” of your Owner’s Manual.
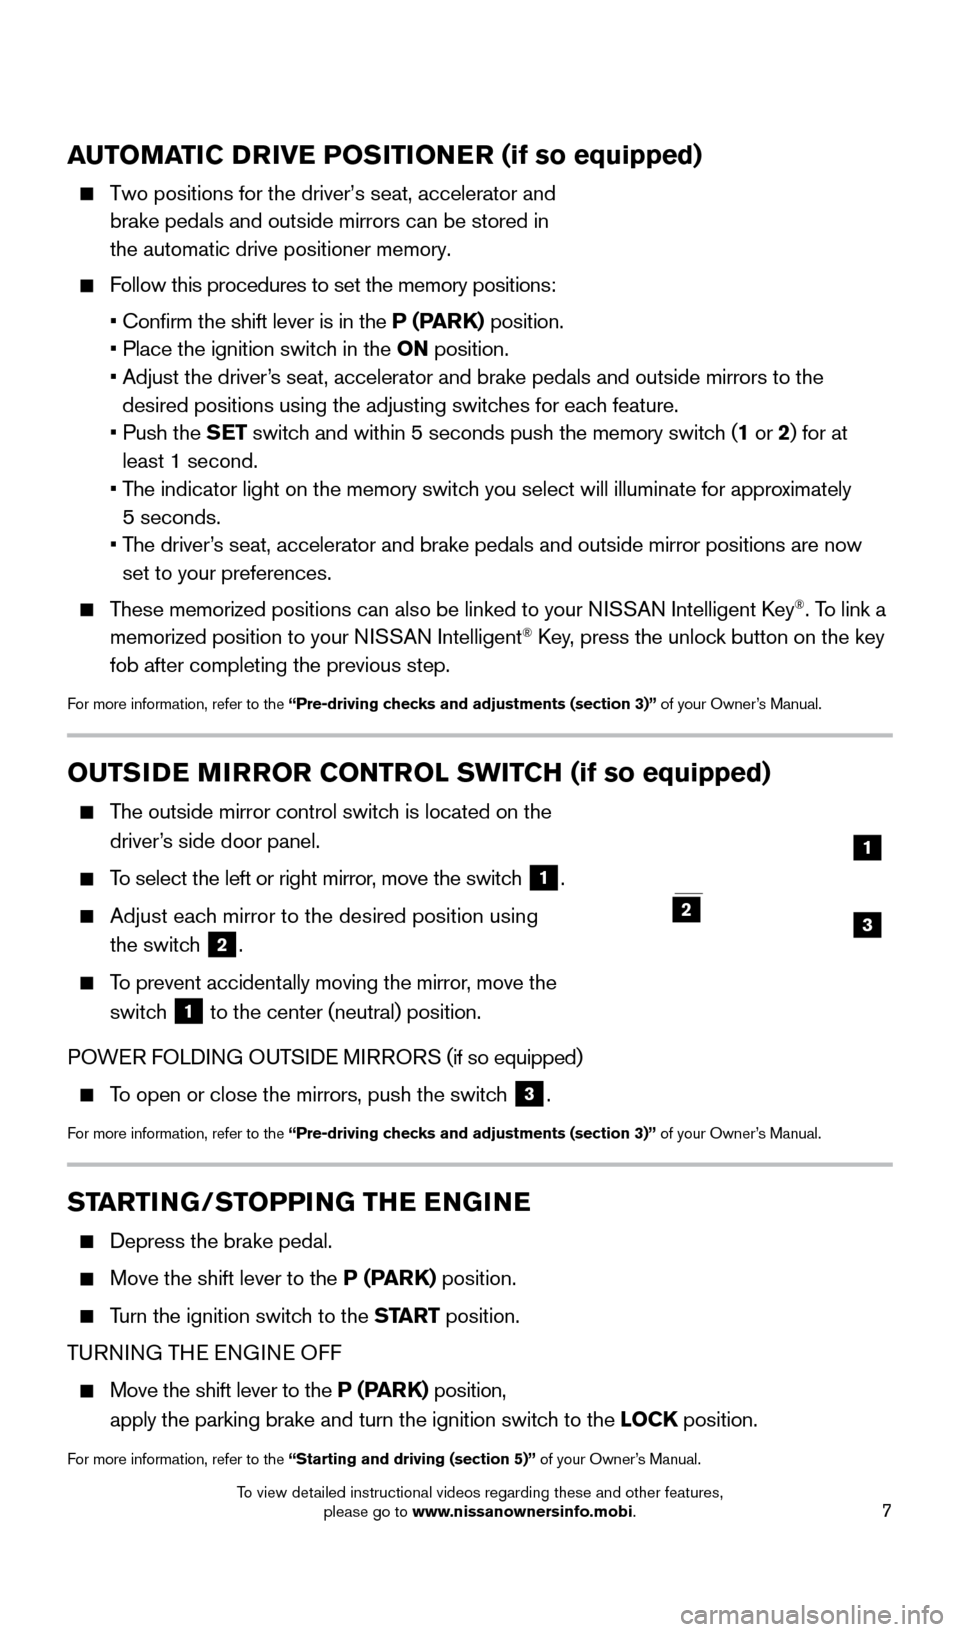
OUTSIDE MIRROR CONTROL SWITCH (if so equipped)
The outside mirror control switch is located on the
driver’s side door panel.
To select the left or right mirror, move the switch 1.
Adjust each mirror to the desired position using
the switch
2.
To prevent accidentally moving the mirror, move the
switch
1 to the center (neutral) position.
POWER FOLDING OUTSIDE MIRRORS (if so equipped)
To open or close the mirrors, push the switch 3.
For more information, refer to the “Pre-driving checks and adjustments (section 3)” of your Owner’s Manual.
2
1
23
AUTOMATIC DRIVE POSITIONER (if so equipped)
Two positions for the driver’s seat, accelerator and
brake pedals and outside mirrors can be stored in
the automatic drive positioner memory.
Follow this procedures to set the memory positions:
• Confirm the shift lever is in the
P (PARK) position.
• Place the ignition switc
h in the ON position.
•
Adjust the driver
’s seat, accelerator and brake pedals and outside mirrors to the
desired positions using the adjusting switches for each feature.
•
Push the
SET switch and within 5 seconds push the memory switch (1 or 2) for at
least 1 second.
•
T
he indicator light on the memory switch you select will illuminate for approximately
5 seconds.
•
T
he driver’s seat, accelerator and brake pedals and outside mirror positions are no\
w
set to your preferences.
These memorized positions can also be linked to your NISSAN Intelligent Key®. To link a
memorized position to your NISSAN Intelligent® Key, press the unlock button on the key
fob after completing the previous step.
For more information, refer to the “Pre-driving checks and adjustments (section 3)” of your Owner’s Manual.
1925624_15b_Titan_QRG_041415.indd 74/14/15 2:33 PM
To view detailed instructional videos regarding these and other features, please go to www.nissanownersinfo.mobi.
Page 13 of 24
11
FM/AM/SiriusXM®* SATELLITE RADIO WITH CD PLAYER
(if so equipped)
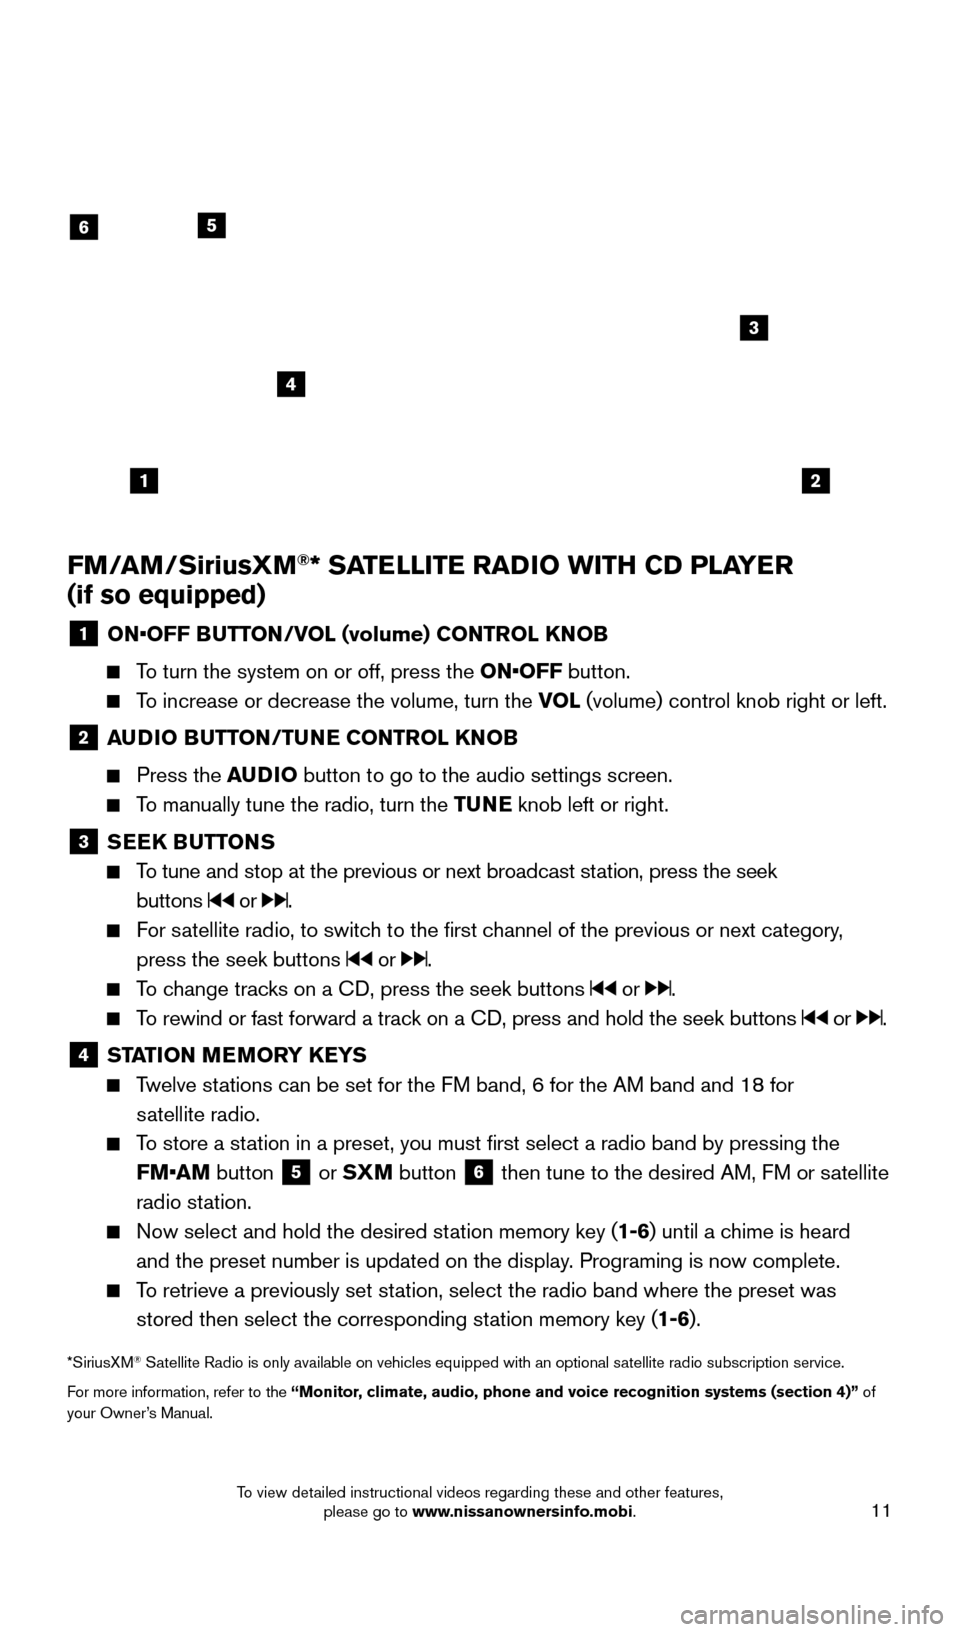
1 ON •OFF BUTTON/VOL (volume) CONTROL KNOB
To turn the system on or off, press the ON•OFF button.
To increase or decrease the volume, turn the VOL
(volume) control knob right or left.
2 AUDIO BUTTON/TUNE CONTROL KNOB
Press the
AUDIO button to go to the audio settings screen.
To manually tune the radio, turn the TUNE knob left or right.
3 SEEK BUTTONS
To tune and stop at the previous or next broadcast station, press the seek
buttons
or .
For satellite radio, to switch to the first channel of the previous or next category, press the seek buttons
or .
To change tracks on a CD, press the seek buttons or .
To rewind or fast forward a track on a CD, press and hold the seek buttons or .
4 ST ATION MEMORY KEYS Twelve stations can be set for the FM band, 6 for the AM band and 18 for
satellite radio.
To store a station in a preset, you must first select a radio band by pressing the FM•AM button
5 or
SXM button
6 then tune to the desired AM, FM or satellite
radio station.
Now select and hold the desired st ation memory key (1-6)
until a chime is heard
and the preset number is updated on the display. Programing is now complete.
To retrieve a previously set station, select the radio band where the preset was stored then select the corresponding station memory key (1-6).
*SiriusXM® Satellite Radio is only available on vehicles equipped with an optional s\
atellite radio subscription service.
For more information, refer to the “Monitor, climate, audio, phone and voice recognition systems (section 4)” of
your Owner’s Manual.
12
6
3
4
5
1925624_15b_Titan_QRG_041415.indd 114/14/15 2:33 PM
To view detailed instructional videos regarding these and other features, please go to www.nissanownersinfo.mobi.
Page 14 of 24
12
FI RST DRIVE FEATURES
CRUISE CONTROL (if so equipped)
The cruise control system enables you to set a
constant cruising speed once the vehicle has
reached 25 mph (40 km/h).
The system will automatically maintain the set
speed until you tap the brake pedal, accelerate,
cancel or turn the system off.
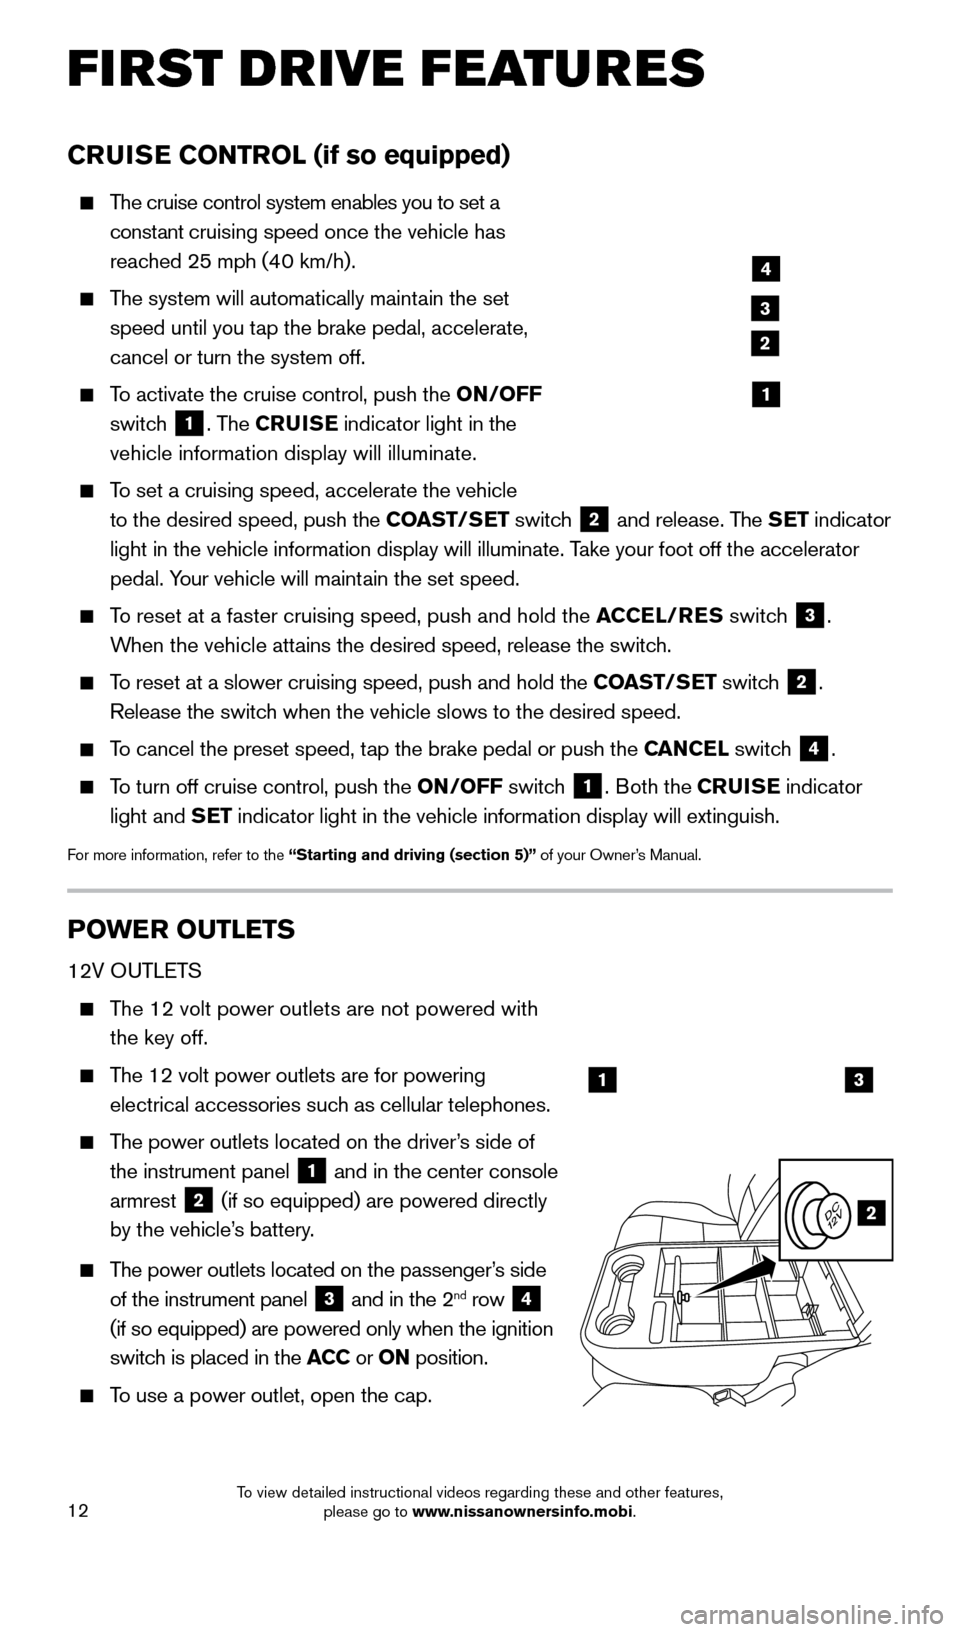
To activate the cruise control, push the ON/OFF
switch
1. The CRUISE indicator light in the
vehicle information display will illuminate.
To set a cruising speed, accelerate the vehicle
to the desired speed, push the COAST/SET switch
2 and release. The SET indicator
light in the vehicle information display will illuminate. Take your foot off the accelerator
pedal. Your vehicle will maintain the set speed.
To reset at a faster cruising speed, push and hold the ACCEL/RES switch
3.
When the vehicle attains the desired speed, release the switch.
To reset at a slower cruising speed, push and hold the COAST/SET switch 2.
Release the switch when the vehicle slows to the desired speed.
To cancel the preset speed, tap the brake pedal or push the CANCEL switch 4.
To turn off cruise control, push the ON/OFF switch 1. Both the CRUISE indicator
light and SET indicator light in the vehicle information display will extinguish.
For more information, refer to the “Starting and driving (section 5)” of your Owner’s Manual.
POWER OUTLETS
12V OUTLETS
The 12 volt power outlets are not powered with the key off.
The 12 volt power outlets are for powering
electrical accessories such as cellular telephones.
The power outlets located on the driver’s side of
the instrument panel
1 and in the center console
armrest 2 (if so equipped) are powered directly
by the vehicle’s battery.
The power outlets located on the passenger’s side
of the instrument panel
3 and in the 2nd row 4
(if so equipped) are powered only when the ignition
switch is placed in the ACC or ON position.
To use a power outlet, open the cap.
4
3
2
1
13
2
1925624_15b_Titan_QRG_041415.indd 124/14/15 2:33 PM
To view detailed instructional videos regarding these and other features, please go to www.nissanownersinfo.mobi.
Page 15 of 24

13
120V OUTLET (if so equipped)
120 volt power outlets are not powered directly to
the battery and require the key to be on and the
power inverter switch
7 is depressed.
400W mode is only available with the transmission
in the P (PA R K ) position.
The 120 volt power outlets are for powering
electrical devices up to 120 volts.
The power outlets located in the truck box 5 and
the center console 6 are powered directly by
the vehicle’s battery.
For devices that require power of 120V or
more, the vehicle must be placed in the
P (PARK) position.
For powering devices that exceed 120V, first activate the power inverter switch
7.
For more information, refer to the “Instruments and controls (section 2)” of your Owner’s Manual.
4
5
6
7
1925624_15b_Titan_QRG_041415.indd 134/14/15 2:33 PM
To view detailed instructional videos regarding these and other features, please go to www.nissanownersinfo.mobi.
Page 19 of 24

17
RECEIVING/ENDING A CALL
When you receive a phone call, a ring tone sounds through the audio syste\
m.
To accept the call, press the button.
To reject the call, press the button.
To hang-up the phone at the end of a call or to disconnect during call pl\
acement,
press the
button.
BLUETOOTH® SYSTEM WITH NAVIGATION* (if so equipped)
Send predefined or custom text mess ages** through your vehicle’s Bluetooth® system.
Receive texts through your vehicle’s Bluetooth® system that can be read to you.
Bluetooth® Streaming Audio allows you to use a compatible Bluetooth® phone to play
audio files on your device. Your compatible cellular phone can be connected to the
vehicle’s audio system, allowing audio files to play through the vehicle’s speakers.
CONNECTING PROCEDURE
1.
Press the button on the control panel.
2.
T
ouch the “Settings” key
1.
3.
T
ouch the “Phone & Bluetooth” key
2.
4.
T
ouch the “Connect New Device” key
3.
5.
Initiate the connecting process from the handset.
T
he system will display the message:
“Is P
IN XXXXXX displayed on your
Bluetooth device?”
If the P
IN is displayed on your Bluetooth
® device,
select “Yes” to complete the connecting process.
1
2
3
**Laws in some jurisdictions may restrict the use of “Text-to-Speech”. Some applications and features, such as social
networking and texting, may also be restricted. Check local regulations for any requirements before using these features. *Some jurisdictions prohibit the use of cellular telephones while drivin\
g.
1925624_15b_Titan_QRG_041415.indd 174/14/15 2:33 PM
To view detailed instructional videos regarding these and other features, please go to www.nissanownersinfo.mobi.
Page 20 of 24

18
SYS T E M GUIDE
VEHICLE PHONEBOOK
To access the vehicle phonebook:
1.
Press the button on the control panel.
2.
Select the “Phonebook” key 4.
3.
Choose the desired entry from the displayed list.
MAK
ING A CALL
1.
Press the
button on the control panel. The “Phone” screen
5 will appear on
the display.
2.
Select one of the following options to make a call:
“Phonebook”: Select the name from an entry stored in the vehicle p\
honebook.
“Call Lists”: Select the name from the incoming, outgoing or misse\
d call history .
“Redial”: Dial the last outgoing call from the vehicle.
— Input the phone number manually using the keypad displayed on the s\
creen.
RECEIVING/ENDING A CALL
To accept the incoming call, either:
• Press the button on the steering wheel, or
• Select the icon on the screen.
To reject the incoming call, either:
• Press the button on the steering wheel, or
• Select the icon on the screen.
To end a phone call, either:
• Press the button on the steering wheel, or
• Select the icon on the screen.
For more information, refer to the “Monitor, climate, audio, phone and voice recognition systems (section 4)” \
of your
Owner’s Manual.
4
5
1925624_15b_Titan_QRG_041415.indd 184/14/15 2:33 PM
To view detailed instructional videos regarding these and other features, please go to www.nissanownersinfo.mobi.
Page 21 of 24
19
NAVIGATION SYSTEM (if so equipped)
Your Navigation System can calculate a route from your current location t\
o a preferred destination. The real-time map display and turn-by-turn voice guidance will lead you
along the route.
The Navigation System will continually update your vehicle’s position. If you have deviated from the original route, it will recalculate the route from you\
r current location.
To help promote safe driving, some functions cannot be operated or have limited operation\
when the vehicle driving speed is above 5 mph (8 km/h). The on-screen text and keys
for these restricted functions will be “grayed-out” or muted and c\
annot be selected while
driving. These functions will become available again when the vehicle speed is red\
uced to
5 mph (8 km/h). Voice commands may be available for some of the restricted functions. For
more information, refer to the “Monitor, climate, audio, phone and voice recognition systems
(section 4)” of your Owner’s Manual.
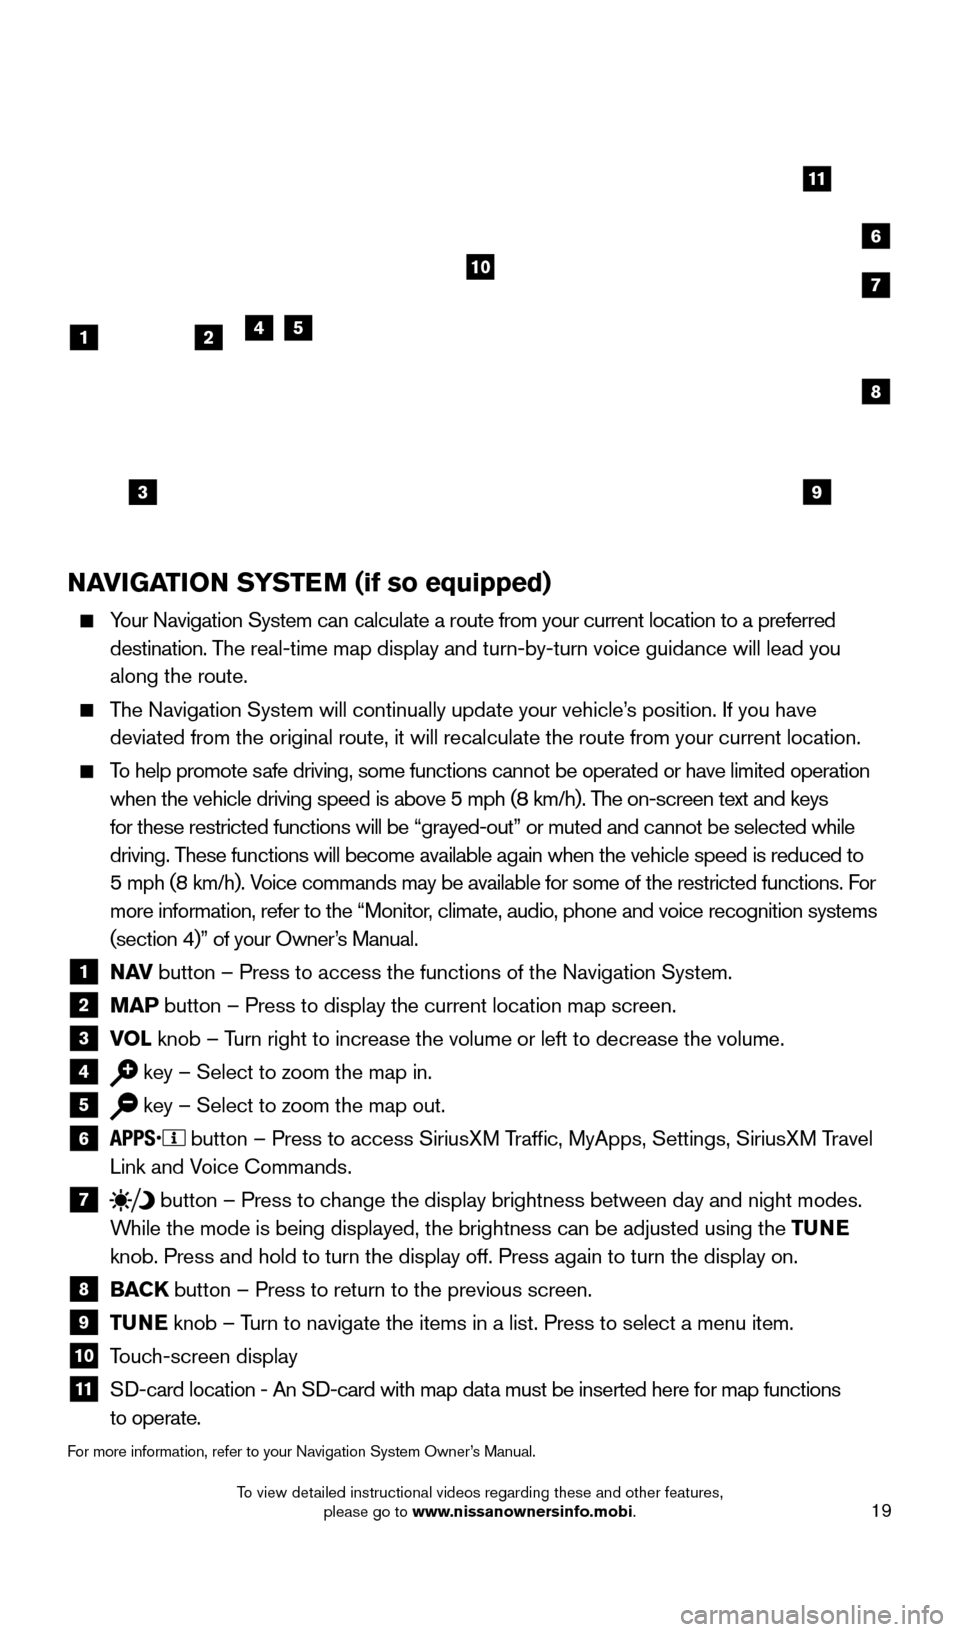
1 N AV
button – Press to access the functions of the Navigation System.2 MAP button – Press to display the current location map screen.3 VOL
knob – Turn right to increase the volume or left to decrease the volume.4 key – Select to zoom the map in.5 key – Select to zoom the map out.6 button – Press to access SiriusXM Traffic, MyApps, Settings, SiriusXM Travel
Link and Voice Commands.
7 button
– Press to change the display brightness between day and night modes.
While the mode is being displayed, the brightness can be adjusted using t\
he TUNE
knob. Press and hold to turn the display off. Press again to turn the di\
splay on.
8 BAC K
button – Press to return to the previous screen.9 T UNE
knob – Turn to navigate the items in a list. Press to select a menu item.10 Touch-screen display11 S D-card location - An SD-card with map data must be inserted here for map functions
to operate.
For more information, refer to your Navigation System Owner’s Manual.
3
241
10
6
11
5
8
7
9
1925624_15b_Titan_QRG_041415.indd 194/14/15 2:33 PM
To view detailed instructional videos regarding these and other features, please go to www.nissanownersinfo.mobi.