audio NISSAN TITAN 2017 2.G Owners Manual
[x] Cancel search | Manufacturer: NISSAN, Model Year: 2017, Model line: TITAN, Model: NISSAN TITAN 2017 2.GPages: 671, PDF Size: 7.96 MB
Page 8 of 671
Table of Contents
Illustrated table of contents
Safety—Seats, seat belts and supplemental restraint system
Instruments and controls
Pre-driving checks and adjustments
Monitor, climate, audio, phone and voice recognition systems
Starting and driving
In case of emergency
Appearance and care
Do-it-yourself
Maintenance and schedules
Technical and consumer information
Index
0
1
2
3
4
5
6
7
8
9
10
11
Page 15 of 671
1. Vents (P. 4-32)
2. Turn signal switch (P. 2-57)Wiper and washer switch (P. 2-49)
3. Steering wheel switch for audio control
(P. 4-82)
Bluetooth® Hands-Free Phone System
(P. 4-82)
Vehicle information display controls
(P. 2-32)
4. Driver supplemental air bag (P. 1-51) Horn (P. 2-58)
5. Meters and gauges (P. 2-6) Warning and indicator lights (P. 2-21)
6. Cruise control main/set switches
(P. 5-40)
7. Shift lever (P. 5-16) Tow mode switch (P. 2-68)
8. Audio controls (P. 4-46)
9. Center display (P. 4-4)
10. Climate controls (P. 4-33)
11. Front passenger supplemental air bag
(P. 1-51)
12. Glove box (P. 2-74)
13. Front passenger air bag status light
(if so equipped) (P. 1-51)
14. Power outlet (P. 2-69)
LII2352
INSTRUMENT PANEL
0-6Illustrated table of contents
Page 107 of 671
1. Vents (P. 4-32)
2. Turn signal switch (P. 2-57)Wiper and washer switch (P. 2-49)
3. Steering wheel switch for audio control
(P. 4-82)
Bluetooth® Hands-Free Phone System
(P. 4-82)
Vehicle information display controls
(P. 2-32)
4. Driver supplemental air bag (P. 1-51) Horn (P. 2-58)
5. Meters and gauges (P. 2-6) Warning and indicator lights (P. 2-21)
6. Cruise control main/set switches
(P. 5-40)
7. Shift lever (P. 5-16) Tow mode switch (P. 2-68)
8. Audio controls (P. 4-46)
9. Center display (P. 4-4)
10. Climate controls (P. 4-33)
11. Front passenger supplemental air bag
(P. 1-51)
12. Glove box (P. 2-74)
13. Front passenger air bag status light
(if so equipped) (P. 1-51)
14. Power outlet (P. 2-69)
LII2352
INSTRUMENT PANEL
2-4Instruments and controls
Page 136 of 671
The ENTER button also controls audio functions.
For additional information, refer to “Steering
wheel switch for audio control” in the “Monitor,
climate, audio, phone and voice recognition sys-
tems” section of this manual.
STARTUP DISPLAY
When the vehicle is placed in the ON or ACC (if
so equipped) position, the vehicle information
display may display the following screens:● Home
● Off Road
● Auxiliary Gauges (if so equipped)
● DEF Level (if so equipped)
● Trip
● Fuel Economy
● Navigation (if so equipped)
● Audio
● Driving Aids (if so equipped)
● Tire Pressures
● Warning Confirmation
● Settings Warning Confirmation will only display if there are
any warnings present. For additional information,
refer to “Vehicle information display warnings and
indicators” in this section.
To control which items display in the vehicle
information display, refer to “Settings” in this sec-
tion.
SETTINGS
The setting mode allows you to change the infor-
mation displayed in the vehicle information dis-
play:
● Driver Assistance (if so equipped)
● Meter Settings
● Vehicle Settings
● Towing Settings (if so equipped)
● Alarm (if so equipped)
● Maintenance
● Unit
● Language
● Factory Reset
Instruments and controls2-33
Page 137 of 671
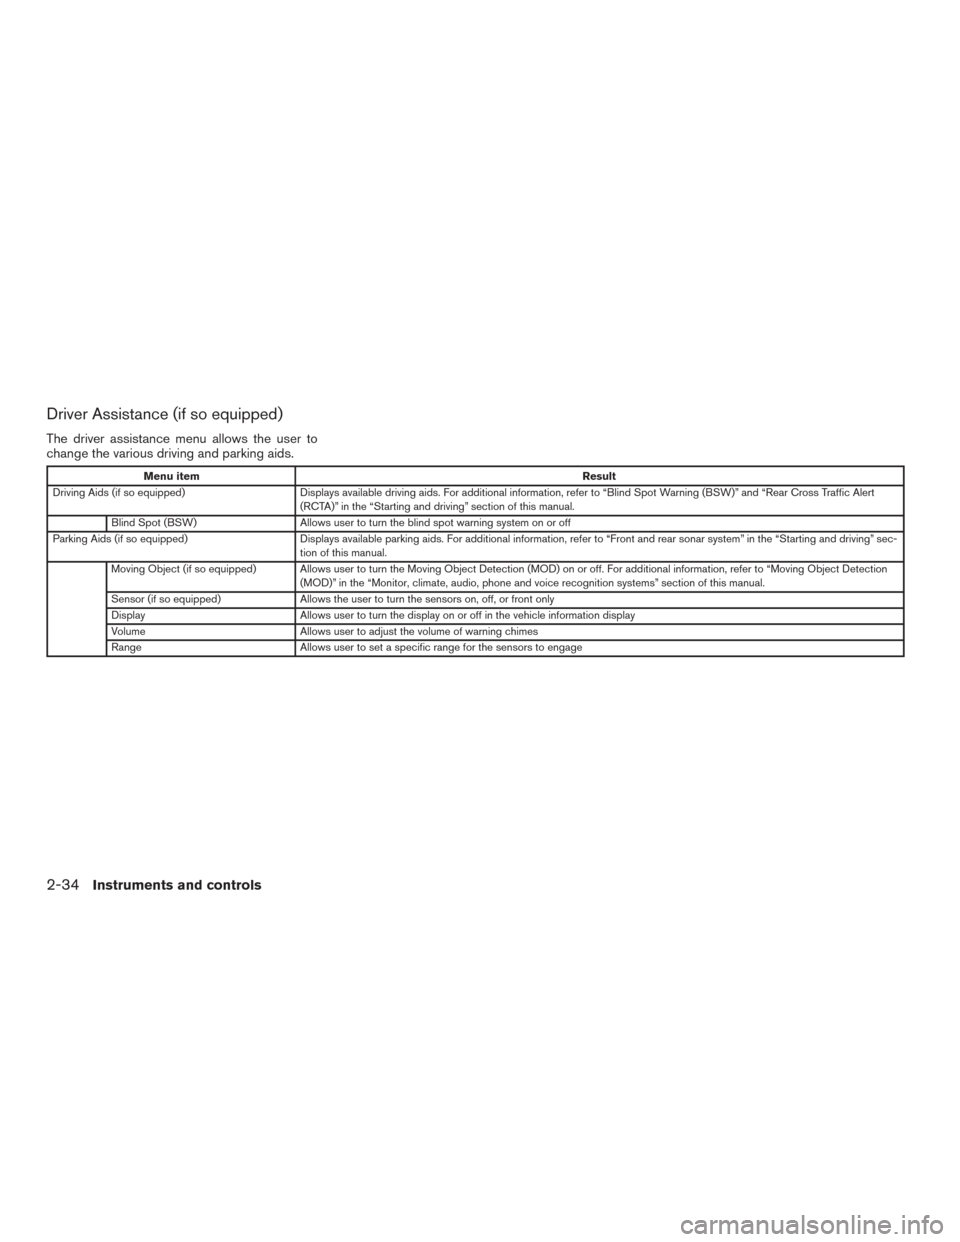
Driver Assistance (if so equipped)
The driver assistance menu allows the user to
change the various driving and parking aids.
Menu itemResult
Driving Aids (if so equipped) Displays available driving aids. For additional information, refer to “Blind Spot Warning (BSW)” and “Rear Cross Traff ic Alert
(RCTA)” in the “Starting and driving” section of this manual.
Blind Spot (BSW) Allows user to turn the blind spot warning system on or off
Parking Aids (if so equipped) Displays available parking aids. For additional information, refer to “Front and rear sonar system” in the “Starting and driving” sec-
tion of this manual.
Moving Object (if so equipped) Allows user to turn the Moving Object Detection (MOD) on or off. For additional information, refer to “Moving Object Detection (MOD)” in the “Monitor, climate, audio, phone and voice recognition systems” section of this manual.
Sensor (if so equipped) Allows the user to turn the sensors on, off, or front only
Display Allows user to turn the display on or off in the vehicle information display
Volume Allows user to adjust the volume of warning chimes
Range Allows user to set a specific range for the sensors to engage
2-34Instruments and controls
Page 138 of 671
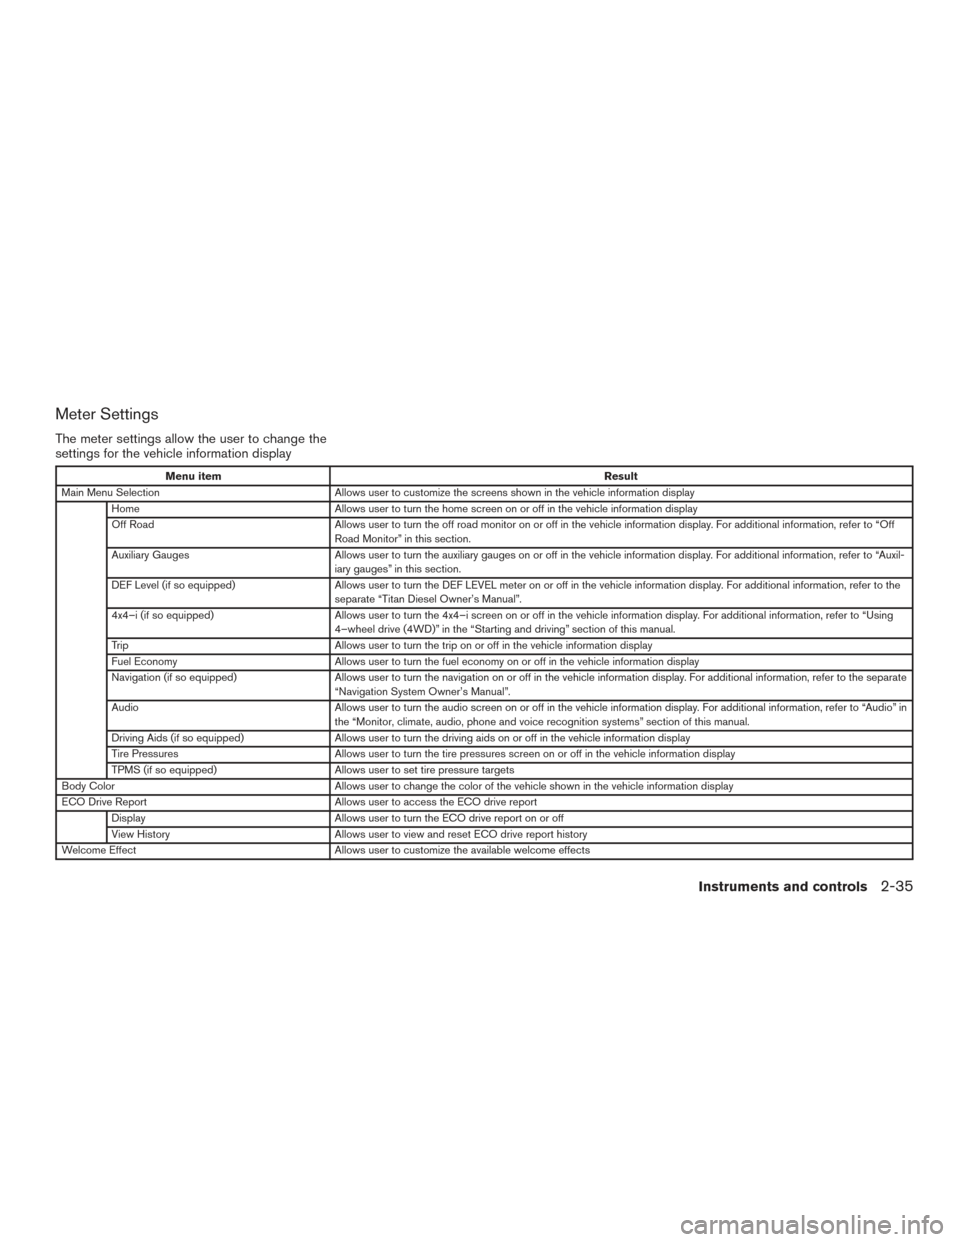
Meter Settings
The meter settings allow the user to change the
settings for the vehicle information display
Menu itemResult
Main Menu Selection Allows user to customize the screens shown in the vehicle information display
Home Allows user to turn the home screen on or off in the vehicle information display
Off Road Allows user to turn the off road monitor on or off in the vehicle information display. For additional information, refer to “Off
Road Monitor” in this section.
Auxiliary Gauges Allows user to turn the auxiliary gauges on or off in the vehicle information display. For additional information, refer to “Auxil-
iary gauges” in this section.
DEF Level (if so equipped) Allows user to turn the DEF LEVEL meter on or off in the vehicle information display. For additional information, refer to the
separate “Titan Diesel Owner’s Manual”.
4x4–i (if so equipped) Allows user to turn the 4x4–i screen on or off in the vehicle information display. For additional information, refer to “Using
4–wheel drive (4WD)” in the “Starting and driving” section of this manual.
Trip Allows user to turn the trip on or off in the vehicle information display
Fuel Economy Allows user to turn the fuel economy on or off in the vehicle information display
Navigation (if so equipped) Allows user to turn the navigation on or off in the vehicle information display. For additional information, refer to the separate
“Navigation System Owner’s Manual”.
Audio Allows user to turn the audio screen on or off in the vehicle information display. For additional information, refer to “Audio” in
the “Monitor, climate, audio, phone and voice recognition systems” section of this manual.
Driving Aids (if so equipped) Allows user to turn the driving aids on or off in the vehicle information display
Tire Pressures Allows user to turn the tire pressures screen on or off in the vehicle information display
TPMS (if so equipped) Allows user to set tire pressure targets
Body Color Allows user to change the color of the vehicle shown in the vehicle information display
ECO Drive Report Allows user to access the ECO drive report
Display Allows user to turn the ECO drive report on or off
View History Allows user to view and reset ECO drive report history
Welcome Effect Allows user to customize the available welcome effects
Instruments and controls2-35
Page 171 of 671
The parking sensor (sonar) , MOD, or RCTA sys-
tems will be turned on automatically under the
following conditions:● When the ignition switch is switched from
the OFF position to the ON position.
● When the shift lever is shifted into the R
(Reverse) position.
● When the vehicle speed increases to 6 mph
(10 km/h) and decreases.
The automatic turning on function can be turned
on and off for these systems in the vehicle infor-
mation display (if so equipped) . For additional
information, refer to “Settings” in the “Instrument
and controls” section of this manual.
For additional information, refer to “Front and rear
sonar system” or “Rear Cross Traffic Alert
(RCTA)” in the “Starting and driving” section of
this manual, or the “Moving Object Detection
(MOD)” in the “Monitor, climate, audio, phone
and voice recognition systems” section of this
manual. Tow mode should be used when pulling a heavy
trailer or hauling a heavy load. Driving the vehicle
in the tow mode with no trailer/load or light
trailer/light load will not cause any damage. How-
ever, fuel economy may be reduced, and the
transmission/engine driving characteristics may
feel unusual.
Push the tow mode switch to activate tow mode.
The TOW indicator light illuminates when tow
mode is selected. Push the tow mode switch
again to turn tow mode off.
Tow mode is automatically canceled when the
ignition switch is placed in the OFF position.For additional information, refer to “Tow mode” in
the “Technical and consumer information” sec-
tion of this manual.
LIC3381
TOW MODE SWITCH (if so equipped)
2-68Instruments and controls
Page 200 of 671
Never leave the keys in the vehicle.
As many as four Intelligent Keys can be regis-
tered and used with one vehicle. The new keys
must be registered prior to the use with the
Intelligent Key system and NISSAN Vehicle Im-
mobilizer System of your vehicle. It is recom-
mended that you visit a NISSAN dealer for this
service. Since the registration process requires
erasing all memory in the Intelligent Key compo-
nents when registering new keys, be sure to take
all Intelligent Keys that you have to the NISSAN
dealer.A key number plate is supplied with your keys.
Record the key number and keep it in a safe place
(such as your wallet) , not in the vehicle. If you lose
your keys, it is recommended that you visit a
NISSAN dealer for duplicates by using the key
number. NISSAN does not record key numbers
so it is very important to keep track of your key
number plate.
A key number is only necessary when you have
lost all keys and do not have one to duplicate
from. If you still have a key, it can be duplicated
without knowing the key number.
CAUTION
Listed below are conditions or occur-
rences which will damage the Intelligent
Key:
●
Do not allow the Intelligent Key, which
contains electrical components, to
come into contact with water or salt
water. This could affect the system
function.
● Do not drop the Intelligent Key.
● Do not strike the Intelligent Key sharply
against another object.
● Do not change or modify the Intelligent
Key. ●
Wetting may damage the Intelligent
Key. If the Intelligent Key gets wet, im-
mediately wipe until it is completely dry.
● Do not place the Intelligent Key for an
extended period in an area where tem-
peratures exceed 60°C (140°F) .
● Do not attach the Intelligent Key with a
key holder that contains a magnet.
● Do not place the Intelligent Key near
equipment that produces a magnetic
field, such as a TV, audio equipment and
personal computers.
If an Intelligent Key is lost or stolen, NISSAN
recommends erasing the ID code of that Intelli-
gent Key from the vehicle. This may prevent the
unauthorized use of the Intelligent Key to operate
the vehicle. For information regarding the erasing
procedure, it is recommended that you visit a
NISSAN dealer.Type C (if so equipped)
LPD2279
Pre-driving checks and adjustments3-3
Page 217 of 671
Thebutton will be on the NISSAN Intelli-
gent Key® if the vehicle has remote engine start.
This feature allows the engine to start from out-
side the vehicle.
The following features may be affected when the
remote start feature is used:
● Vehicles with an automatic climate control
system will default to either a heating or
cooling mode depending on outside and
cabin temperatures. For additional informa-
tion, refer to “Remote engine start logic” in
the “Monitor, climate, audio, phone and
voice recognition systems” section of this
manual. Laws in some local communities may restrict the
use of remote starters. For example, some laws
require a person using remote start to have the
vehicle in view. Check local regulations for any
requirements.
Other conditions may affect the function of the
remote engine start feature. For additional infor-
mation, refer to “Conditions the remote start will
not work” in this section.
Other conditions can affect the performance of
the Intelligent Key transmitter. For additional in-
formation, refer to “NISSAN Intelligent Key®” in
this section.REMOTE ENGINE START
OPERATING RANGE
The remote engine start function can only be
used when the Intelligent Key is within the speci-
fied operating range from the vehicle.
When the Intelligent Key battery is discharged or
other strong radio wave sources are present near
the operating location, the Intelligent Key operat-
ing range becomes narrower, and the Intelligent
Key may not function properly.
The remote engine start operating range is ap-
proximately 197 ft (60 m) from the vehicle.
REMOTE STARTING THE VEHICLE
To use the remote start feature to start the engine
perform the following:
1. Aim the Intelligent Key at the vehicle.
2. Press the
LOCK button to lock all
doors.
3. Within 5 seconds press and hold the
remote start button until the turn signal lights
flash and the tail lamps turn on. If the vehicle
is not within view press and hold the
remote start button for at least 2 seconds.
The following events will occur when the engine
starts:
● The parking lights will turn on and remain on
as long as the engine is running.
● The doors will be locked and the climate
control system may come on.
● The engine will continue to run for 10 min-
utes. Repeat the steps to extend the time for
an additional 10 minutes. For additional in-
formation, refer to “Extending engine run
time” in this section.
LPD2293
REMOTE ENGINE START (if so
equipped)
3-20Pre-driving checks and adjustments
Page 237 of 671
4 Monitor, climate, audio, phone and voice
recognition systems
Control panel buttons — color screen with
Navigation System (if so equipped)..................4-4
How to use the touch-screen . . ..................4-5
How to use the
BACK button ..............4-7
How to use the [
] button ..................4-7
button...................................4-9
How to use the CAMERA button .................4-9
RearView Monitor (if so equipped) ..................4-10
RearView Monitor system operation .............4-11
How to read the displayed lines .................4-11
Difference between predicted and actual
distances ..................................... 4-12
Adjusting the screen ........................... 4-14
RearView Monitor system limitations .............4-14
System maintenance ........................... 4-15
Around View® Monitor (if so equipped) .............4-16
Around View® Monitor system operation .........4-17
Difference between predicted and actual
distances ..................................... 4-20
How to park with predicted course lines ..........4-22
How to switch the display ......................4-23
Adjusting the screen ........................... 4-24
Around View® Monitor system limitations ........4-25 System maintenance
........................... 4-27
Moving Object Detection (MOD) (if so equipped) ....4-28
MOD system operation ......................... 4-29
Turning MOD on and off ........................ 4-30
MOD system limitations ........................ 4-31
System maintenance ........................... 4-32
Vents ........................................... 4-32
Heater and air conditioner (manual)
(if so equipped) .................................. 4-33
Controls ...................................... 4-34
Heater operation .............................. 4-35
Air conditioner operation .......................4-37
Air flow charts ................................. 4-38
Heater and Air Conditioner (automatic)
(if so equipped) .................................. 4-42
Automatic operation ........................... 4-43
Manual operation .............................. 4-44
Operating tips ................................. 4-45
Servicing air conditioner ........................... 4-45
Audio system .................................... 4-46
Radio ........................................ 4-46
FM
radio reception ............................ 4-46
AM radio reception ............................ 4-46