AUX NISSAN TITAN XD 2017 Owners Manual
[x] Cancel search | Manufacturer: NISSAN, Model Year: 2017, Model line: TITAN XD, Model: NISSAN TITAN XD 2017Pages: 671, PDF Size: 7.34 MB
Page 114 of 671

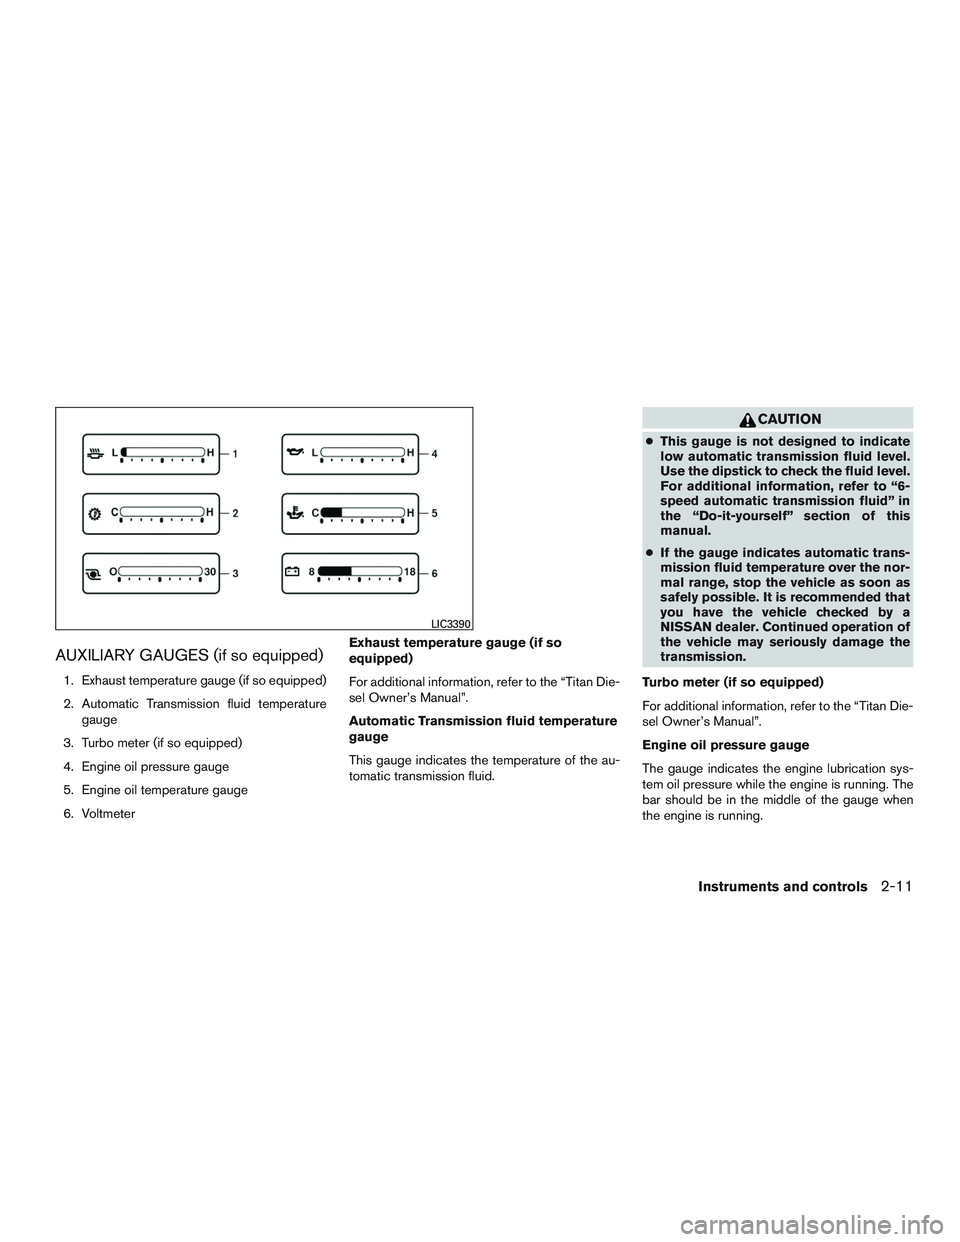
AUXILIARY GAUGES (if so equipped)
1. Exhaust temperature gauge (if so equipped)
2. Automatic Transmission fluid temperaturegauge
3. Turbo meter (if so equipped)
4. Engine oil pressure gauge
5. Engine oil temperature gauge
6. Voltmeter Exhaust temperature gauge (if so
equipped)
For additional information, refer to the “Titan Die-
sel Owner’s Manual”.
Automatic Transmission fluid temperature
gauge
This gauge indicates the temperature of the au-
tomatic transmission fluid.
Page 308 of 671

CAUTION
●To avoid damage and loss of function
when using a USB device, note the fol-
lowing precautions.
● Do not force the USB device into the
USB port. Inserting the USB device
tilted or up-side-down into the port may
damage the port. Make sure that the
USB device is connected correctly into
the USB port.
● Do not grab the USB port cover (if so
equipped) when pulling the USB device
out of the port. This could damage the
port and the cover.
● Do not leave the USB cable in a place
where it can be pulled unintentionally.
Pulling the cable may damage the port.
For additional information, refer to your device
manufacturer’s owner information regarding the
proper use and care of the device.
The USB port is located on the center console
beneath the heater and air conditioner controls.
Insert the USB device into the connection port.
When a compatible storage device is plugged
into the connection port, compatible audio files
on the storage device can be played through the
vehicle’s audio system.
Audio file operation
MEDIA button
Place the ignition switch in the ON or ACC
position and press the MEDIA button to switch to
the USB input mode. If a CD is playing or another
audio source is plugged in through the AUX IN
jack located in the center console, the MEDIA
button toggles between the three sources.
Play information
Information about the audio files being played
can be displayed on the display screen of the
vehicle’s audio system. Depending on how the
audio files are encoded, information such as
Folder, Song and Artist will be displayed.
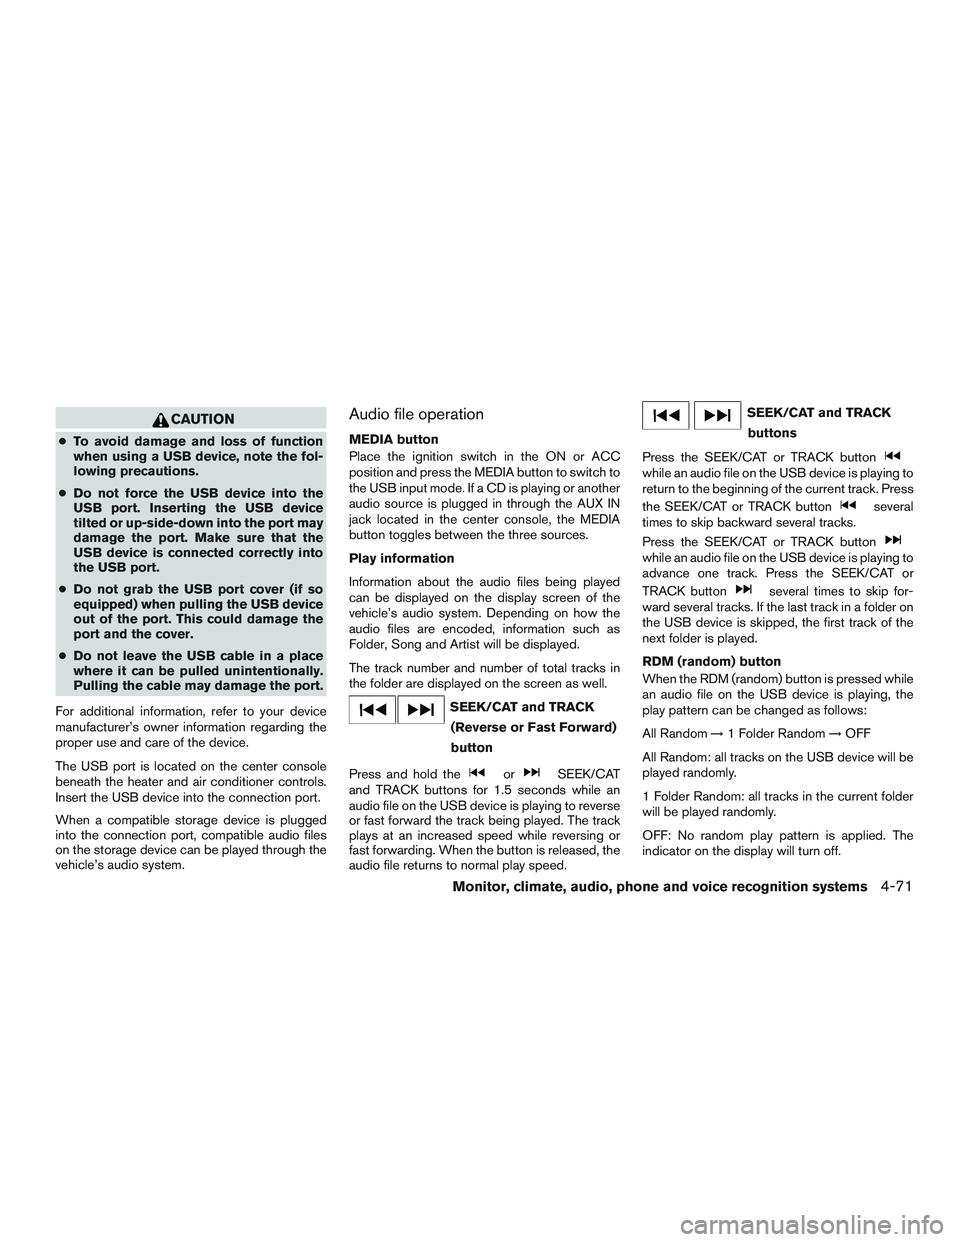
The track number and number of total tracks in
the folder are displayed on the screen as well.
Page 310 of 671

CAUTION
●To avoid damage and loss of function
when using a USB device, note the fol-
lowing precautions.
● Do not force the USB device into the
USB port. Inserting the USB device
tilted or up-side-down into the port may
damage the port. Make sure that the
USB device is connected correctly into
the USB port.
● Do not grab the USB port cover (if so
equipped) when pulling the USB device
out of the port. This could damage the
port and the cover.
● Do not leave the USB cable in a place
where it can be pulled unintentionally.
Pulling the cable may damage the port.
For additional information, refer to your device
manufacturer’s owner information regarding the
proper use and care of the device.
The USB port is located on the center console
beneath the heater and air conditioner controls.
Insert the USB device into the connection port.
When a compatible storage device is plugged
into the connection port, compatible audio files
on the storage device can be played through the
vehicle’s audio system.
Audio file operation
AUX button
Place the ignition switch in the ON or ACC
position and press the AUX button to switch to
the USB input mode. If another audio source is
playing and a USB memory device is inserted,
press the AUX button until the center display
changes to the USB memory mode.
If the system has been turned off while the USB
memory was playing, press the POWER button
to restart the USB memory.
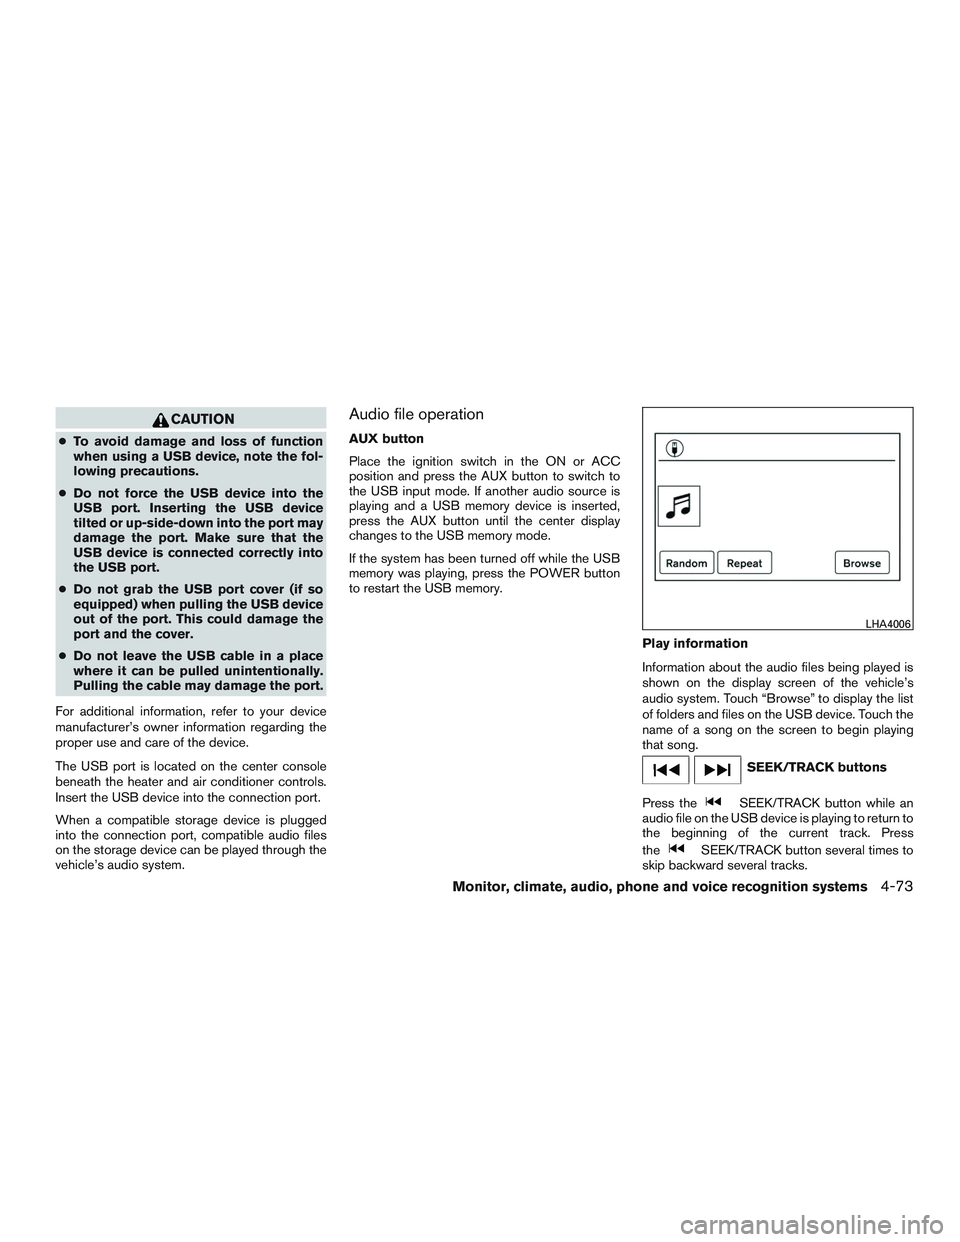
Play information
Information about the audio files being played is
shown on the display screen of the vehicle’s
audio system. Touch “Browse” to display the list
of folders and files on the USB device. Touch the
name of a song on the screen to begin playing
that song.
Page 320 of 671

CD● Tilt up/down for less than 1.5 seconds to
increase or decrease the track number.
● Tilt up/down for more than 1.5 seconds to
increase or decrease the folder number (if
playing compressed audio files) .
● Press the ENTER button to show the CD
Menu.
USB ● Tilt up/down for less than 1.5 seconds to
increase or decrease the track number.
● Tilt up/down for more than 1.5 seconds to
increase or decrease the folder number.
● Press the ENTER button to show the USB
Menu.
Bluetooth® Audio ● Tilt up/down for less than 1.5 seconds to
skip ahead or back to the next song.
● Tilt up/down for more than 1.5 seconds to
reverse or fast forward the current song.
AUX ● Press the ENTER button to show the AUX
Menu.ANTENNA
The antenna cannot be shortened, but can be
removed. When you need to remove the antenna,
turn the antenna rod counterclockwise.
To install the antenna rod, turn the antenna rod
clockwise and hand tighten.