ECO mode NISSAN VERSA NOTE 2017 2.G Quick Reference Guide
[x] Cancel search | Manufacturer: NISSAN, Model Year: 2017, Model line: VERSA NOTE, Model: NISSAN VERSA NOTE 2017 2.GPages: 28, PDF Size: 1.29 MB
Page 3 of 28
NEW SYSTEM FEATURES
Around View® Monitor (if so equipped) ................................................2
Trip Computer .......................................................................\
..
3
USB (Universal Serial Bus) Connection Port/AUX Jack and iPod® Interface
(if so equipped)
........................................................................\
.3
Divide-N-Hide® Adjustable Floor (if so equipped)
......................................4
SiriusXM Travel Link and SiriusXM Traffic (if so equipped)
.............................
4
ESSENTIAL INFORMATION
Tire Pressure Monitoring System (TPMS) with Easy-Fill Tire Alert (if so equipped) ....5
Loose Fuel Cap
........................................................................\
.6
Fuel-filler Door
.......................................................................\
..
6
Clock Set/Adjustment
.................................................................
7
FIRST DRIVE FEATURES
Nissan Intelligent Key® System (if so equipped) .......................................9
Rear Hatch Release (Nissan Intelligent Key® models only – if so equipped) . . . . . . . . . . 10
Seat Adjustments
.....................................................................10
Outside Mirror Control Switch
.........................................................
11
Starting/Stopping the Engine
.........................................................
11
Headlight Control Switch
.............................................................
12
Wiper and Washer Switch
.............................................................13
FM/AM/SiriusXM® Satel
lite Radio with CD Player (if so equipped)
....................14
He
ater and Air Conditioner (manual) .................................................
15
Cruise C
ontrol (if so equipped)
........................................................16
SYSTEM GUIDE
Hands-free Text Messaging Assistant (if so equipped) ...............................17
NissanC onnectSM Mobile Apps (if so equipped) .......................................17
Bluetooth® Hands-fr ee Phone System ...............................................
19
• S
ystem Operating Tips ...........................................................
19
Bluetooth® S
ystem without Navigation (if so equipped) .............................
20
Bluetooth® S
ystem with Navigation (if so equipped)
.................................22
Na
vigation System (if so equipped)
...................................................24
Please see your Owner’s Manual for important safety information and system
operation limitations.
•
A c
ellular telephone should not be used for any purpose while
driving so full attention may be given to vehicle operation.
•
A
lways wear your seat belt.
•
Supplemental air bags do not r
eplace proper seat belt usage.
•
Childr
en 12 and under should always ride in the rear seat properly secured
in child restraints or seat belts according to their age and weight.
•
Do not drink and driv
e.
For more information, refer to the “Safety –– Seats, seat belts and supplemental restraint system
(section 1)”, the “Monitor, climate, audio, phone and voice recognition systems (section 4)” and the
“Starting and driving (section 5)” of your Owner’s Manual.
Additional information about your vehicle is also available in your Owner’s Manual,
Navigation System Owner’s Manual and at www.NissanUSA.com.
TABLE OF CONTENTS
Page 5 of 28

3
USB (Universal Serial Bus) CONNECTION PORT/AUX JACK
AND iPod® INTERFACE (if so equipped)
The USB port/AUX jack 1 is located on the instrument panel below the
climate controls.
When a c ompatible USB memory device, iPod®
or auxiliary device is plugged into the USB
port/AUX jack, compatible audio files stored
on the device can be played through the
vehicle’s audio system.
Please see your Owner’s Manual for important safety
information, system limitations, and additional operating and
feature information.
For more information, refer to the “Monitor, climate, audio, phone and
voice recognition systems (section 4)” of your Owner’s Manual.
1
TRIP COMPUTER
With the ignition switch in the ON position,
modes of the trip computer
1 can be
selected by pressing the menu button 2 on
the steering wheel.
When the menu but ton 2 on the steering
wheel is pressed, the following modes will
appear on the trip
computer:
•
mpg – Displays the current fuel consumption.
•
mpg AVG – Displays the average fuel
consumption since the last reset.
•
mls – Displays the estimated
distance to empty (dte) that can be driven
before refueling.
•
mph AVG – Displays the average speed.
• – Displays the total travel time since the last reset.
• Pressing the menu button 2 on the steering wheel for more than 3 seconds
will reset the average fuel consumption, average speed and travel time.
• Outside Air Temperature (if so equipped)
– Displays the outside air temperature
in °F or °C.
To select trip A or trip B, press the brightness
control knob
3. Press the brightness control
knob
3 for approximately 1 second to reset
the currently displayed trip odometer to zero.
Please see your Owner’s Manual for important safety
information, system limitations, and additional operating and
feature information.
For more information, refer to the “Instruments and controls (section 2)” of your Owner’s Manual.
1
2
3
To view detailed instructional videos regarding these and other features, please go to www.nissanownersinfo.mobi.
Page 7 of 28
5
TIRE PRESSURE MONITORING SYSTEM (TPMS)
WITH EASY-FILL TIRE ALERT (if so equipped)
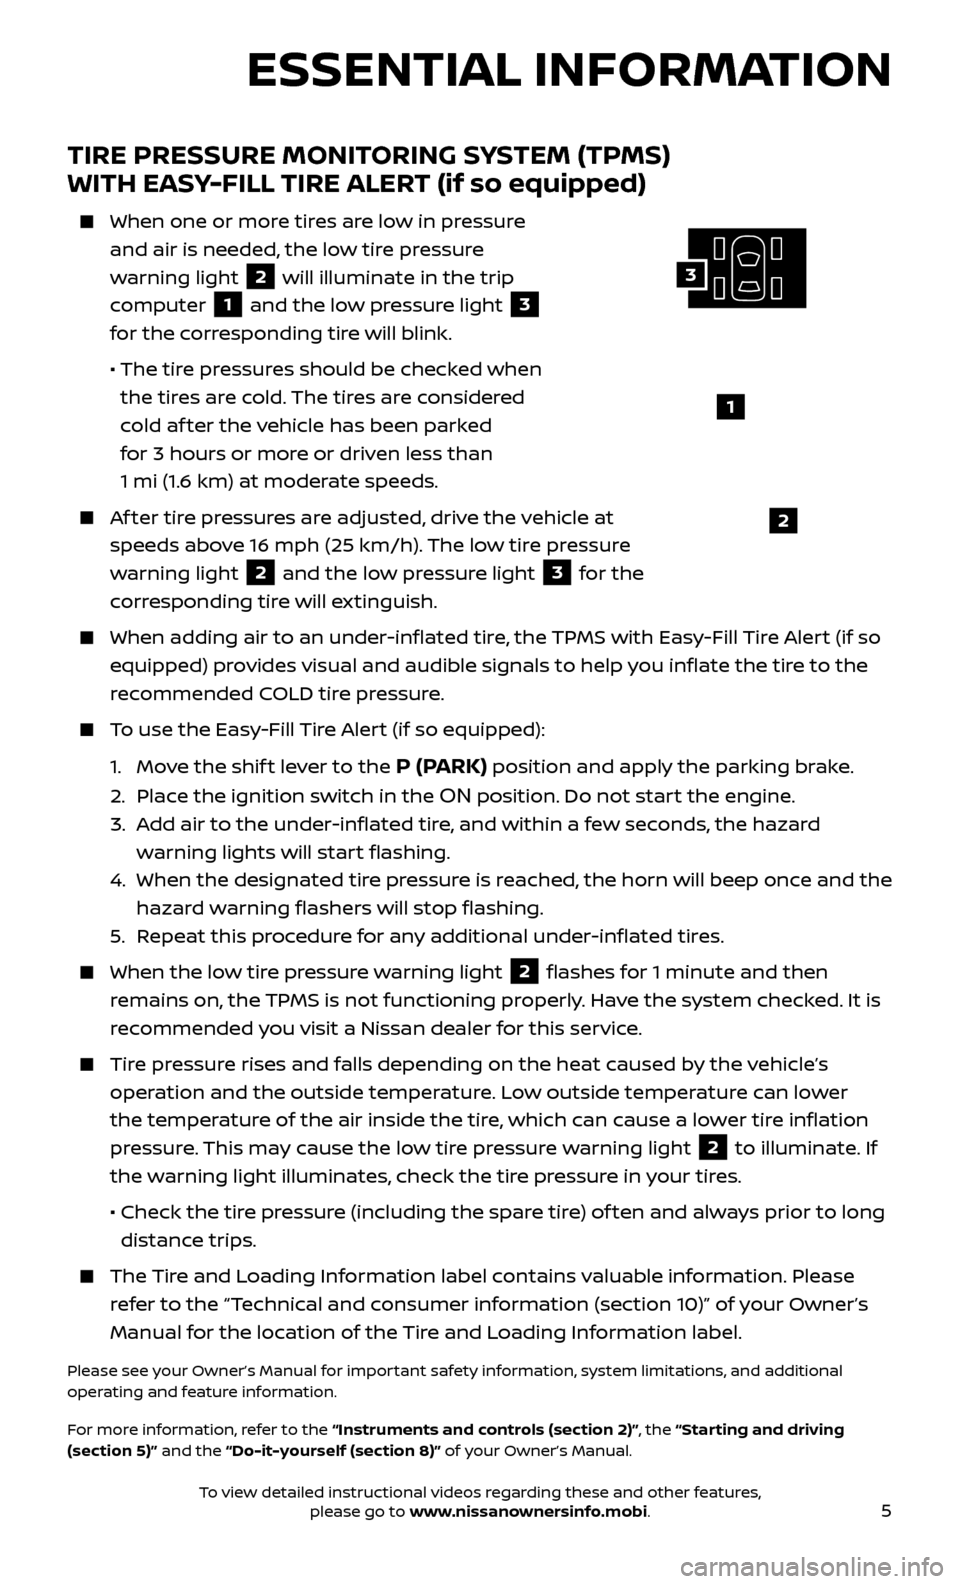
When one or more tires are low in pressure
and air is needed, the low tire pressure
warning light
2 will illuminate in the trip
computer
1 and the low pressure light 3
for the corresponding tire will blink.
• The tir
e pressures should be checked when
the tires are cold. The tires are considered
cold af ter the vehicle has been parked
for 3 hours or more or driven less than
1 mi (1.6 km) at moderate speeds.
Af ter tire pressures are adjusted, drive the vehicle at speeds above 16 mph (25 km/h). The low tire pressure
warning light
2 and the low pressure light 3 for the
corresponding tire will extinguish.
When adding air to an under -inflated tire, the TPMS with Easy-Fill Tire Alert (if so
equipped) provides visual and audible signals to help you inflate the tire to the
recommended COLD tire pressure.
To use the Easy-Fill Tire Alert (if so equipped):
1.
Mo
ve the shif t lever to the
P (PARK) position and apply the parking brake.
2. Plac
e the ignition switch in the
ON position. Do not start the engine.
3.
A
dd air to the under-inflated tire, and within a few seconds, the hazard
warning lights will start flashing.
4.
When the designated tir
e pressure is reached, the horn will beep once and the
hazard warning flashers will stop flashing.
5
.
R
epeat this procedure for any additional under-inflated tires.
When the lo w tire pressure warning light 2 flashes for 1 minute and then
remains on, the TPMS is not functioning properly. Have the system checked. It is
recommended you visit a Nissan dealer for this service.
Tire pressure rises and falls depending on the heat caused by the vehicle’s operation and the outside temperature. Low outside temperature can lower
the temperature of the air inside the tire, which can cause a lower tire inflation
pressure. This may cause the low tire pressure warning light
2 to illuminate. If
the warning light illuminates, check the tire pressure in your tires.
•
Check the tir
e pressure (including the spare tire) of ten and always prior to long
distance trips.
The Tire and Loading Information label contains valuable information. Please refer to the “Technical and consumer information (section 10)” of your Owner’s
Manual for the location of the Tire and Loading Information label.
Please see your Owner’s Manual for important safety information, system limitations, and additional
operating and feature information.
For more information, refer to the “Instruments and controls (section 2)”, the “Starting and driving
(section 5)” and the “Do-it-yourself (section 8)” of your Owner’s Manual.
ESSENTIAL INFORMATION
1
2
3
To view detailed instructional videos regarding these and other features, please go to www.nissanownersinfo.mobi.
Page 10 of 28

8
ESSENTIAL INFORMATION
WITH NAVIGATION SYSTEM (if so equipped)
To adjust the time and the appearance of the clock on the display:
1.
Press the
button 9.
2.
Touch the “Settings” key.
3.
Touch the “System” key.
4.
Touch the “Clock” key.
The following settings can be adjusted:
•
Time Format: The clock can be set to 12 hours or 24 hours.
•
Date F
ormat: The date can be changed to one of five different formats.
• Clock Mode
: From here, the clock mode options are:
·
Manual: Allows for the option “Set Clock Manually”. Touch this to begin
setting the clock manually using the “+” or “–” to adjust the hours, minutes,
day, and month up or down.
·
Time Zone: Touch the “Time Zone” key
10
to choose from the applicable time zone
list and/or touch the “Daylight Savings
Time” key to switch between ON and OFF.
·
A
uto: Automatically sets the clock to the
vehicle’s current location.
Press the B ACK button
11 to return to the previous screen.
Please see your Owner’s Manual for important safety information, system limitations, and additional
operating and feature information.
For more information, refer to the “Monitor, climate, audio, phone and
voice recognition systems (section 4)” of your Owner’s Manual.
10
9
11
To view detailed instructional videos regarding these and other features, please go to www.nissanownersinfo.mobi.
Page 17 of 28
15
1
23
4
5
67
HEATER AND AIR CONDITIONER (manual)
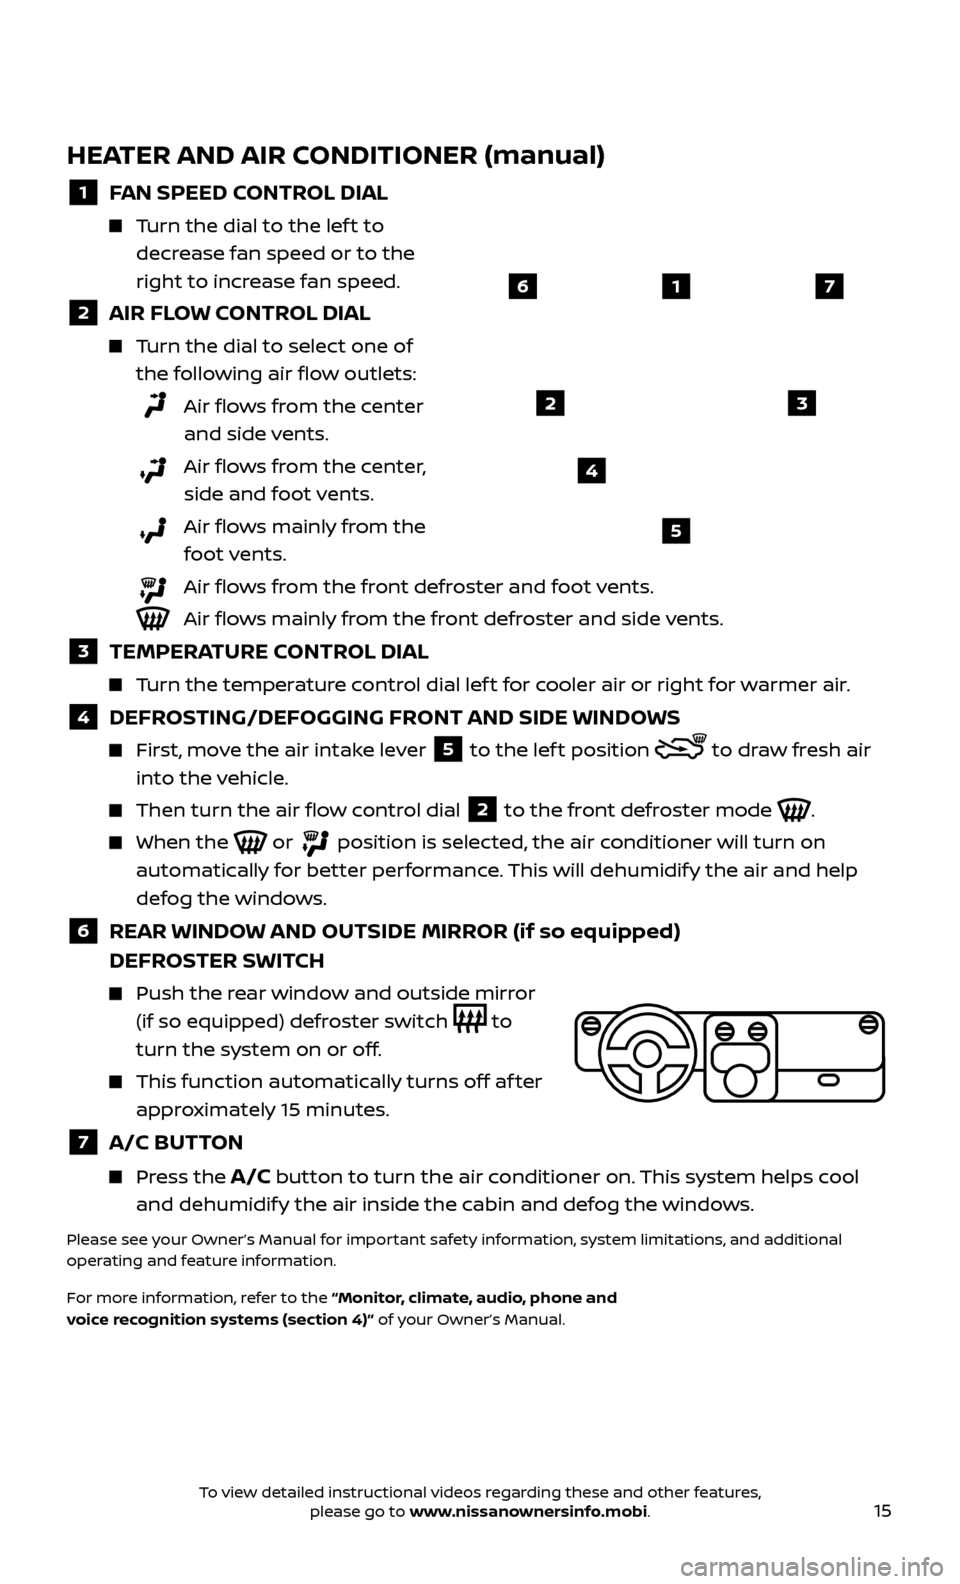
1 FAN SPEED CONTROL DIAL
Turn the dial to the lef t to decrease fan speed or to the
right to increase fan speed.
2 AIR FLOW CONTROL DIAL
Turn the dial to select one of the following air flow outlets:
Air flows from the center and side vents.
Air flows from the center, side and foot vents.
Air flows mainly from the foot vents.
Air flows from the front defroster and foot vents.
Air flows mainly from the front defroster and side vents.
3 TEMPERATURE CONTROL DIAL
Turn the temperature control dial lef t for cooler air or right for warmer air.
4 DEFROSTING/DEFOGGING FRONT AND SIDE WINDOWS
First, move the air intake lever 5 to the lef t position
to draw fresh air
into the vehicle.
Then turn the air flo w control dial 2 to the front defroster mode
.
When the or position is selected, the air conditioner will turn on
automatically for better performance. This will dehumidify the air and help
defog the windows.
6 REAR WINDOW AND OUTSIDE MIRROR (if so equipped)
DEFROSTER SWITCH
Push the r
ear window and outside mirror
(if so equipped) defroster switch
to
turn the system on or off.
This func tion automatically turns off af ter
approximately 15 minutes.
7 A/C BUTTON
Press the A/C button to turn the air conditioner on. This system helps cool
and dehumidify the air inside the cabin and defog the windows.
Please see your Owner’s Manual for important safety information, system limitations, and additional
operating and feature information.
For more information, refer to the “Monitor, climate, audio, phone and
voice recognition systems (section 4)” of your Owner’s Manual.
To view detailed instructional videos regarding these and other features, please go to www.nissanownersinfo.mobi.
Page 20 of 28

18
Pair your cellular phone to the vehicle.
·
F
or Android® devices, the smartphone must be connected through the
Bluetooth® Hands-free Phone system.
·
F
or iPhone® on vehicles WITH Navigation, the device must be connected to
the vehicle’s USB port using your cellular phone’s USB cable.
·
F
or iPhone® on vehicles WITHOUT Navigation, connect the device using the
Bluetooth® Hands-free Phone system.
You can select which apps you want activated in the vehicle from the
NissanConnectSM Mobile Apps companion app by selecting “Manage My Apps”.
Some apps shown in the companion app may not appear in your vehicle
depending on availability for your model.
Some apps require you to have the app downloaded and installed on
your cellular phone, while others require you to enter your username and
password to log in. Not all apps shown on the NissanConnect
SM app site are
available on all models.
To help identify specific apps available for your vehicle or to contact a specialist
via chat, please visit www.NissanUSA.com/connect/support.
Your available apps will only appear on the screen when your
smartphone is connected to both the vehicle and the Internet.
For additional information on connecting your device, see your
Owner’s Manual or visit www.NissanUSA.com/bluetooth.
The NissanConnectSM app must be running
on your device and the connected icon
1
must be green before using your apps. If the
disconnected icon
2 is displayed, press the
APPS button 3 multiple times to ensure
the connection is established.
To access your apps with the vehicle controls,
start your vehicle and then press the
APPS
button
3 on the control panel. The system
may take a few seconds to boot up before the
NissanConnect
APPS button 3 is enabled.
This is normal.
If available, your apps can be accessed once
the vehicle and cellular phone are connected
through the NissanConnect
SM Mobile Apps
companion app.
Please see your Owner’s Manual for important safety information, system limitations, and additional
operating and feature information.
For more information, refer to the “Monitor, climate, audio, phone and voice recognition systems
(section 4)” of your Owner’s Manual.
SYSTEM GUIDE
1
2
3
To view detailed instructional videos regarding these and other features, please go to www.nissanownersinfo.mobi.
Page 21 of 28
19
BLUETOOTH® HANDS-FREE PHONE SYSTEM*
A cellular telephone should not be used while driving so full attention may be given to
vehicle operation.
SYSTEM OPERATING TIPS
Press the or button on the steering
wheel to interrupt the voice prompts at any
time and speak a command af ter the tone.
To use the system faster, you may speak the second level commands with the main menu
command on the main menu. For example,
press the
or button on the steering
wheel, and af ter the tone, say “Call Redial”.
The “Help” c ommand can be used to hear a
list of available commands at any time.
Reduce background noise as much as possible by closing windows and pointing
HVAC vents away from the ceiling.
Speak naturally without long pauses and without raising your voice.
To cancel a Voice Recognition session, simply wait 5 seconds, say “Cancel” or “Quit”, or press and hold the
or button on the steering
wheel for 5 seconds.
To increase or decrease the volume of the voice prompts, push the volume
control switches
+ or – on the steering wheel or turn the volume control knob
on the audio system while the audio system is responding.
Voice commands can be used to operate various Bluetooth® system features using the Nissan Voice Recognition system. See your Owner’s Manual for
detailed information.
If the Voice Recognition system does not recognize your voice commands, train the system using the Voice Adaptation Mode. See your Owner’s Manual for
detailed information.
For more detailed information and instructions, refer to your cellular phone’s
Owner’s Manual and visit www.NissanUSA.com
/bluetooth.
* Some jurisdictions prohibit the use of cellular telephones while driving.
Please see your Owner’s Manual for important safety information, system limitations, and additional
operating and feature information.
For more information, refer to the “Monitor, climate, audio, phone and voice recognition systems
(section 4)” of your Owner’s Manual.
TYPE A (if so equipped)
To view detailed instructional videos regarding these and other features, please go to www.nissanownersinfo.mobi.
Page 22 of 28

20
BLUETOOTH® SYSTEM WITHOUT NAVIGATION* (if so equipped)
CONNECTING PROCEDURE
The vehicle must be stationary when connecting the cellular phone.
1.
Press the
or button on the steering wheel. The system announces the
available commands.
2.
Sa
y: “Connect Phone”. The system acknowledges the command and announces
the next set of available commands.
3.
Sa
y: “Add Phone”. The system acknowledges the command and asks you to
initiate connecting from the cellular phone handset.
4.
Initiate c
onnecting from the cellular phone:
The connecting procedure varies according to each cellular phone model. For detailed connecting instructions and compatible cellular phones, please
visit www.NissanUSA.com
/bluetooth.
When prompted for a PIN, enter “1234” from the handset. (The PIN is assigned by NISSAN and cannot be changed.)
5
.
Sa
y a name for the cellular phone when the system asks you to provide one. You
can give the cellular phone a name of your choice.
PHONEBOOK SETUP
The phonebook stor es up to 1,000 entries for each cellular phone paired with
the system.
Depending on y our cellular phone, the system may automatically download
your cellular phone’s entire phonebook to the vehicle’s Bluetooth® system.
If the phonebook does not do wnload automatically, entries can be
individually downloaded.
To manually download entries:
1. Pr
ess the
or button on the steering wheel.
2. A
f ter the tone, say “Phonebook”.
3.
A
f ter the next tone, say “Transfer Entry”. The system acknowledges the
command and asks you to initiate the transfer from the cellular phone
handset. The new contact phone number will be transferred from the cellular
phone to the vehicle.
• The tr
ansfer procedure varies according to each cellular phone. See
your cellular phone’s Owner’s Manual for details. You can also visit
www.NissanUSA.com
/bluetooth for instructions on transferring
phone numbers from Nissan-recommended cellular phones.
4.
The system r
epeats the number and prompts you for the next
command. When you have finished entering numbers or transferring an
entry, say “Store”.
5
.
The system c
onfirms the name, location and number.
SYSTEM GUIDE
To view detailed instructional videos regarding these and other features, please go to www.nissanownersinfo.mobi.
Page 26 of 28
24
SYSTEM GUIDE
NAVIGATION SYSTEM (if so equipped)
Your Navigation System can calculate a route from the current location to a preferred destination. The real-time map display and turn-by-turn voice
guidance will lead you along the route.
The Navigation System will continually update your vehicle’s position. If you have deviated from the original route, it will recalculate the route from your
current location.
To help promote safe driving, some functions cannot be operated or have limited operation when the vehicle speed is above 5 mph (8 km/h). The
on-screen text and keys for these restricted functions will be grayed-out or
muted and cannot be selected while driving. These functions will become
available again when the vehicle speed is reduced to 5 mph (8 km/h). Voice
commands may be available for some of the restricted functions. For more
information, refer to the “Monitor, climate, audio, phone and voice recognition
systems (section 4)” of your Owner’s Manual.
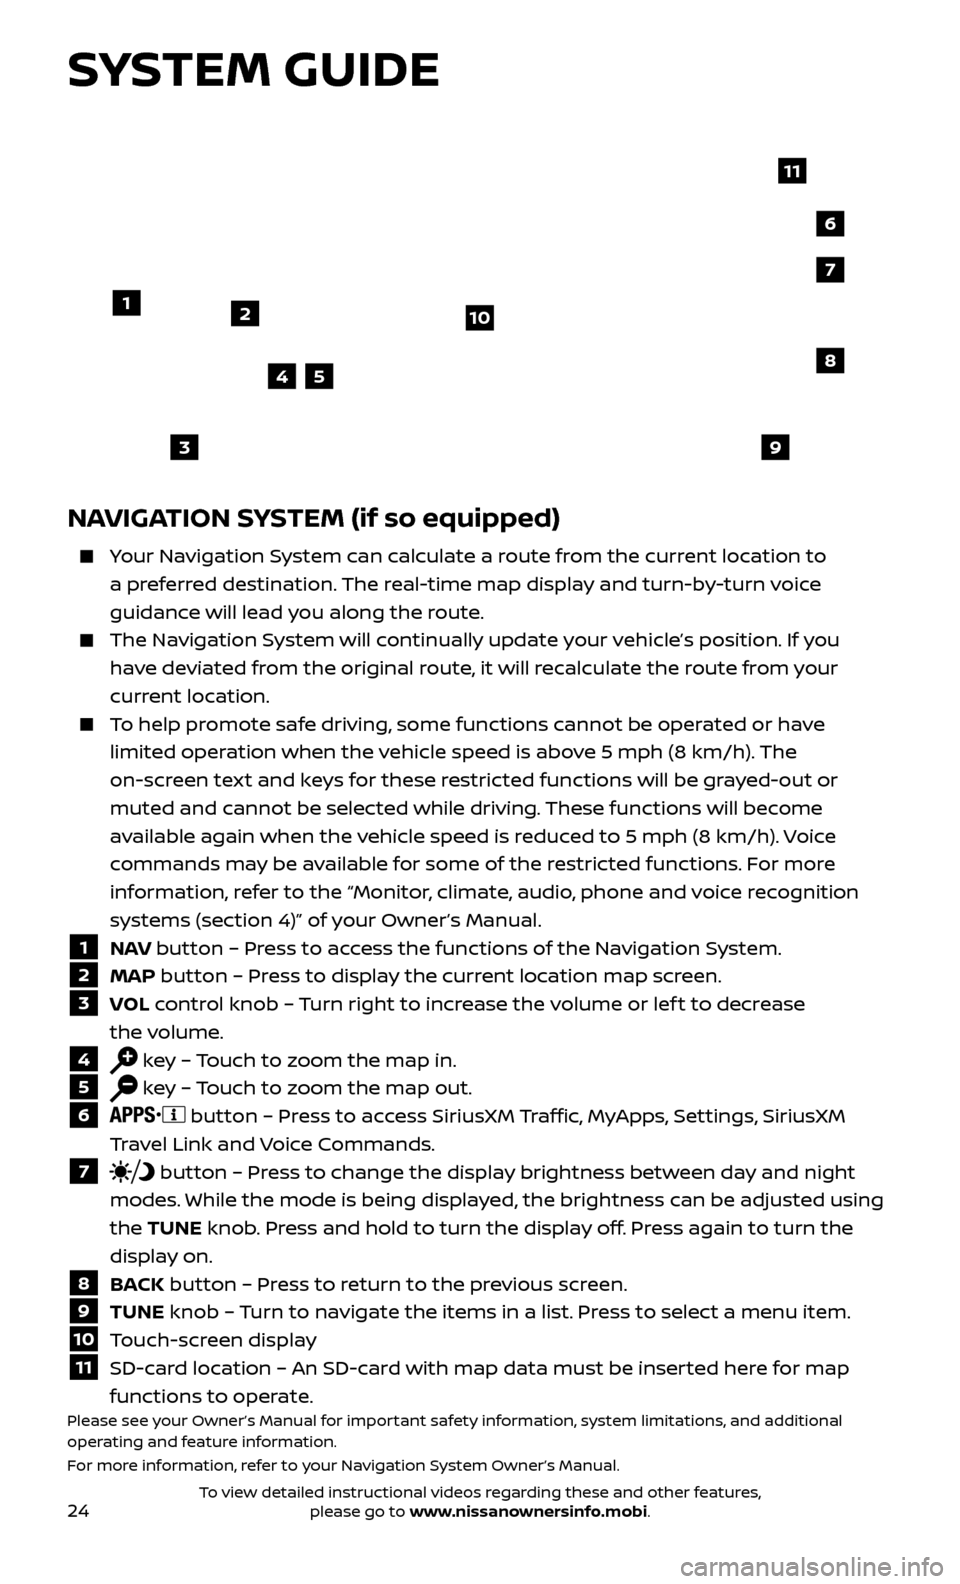
1 NAV button – Press to access the functions of the Navigation System.
2 MAP button – Press to display the current location map screen.
3 VOL control knob – Turn right to increase the volume or lef t to decrease
the volume.
4 key – Touch to zoom the map in.
5 key – Touch to zoom the map out.
6 button – Press to access SiriusXM Traffic, MyApps, Settings, SiriusXM
Travel Link and Voice Commands.
7 button – Press to change the display brightness between day and night
modes. While the mode is being displayed, the brightness can be adjusted using
the TUNE knob. Press and hold to turn the display off. Press again to turn the
display on.
8 BACK button – Press to return to the previous screen.
9 TUNE knob – Turn to navigate the items in a list. Press to select a menu item.
10 Touch-screen display
11 SD-card location – An SD-card with map data must be inserted here for map
functions to operate.
Please see your Owner’s Manual for important safety information, system limitations, and additional
operating and feature information.
For more information, refer to your Navigation System Owner’s Manual.
12
7
3
6
548
9
10
11
To view detailed instructional videos regarding these and other features, please go to www.nissanownersinfo.mobi.